Set up Discourse in the cloud in under 30 minutes with zero knowledge of Rails or Linux shell. One example is DigitalOcean, but these steps will work on any Docker-compatible cloud provider or local server. This walkthrough will go through these in detail:
- Create new cloud server
- Access new cloud server
- Install Prerequisites for Docker
- Install Discourse
- Edit Discourse configuration
- Start Discourse
- Register new account and become admin
- Post-install maintenance
- (Optional) Add more Discourse features
🔔 Don't have 30 minutes to set this up? For a flat one-time fee of $150, the community can install Discourse in the cloud for you. Click here to purchase a self-supported community install.
🔔 Discourse will not work from an IP address, you must own a domain name such as
example.comto proceed.
-
Already own a domain name? Great. Select a subdomain such as
discourse.example.comortalk.example.comorforum.example.comfor your Discourse instance. -
No domain name? Get one! We can recommend NameCheap, or there are many other great domain name registrars to choose from.
-
Your DNS controls should be accessible from the place where you purchased your domain name. This is where you will create a DNS
Arecord for thediscourse.example.comhostname once you know the IP address of the cloud server where you are installing Discourse, as well as enter your SPF and DKIM records for your email.
⚠️ Email is CRITICAL for account creation and notifications in Discourse. If you do not properly configure email before bootstrapping YOU WILL HAVE A BROKEN SITE!
💡 Email here refers to Transactional Email not the usual email service like Gmail, Outlook and/or Yahoo.
-
No existing mail server? Check out our Recommended Email Providers for Discourse.
-
Already have a mail server? Great. Use your existing mail server credentials. (Free email services like Gmail/Outlook/Yahoo do not support transactional emails.)
-
To ensure mail deliverability, you must add valid SPF and DKIM records in your DNS. You'll need SMTP credentials from your email provider, which include an SMTP username and password. Log in to your email provider's account, go to SMTP settings or Email API section, and locate/generate your unique SMTP credentials. Keep them secure, as you'll use them during the Discourse configuration. See your mail provider instructions for specifics.
-
When creating the DKIM record, some cloud hosting providers may append the domain name automatically to the input for public key. Do check that the created record has the expected public key value.
-
If you're having trouble getting emails to work, follow our Email Troubleshooting Guide
Create your new cloud server, for example on DigitalOcean:
-
The default of the current supported LTS release of Ubuntu Server works fine. At minimum, a 64-bit Linux OS with a modern kernel version is required.
-
The default of 1 GB RAM works fine for small Discourse communities. We recommend 2 GB RAM for larger communities.
-
The default of New York is a good choice for most US and European audiences. Or select a region that is geographically closer to your audience.
-
Enter your domain
discourse.example.comas the Droplet name.
Create your new Droplet. You may receive an email with the root password, however, you should set up SSH keys, as they are more secure.
⚠️ Now you have created your cloud server! Go back to your DNS controls and use the IP address to set up anA recordfor yourdiscourse.example.comhostname.
Connect to your server via its IP address using SSH, or Putty on Windows:
ssh root@192.168.1.1
Either use the root password from the email DigitalOcean sent you when the server was set up, or have a valid SSH key configured on your local machine.
sudo apt install docker.io
sudo apt install git
Clone the Official Discourse Docker Image into /var/discourse.
sudo -s
git clone https://github.com/discourse/discourse_docker.git /var/discourse
cd /var/discourse
chmod 700 containers
You will need to be root through the rest of the setup and bootstrap process.
Launch the setup tool at
./discourse-setup
Answer the following questions when prompted:
Hostname for your Discourse? [discourse.example.com]:
Email address for admin account(s)? [me@example.com,you@example.com]:
SMTP server address? [smtp.example.com]:
SMTP port? [587]:
SMTP user name? [user@example.com]:
SMTP password? [pa$$word]:
Let's Encrypt account email? (ENTER to skip) [me@example.com]:
Optional Maxmind License key () [xxxxxxxxxxxxxxxx]:
You'll get the SMTP details from your email setup, be sure to complete that section.
Let's Encrypt account setup is to give you a free HTTPS certificate for your site, be sure to set that up if you want your site secure.
This will generate an app.yml configuration file on your behalf, and then kicks off bootstrap. Bootstrapping takes between 2-8 minutes to set up your Discourse. If you need to change these settings after bootstrapping, you can run ./discourse-setup again (it will re-use your previous values from the file) or edit /containers/app.yml manually with nano and then ./launcher rebuild app, otherwise your changes will not take effect.
Once bootstrapping is complete, your Discourse should be accessible in your web browser via the domain name discourse.example.com you entered earlier.
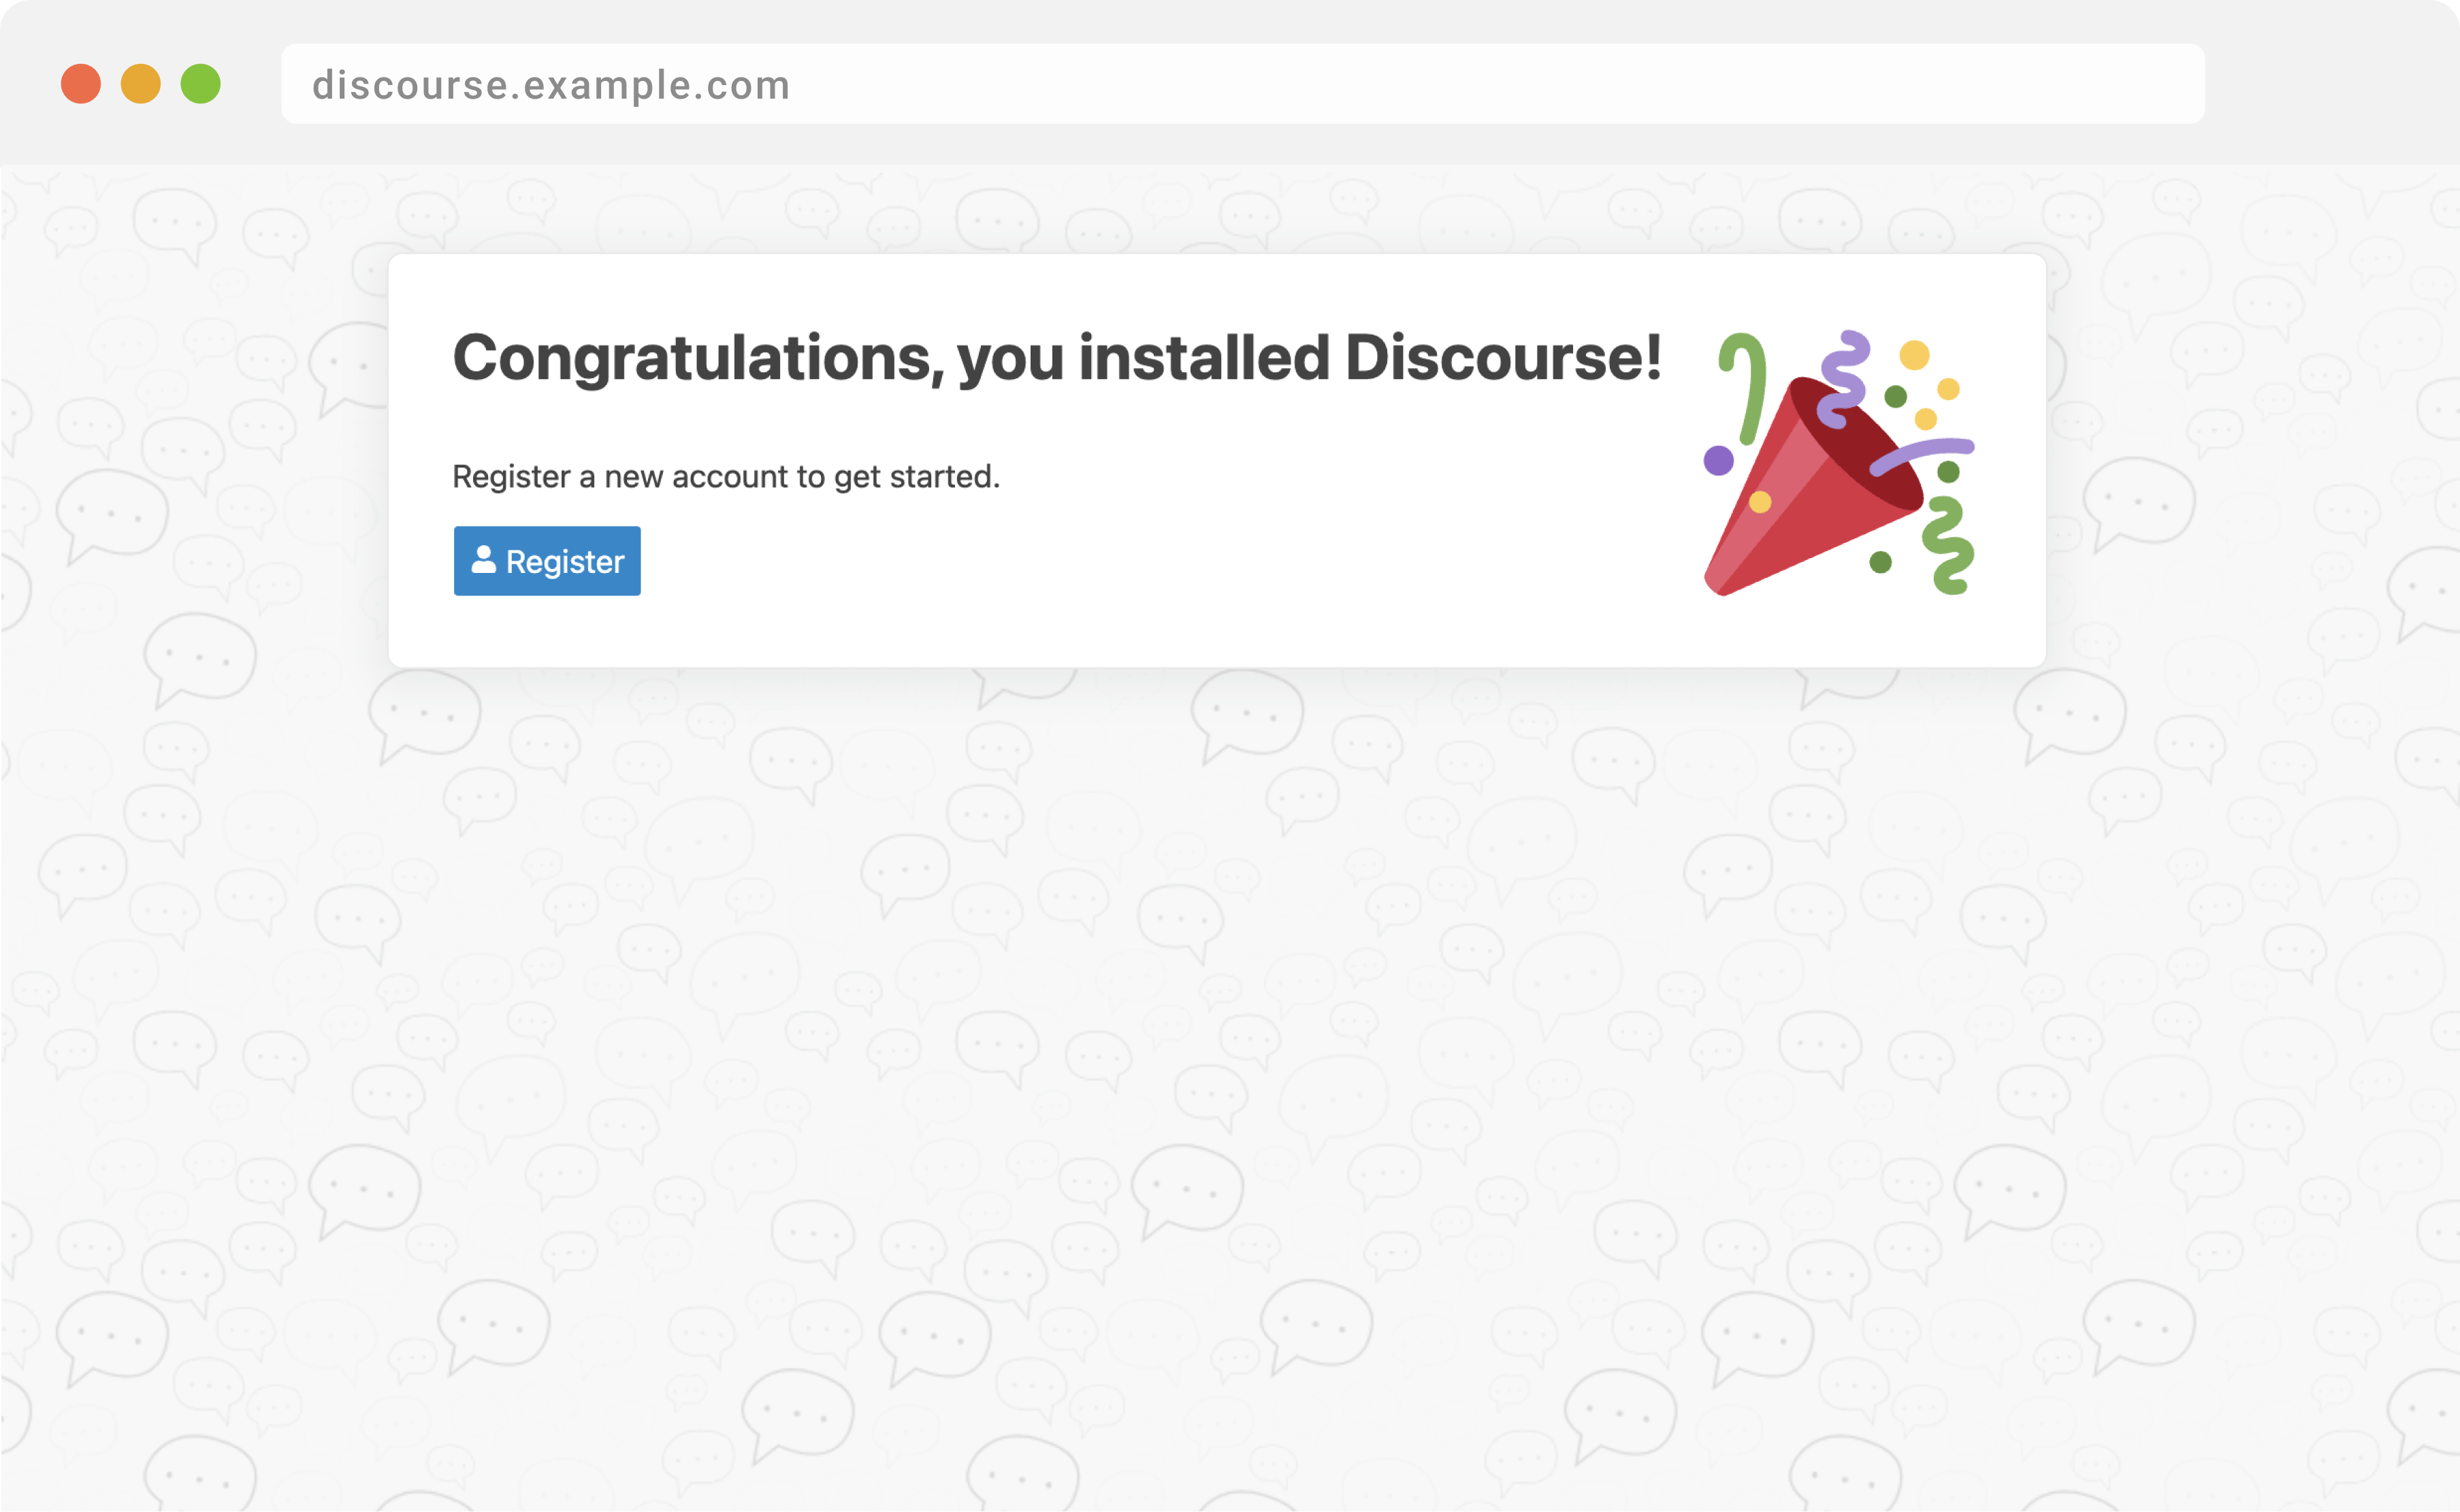
Register a new admin account using one of the email addresses you entered before bootstrapping.
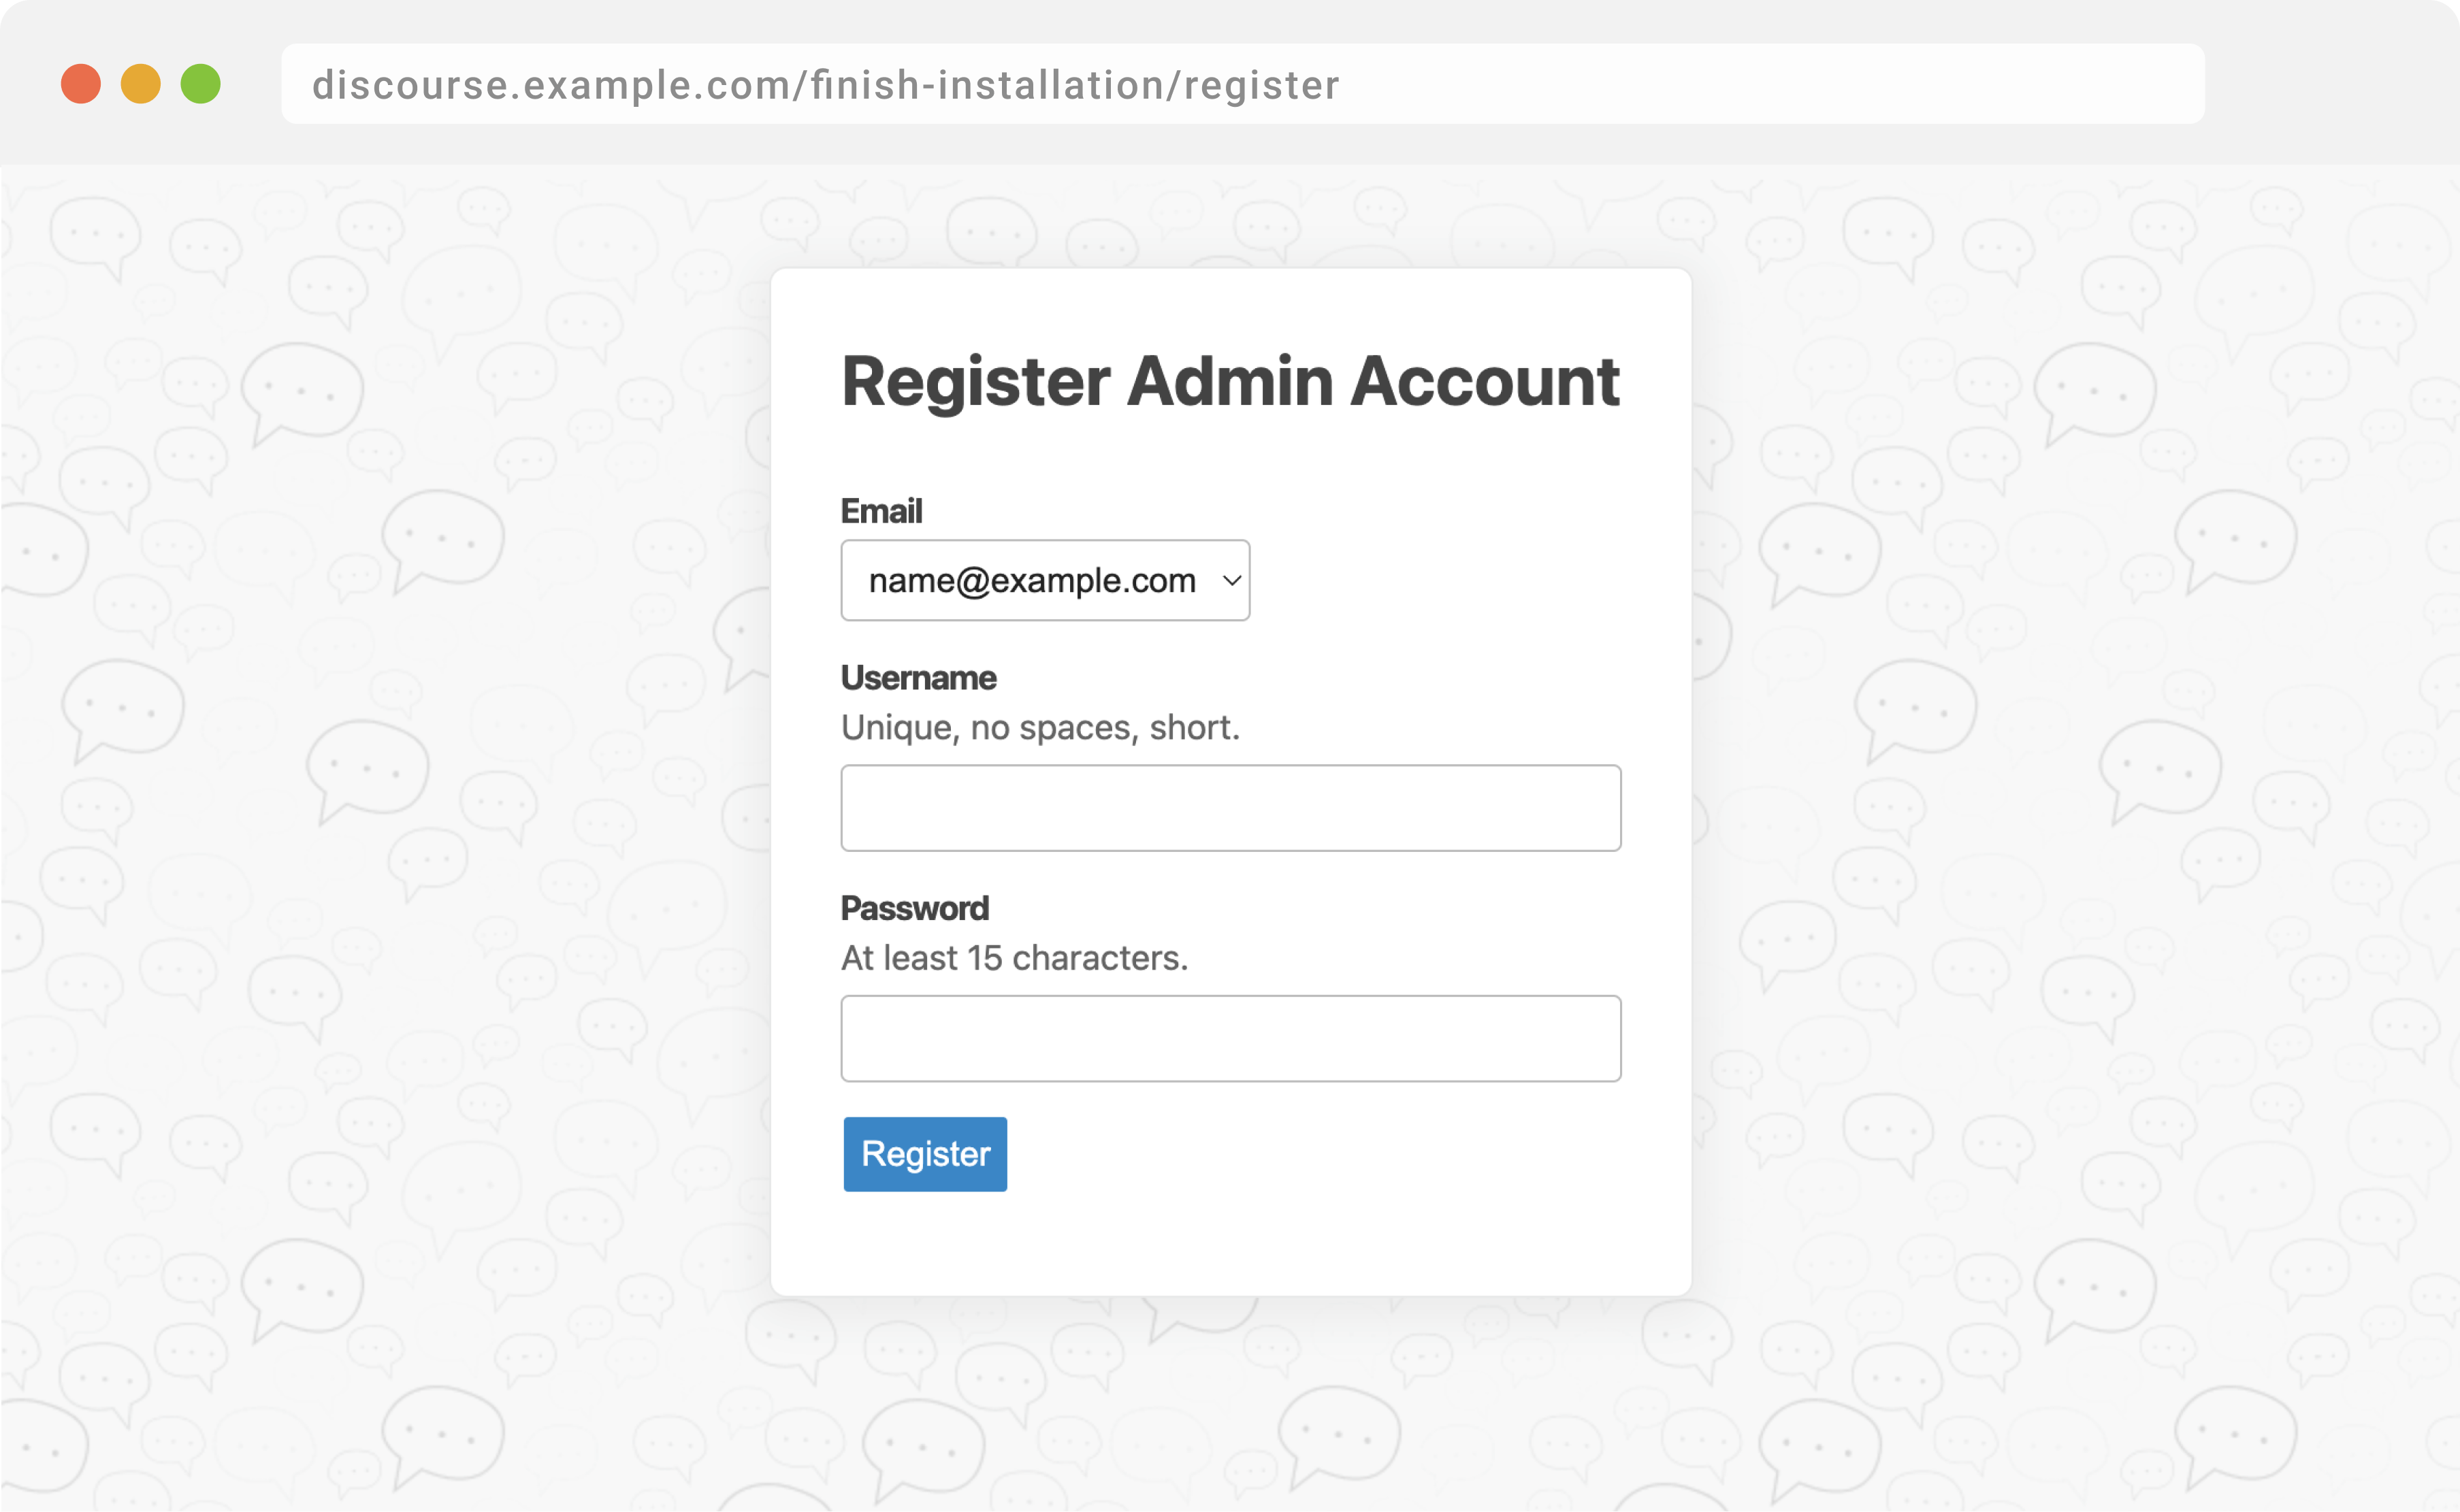
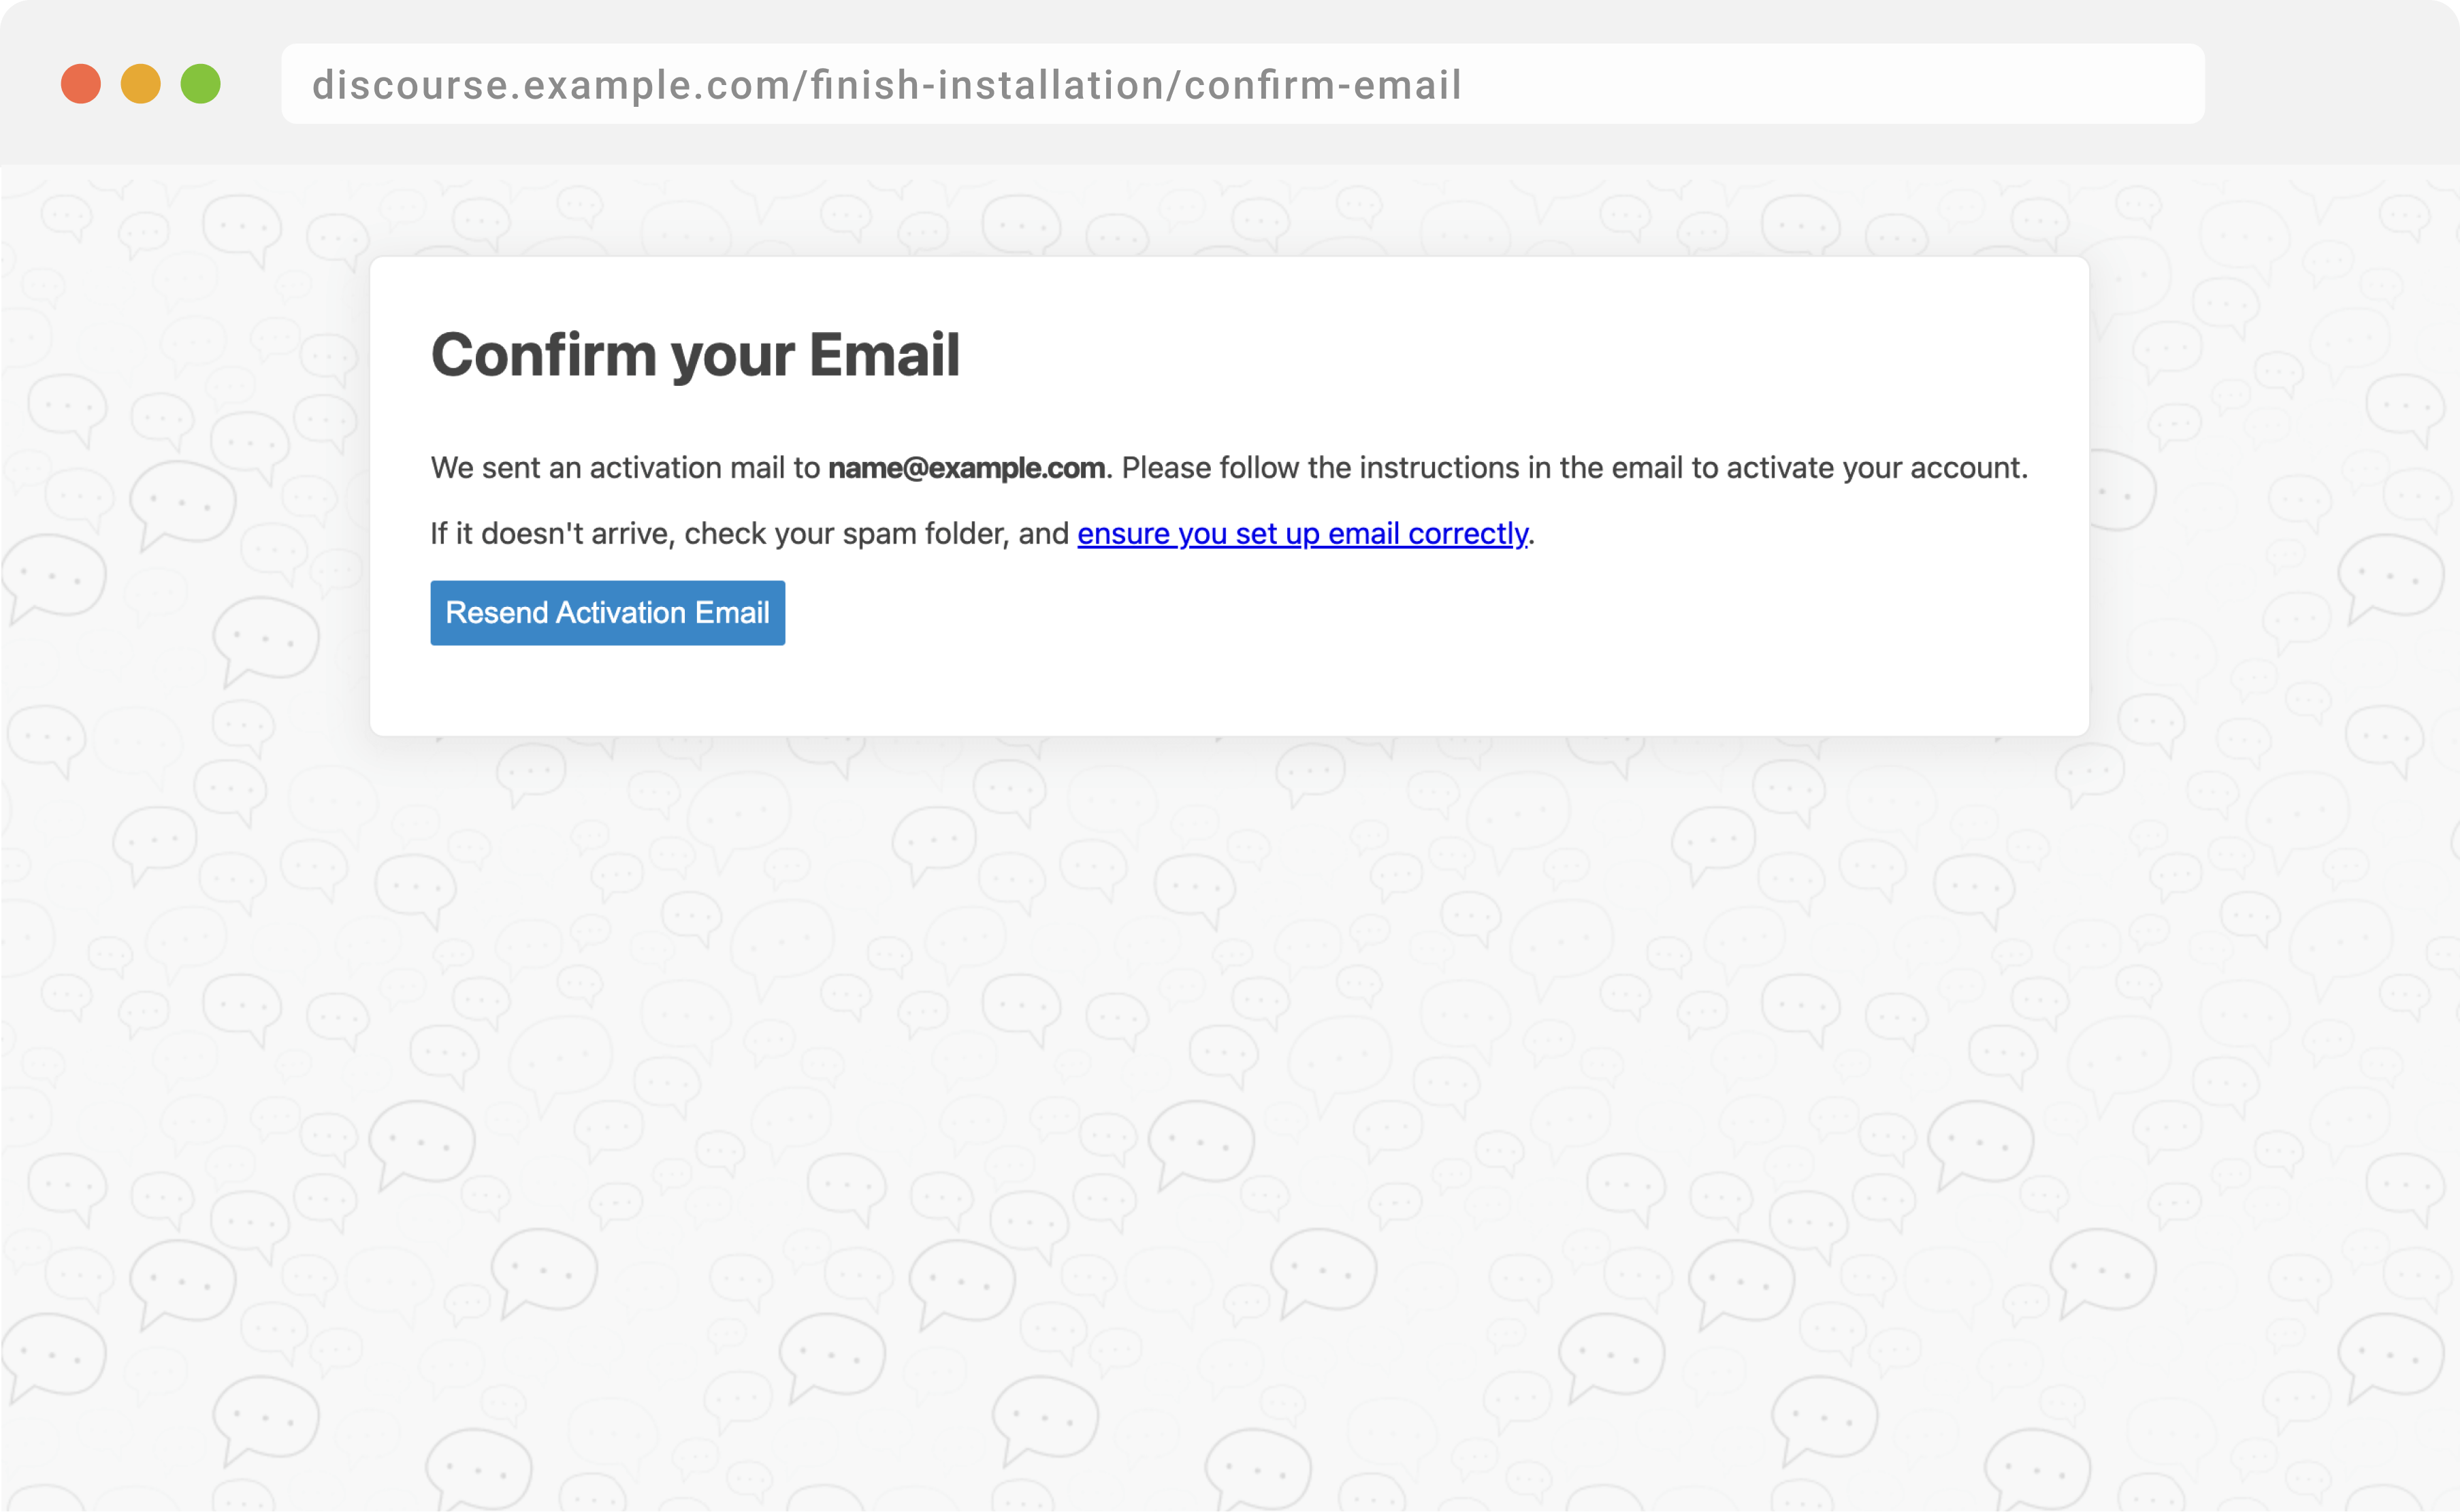
(If you are unable to register your admin account, check the logs at /var/discourse/shared/standalone/log/rails/production.log and see our Email Troubleshooting checklist.)
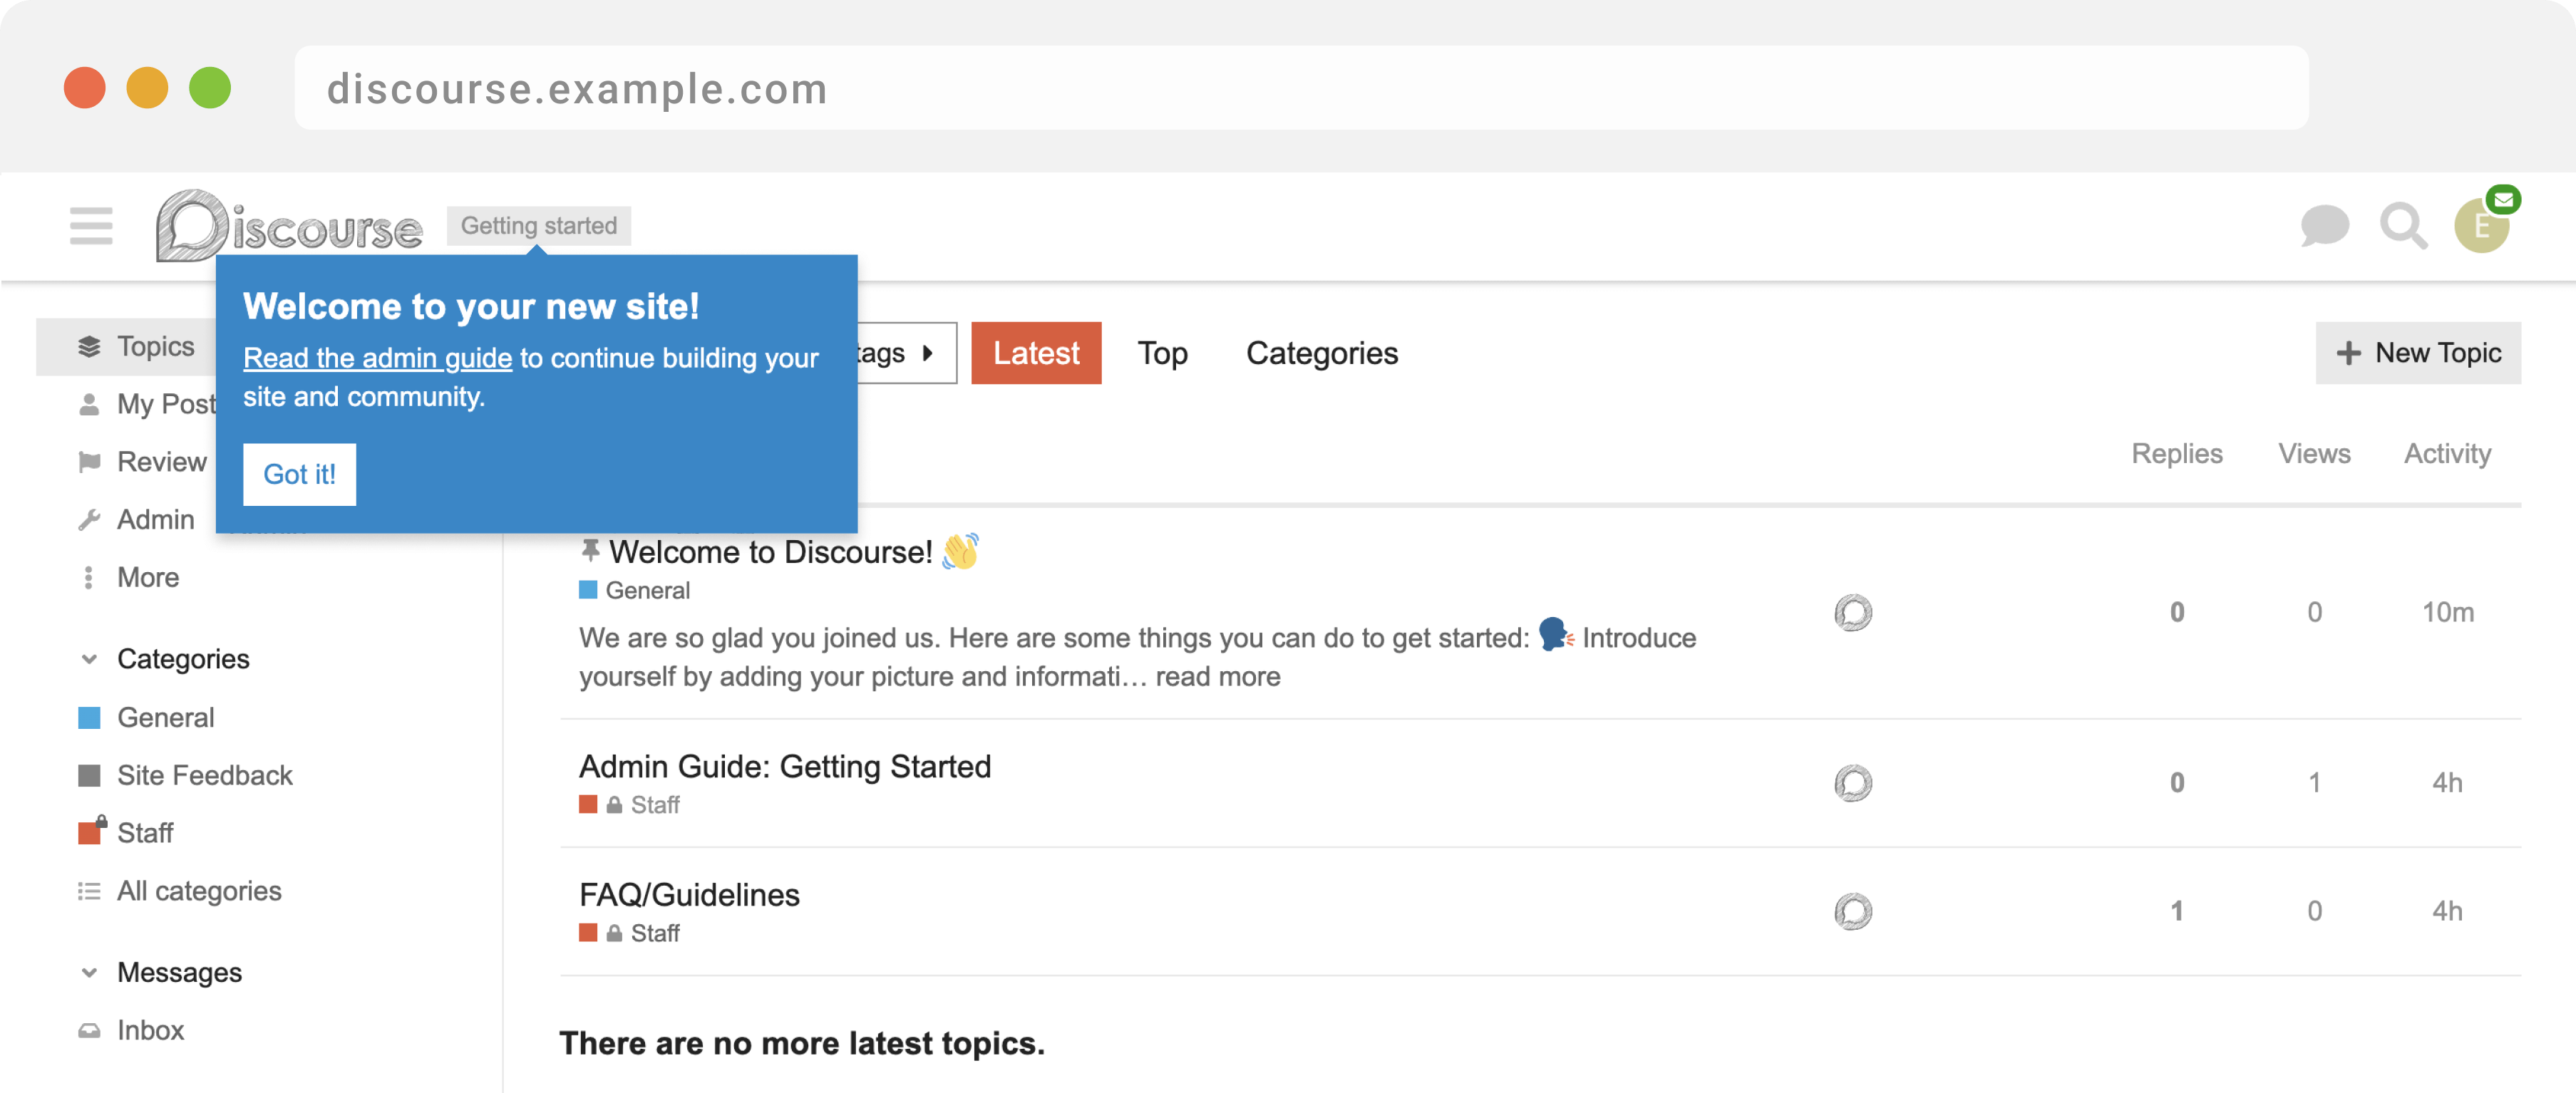
After registering your admin account, the setup wizard will launch and guide you through basic configuration of your Discourse.

After finishing the setup wizard, a popup will welcome you to your new site. It will also link you to the admin guide, which we strongly recommend you look at right away and refer to frequently. The guide provides a setup checklist, important guidance on how to successfully launch your community, and troubleshooting tips.
- We strongly suggest you turn on automatic security updates for your OS. In Ubuntu use the
dpkg-reconfigure -plow unattended-upgradescommand. In CentOS/RHEL, use theyum-cronpackage. - If you are using a password and not a SSH key, be sure to enforce a strong root password. In Ubuntu use the
apt install libpam-cracklibpackage. We also recommendfail2banwhich blocks any IP addresses for 10 minutes that attempt more than 3 password retries.- Ubuntu:
apt install fail2ban - CentOS/RHEL:
sudo dnf install fail2ban
- Ubuntu:
- If you need or want a default firewall, turn on ufw for Ubuntu or use
firewalldfor CentOS/RHEL.
💡 Discourse will send you an email notification when new versions of Discourse are released. Please stay current to get the latest features and security fixes.
To upgrade Discourse to the latest version, visit https://discourse.example.com/admin/upgrade in your browser and click the Upgrade button.
Alternatively, you can ssh into your server and rebuild using:
cd /var/discourse
git pull
./launcher rebuild app
The launcher command in the /var/discourse folder can be used for various kinds of maintenance:
Usage: launcher COMMAND CONFIG [--skip-prereqs] [--docker-args STRING]
Commands:
    start:      Start/initialize a container
    stop:       Stop a running container
    restart:    Restart a container
    destroy:    Stop and remove a container
    enter:      Use nsenter to get a shell into a container
    logs:       View the Docker logs for a container
    bootstrap:  Bootstrap a container for the config based on a template
    rebuild:    Rebuild a container (destroy old, bootstrap, start new)
    cleanup:    Remove all containers that have stopped for > 24 hours

Options:
    --skip-prereqs             Don't check launcher prerequisites
    --docker-args              Extra arguments to pass when running docker
Do you want...
- Users to log in only via your pre-existing website's registration system? Configure Single-Sign-On.
-
Users to post replies via email? Configure reply via email.
-
Automatic daily backups? Configure backups.
-
HTTPS / SSL support?
- Free HTTPS / SSL support with Let's Encrypt is enabled during standard installation. If you skipped this step, Configure Let's Encrypt.
- Paid HTTPS / SSL support? Configure SSL.
-
Use a plugin from Discourse or a third party? Configure plugins
-
Multiple Discourse sites on the same server? Configure multisite.
-
Webhooks when events happen in Discourse? Configure webhooks.
-
A Content Delivery Network to speed up worldwide access? Configure a CDN. We recommend Fastly.
-
Import/migrate old content from vBulletin, PHPbb, Vanilla, Drupal, BBPress, etc? See our open source importers and our migration guide.
-
A user friendly offline page when rebuilding or upgrading?
-
To embed Discourse in your WordPress install, or on your static HTML site?
Help us improve this guide! Feel free to ask about it on meta.discourse.org, or even better, submit a pull request.