blinky helps you see the light
-
plug and play set up for build lights
-
get a build light up and running in a few minutes.
Setting up a build light on a new project always seems to be more of a hassle than it should be. Somehow it always seems that no one else has ever dealt with the exact combination of OS, CI Server and build light that you have in your sweaty little hands, and you have to write something from scratch. Again.
blinky is an attempt to fix that.
blinky aims to supply plug and play support for all combinations of
-
USB Light Model (or any other USB Device used to indicate build status)
-
Operating System
-
CI Server
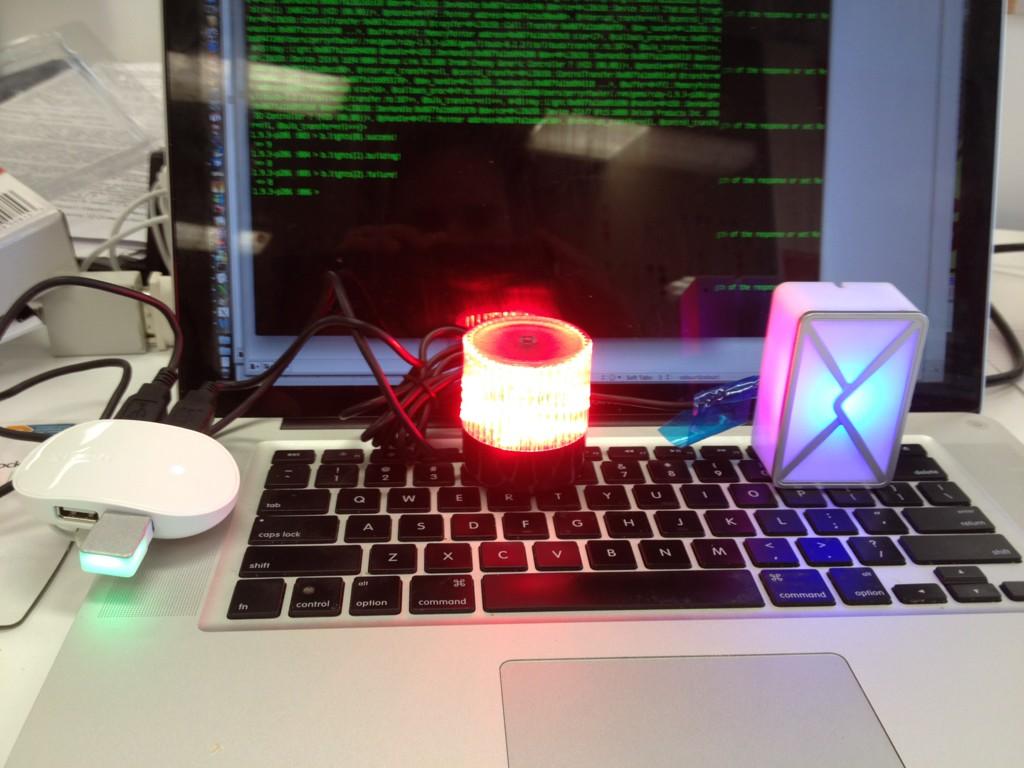
Heres blinky running three different lights at once:
Plug in your USB light, and then do something like this
require 'rubygems'
require 'blinky'

light = Blinky.new.light
light.watch_cctray_server http://your.ci.server/cctray.xml
Or, with basic authentication
light.watch_cctray_server http://your.ci.server/cctray.xml, {:user => 'user', :password => 'password'}
Or, you can just control the light directly
light.success!
light.failure!
light.building!
light.warning!
light.off!
Want to plug in more than one light on the same machine?
require 'rubygems'
require 'blinky'

blinky = Blinky.new
light_one = blinky.lights[0]
light_two = blinky.lights[1]
Not sure which light is which?
# make light_one flash
light_one.where_are_you?
-
OSX
-
Linux
-
Windows
Any server that supports the cctray xml format, including among others:
-
Go - watch go-server:8154/go/cctray.xml
-
Jenkins/Hudson - watch jenkins-server:8080/cc.xml
-
travis - watch api.travis-ci.org/repositories/owner/project/cc.xml
-
tddium - watch ‘Configure with CCMenu’ (something like api.tddium.com/cc/long_uuid_string/cctray.xml)
Install lib-usb-1.0 with your favourite package manager, and then install the blinky gem
For example, on OSX:
brew install libusb
gem install blinky
on Debian or Ubuntu:
apt-get install libusb-1.0-0-dev
gem install blinky
and so on
Windows can be a bit fiddly. The following is how I got a Delcomm II light to work on a Windows 7 laptop. Further experience reports/better instructions would be gratefully received.
-
installed Zadig (github.com/pbatard/libwdi/wiki#wiki-Downloads)
-
plugged in the USB light
-
at this point windows ‘helpfully’ installed an incorrect ‘USB Input device’ driver
-
-
opened Zadig and selected ‘Options -> List All Devices’
-
Selected ‘USB Input Device’ in the Zadig drop-down
-
Clicked on ‘Replace Driver’ and confirmed in the popup dialog
-
installed the blinky gem
Plug in your light and then do this:
require 'rubygems'
require 'blinky'

blinky = Blinky.new
blinky.light.watch_test_server
Watch the pretty lights!
check out github.com/perryn/blinky/wiki/Troubleshooting
The watch_cctray_server method is a very simple approach, but its easy to do something more sophisticated by writing your own plugin - see “How do I contribute support for more ci servers?” below.
Or if you want to get really fancy, take a look at Chicanery and use it to control blinky any way you want.
Take a look at the classes in lib/device_recipes then write your own!
Take a look at the classes in lib/ci_server plugins then write your own! You will probably find Chicanery very useful when doing this.
Copyright © 2010 Perryn Fowler. See LICENSE for details.