To start programming your own things on Ringo phone you're going to need a software called Arduino. If you already have it installed on your computer, you can skip this step.
Go to the adress: https://www.arduino.cc/en/Main/Software .
You will find this screen there:
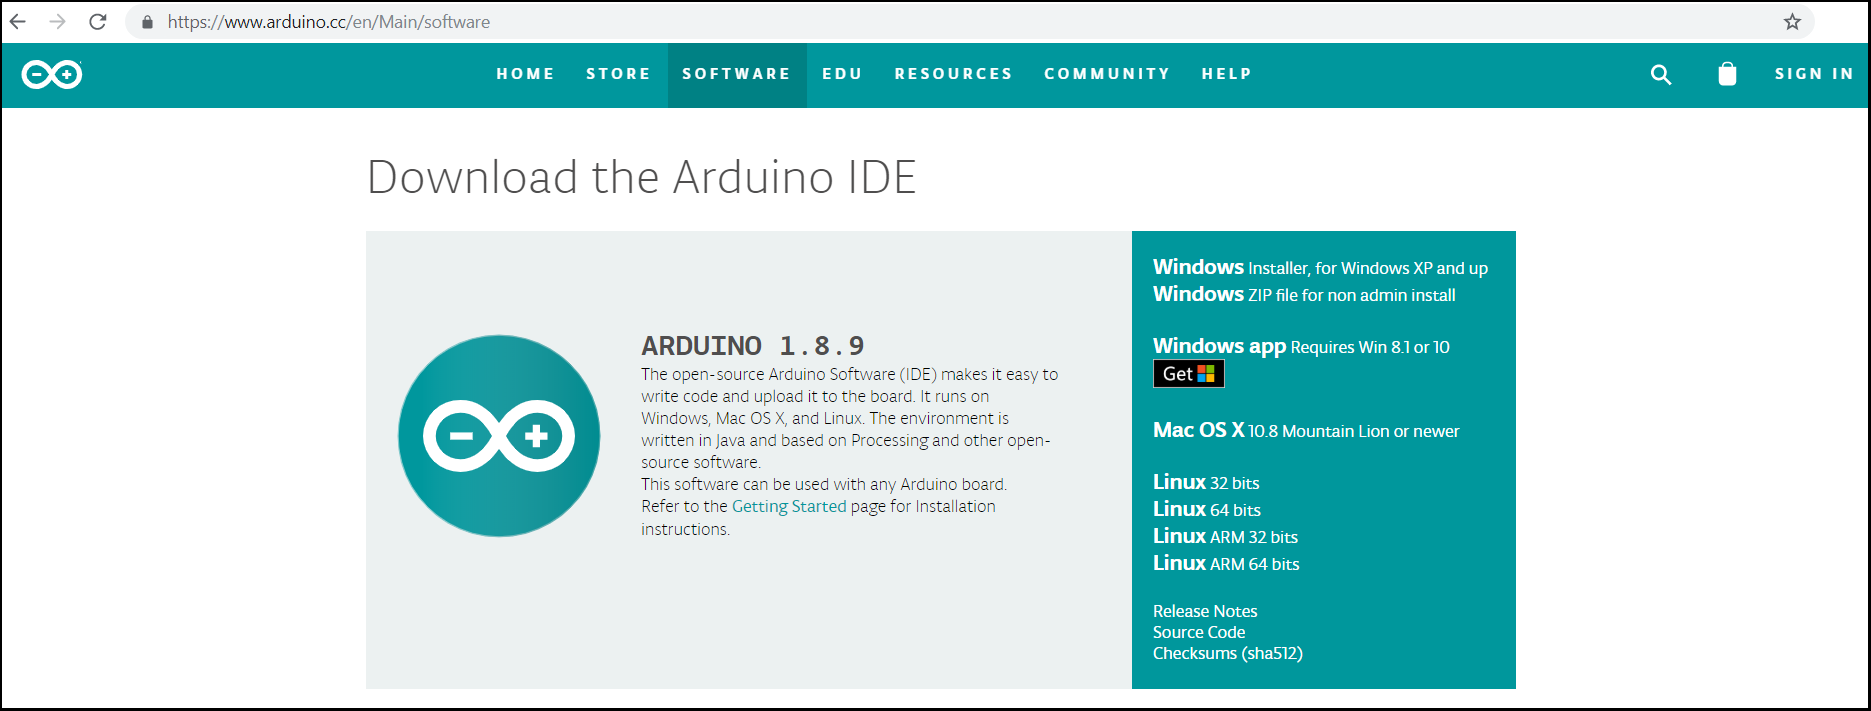
Download the installation file according to the OS you own. If you have Windows 8.1 or later, you can also download Arduino IDE over Microsoft Store. That version of the software will be considered to be a completely different program than the regular version by your system so keep in mind that your libraries will not be in sync. Other than that, these two versions work the same.
Now when you have installed Arduino we can go to the next step.
These instructions work on every OS since Arduino automatically downloads tools depending on detected system.
So just follow these steps and you will be fine!
- Open Arduino IDE
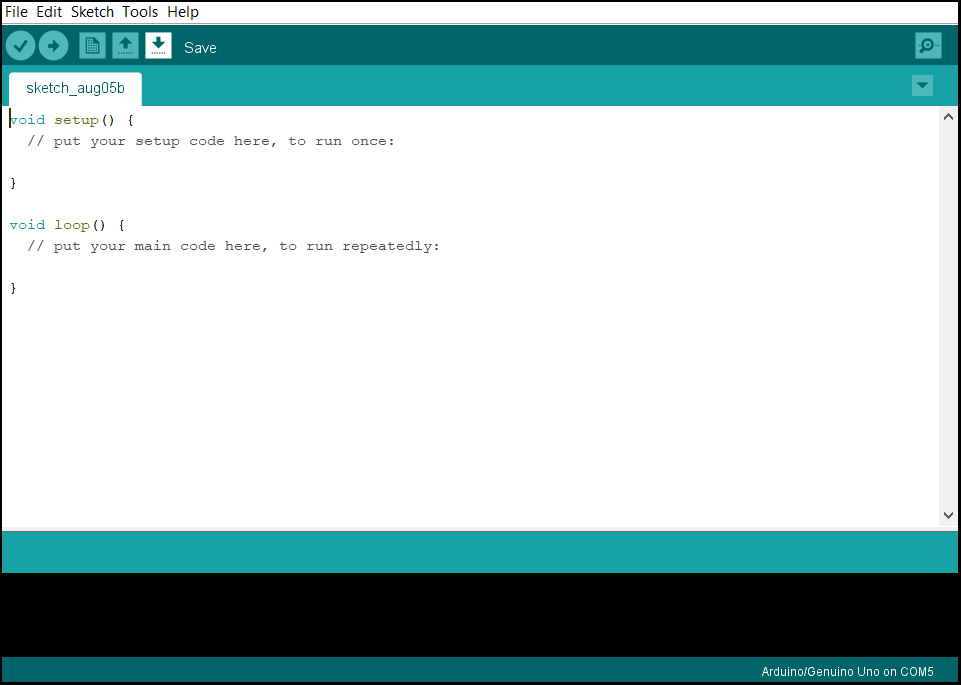
NOTE: If this is your first time meeting Arduino IDE - get familliar, you're going to use it a lot.
- Go to File -> Preferences
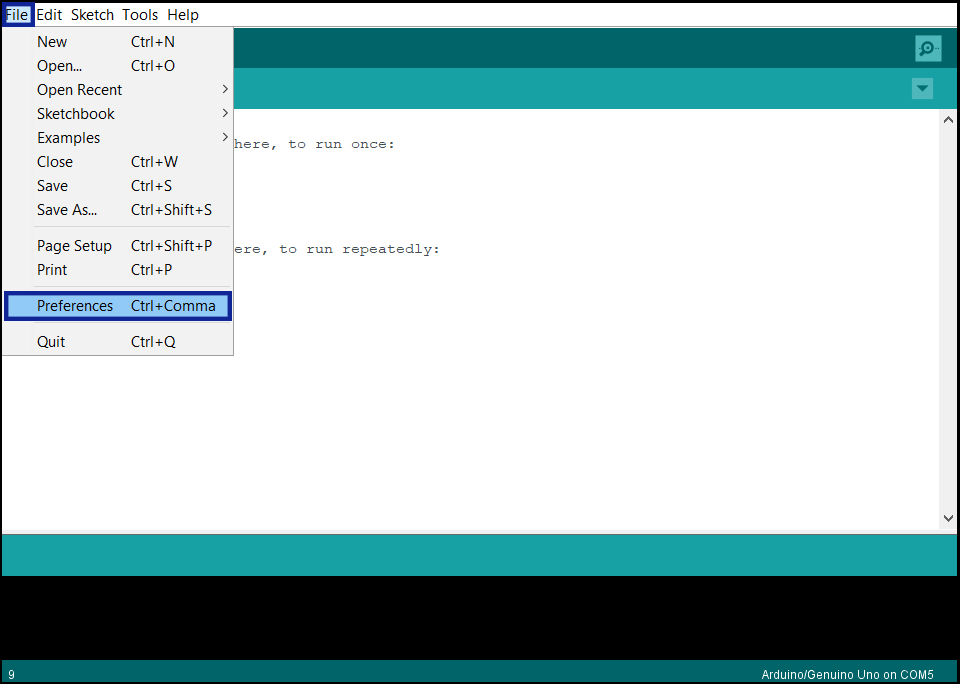
- Enter the following adress in the 'Additional board Manager URLs' : https://raw.githubusercontent.com/CircuitMess/MAKERphone/boardArduino/package_CircuitMess_Ringo_index.json. Then click OK.

NOTE: You can also click the little window button by the bar and enter it there, then click OK.

- Go to Tools -> Board -> Boards Manager...
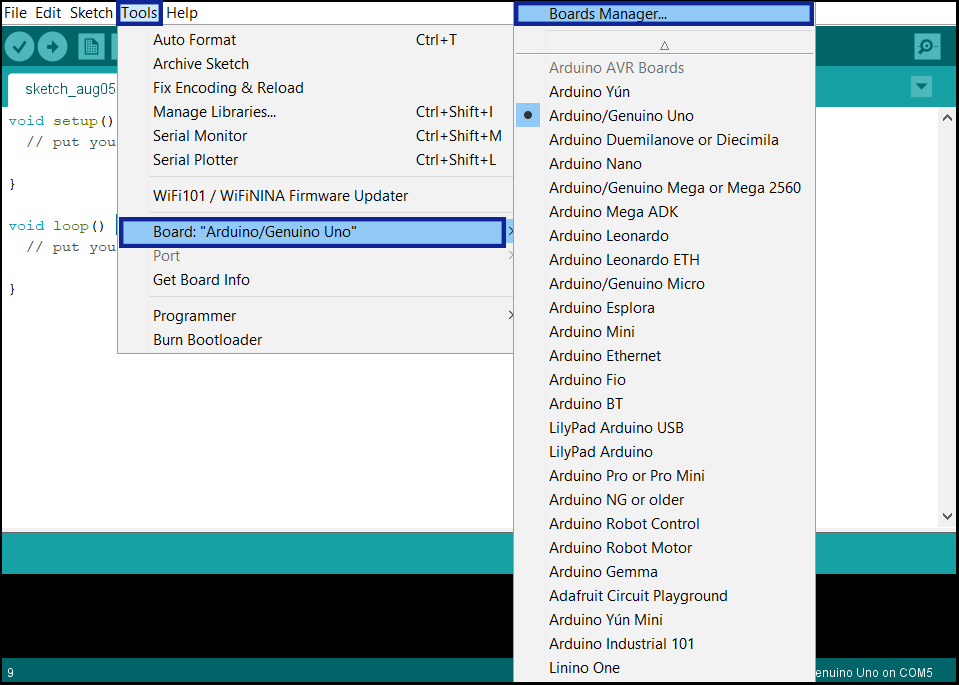
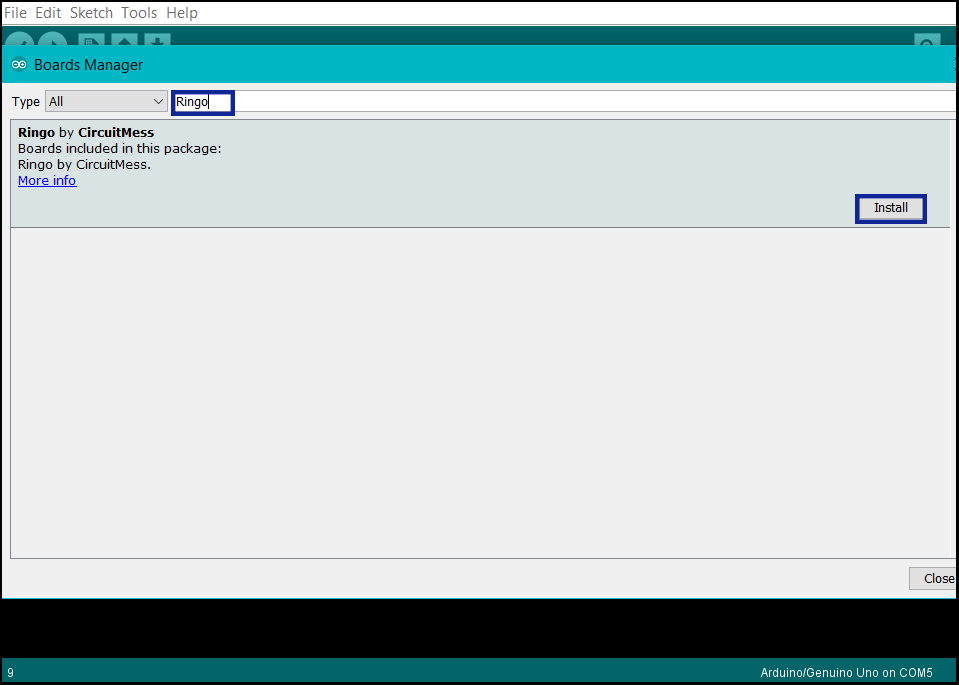
- Type 'Ringo' into the bar on top of the pop-up window.
There will be one result found called 'Ringo by CircuitMess'.
Click on the Install button.
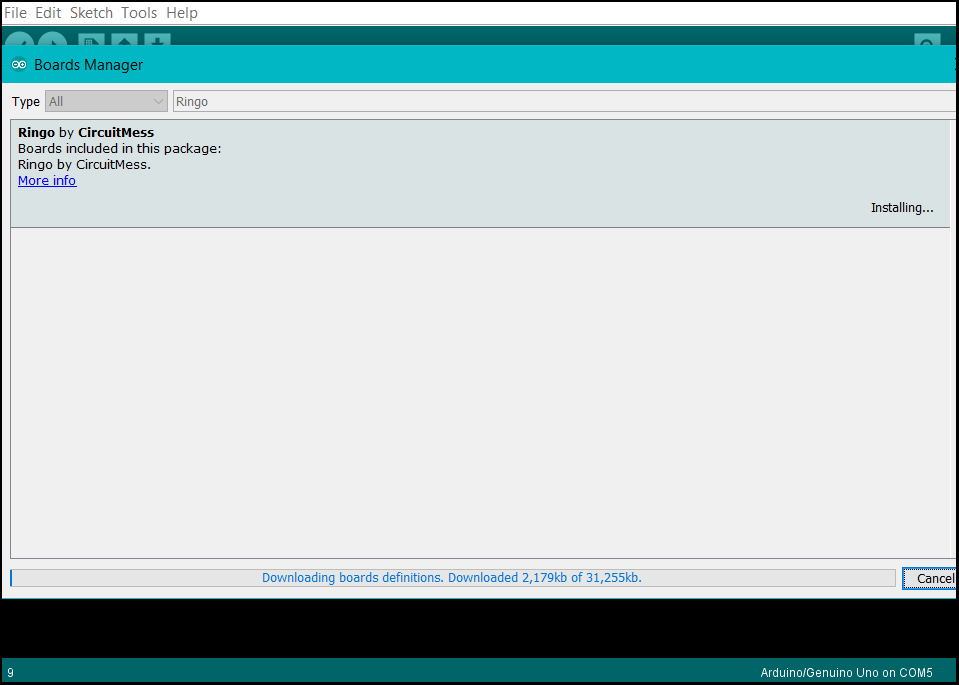
NOTE: Main board package and a few tools will now download and install on your system.
It all takes about 200 MB so the time of download will depend on your internet connection.
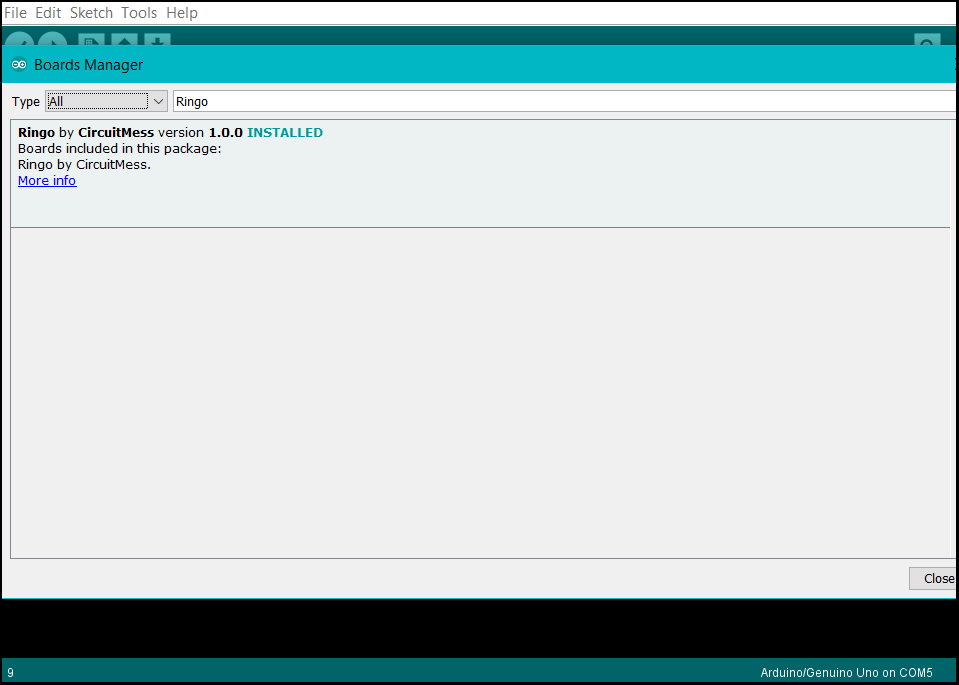
- When it's all finished it will write out 'INSTALLED' next to the version mark.
Click on the Close button and move on.
NOTE: The board file will be updated from time to time so make sure to check the version from time to time. When there is an option Update, please click it in order to stay in touch with the latest firmware.
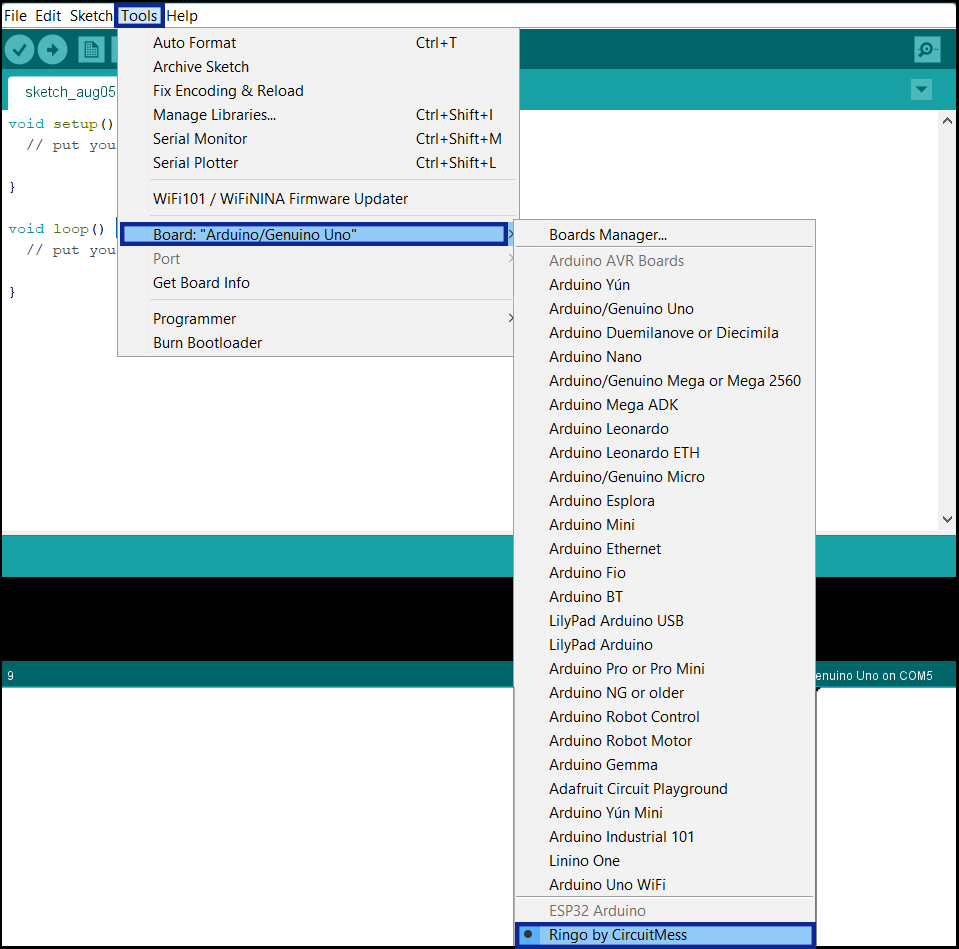
- Now it's time to select the installed board. Again go to Tools -> Board and in
the dropdown menu under category 'ESP32 Arduino' find 'Ringo by CircuitMess'.
It should be somewhere at the bottom. Select the board.
- If you haven't already, connect your Ringo phone to the PC via micro-USB to USB cable.
It will connect to one of the COM ports.
Go to Tools and under Board section select Port and find the port on which Ringo is connected.
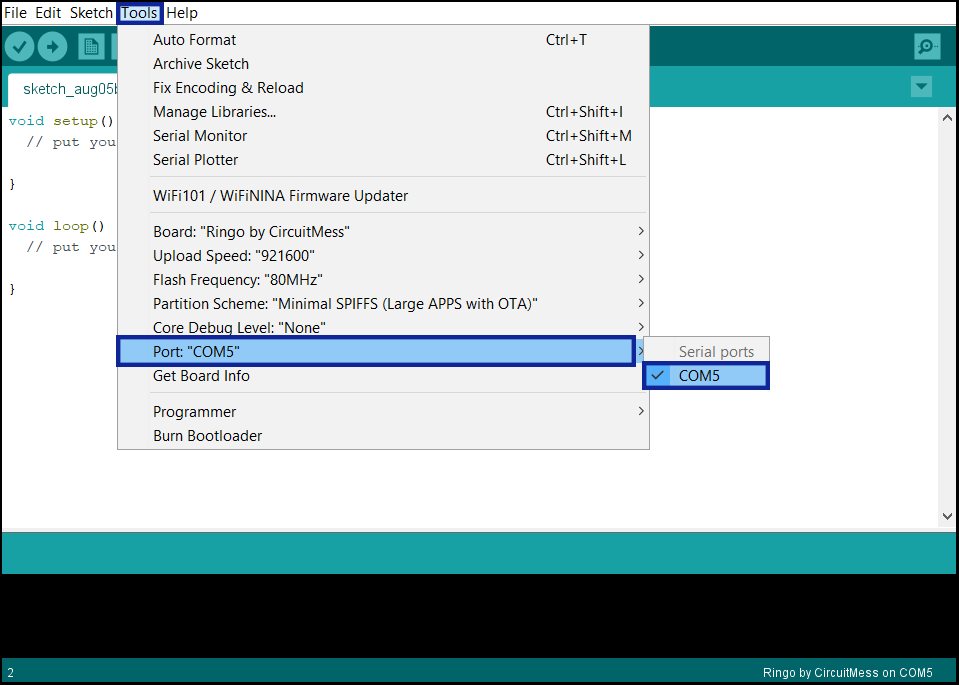
NOTE: If Port is greyed out it means the phone is not correctly connected.
Change USB port and/or check your cable.
-
Now it's all set up to write your first program! In the void setup() section write the following line:
Serial.begin(115200);Under the void loop() section write something like this:
Serial.print("My first Arduino program for CircuitMess Ringo! ");Now click on the little Upload arrow in the upper left corner.
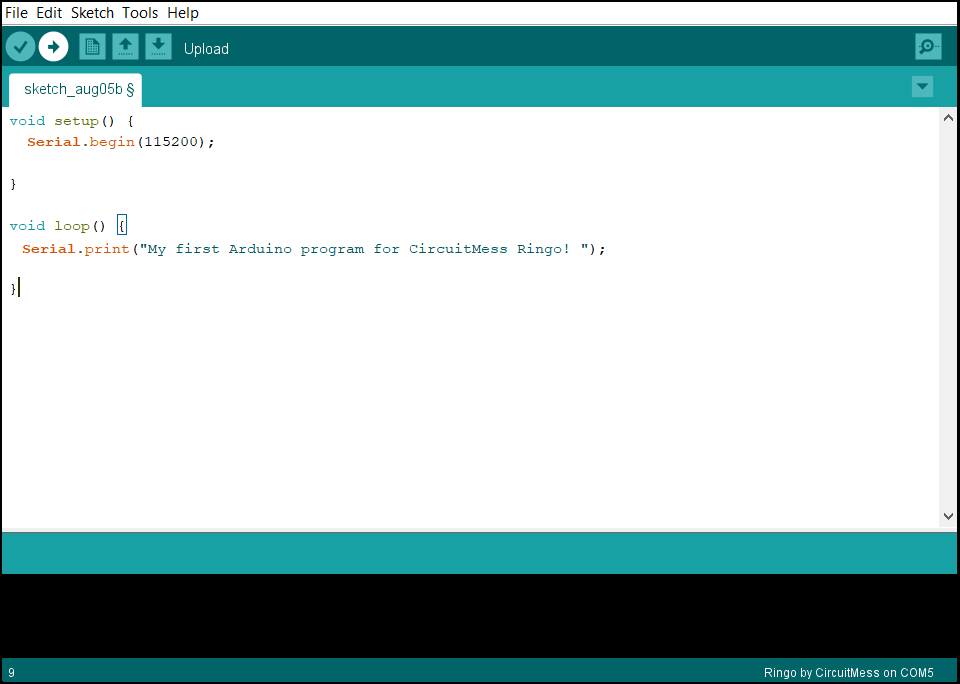
- After a few moments, the text should say 'Done uploading'.
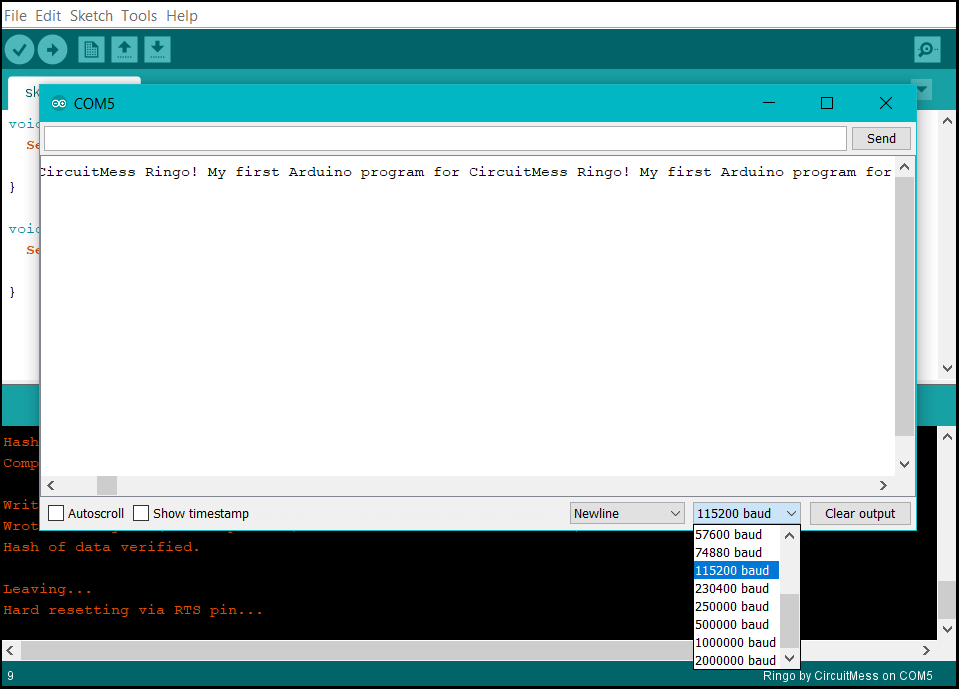
Now only thing left to do is to check if everything is working properly.
Click the magnifier icon in the upper right corner of the screen.

- On a newly opened window, from a drop down menu, select '115200 baud'.
That is the speed that the software writes at in the Serial Monitor.
If the text says the line that you wrote in the print function, then everything works!
- There is also a Ringo library in Arduino Library Manager that allows you to use all the important functions and libraries from the Ringo firmware when writing your own programs. Go to Sketch-> Include Library -> Manage Libraries.... Enter the keyword 'Ringo' in the search bar and click the 'Install' button to download and install the library.

- Whenever you want to re-upload 'Default Ringo Software' you have to go to Tools -> Programmer and select "Ringo Firmware".
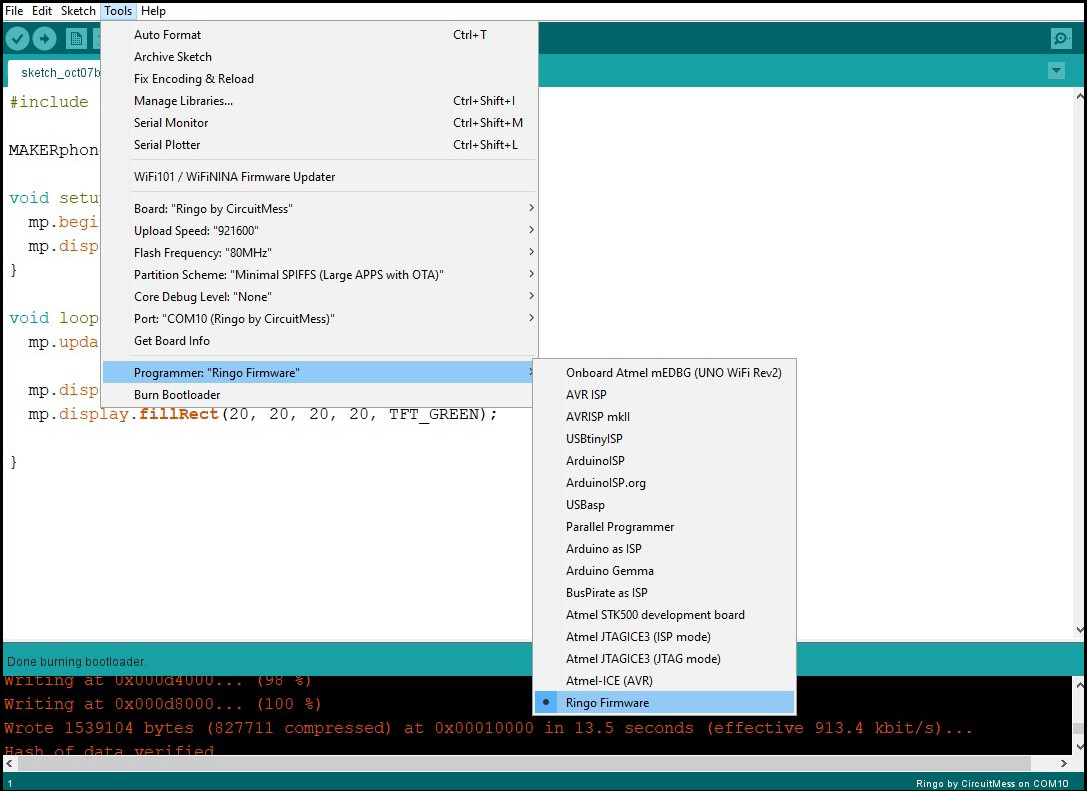
Now go to Tools -> Burn Bootloader and you will have the default firmware on your Ringo as soon as the upload is finished.

Congrats! You have successfully set up Ringo phone.
Now let's get to business and start creating some cool apps and games!