Website used for the cs2-WeaponPaints plugin

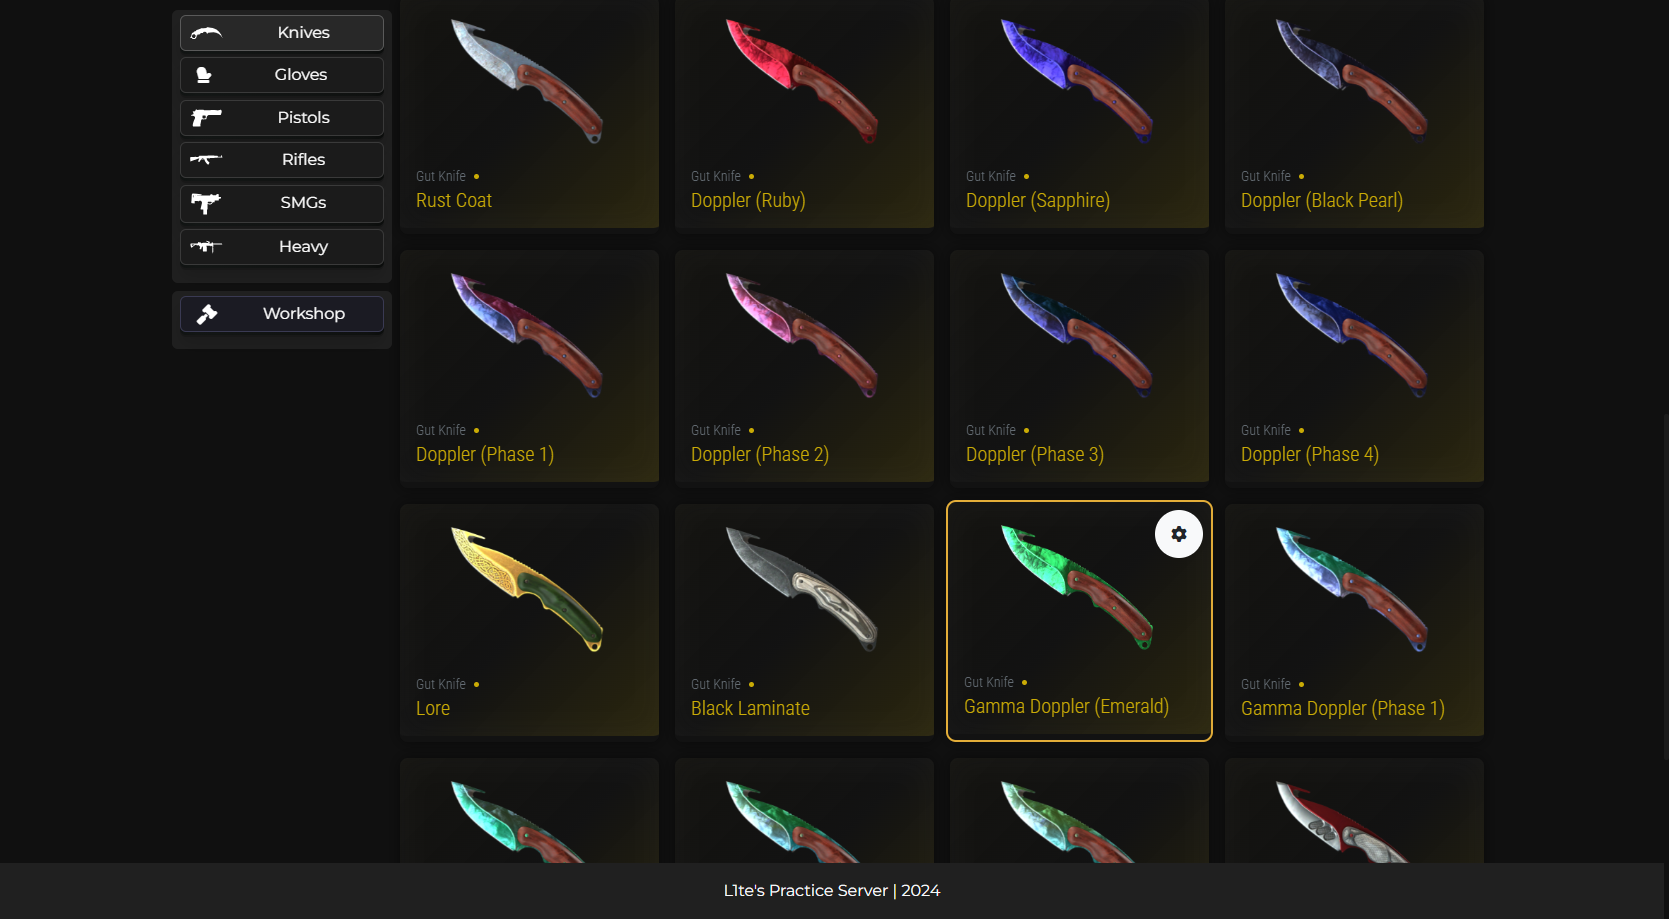


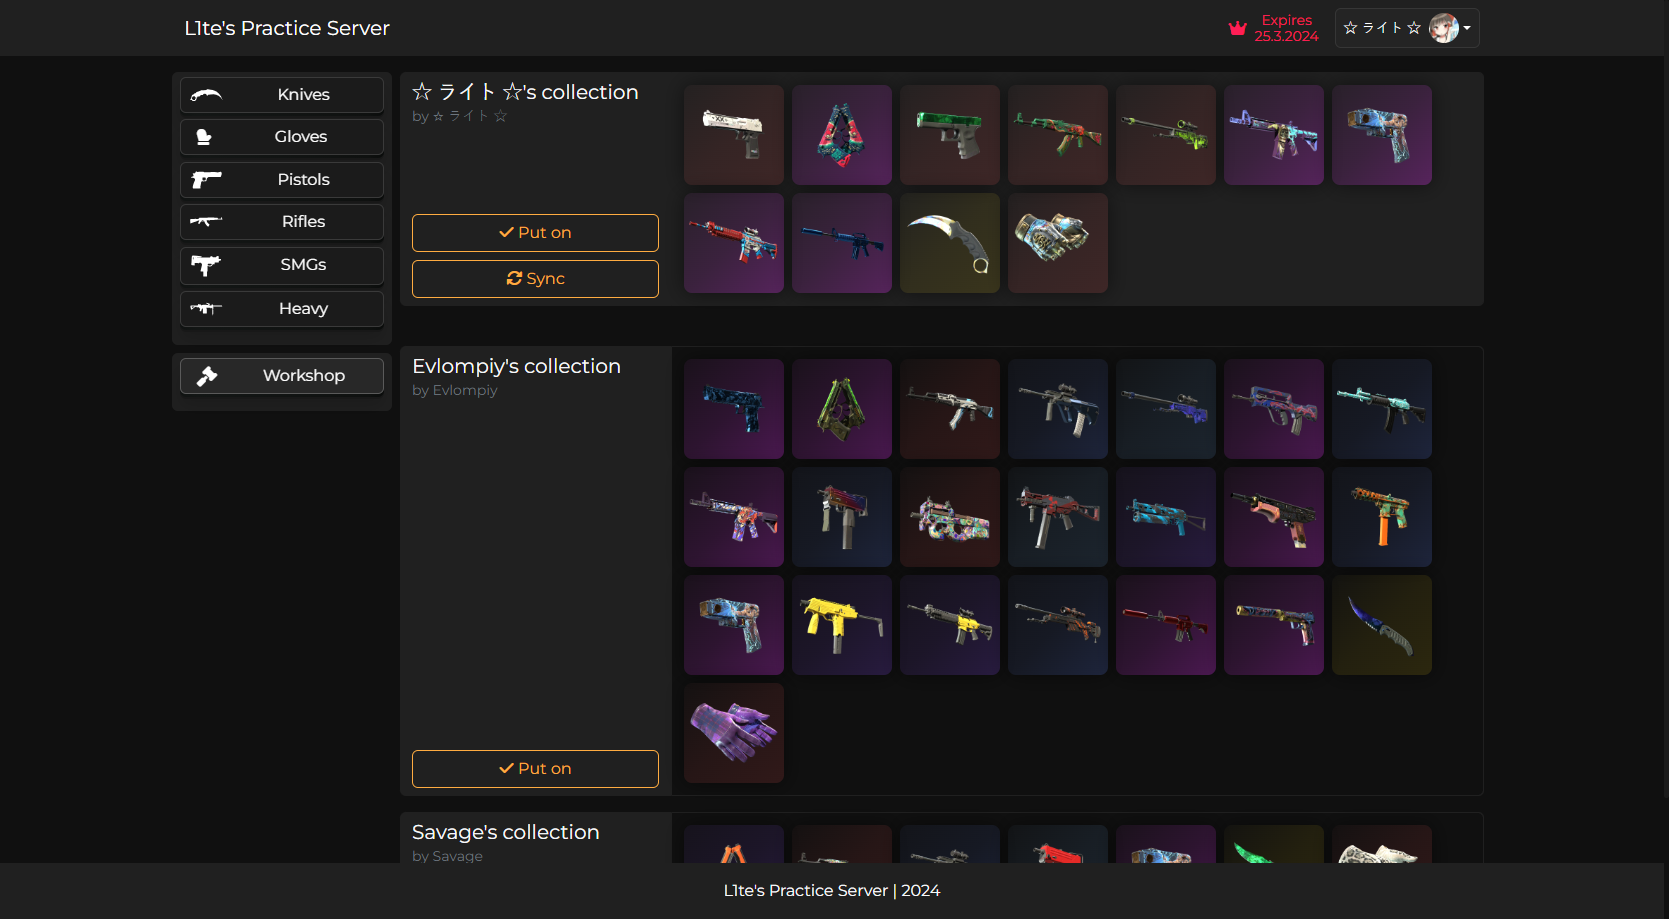
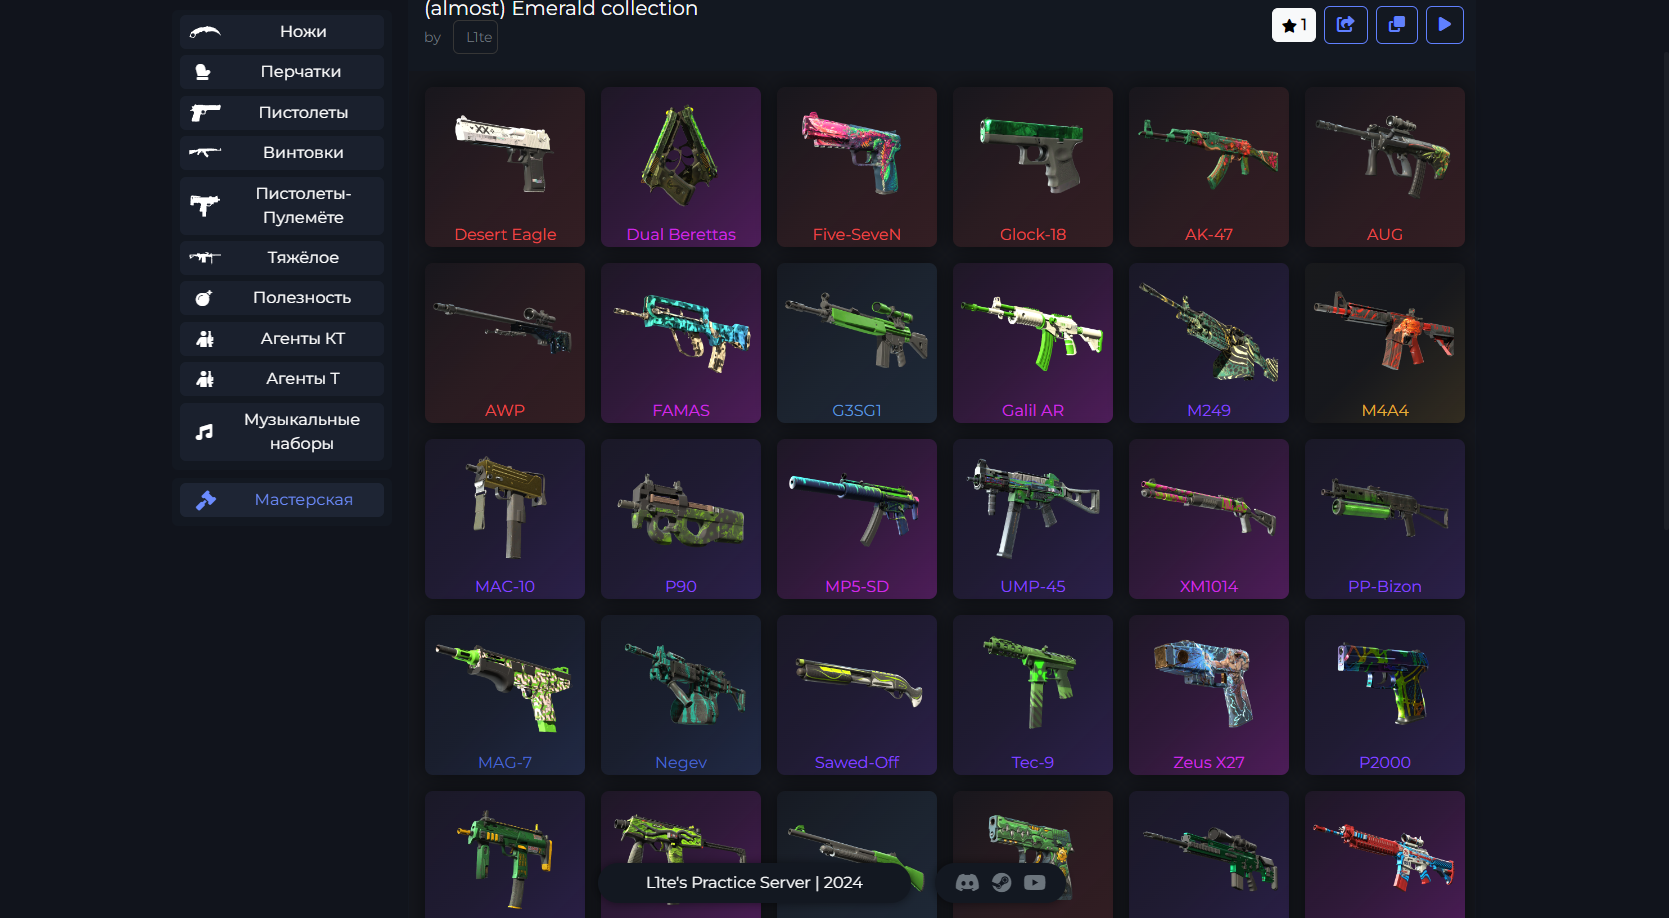
Screenshots taken from private version
- Public: https://ws.primat.fun/
- Private: https://cs.primat.fun/
Requirements:
- Node.JS 17^
- Nginx
- WeaponPaints installed
Download latest release Unpack it wherever you want
- Copy
config.example.jsontoconfig.jsonand fill it:
{
    "name": "Title of your website",
    "lang": "en/ru/pt-BR",
    "DB": {
        "host": "host",
        "user": "username",
        "password": "password",
        "database": "table",
        "port": 3306
    },
    "HOST": "example.com or localhost/127.0.0.1 (NOT https://something.com/)",
    "PROTOCOL": "https",
    "PORT": 27275,
    "INTERNAL_HOST": "0.0.0.0",
    "STEAMAPIKEY": "Your Steam Web API Key",
    "SESSION_SECRET": "Some random and secure string containing letters, numbers and special characters like !@#$%^&*(). Atleast 32 chars long.",
    "connect": {
        "show": false,
        "serverIp": "Server IP",
        "serverPort": "Server Port",
        "serverPassword": "Server Password"
    },
    "LOG_LEVEL": "info"
}-
Make sure the database that you specified in the config is the same as in the WeaponPaints plugin. Otherwise the needed tables won't exist and the website won't work.
-
If you are running in docker or running some special server setup. You might encounter issues with the internal expressjs server. As its default running on 127.0.0.1. If you need to change this. You can do so via config option
INTERNAL_HOSTand set it to whatever interface you need. For most advanced use cases like reverse proxy 0.0.0.0 can be used.
Configure Nginx reverse proxy
- In Nginx folder at
sites-enabledfolder create filews-site.conf - Fill it like this:
server {
        listen 80;
        listen 443 ssl; # Include this if you want SSL support! You wont usually need this if you plan on proxying through CF.

        # The domain or URL you want this to run SkinChanger off of.
        server_name subdomain.example.com;

        # NOTE: You'll want to change these to your own SSL certificate if any. You wont usually need this if you plan on proxying through CF.
        ssl_certificate     /etc/letsencrypt/live/subdomain.example.com/fullchain.pem;
        ssl_certificate_key /etc/letsencrypt/live/subdomain.example.com/privkey.pem;

        # SkinChanger
        location / {
                proxy_set_header X-Forwarded-For $proxy_add_x_forwarded_for;
                proxy_set_header X-Real-IP $remote_addr;
                proxy_set_header Host $http_host;
                add_header Access-Control-Allow-Origin *;
                proxy_redirect off;
				# Change port in case you edited it in config.json
                proxy_pass http://127.0.0.1:27275;
        }
}Run app with following commands:
  npm i
  npm run dev
And after all of this, site should be available at domain you configured in Nginx config
