This project is old, poorly written, and has long sat unmaintained.
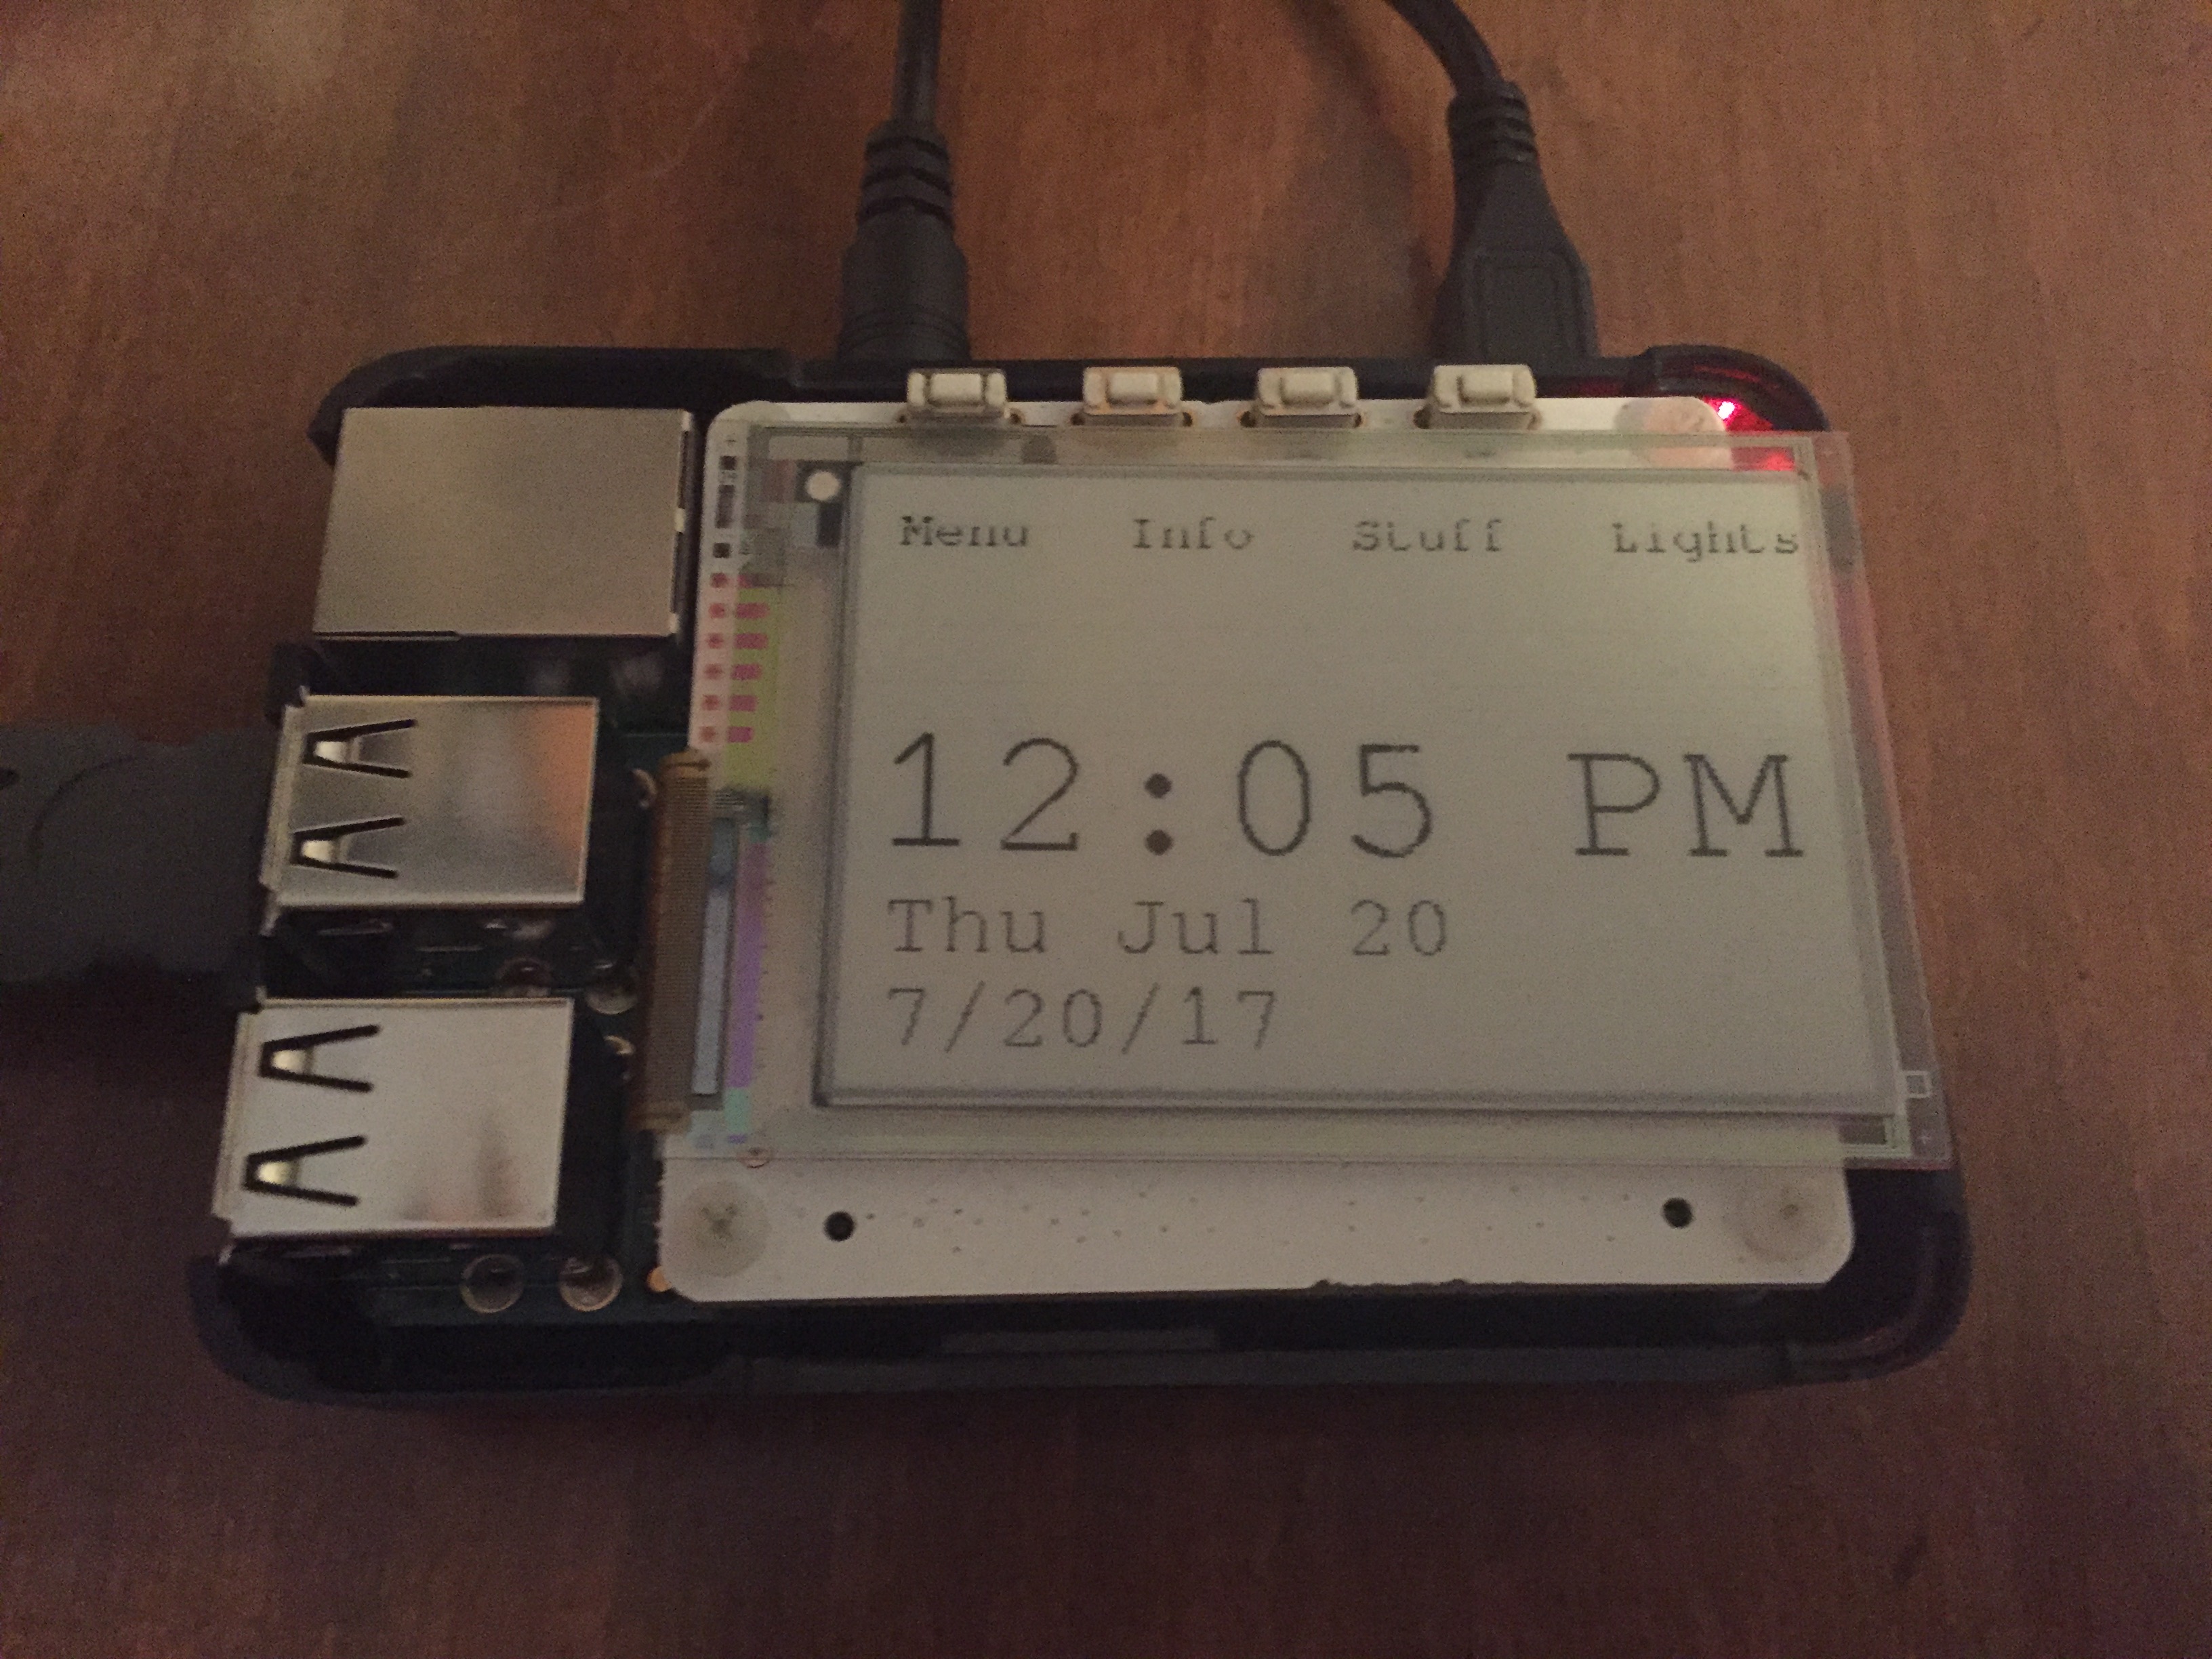
A Raspberry Pi, E Ink Display and an Arduino.
I'm no longer actively working on this project, but it should still work. If it doesn't, let me know.
This project was born out of the need to get up in the morning. I need something loud, so my first thought was to play an audio file from a Raspberry Pi. I also had a Papirus E Ink Display lying around, and I went from there. This is the first project I have put on GitHub so constructive criticism is welcome.
It is a combination of 3 python programs, Airplay, HomeKit, and Netatalk. I added all the Apple support because I have Apple products (Sorry android users). I already had this hardware setup, and the Raspberry Pi CPU was always under 5%, so I wondered, how much more can I pile on this Pi?
- Script number one is the main script, clock.py, which is the front end for this project. It controls the E ink screen.
- Script number two is the web back end, and is what allows Homekit to work. It is also the only way to change the alarm time.
- Script number three is a small but helpful addition. When a button on the Arduino is pressed for ten seconds, reboots the pi. I added this in because the other scripts used to crash a lot, and I needed this to reboot.
- Raspberry Pi
- Papirus E Ink Display - 2.7"
- Arduino Uno, Mega and others would probably work fine
- PowerSwitch Tail II, regular relays work fine
- USB-A to B, i.e. Printer Cable
- Some Jumper wires to connect to the relays
- Power cable for Raspberry Pi
- A button
- Ethernet Cable or Wifi adapter (Not needed if using Raspberry Pi 3)
I absolutely LOVE it when an install is easy and painless. I have tried very hard to create that, so here is a one-liner that I made. Copy and paste it into your Raspberry Pi terminal, hit enter, select some options, and let it do it's thing.
curl -sSL https://raw.githubusercontent.com/MattElek/Clock-Pi/master/install.sh | sudo bashWire up your relays to pins 12, 11, 10, and 9 on your Arduino, with the relays that the speakers are connected to wired to pin 12. Also, if you have a nightlight or something that you want to be able to turn off automatically after 1 or 2 hours, connect it to pin 11. Connect a button to pin 8 to be used as the reboot button.
Finally, connect an Arduino to your computer and load arduino_program.ino.
Thats it!
You can configure the pin names to personal preference in:
- The HomeKit app, when adding the Clock to HomeKit, you can configure custom names for the pins.
- At the top of clock.py (located in Clock-Pi/Clock). There are some variables there that you can change.
- In control.html (located in Web/templates/). Near the middle, you can change the pin names for the website.
Audio The Raspberry Pi has a built-in audio DAC that is connected to the device's headphone jack. An updated audio driver has greatly improved the quality of the output – see Shairport-Sync issue #525 for details. To activate the updated driver, add the line:
audio_pwm_mode=2
to /boot/config.txt and reboot.
Apart from a loud click when used for the first time after power-up, it is quite adequate for casual listening.
I plan to do a huge overhaul on the web interface soon. I also may be adding one or two more features to the e ink interfaces itself, but I am mostly done with that part for now.
This project is licensed under the MIT License - see the LICENSE file for details