Jinja Template project generated by AppSeed on top of a modern UI Kit. The project is a super simple Flask project WITHOUT database, ORM, or any other hard dependency. The project can be used as a codebase for future project or to migrate the Jinja files and assets to a legacy Python-based project that uses Jinja as template engine (Flask, Bottle, Django).
Features:
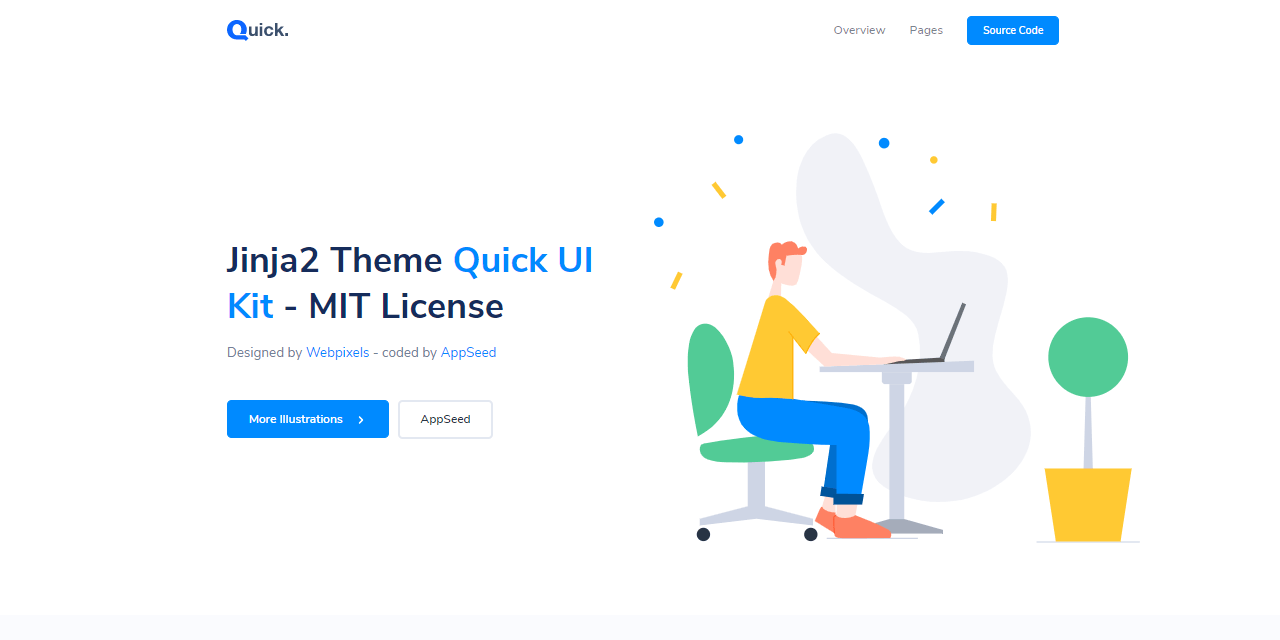
- UI Kit: Quick (Free Version) by Webpixels
- Render Engine: Flask / Jinja2
- Deployment scripts: Docker, Gunicorn/Nginx, HEROKU
- Support via Github (issues tracker) and Discord.
Links
- Quick – Website UI Kit - LIVE Demo
- Jinja Template - A curated list with Jinja Templates (free & commercial) generated by AppSeed
UI Kit - Quick by Webpixels
Vendor Notes - The design of Quick is 100% responsive - it instantly adapts to all modern browsers and resolutions. You can now be sure you'll grab your users' attention with any of the pre-built page examples. Plan, build and launch beautiful and consistent user interfaces for the web that drives meaningful engagement and growth for your brand.
Links
- Quick UI Kit - product page
- Quick UI Kit - Demo
$ # Clone the sources
$ git clone https://github.com/app-generator/theme-jinja2-quick-uikit.git
$ cd theme-jinja2-quick-uikit
$
$ # Virtualenv modules installation (Unix based systems)
$ virtualenv env
$ source env/bin/activate
$
$ # Virtualenv modules installation (Windows based systems)
$ # virtualenv env
$ # .\env\Scripts\activate
$
$ # Install requirements
$ pip3 install -r requirements.txt
$
$ # Set the FLASK_APP environment variable
$ (Unix/Mac) export FLASK_APP=run.py
$ (Windows) set FLASK_APP=run.py
$ (Powershell) $env:FLASK_APP = ".\run.py"
$
$ # Set up the DEBUG environment
$ # (Unix/Mac) export FLASK_ENV=development
$ # (Windows) set FLASK_ENV=development
$ # (Powershell) $env:FLASK_ENV = "development"
$
$ # Run the Jinja Template
$ # --host=0.0.0.0 - expose the app on all network interfaces (default 127.0.0.1)
$ # --port=5000    - specify the app port (default 5000)
$ flask run --host=0.0.0.0 --port=5000
$
$ # Access the UI in browser: http://127.0.0.1:5000/The project has a simple structure, represented as bellow:
< PROJECT ROOT >
   |
   |-- app/__init__.py
   |-- app/
   |    |-- static/
   |    |    |-- <css, JS, images>         # CSS files, Javascripts files
   |    |
   |    |-- templates/
   |    |    |
   |    |    |-- includes/                 # Page chunks, components
   |    |    |    |
   |    |    |    |-- navigation.html      # Top bar
   |    |    |    |-- sidebar.html         # Left sidebar
   |    |    |    |-- scripts.html         # JS scripts common to all pages
   |    |    |    |-- footer.html          # The common footer
   |    |    |
   |    |    |-- layouts/                  # App Layouts (the master pages)
   |    |    |    |
   |    |    |    |-- base.html            # Used by common pages like index, UI
   |    |    |    |-- base-fullscreen.html # Used by auth pages (login, register)
   |    |    |
   |    |  index.html                      # The default page
   |    |  login.html                      # Auth Login Page
   |    |  register.html                   # Auth Registration Page
   |    |  page-404.html                   # Error 404 page (page not found)
   |    |  page-500.html                   # Error 500 page (server error)
   |    |    *.html                        # All other pages provided by the UI Kit
   |
   |-- requirements.txt
   |
   |-- run.py
   |
|-- ************************************************************************The project comes with a basic configuration for Docker, HEROKU, Gunicorn, and Waitress.
Docker execution
The steps to start the template using Docker:
Get the code
$ git clone https://github.com/app-generator/theme-jinja2-quick-uikit.git
$ cd theme-jinja2-quick-uikit
Start the app in Docker
$ sudo docker-compose pull && sudo docker-compose build && sudo docker-compose up -dVisit http://localhost:5005 in your browser. The app should be up & running.
Steps to deploy on Heroku
- Create a FREE account on Heroku platform
- Install the Heroku CLI that match your OS: Mac, Unix or Windows
- Open a terminal window and authenticate via
heroku logincommand - Clone the sources and push the project for LIVE deployment
$ # Clone the source code:
$ git clone https://github.com/app-generator/theme-jinja2-quick-uikit.git
$ cd theme-jinja2-quick-uikit
$
$ # Check Heroku CLI is installed
$ heroku -v
heroku/7.25.0 win32-x64 node-v12.13.0 # <-- All good
$
$ # Check Heroku CLI is installed
$ heroku login
$ # this commaond will open a browser window - click the login button (in browser)
$
$ # Create the Heroku project
$ heroku create
$
$ # Trigger the LIVE deploy
$ git push heroku master
$
$ # Open the LIVE app in browser
$ heroku open
Gunicorn 'Green Unicorn' is a Python WSGI HTTP Server for UNIX.
Install using pip
$ pip install gunicornStart the app using gunicorn binary
$ gunicorn --bind 0.0.0.0:8001 run:app
Serving on http://localhost:8001
Visit http://localhost:8001 in your browser. The app should be up & running.
Waitress (Gunicorn equivalent for Windows) is meant to be a production-quality pure-Python WSGI server with very acceptable performance. It has no dependencies except ones that live in the Python standard library.
Install using pip
$ pip install waitressStart the app using waitress-serve
$ waitress-serve --port=8001 run:app
Serving on http://localhost:8001
Visit http://localhost:8001 in your browser. The app should be up & running.
- Flask Framework - The official website
Jinja Template Quick UI - Provided by AppSeed Web App Generator.