Welcome to your first Vue challenge!
Vue (pronounced /vjuː/, like view) is a JavaScript framework for building user interfaces. It builds on top of standard HTML, CSS, and JavaScript and provides a declarative and component-based programming model that helps you efficiently develop user interfaces, be they simple or complex.
You will learn the basics of Vue by building a to-do list APP, with which you can do the following:
- See all your to-do items
- Add a to-do item(Optional)
- Remove a to-do item(Optional)
We import Vue with Import Maps. Make sure you have the following code in your HTML and JS.
<!-- index.html -->
<head>
  <script type="importmap">
    {
      "imports": {
        "vue": "https://unpkg.com/vue@3/dist/vue.esm-browser.js"
      }
    }
  </script>
</head>
// lib/to-do-list.js
import { createApp } from 'vue'
// ...Let's launch a local webserver by running:
serveThen, open localhost:8000 in your browser. If you see a message about Vue, then your project is set up with Vue!
Let's install Vue syntax highlighter to make our code look nicer 💅
code --install-extension Vue.volarHave a look at the lib/to-do-list.js file.
createApp({
  data() {
    return {
      message: "If you see this message in your browser, that means Vue is successfully mounted! 🙌"
    }
  }
}).mount('#todosContainer')
A Vue instance is already created with createApp() function. You will code your component inside of createApp().
.mount("#todosContainer") is called on the Vue instance. It means this Vue instance will be mounted on the HTML element that has the css selector #todosContainer.
data is a component option. It returns a plain JavaScript object. The properties, like message, are made available in the HTML by {{}}.
<div id="app">
  {{message}}
</div>In a Vue instance, where do we put the to-do items data?
You have the same to-do items in an array.
[
  { title: "Code a to-do list", done: false },
  { title: "Eat breakfast", done: true },
  { title: "Do some exercise", done: false },
  { title: "Water the plants", done: true }
]
We can put this list in data option as initial data, and assign it to a meaningful property, like todos or items. It is important to name things in a meaningful way, so your code is readable to your future self and others.
createApp({
  data() {
    return {
      todos: [
        { title: "Code a to-do list", done: false },
        { title: "Eat breakfast", done: true },
        { title: "Do some exercise", done: false },
        { title: "Water the plants", done: true }
      ]
    }
  }
}).mount('#todosContainer')How do we dynamically render the list?
We can use a built-in directives v-for. It's like .each in Ruby. Read the documentation, and write your code in index.html to render your to-do list based on todos.
ℹ️ You already coded a to-do list in the first challenge so feel free to re-use some of the HTML you previously wrote.
How do we bind `done` with the checkbox?
We can use v-bind to dynamically render HTML attributes. In the checkbox's case, we can do the following:
<input type="checkbox" v-bind:checked="theDoneBooleanGoesHere">Did you notice that every time you refresh the page, there's a flash of unloaded HTML elements?

That's because the HTML is not yet compiled when we refresh. We can use v-cloak to temporarily hide un-compiled HTML. Read the documentation, and implement for your APP! Remember to hard refresh when you change the CSS file.
That's it! Congratulations on your first Vue APP! 🥂 Move on to the optionals to try implementing Create and Delete actions!
What happens when a user adds a to-do?
- User fills in the to-do title
- User clicks a button
- the to-do is added and appears on the list.
When the button is clicked, the Vue instance needs to take care of getting the data and adding it to the list. We will create a method called addTodo() to take care of all these.
Methods are defined in methods option:
createApp({
  data() {
  // ...
  },
  methods: {
    addTodo() {
      console.log("Adding a todo...")
    }
  }
}).mount('#todosContainer')addTodo() needs to be triggered when the add button is clicked.
How can we bind the click event to the button?
We can use v-on to listen to the click event.
<button v-on:click="addTodo">Add</button>Check in your browser console, can you see the console.log you added in your method? If so, then your event binding is successful!
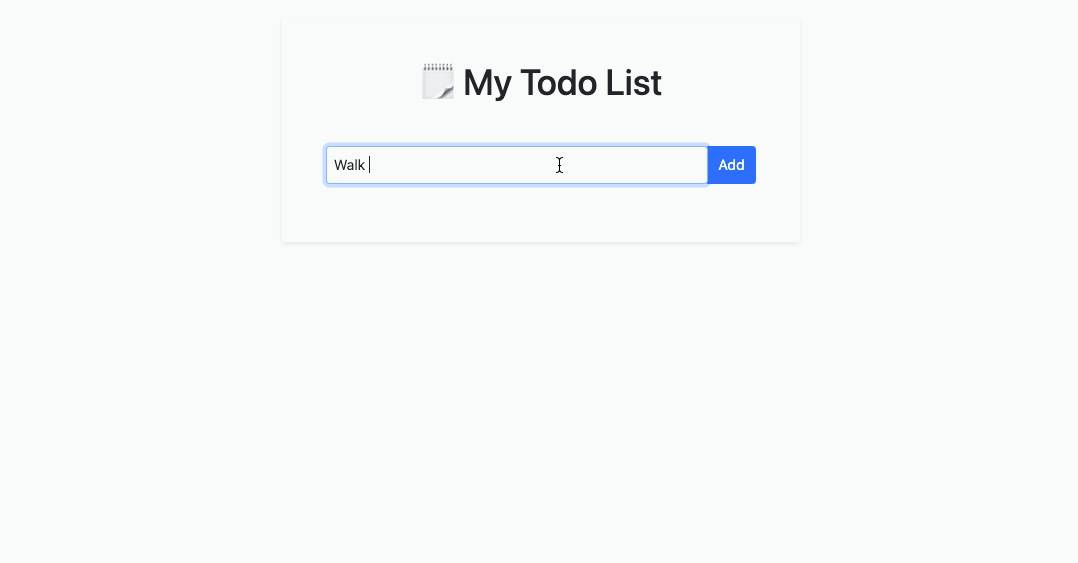
Now, how do we pass the input data to the Vue instance?
We can use v-model. It's similar to v-bind. v-bind creates a one-way binding - from Vue instance to the HTML. v-model is two-ways. It's often used in forms, because we need to sync the state of form input with corresponding state in JavaScript.
To use v-model, we should first have a property declared in data() option.
data() {
  return {
    // ...
    newTodo: null
  }
},
Then we bind it to the input element in HTML.
<input v-model="newTodo" placeholder="Your to-do goes here" />Note that every property in data() is accessible with this.propertyName. Now you can access user's input with this.newTodo in the Vue instance. Try it out!
- Construct a to-do object based on user input.
- Add it to the
todoslist.
One thing cool about Vue is its reactivity. data() is reactive, meaning that changes in data() trigger an update in the DOM. See how changing this.todos automatically updates the DOM.
You may also notice that after adding a to-do, user's input stays in the input field. Considering that v-model's binding is two-ways, how would you reset the input?
First, you should make sure to add a delete button to the to-do element. You can use Boostrap's close button, or fontawesome's trash icon.
The rest of is very similar to adding a to-do. Take the advantage of the documentation of Vue to implement the following steps:
- Bind an event to the delete button that triggers a method
- The method remove the to-do from
todos
Question & Hint
❓ How does this method know which to-do to delete? ❓ What is the unique identifier of each to-do? You can use this to identify which to-do to delete.
💡 You can pass an argument to a method.
💡 You have access to index in v-for.