This repository contains the sources of the Camunda 7 documentation.
Important: do NOT change the content of themes/camunda directory directly!
Instead, change the theme.
Have a look at our contribution guide for our general contribution guidelines. See the following sections for how to work with the docs.
In order to build this documentation, you first need to install Hugo v0.54. Newer versions may work, but please note that some issues have been reported on v61.0+.
See the Hugo installation guide for more details on how to install Hugo. Issues have been reported when installing v0.54 via a package manager; install via tarball instead. The v0.54 tarball can be downloaded from the corresponding Hugo release page.
After you have installed Hugo, you can build the docs by running the following command:
hugoA static build of the documentation will be placed in the public/ folder.
While editing the docs, you probably want to start the Hugo server (defaults to "watch mode"):
hugo server --baseUrl="http://localhost"You can then browse the docs under http://localhost:1313/. Hugo will automatically detect when you change a file and refresh the page in the browser.

Some guidelines for writing docs.
Images should be put next to the content page which references them.
So, if you have a file named user-guide/process-engine/history/overview.md and you want to add an image named architecture-overview.png then it should be placed in the same folder.
Use the img shorthand:
{{< img src="architecture-overview.png" title="History Architecture" >}}Use the 'javadocref' shorthand:
{{< javadocref page="org/camunda/bpm/engine/impl/TaskServiceImpl.html" text="Java-API Task Service" >}}.Use the note shorthand:
{{< note title="Heads Up!" class="info" >}}
The content of the note.

* full
* markdown is supported
{{< /note >}}
Supported classes:
infowarning
Sometimes you want to flag a feature as an Enterprise Feature.
You can achieve this by using the enterprise shortcode:
{{< enterprise >}}
The FOO Feature is only available in the Enterprise Edition.
{{< /enterprise >}}You can use the code markdown to highlight single or multiple lines.
{{< code language="xml" line="3-5,13" >}}<?xml version="1.0" encoding="UTF-8" standalone="yes"?>
<cmmn:definitions id="_d7e7cad4-86f1-4c04-9dff-a9aace3afb61"
        targetNamespace="http://cmmn.org"
        xmlns:cmmn="http://www.omg.org/spec/CMMN/20151109/MODEL"
        xmlns:xsi="http://www.w3.org/2001/XMLSchema-instance"
        xmlns:camunda="http://camunda.org/schema/1.0/cmmn">

  <cmmn:case id="loan_application">
    <cmmn:casePlanModel autoComplete="false"
                        name="Loan Application"
                        id="CasePlanModel">
      <!-- Plan Items -->
      <cmmn:planItem definitionRef="HumanTask_1" id="PI_HumanTask_1"/>

      <!-- ... -->
    </cmmn:casePlanModel>
  </cmmn:case>

</cmmn:definitions>{{< /code >}}Note: For screenshot of the enterprise webapps, you can use the automatic screenshot tool in the ee repository.
- Download and install OpenOffice
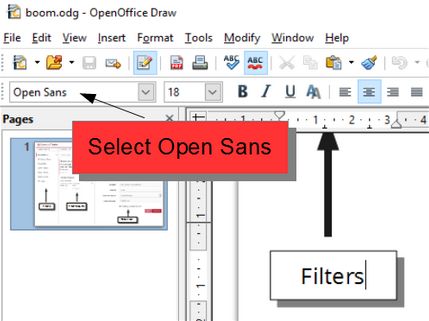
- Download and install Open Sans font
- Create a new drawing in OpenOffice Draw
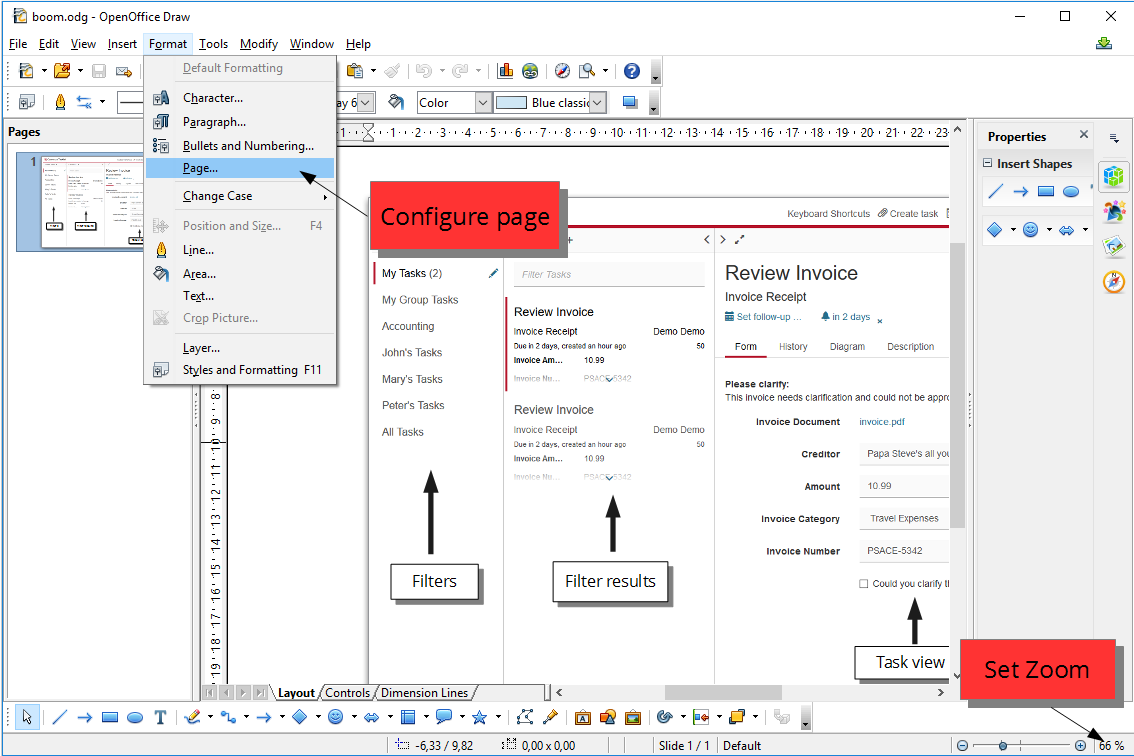
- Configure document:
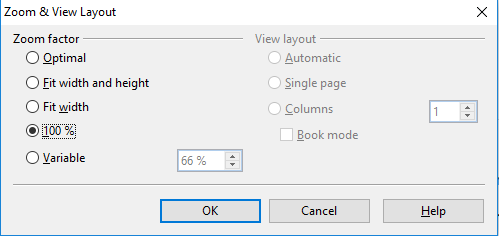
- Zoom & View layout (double click on zoom factor in the footer) -> Zoom factor 100%
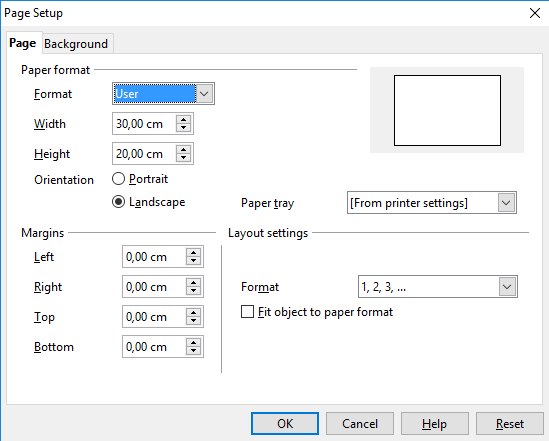
- Page Setup (Format menu -> Page)
- Format: Screen (this will change back to "User" after further modifications)
- Width: 30,00 cm
- Height: 20,00 cm
- Orientation: Landscape
- Hover over the drawing with your browser and adjust the browser screen size to fit the drawing (do not include the footer)
- Take screenshot
- Paste screenshot into the drawing
- Right click on the image and select 'Original Size'
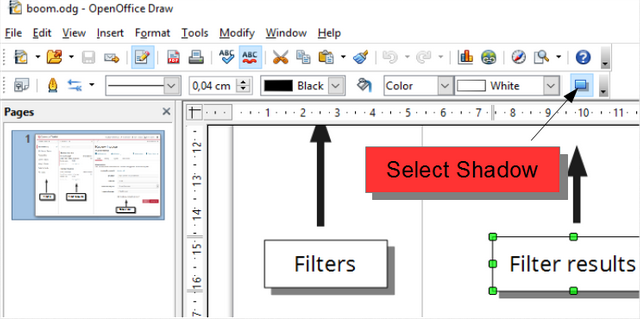
- Add rectangle shapes for text boxes
- Use the Open Sans font for text
- If possible, utilize the whitespaces within the image
- Use shadows
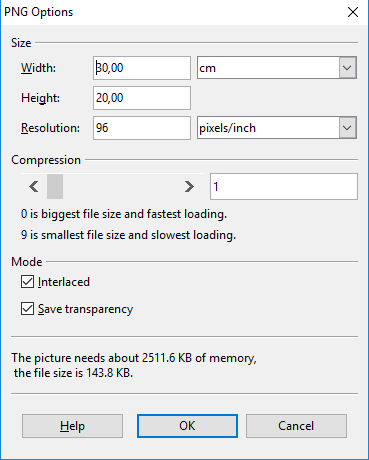
- Export (File menu -> Export)
- Select PNG format and name the file
- Compression: 1
- Resolution: 96 pixels/inch