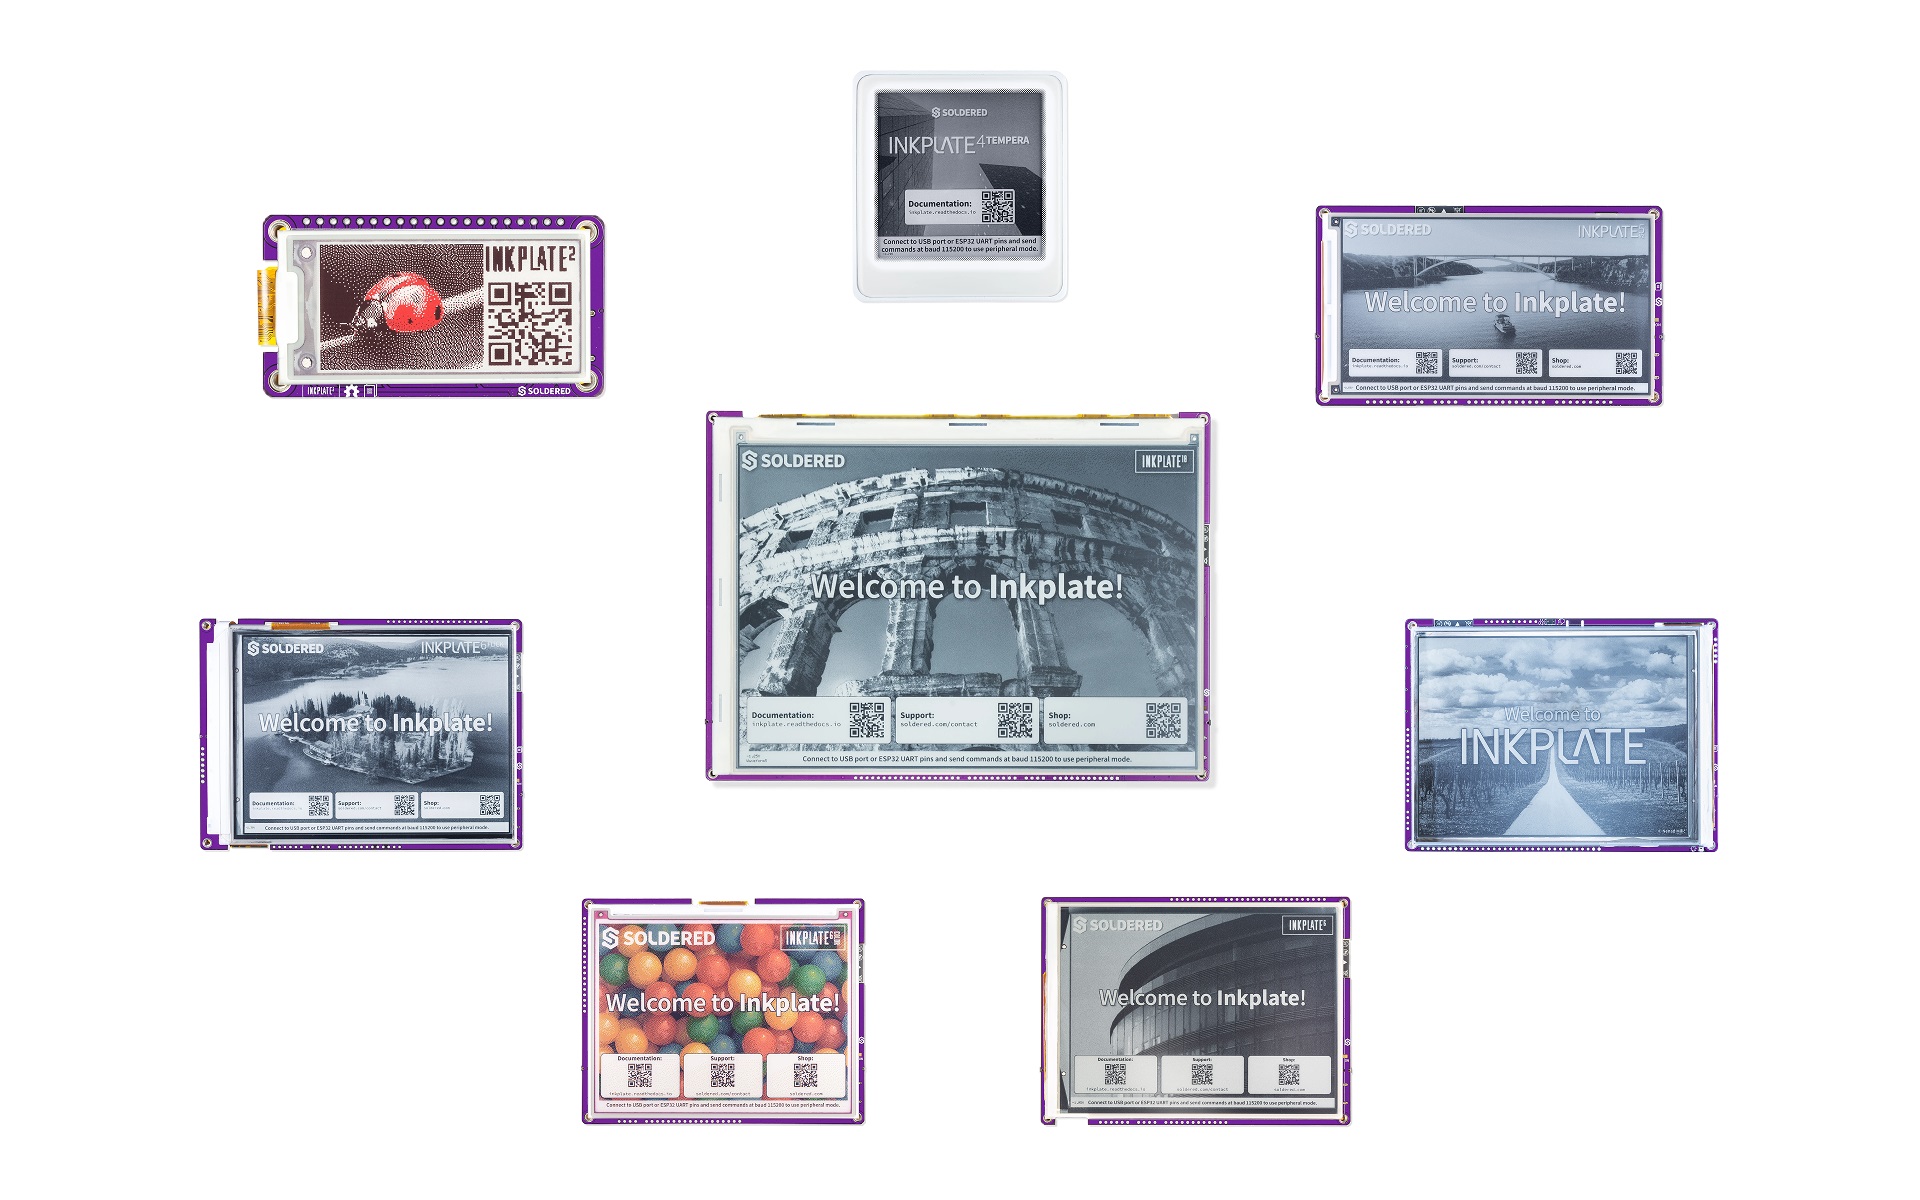
The Micropython modules for the Inkplate product family can befound in this repository. Inkplate is a series of powerful, Wi-Fi and Bluetooth enabled, ESP32-based ePaper display products. Its main feature is simplicity. Just plug in a USB cable, load the MicroPython firmware and the required libraries and run your script on Inkplate itself. The Inkplate product family currently includes Inkplate 10, Inkplate 6 and Inkplate 6PLUS, Inkplate 6COLOR and Inkplate 2. Inkplate 6 was crowdfunded on Crowd Supply, as well as Inkplate 10, Inkplate 6PLUS and Inkplate 6COLOR. Inkplate 2 was funded on Kickstarter.
All available to purchase from Soldered.com.
Original effort to enable MicroPython support for Inkplate was done by tve. Thank you!
In order to get started with running your code on Inkplate, follow these steps:
-
Install esptool - the command line tool used to upload firmware to the ESP32. Get it from here (https://github.com/espressif/esptool). Also, install PySerial as it's a requirement. You can download PySerial here (https://pypi.org/project/pyserial). Place them in a both in a working directory.
-
Download this repository by clicking Code -> Download as .zip, or clone it. Extract to your desired working directory for your MicroPython files, make it a different one than the esptool directory.
-
Copy the esp32spiram-20220117-v1.18.bin file to the esptool directory from the MicroPython directory. Then,open your terminal/command prompt in the esptool directory.
-
Now we need to flash the MicroPython firmware to Inkplate. It is reccomended to flash the one supplied in this repository that you have copied in the previous step, version 1.18. To do this, connect Inkplate via USB-C and first erase the flash memory by running this command:
// Linux/Mac
python3 esptool.py --port /dev/cu.usbserial-1420 erase_flash

// Windows
python esptool.py --port COM5 erase_flash
If you're having problems on Windows, use:
esptool --port COM5 erase_flash
NOTE: You should change the serial port listed here to the one which corresponds to your connected Inkplate device.
Now it's possible to flash MicroPython firmware. Do so by running this command:
// Linux/Mac
python3 esptool.py --chip esp32 --port /dev/cu.usbserial-1420 write_flash -z 0x1000 esp32spiram-20220117-v1.18.bin
// If you're having problems on Mac, use a slower baud rate with the flag "-b 115200"

// Windows
python esptool.py --chip esp32 --port COM5 write_flash -z 0x1000 esp32spiram-20220117-v1.18.bin
You only have to do steps 1-4 once when writing MicroPython firmware on your Inkplate! If you have already done this, proceed from step 5 onwards.
- Open a terminal in your MicroPython folder. Now, it's required to copy all the library files and drivers for your Inkplate board, so your MicroPython script can run. Do so with the following command:
// Linux/Mac
python3 pyboard.py --device /dev/ttyUSB0 -f cp mcp23017.py inkplate6.py image.py shapes.py gfx.py gfx_standard_font_01.py soldered_logo.py :

// Windows
// This one might need to be started twice
python pyboard.py --device COM5 -f cp inkplate6.py gfx.py gfx_standard_font_01.py mcp23017.py PCAL6416A.py image.py shapes.py soldered_logo.py :
NOTE: here you need to again change the serial port to the one you're using and the main driver of the board to the one made specifically for your Inkplate board. Here it's inkplate6.py for Inkplate 6. If you have a newer version of Inkplate 6 (Soldered Inkplate 6) then copy soldered_inkplate6.py instead. inkplate2.py for Inkplate 2, and so on. Older Inkplate boards use 'mcp23017.py' for the IO expander and the new ones use PCAL6416A.py, so you only need to copy one of them. Check the driver file for your Inkplate board to see which one it requires.
In this command you also need to include all the files your Python script uses (external images, files with extenral functions you're including and so on) so it can run on your board!
- Finally, it's time to run the MicroPython script which will actually run on the device. To demonstrate, we will run the basicBW.py example for Inkplate 6. To run the script, execute the following command:
// Linux/Mac
python3 pyboard.py --device /dev/ttyUSB0 "Examples/Inkplate6/basicBW.py"

// Windows
python pyboard.py --device COM5 "Examples/Inkplate6/basicBW.py"
You can try other examples which will show you all the features of the device.
There are several examples which will indicate all the functions you can use in your own script:
- The basic examples show you drawing shapes, lines and text on the screen in different colors, also a bitmap image in a single color
- The network examples show you how to use the network features like doing a GET request and downloading a file
- The batteryAndTemperatureRead examples show you how to read the internal battery status and the temperature from the internal sensor
- The exampleSD example shows you how to read image files and text from the SD card
- The gpio_expander example shows how to use the GPIO expander on new Inkplate models
- The touchpad examples show you how to use the touchpad on older Inkplates
More information is provided in the examples themselves in the shape of comments.
Find Inkplate documentation here.
Inkplate boards have two options for powering it. The first one is obvious - USB port at side of the board. Just plug any microUSB/USB-C (depending on your board version) cable and you are good to go. The second option is using a battery. Supported batteries are standard Li-Ion/Li-Poly batteries with a 3.7V nominal voltage. Connector for the battery is standard 2.00mm pitch JST connector (except on Inkplate 2, it uses SMD solder pads for battery terminals). The onboard charger will charge the battery with 500mA when USB is plugged at the same time. You can use battery of any size or capacity if you don't have a enclosure. If you are using our enclosure, battery size shouldn't exceed 90mm x 40mm (3.5 x 1.57 inch) and 5mm (0.19 inch) in height (excluding Inkplate 2, it uses this battery. This battery is a good fit for all Inkplate models. Also, Inkplate's hardware is specially optimized for low power consumption in deep sleep mode, making it extremely suitable for battery applications.
Please check the polarity on the battery JST connector! Some batteries that can be purchased from the web have reversed polarity that can damage Inkplate board! You are safe if you are using the pouch battery from soldered.com or Inkplate with the built-in battery .
CR2032 battery is only for RTC backup. Inkplate cannot be powered with it.
This repo is licensed with the MIT License. For more info, see LICENSE.
All of Inkplate-related development is open-sourced:
- Arduino library
- Hardware design:
- OSHWA cerfiticates
Inkplate boards are available for purchase via:
For all questions and issues please reach us via e-mail or our contact form.