iClassicMDM by Enterprise Technology Solutions LLC, is an easy-to-use , yet powerful Master Data Management Application which seamlessly consolidates data, deduplicates, ranks by reliable source and creates trusted golden records. The following rich features are baked into iClassic MDM: data stewardship workflows, data quality, cleansing, matching, ETL, data flow pipelines, a data modeler, API builder, data stores, and deployment automation. iClassic MDM was built by a team that is deeply passionate and committed to simplifying data management and putting this mission-critical initiative within the reach of individuals and enterprises of all sizes. The databases within iClassicMDM are built-in, thus enabling the application to run on all operating systems OS - Linux, Windows, or Mac, and also upon all IOT devices.
Download iClassicMDM from, https://www.etsondemand.com/downloadicmdm.html , double click, cdaxastudiocore.exe, and point your browser to http://localhost:50001 . Login using admin/admin credentials.
info: Microsoft.Hosting.Lifetime[0]
      Now listening on: http://localhost:5000
info: Microsoft.Hosting.Lifetime[0]
      Now listening on: https://localhost:5001
info: Microsoft.Hosting.Lifetime[0]
      Application started. Press Ctrl+C to shut down.
info: Microsoft.Hosting.Lifetime[0]
Hosting environment: Production - Ensure docker is installed on the machine. At the command prompt run the following commands
- docker pull icmdmihf/iclassicmdmcloudonkubernates:v7
- docker run --rm -it -p 9000:80 icmdmihf/iclassicmdmcloudonkubernates:v7
- goto http://localhost:9000 to view the deployment
- Download icmdm_kubectl_7.yaml from the download page
- run kubectl apply –f icmdm_kubectl_7.yaml
- run kubectl get svc ; to retrieve the nodeport (example: 32060)
- finally point the browser to localhost:32060 to access the application
- further more you can create port forwarding to access this as well.
- First run kubectl get pods ; to get the pod name
- kubectl port-forward iclassicmdmcloudonkubernates-sdsds 7081:80 ; in which case you can access the application via locahost:7081
Send us an email at info@etsondemand.com for additional OS binaries.
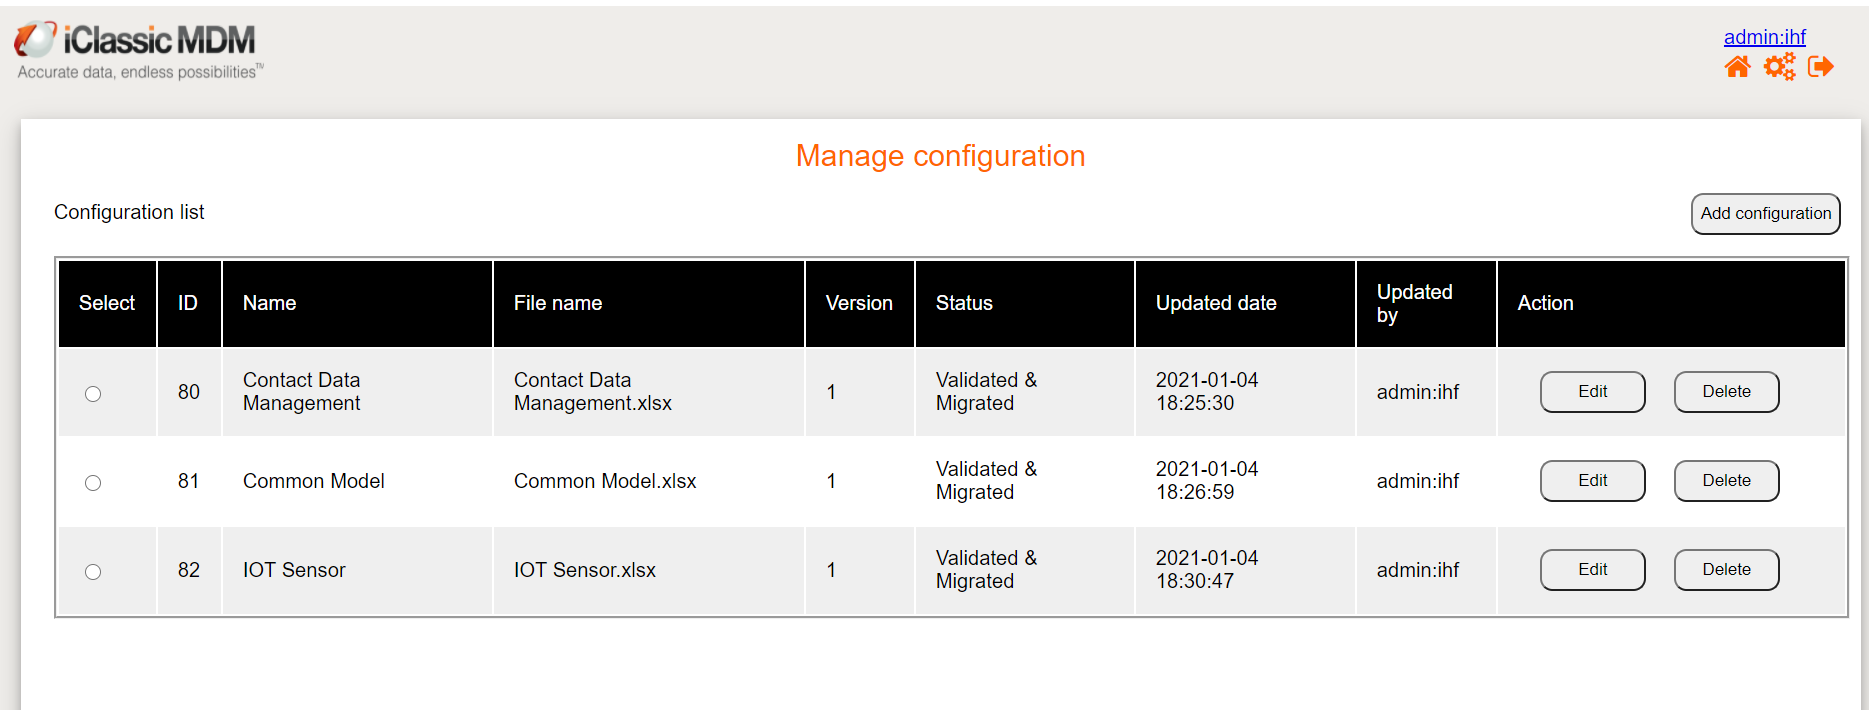
Let's begin by creating a Model. Under "Home", click on "Manage Configurations"
After the page loads, click "Add Configuration"
Enter a new name, say for example "Master Data"
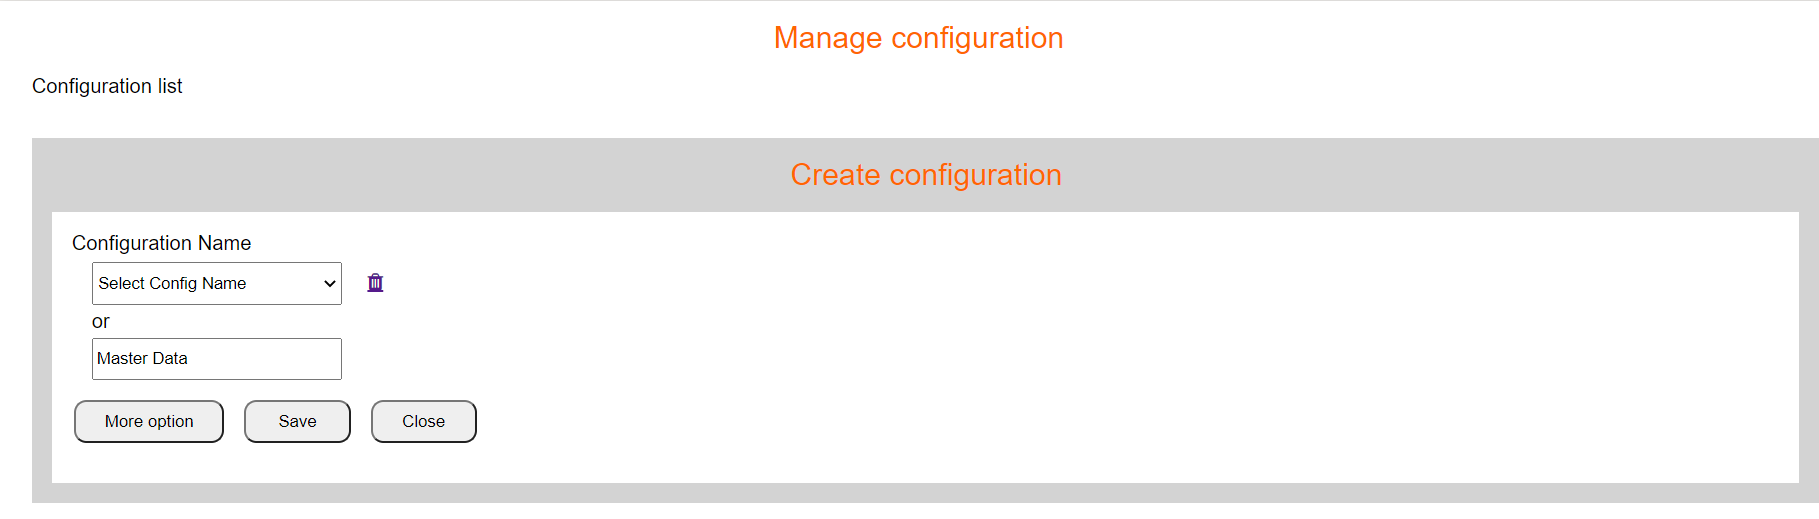
Click Save, and click on Close.
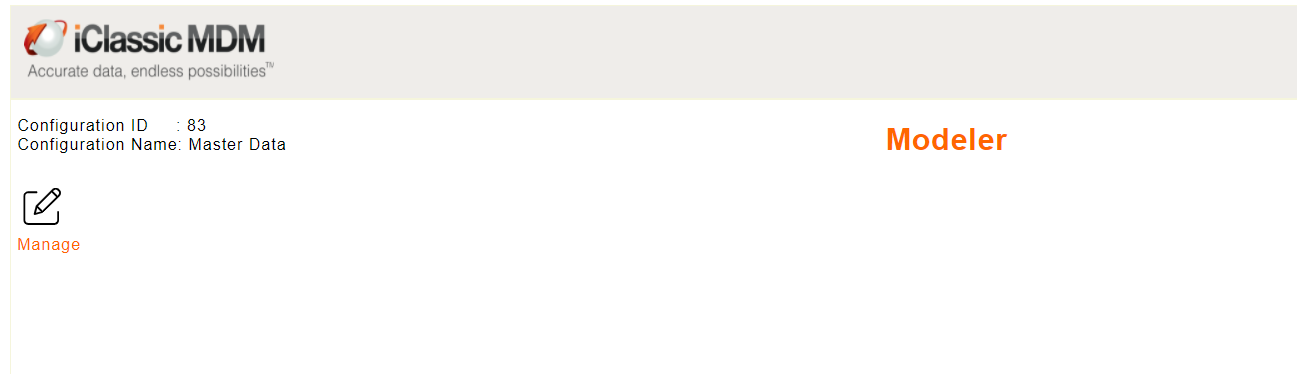
Select the newly created configuration that was just created, "Master Data", from the list below.
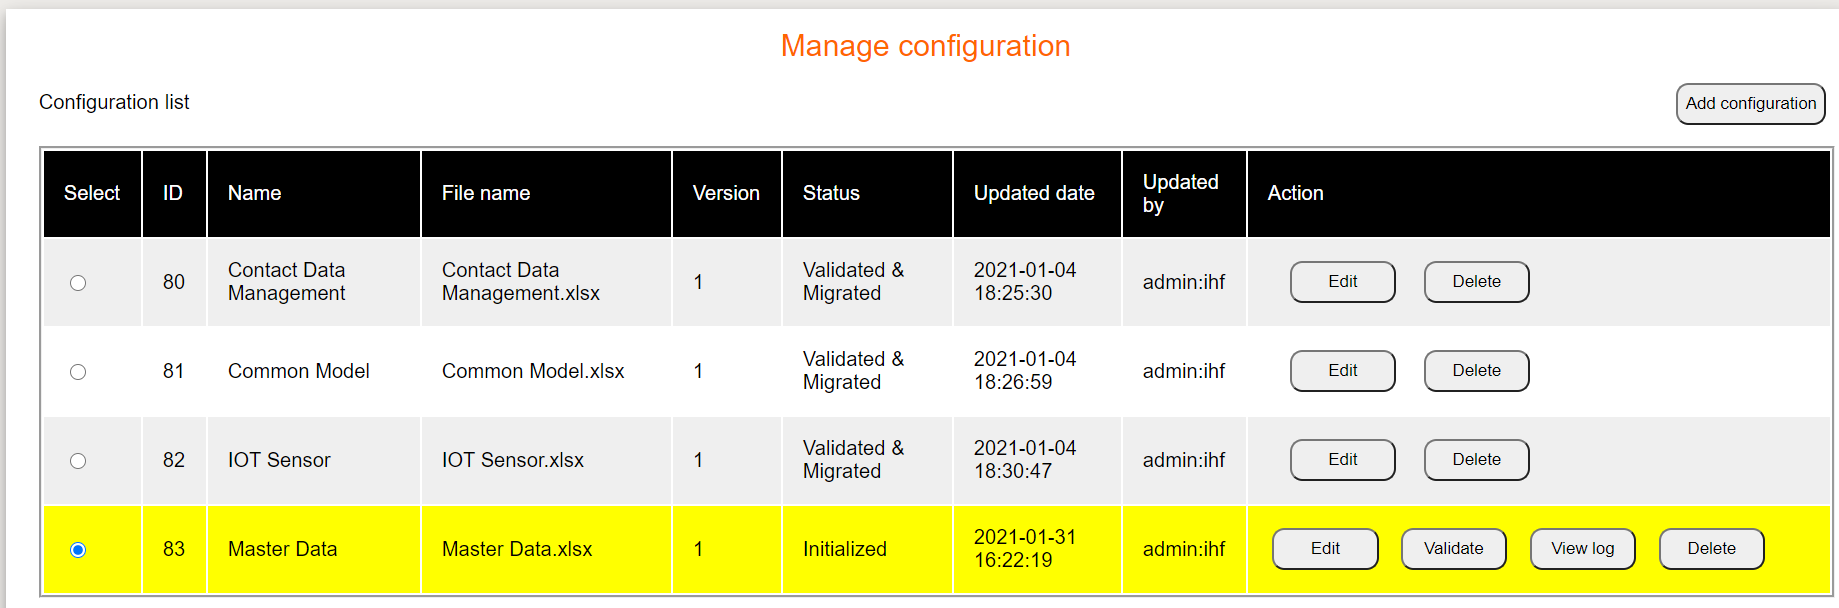
Click Edit, to view the Modeler window
Click the Manage Model pen icon, to access the Application Configuration
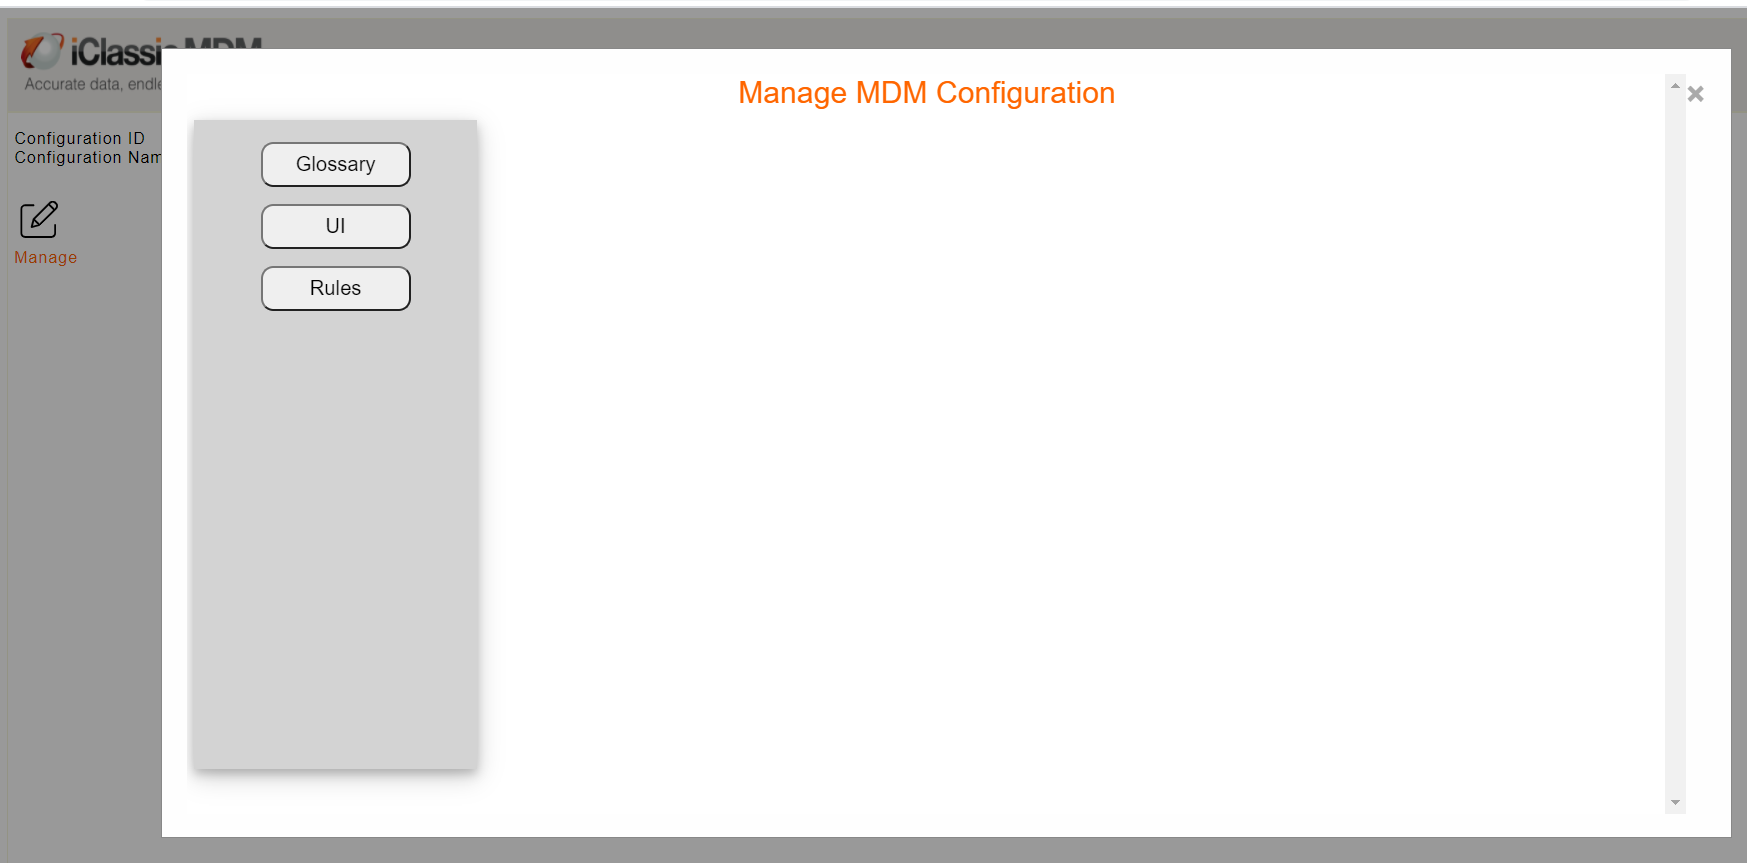
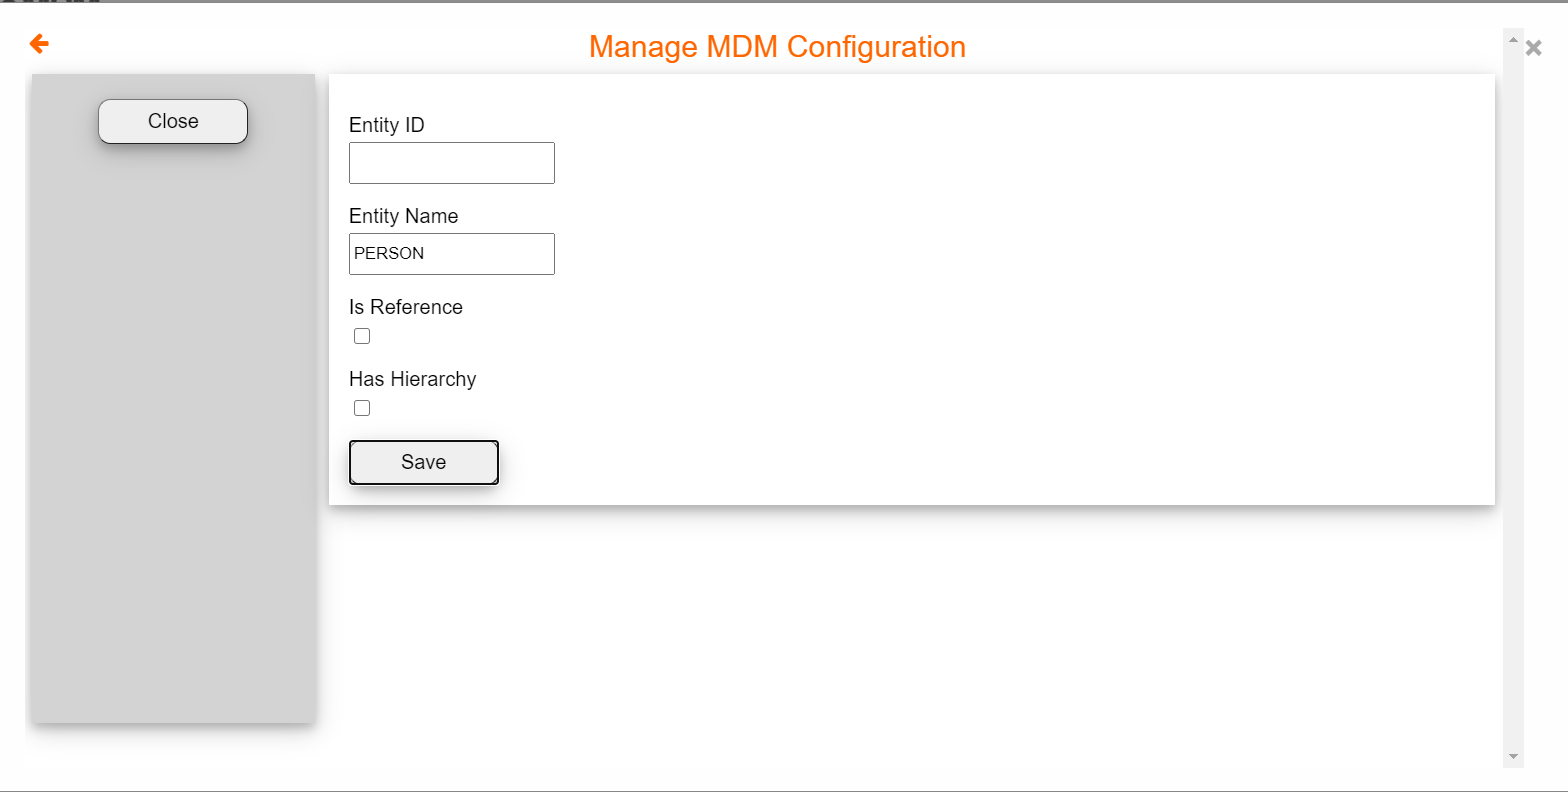
Click Glossary to add your first entity, Person & click Save
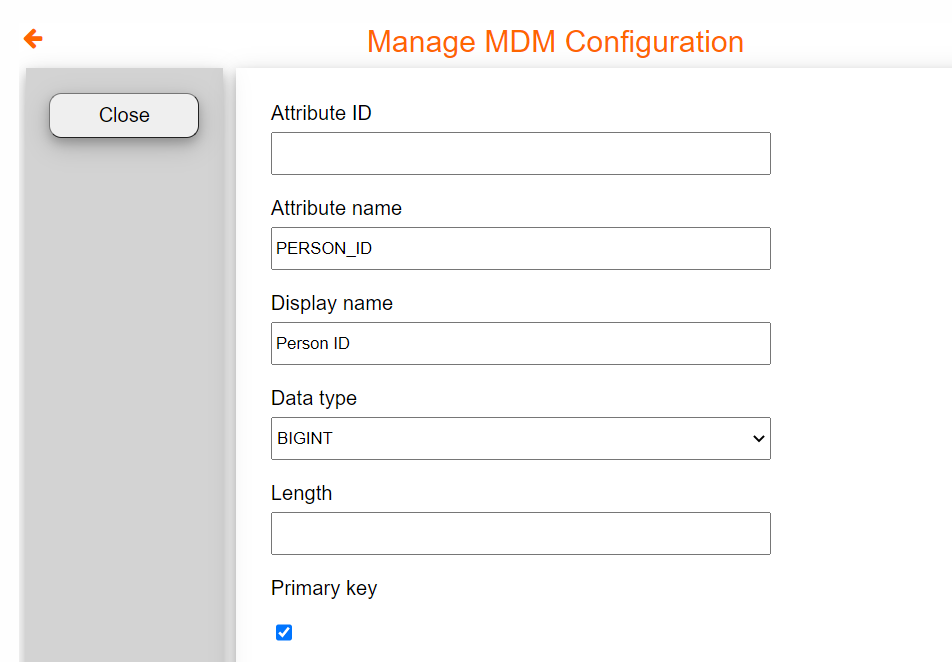
Click columns and create 2 columns, Person_ID (Primary key, Big Int) and FirstName (Varchar(50)), you can create as many columns as you want later
The attribute Name must not have any spaces. Also ensure there is _ID for primary column
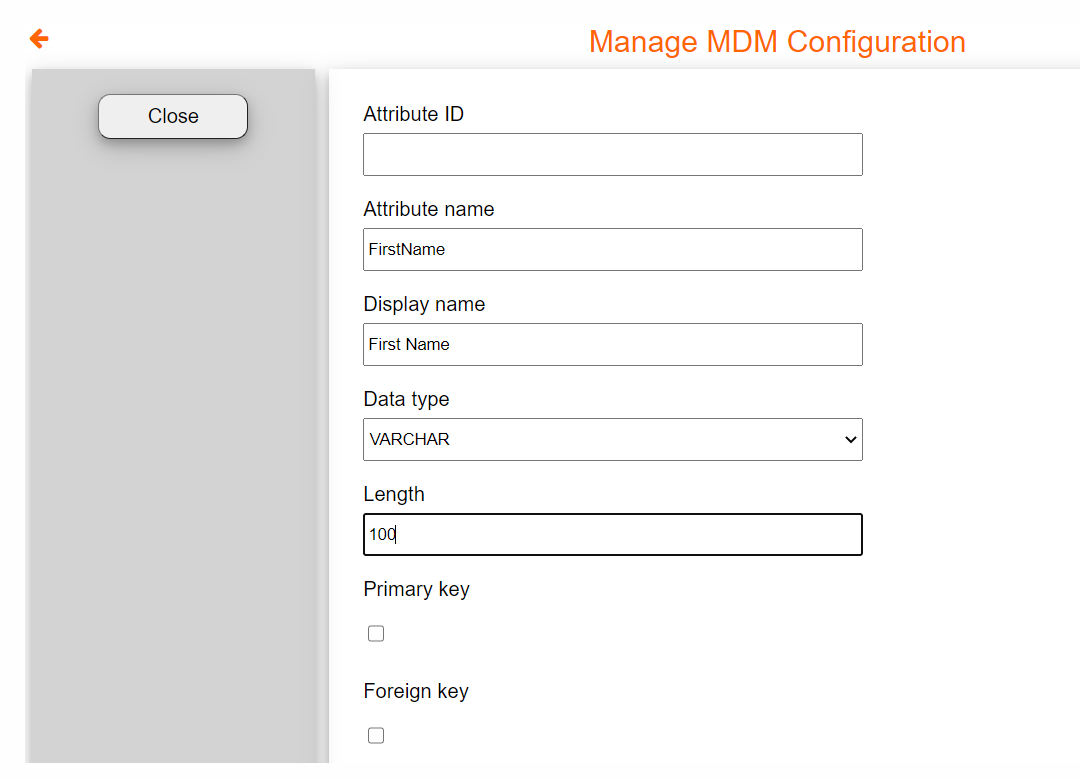
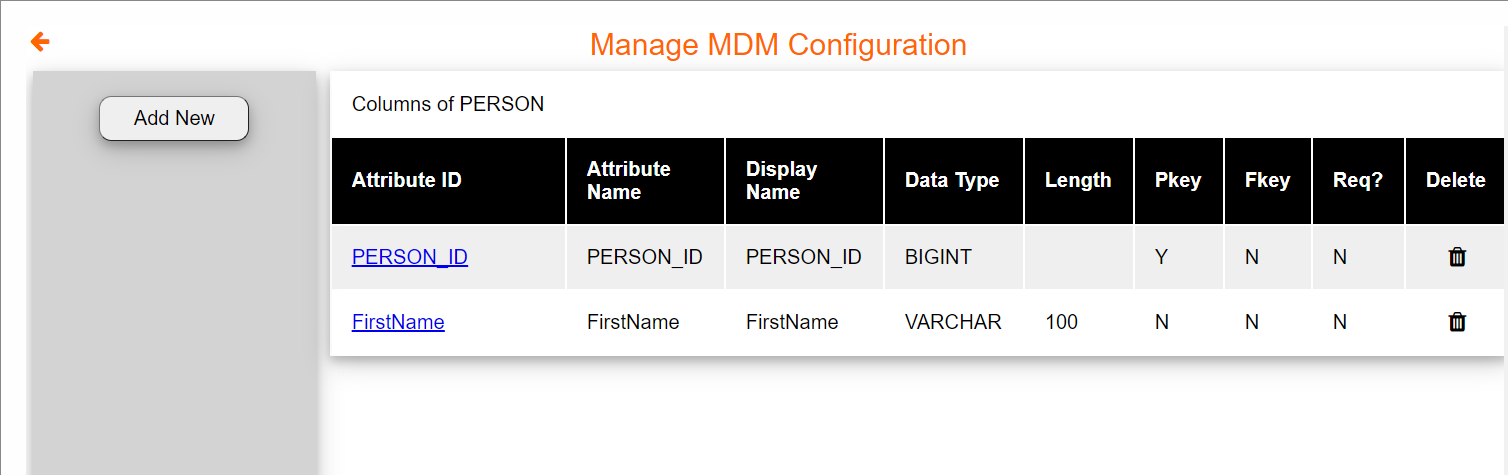
Click on Close to view the columns that you just created
Next, let us see How To Add Data Quality Rules for Cleansing, Matching, and Reliability.
Click on the back arrow, to access the Application Configuration page.
Click on Rules
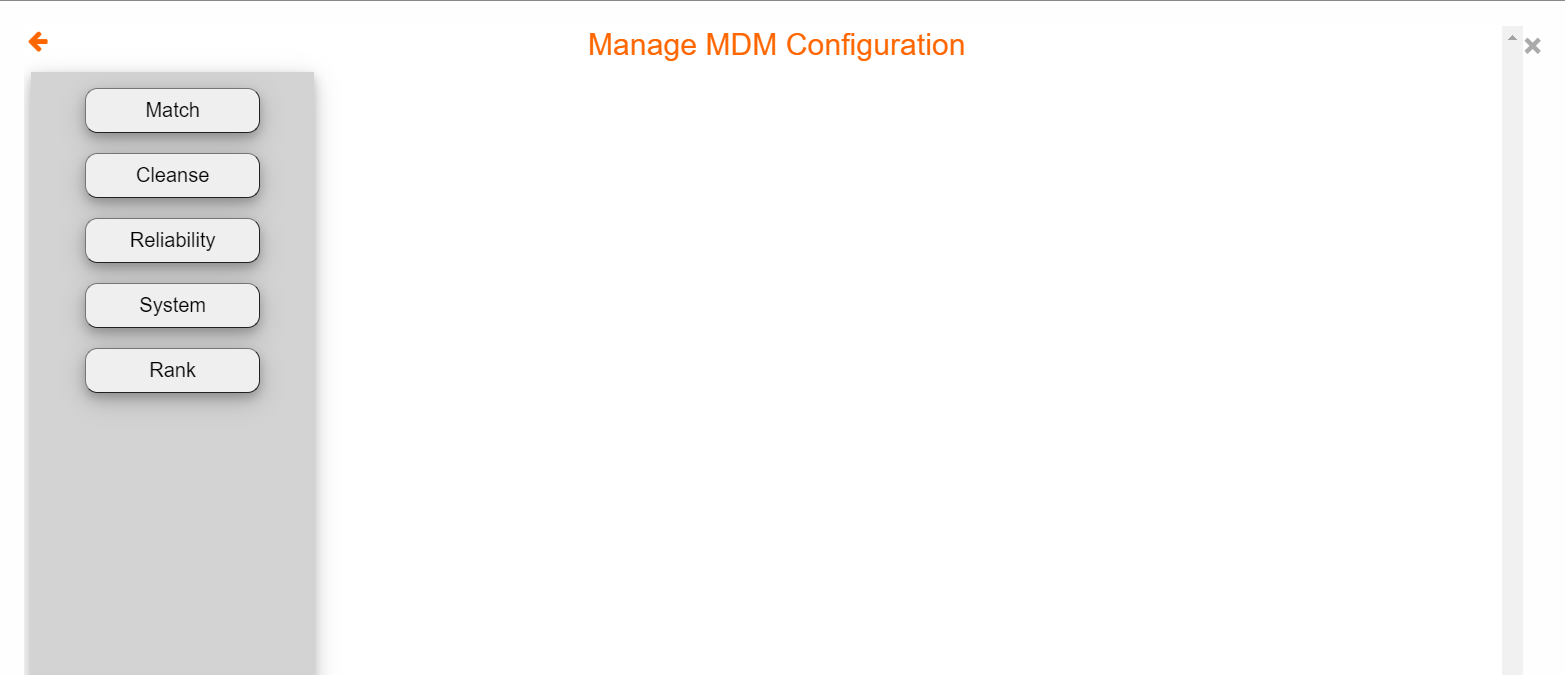
Click on Match
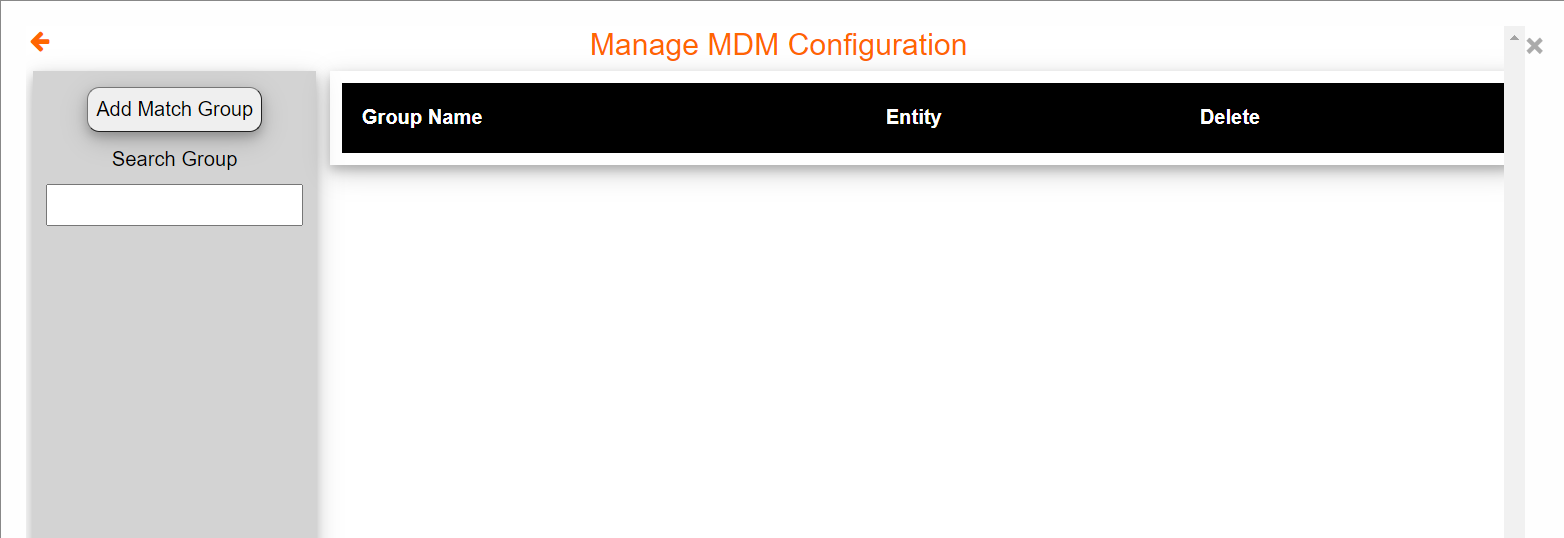
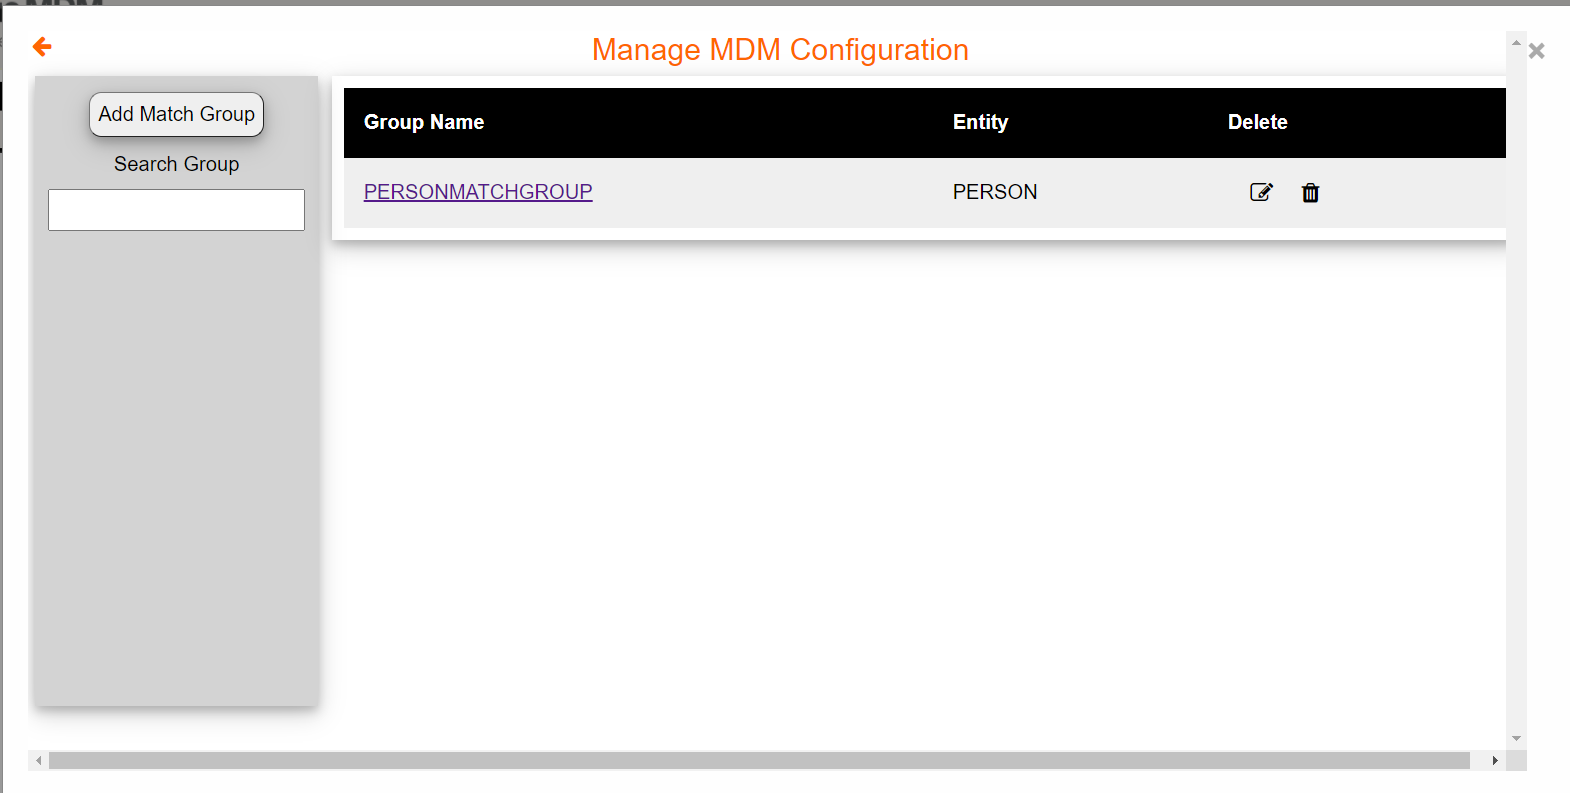
Click on Add Match Group
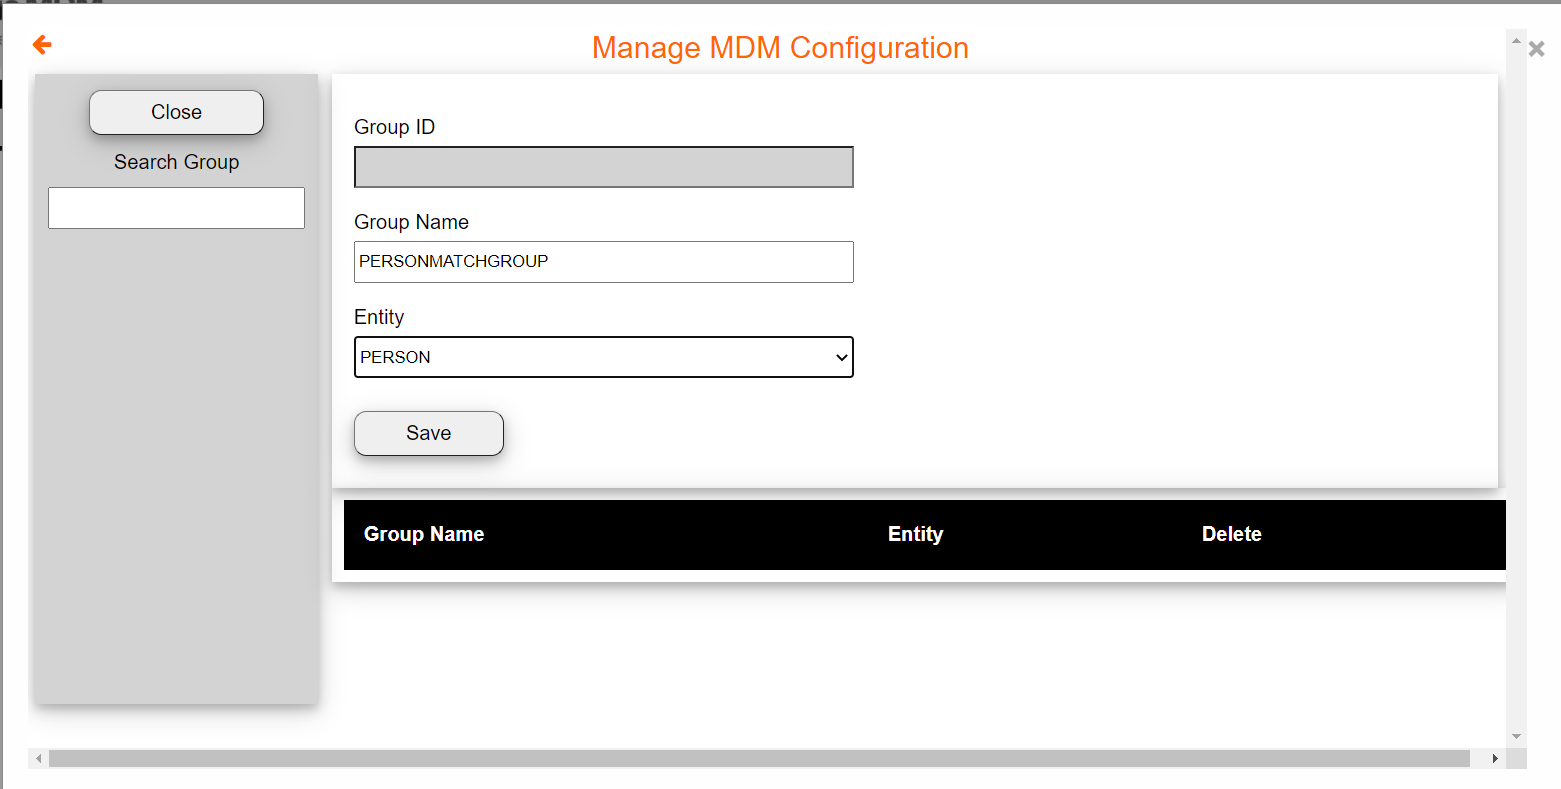
Click on the Match Group you just created
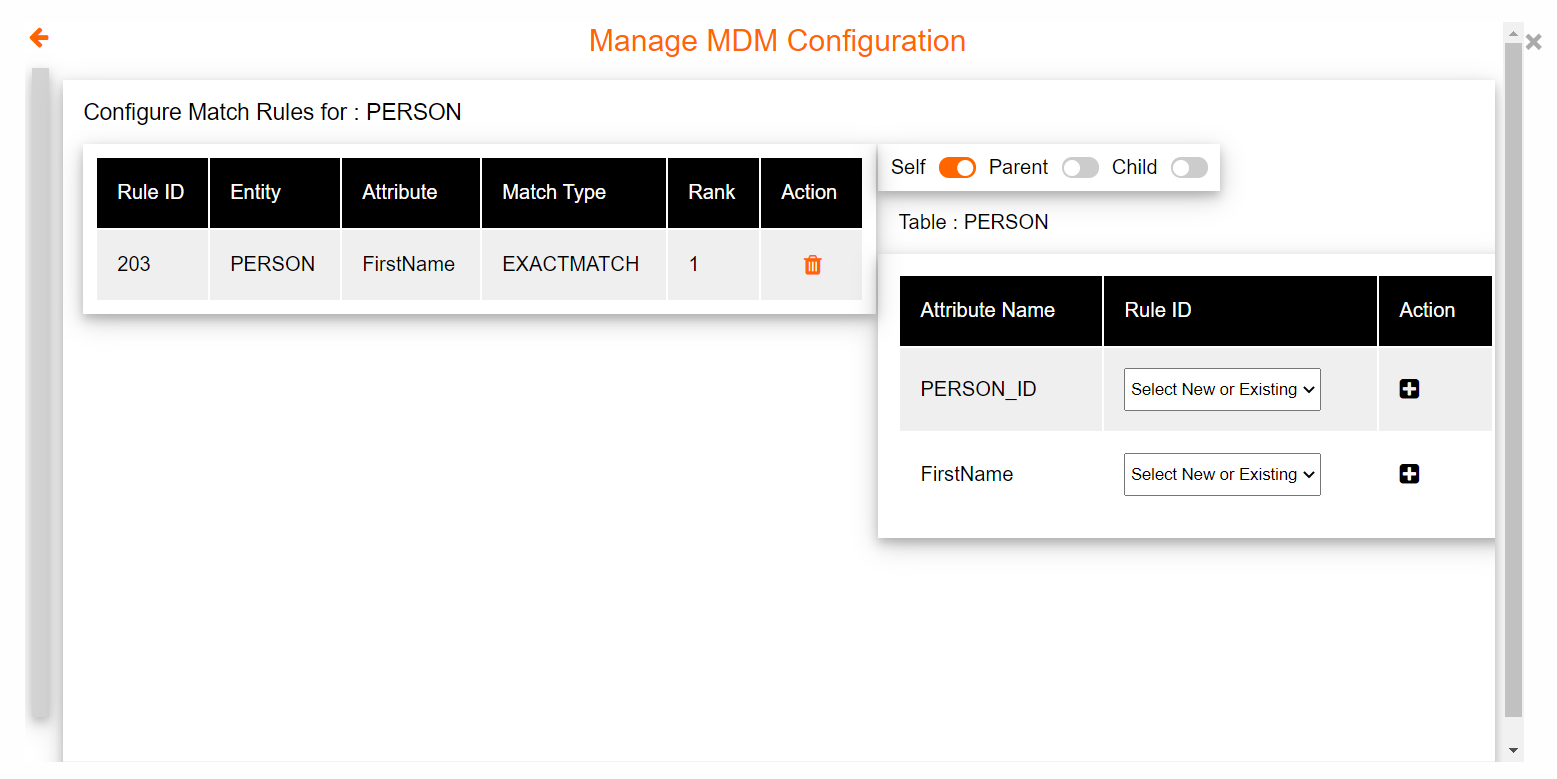
At this point, users can configure just one, or multiple match rules. The rules can be ranked based on priority
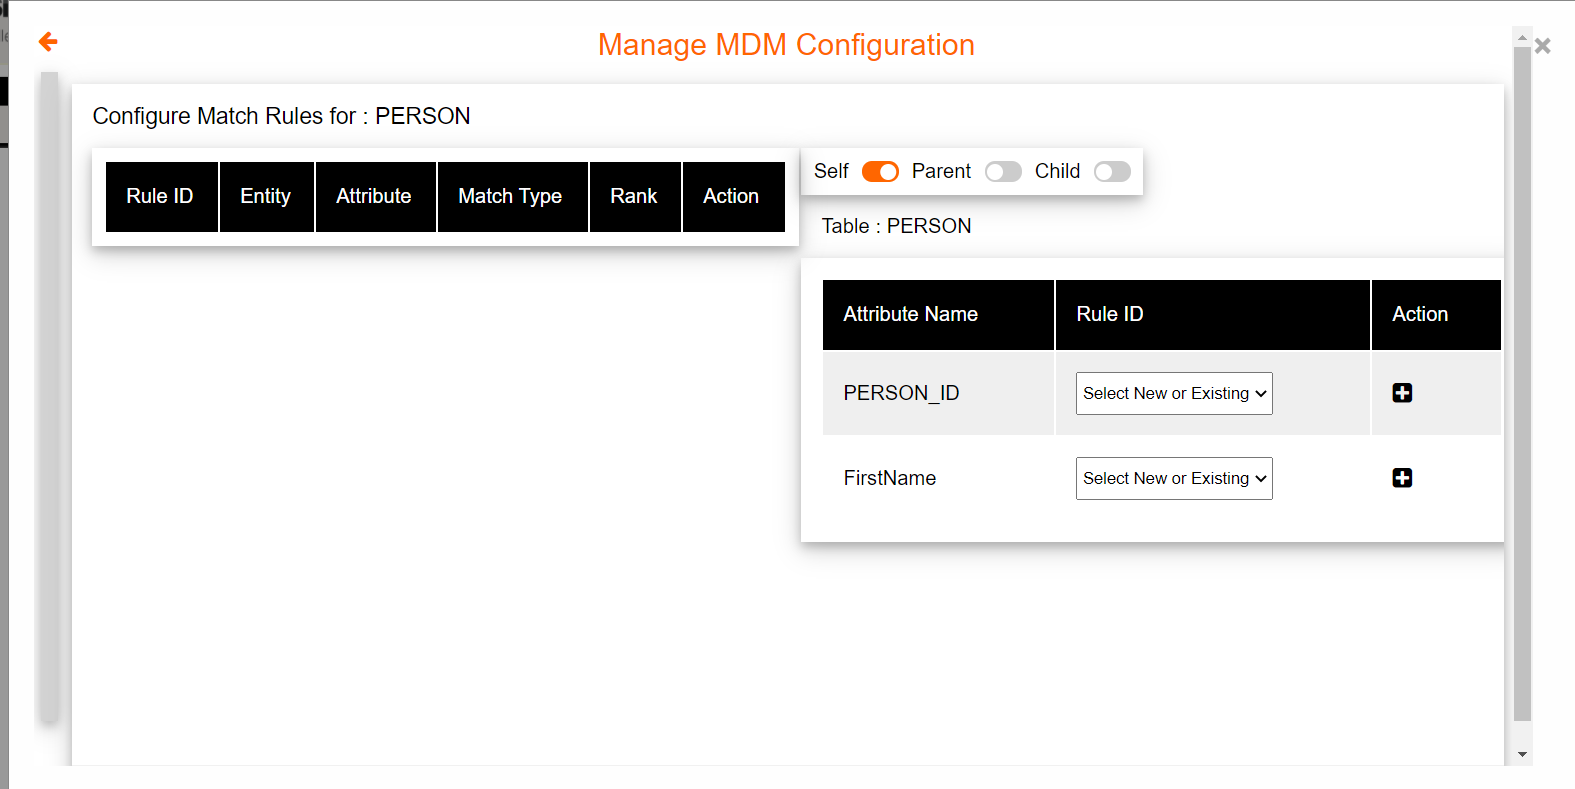
Select Match Rule on First Name, Exact Match. Assign this to a new rule id
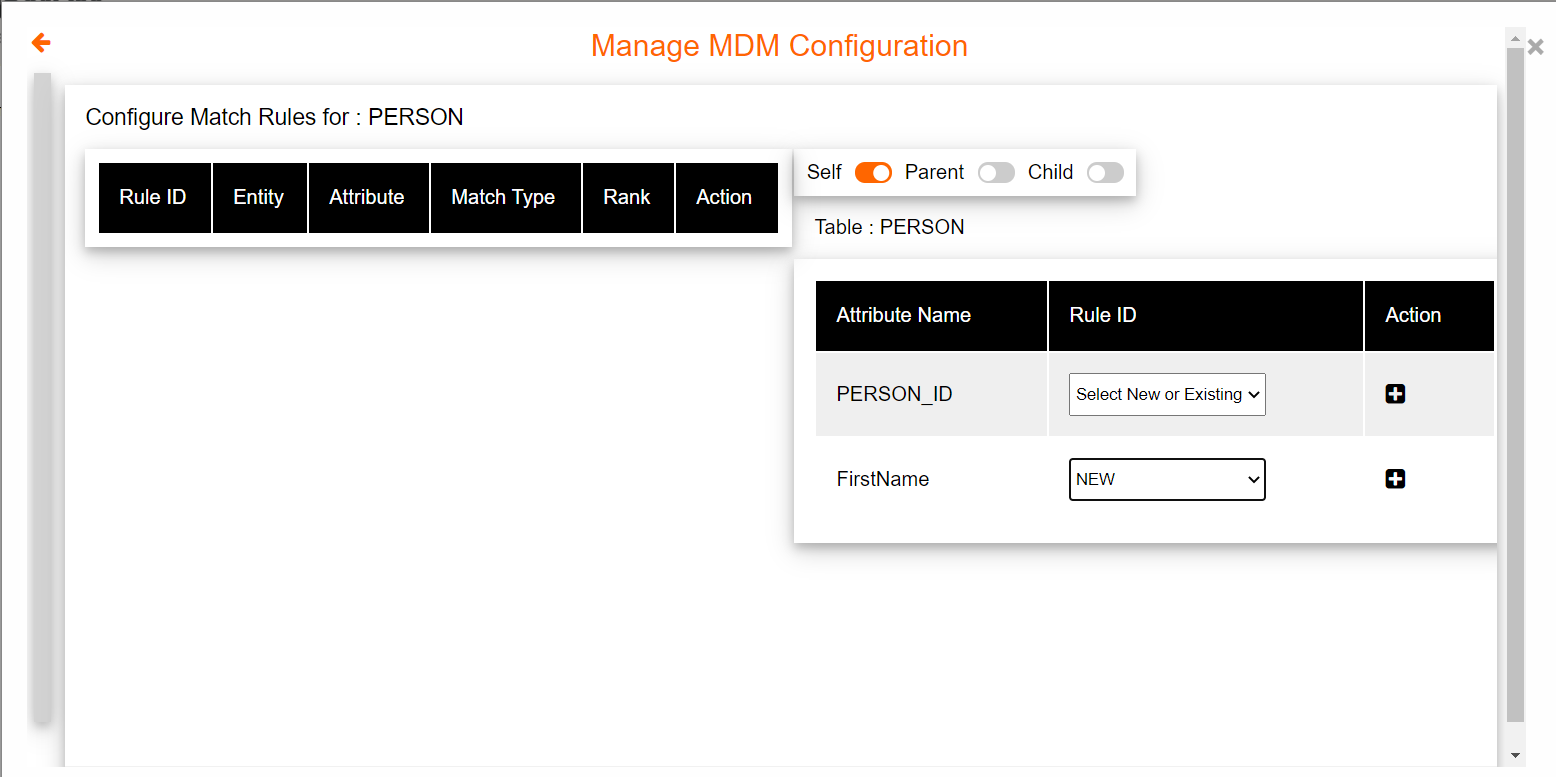
You can combine multiple columns within a rule by assigning to the existing rule, OR you can choose parent or child columns to expand your match rule. These are called Match Rule Hops.
To add Cleanse rules, users must access the Rules Menu by clicking the back arrow on the popup screen.
Click on Cleanse
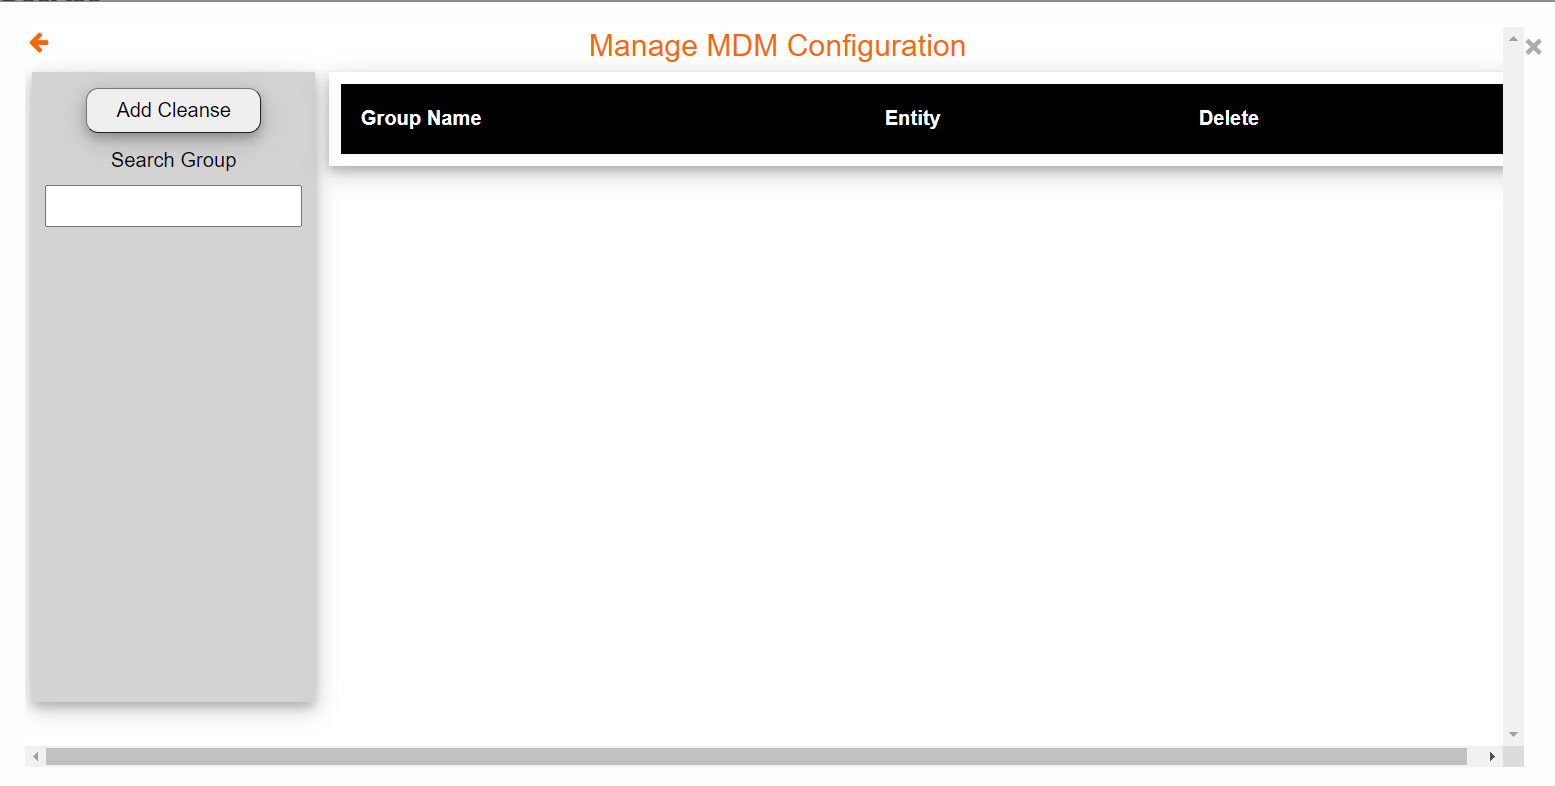
Add a cleanse group, CleansePerson
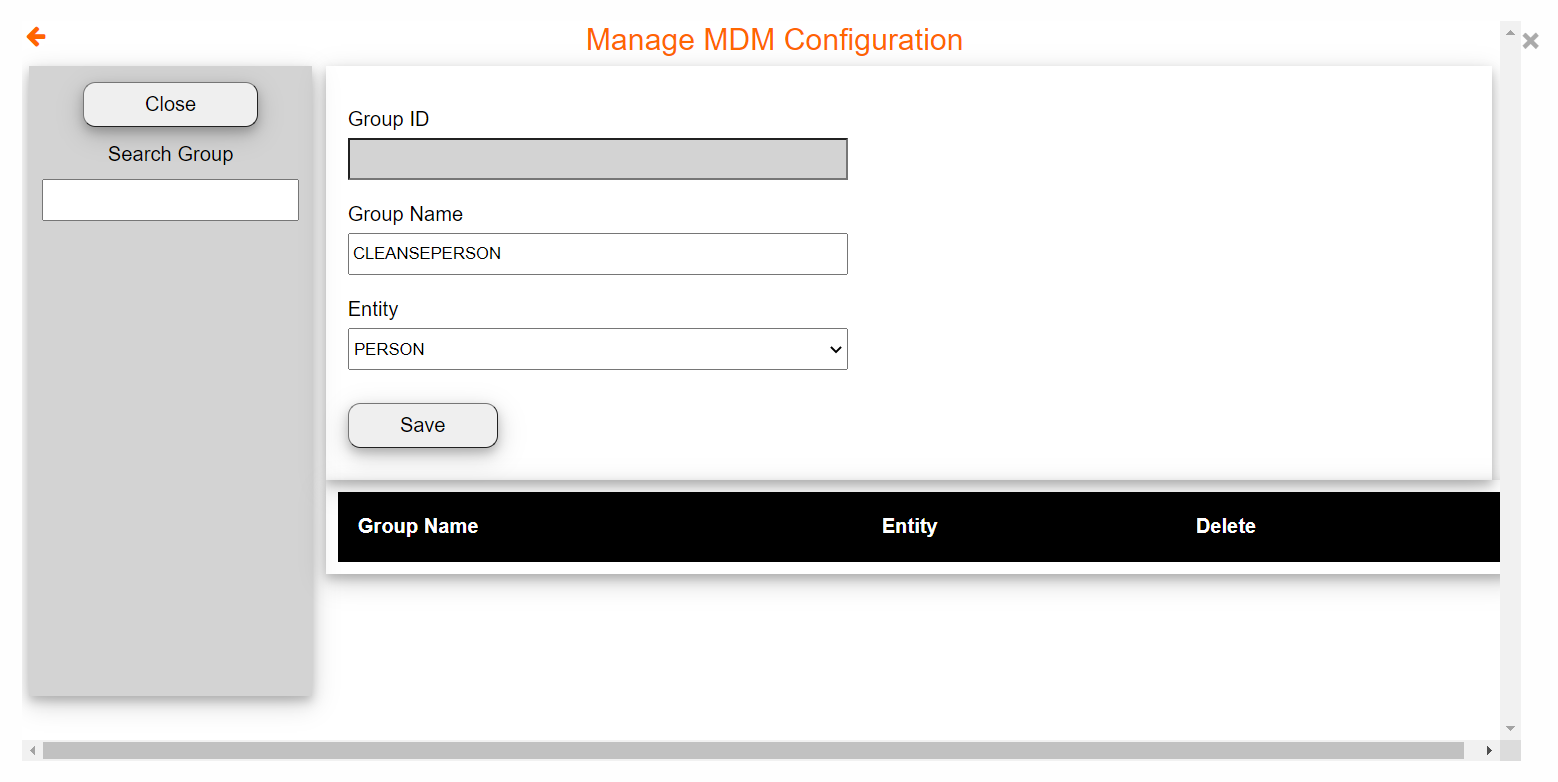
Click Save, to view the newly created Cleanse Groups
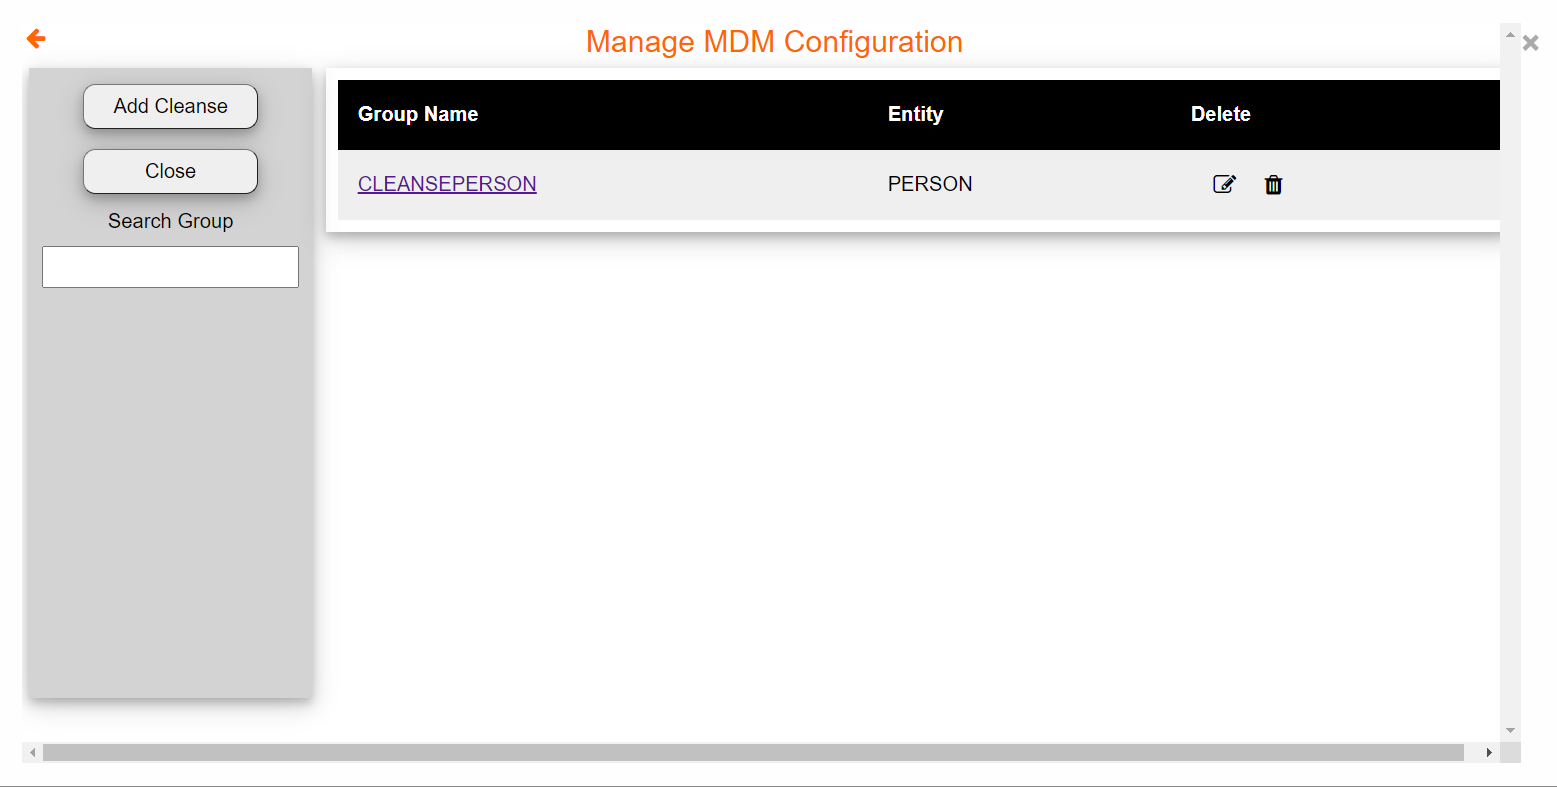
To Add additional cleanse rules to this group, click on the newly created cleanse group
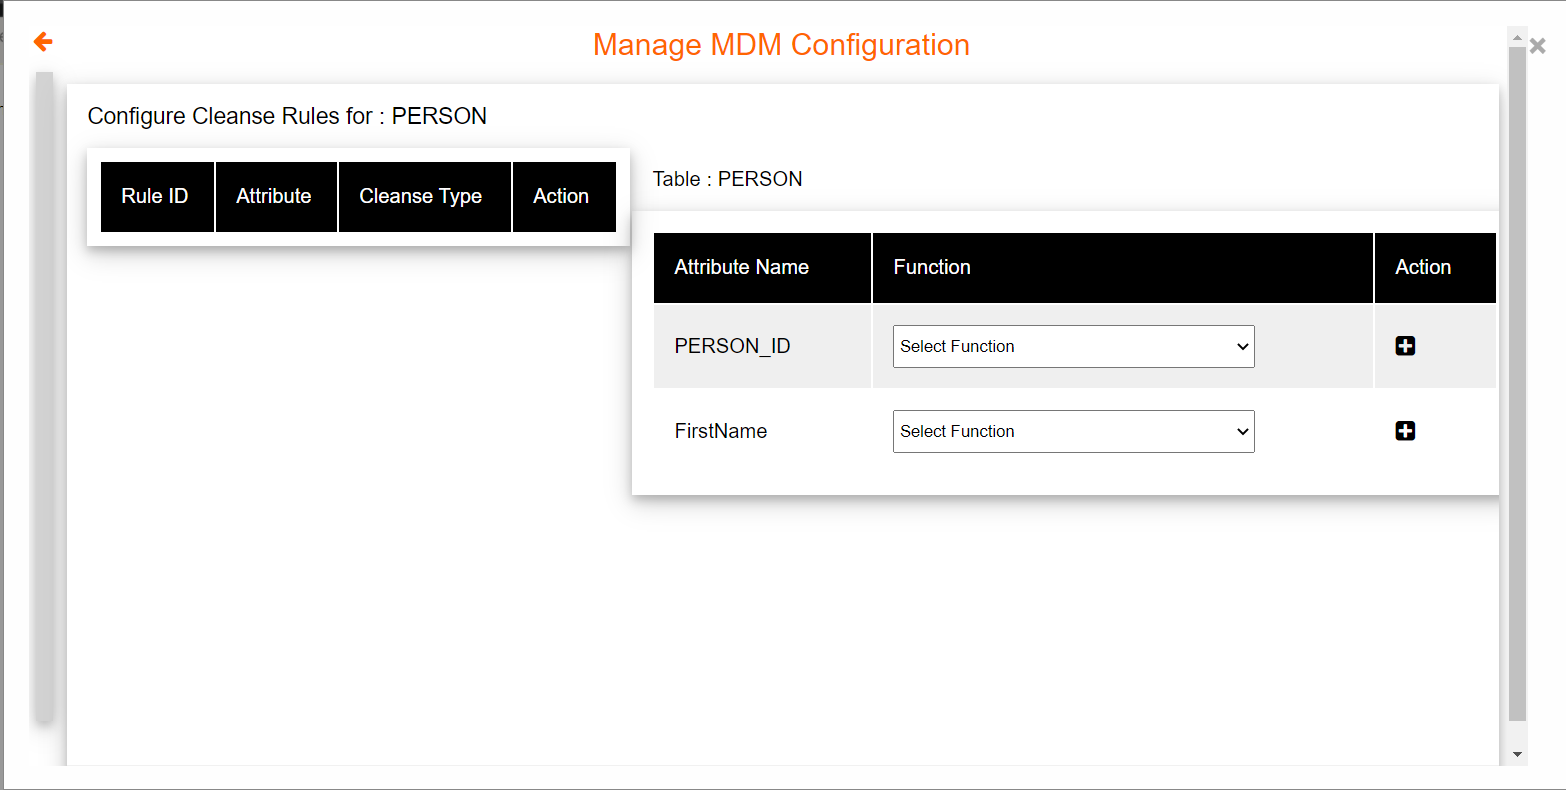
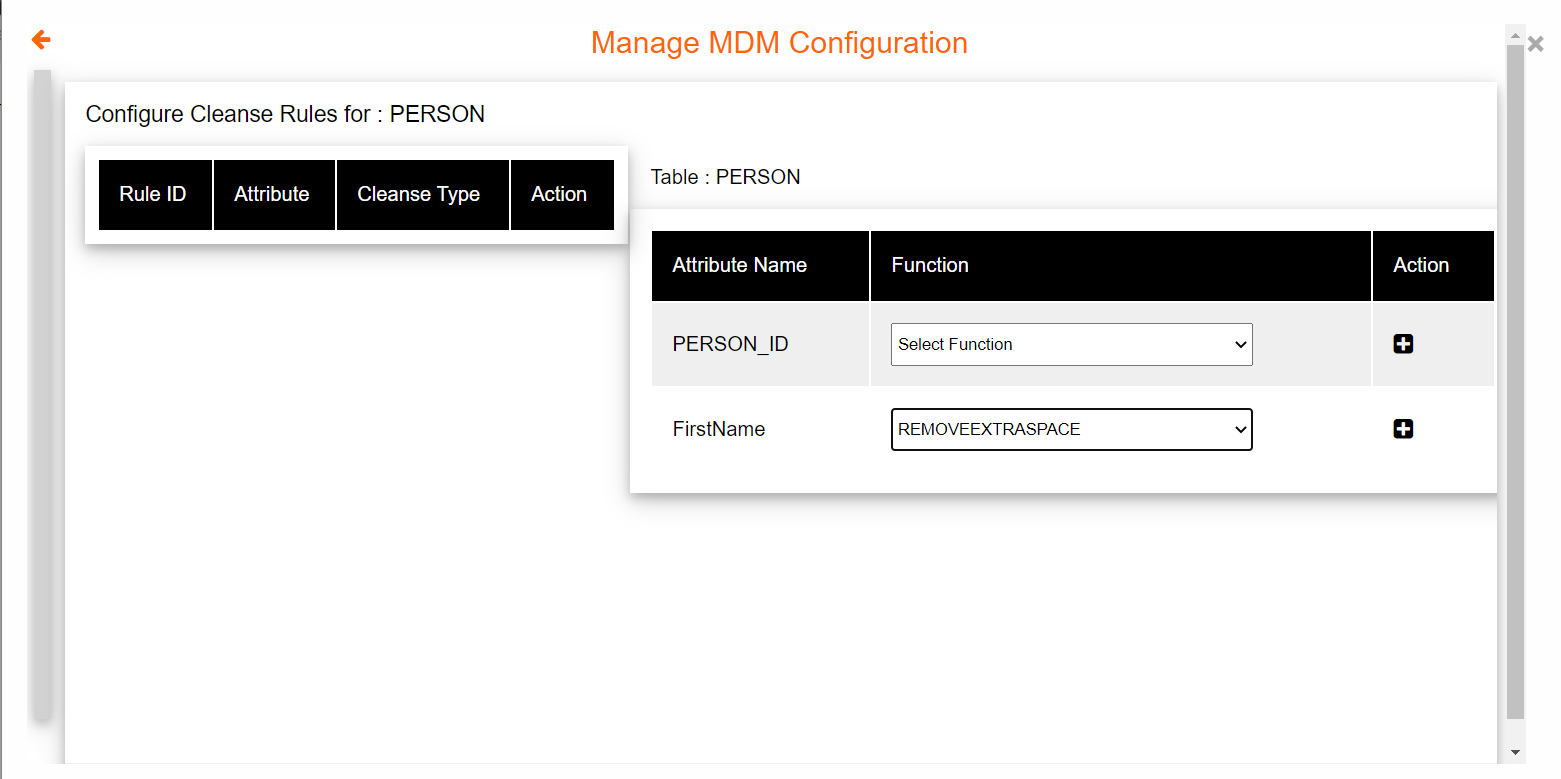
Add cleanse rule, and remove the extra space
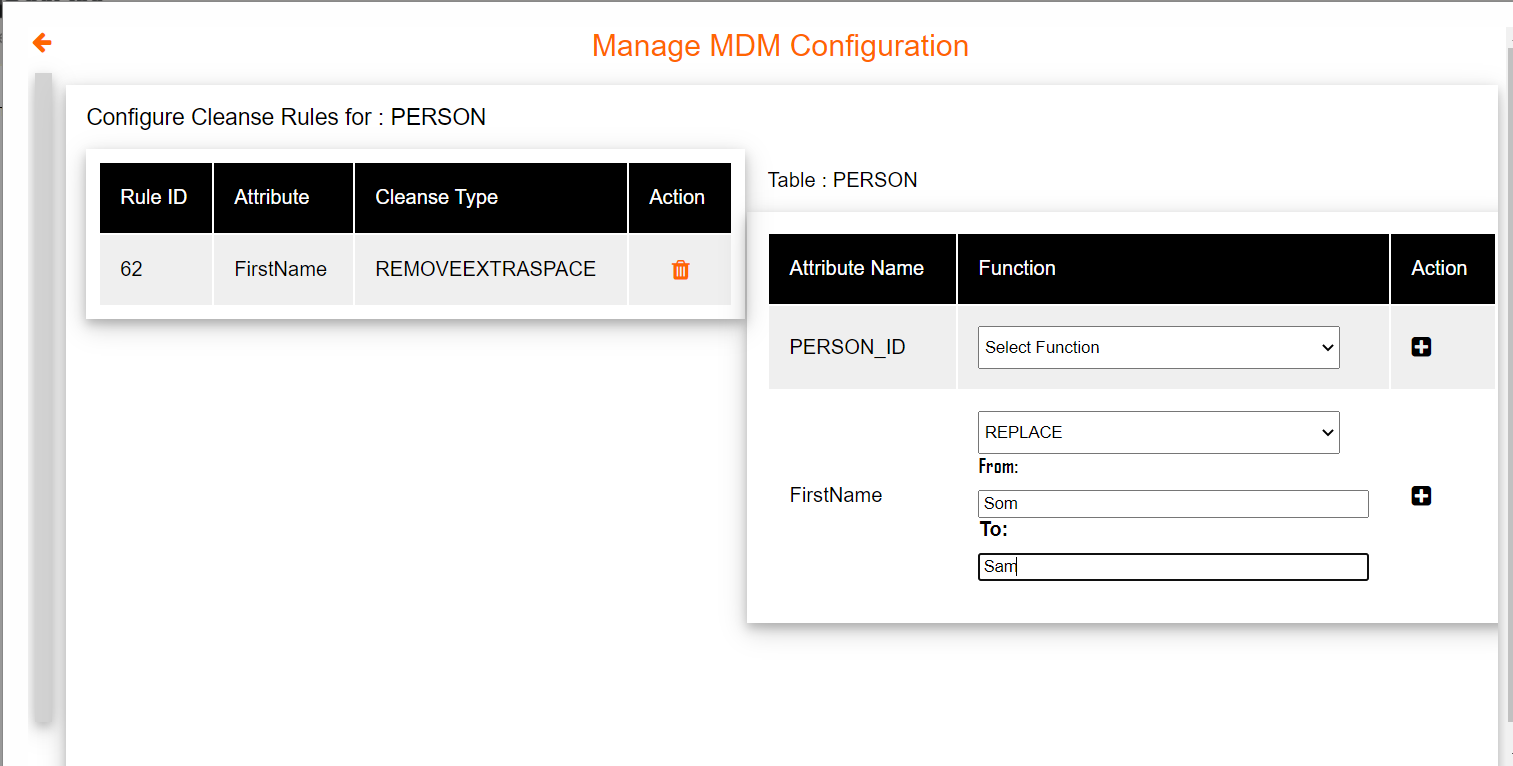
Add another cleanse rule, replace character, replace Som to Sam
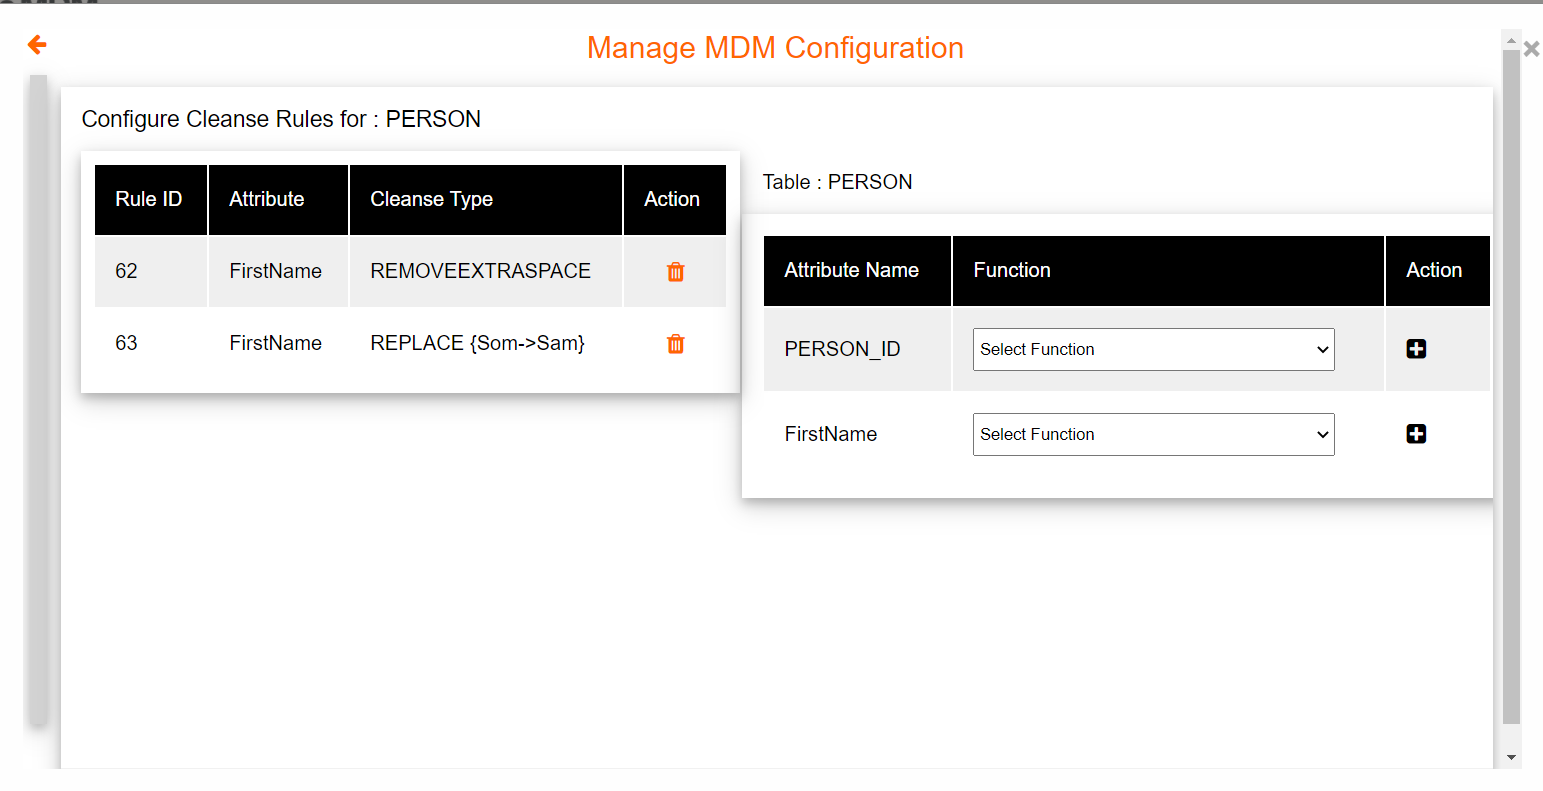
View the newly added cleanse rules
To get back to the Rules Menu click on the back arrow. iClassicMDM allows users to add Reliability Rules. Reliability Rules tell the system to trust the credibility of one data source over another. It is necessary to analyze seed data first, in order to understand this concept.
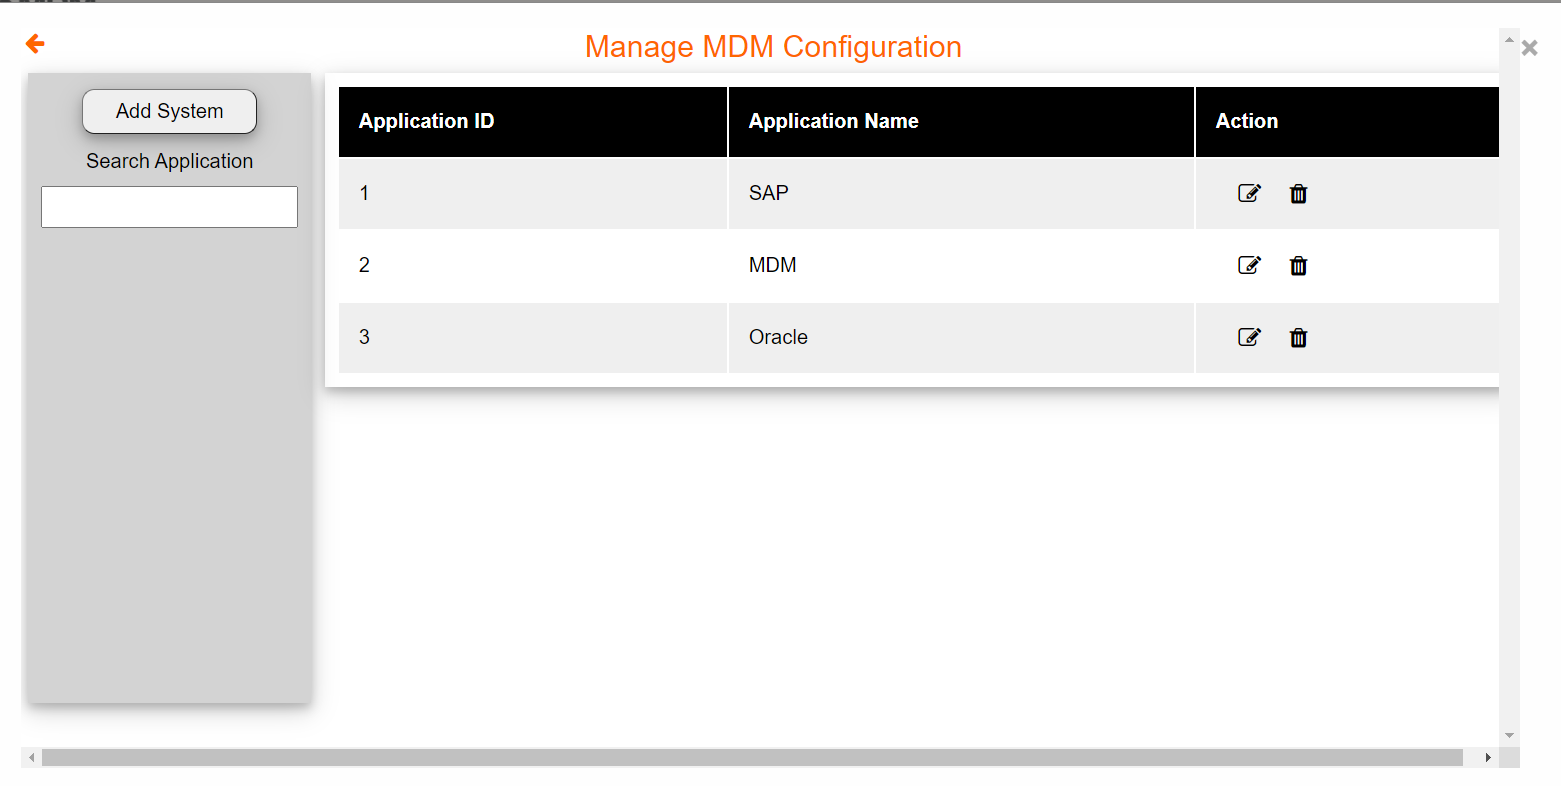
Click on System menu to view the configured Systems. You can add any other systems that you need.
Click the back button to view the Rules Menu. Next click on the Rank Menu to view the list of the configured ranks. At this time, this setting can be left as is.

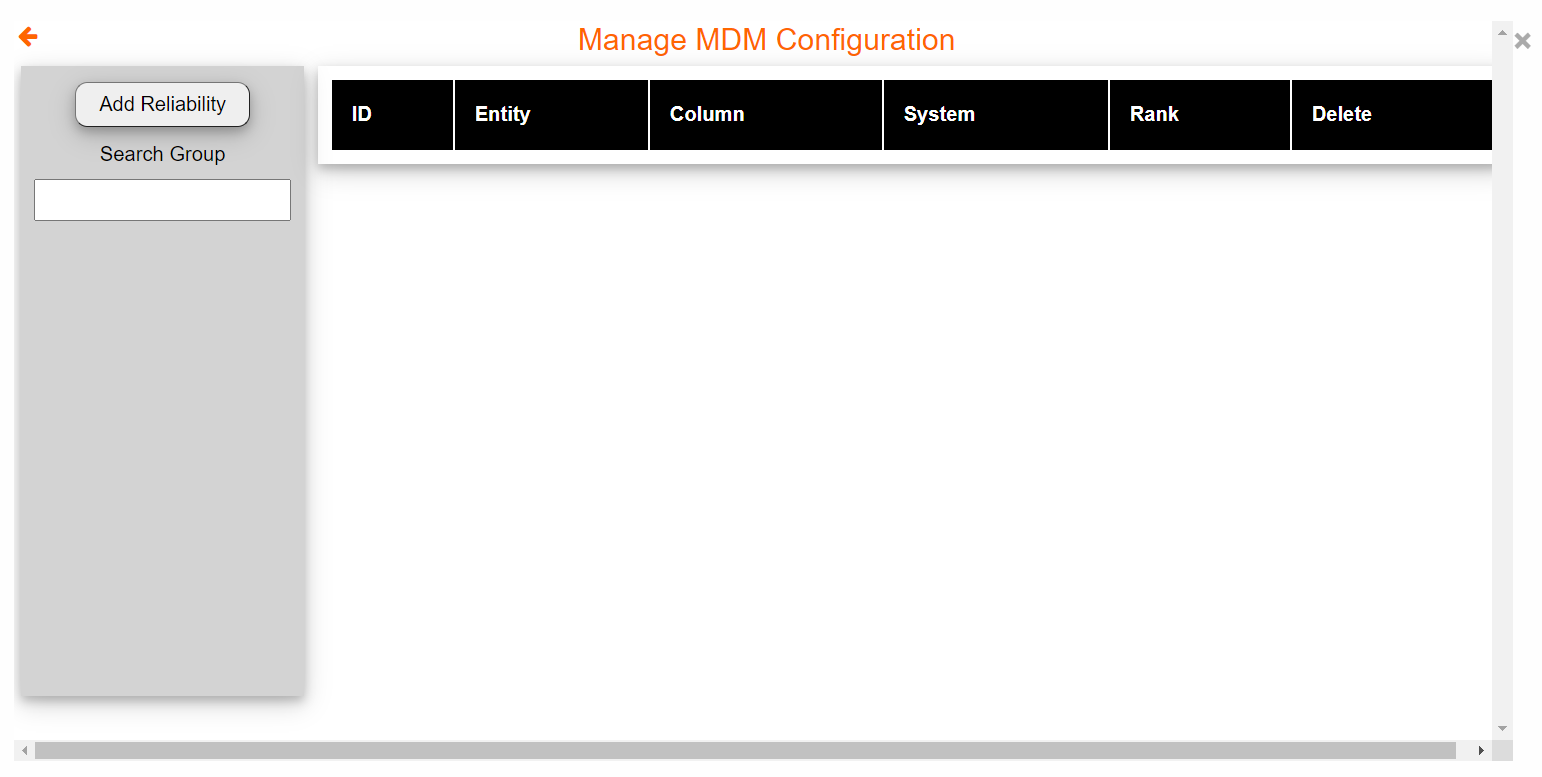
Click the back arrow again, to view the Rules Menu, now click on the Reliability Menu.
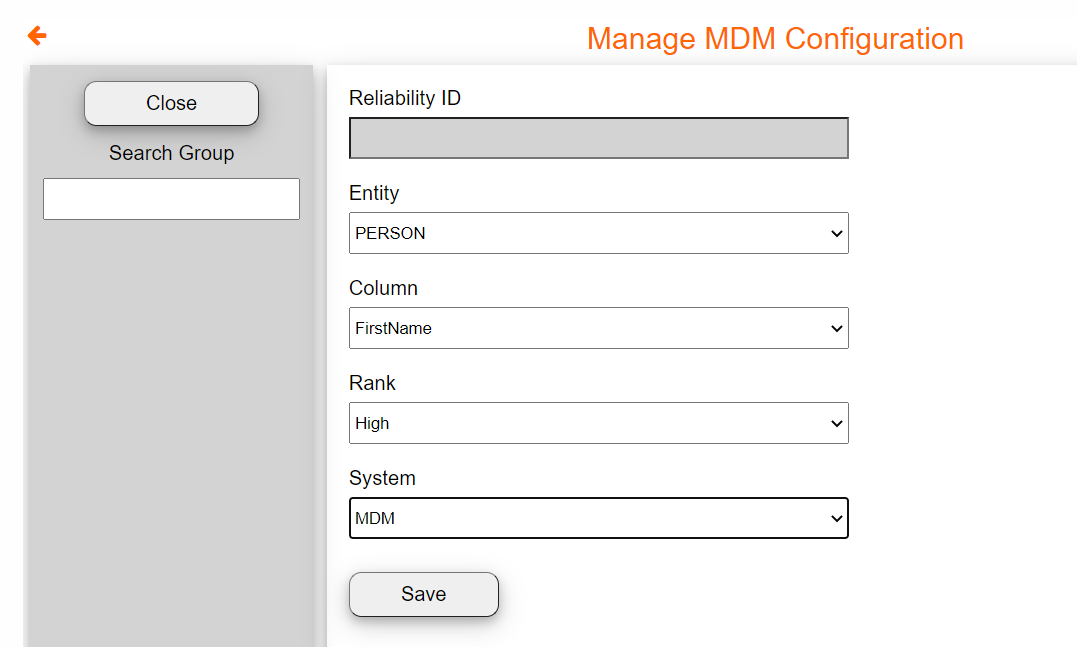
To add new Reliability Rules, select the FirstName, System as MDM, and Rank as High
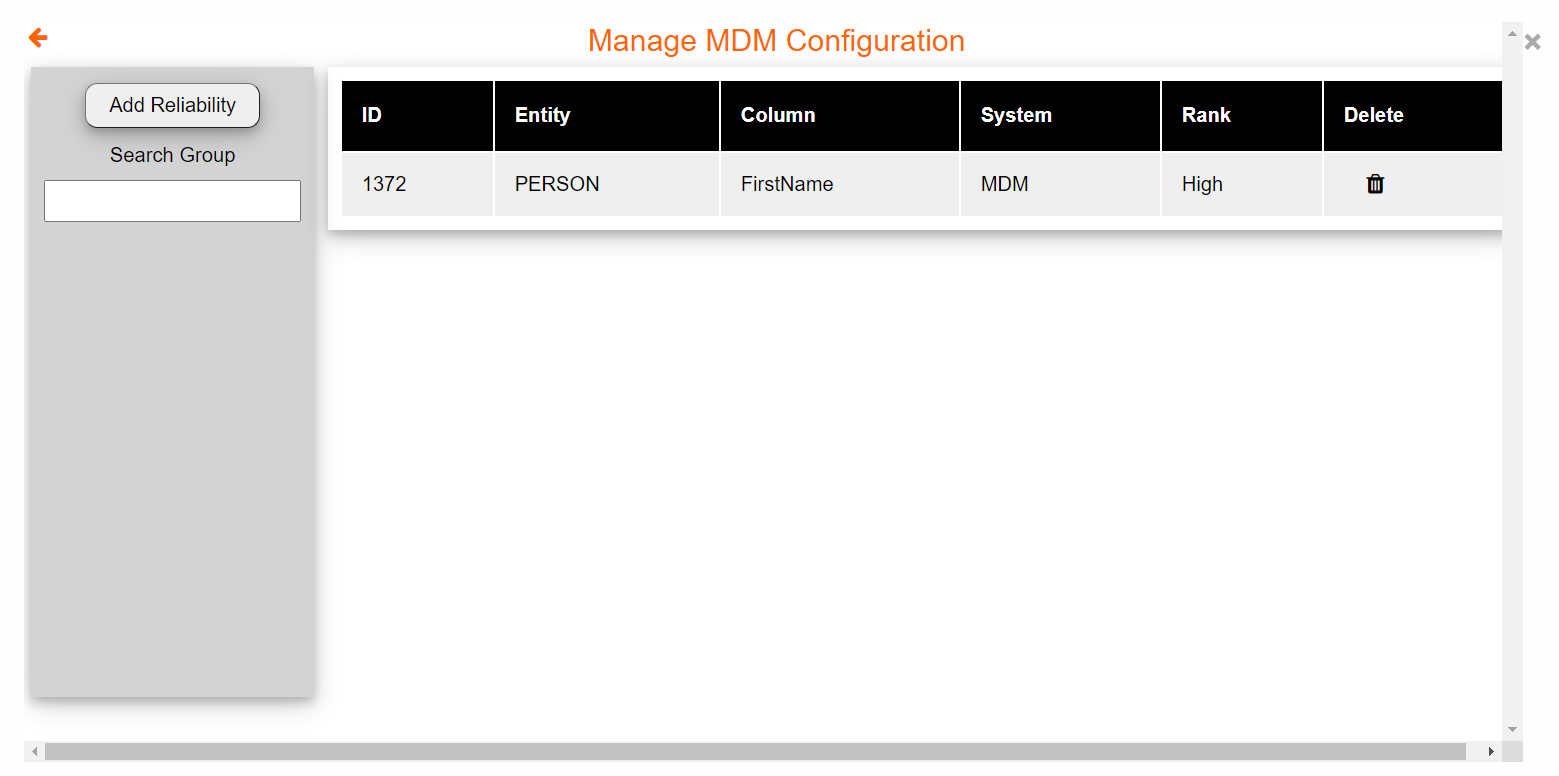
Click on Save to view the newly created Reliability Rule setting
To test the Reliability Rules, you will need to simulate Create or Update of a Master data record through an API. For now we will skip this portion. However, as a foot note: API's can be accessed by going to Manage Configuration, picking the Configuration from the List, say "Contact Data Management", select the Deployment Group, and finally access the API through entry under the REST row. We will deep dive into this feature later in our advanced topic section.
Next let's see the User Interface setup. The Entities are categorized as either - Base or Reference. The Base type of Entities are clubbed under menu Base, similarly for References. The User Interface has 3 portions, Search, New, and Header. As the model gets created, the basic User Interface is also created along side. Let's access them to see if they meet our needs.
Click on the UI, and expand the treeview to see the menu and the UI sections.
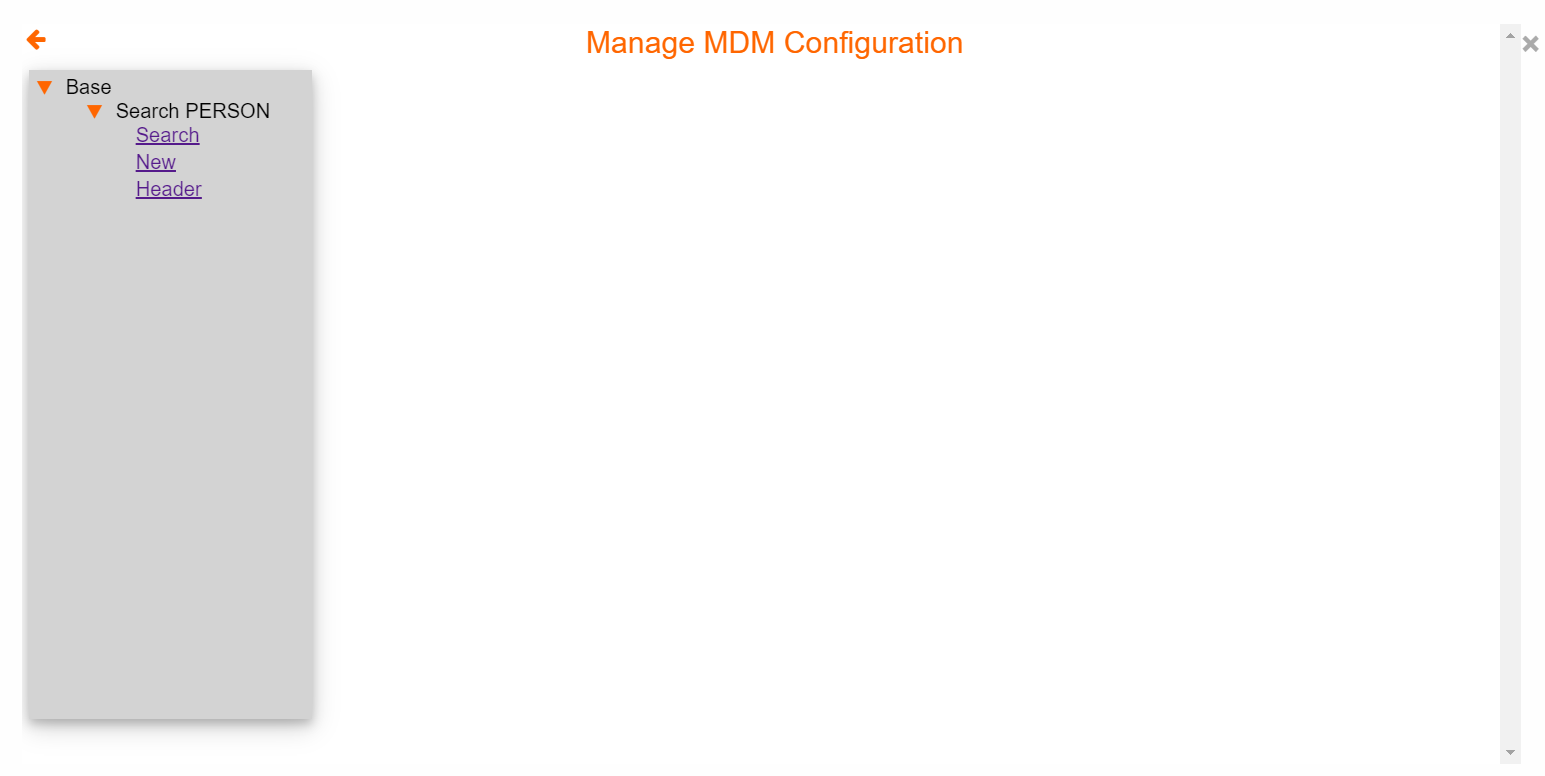
Quickly access each section to ensure that Attributes are listed under each
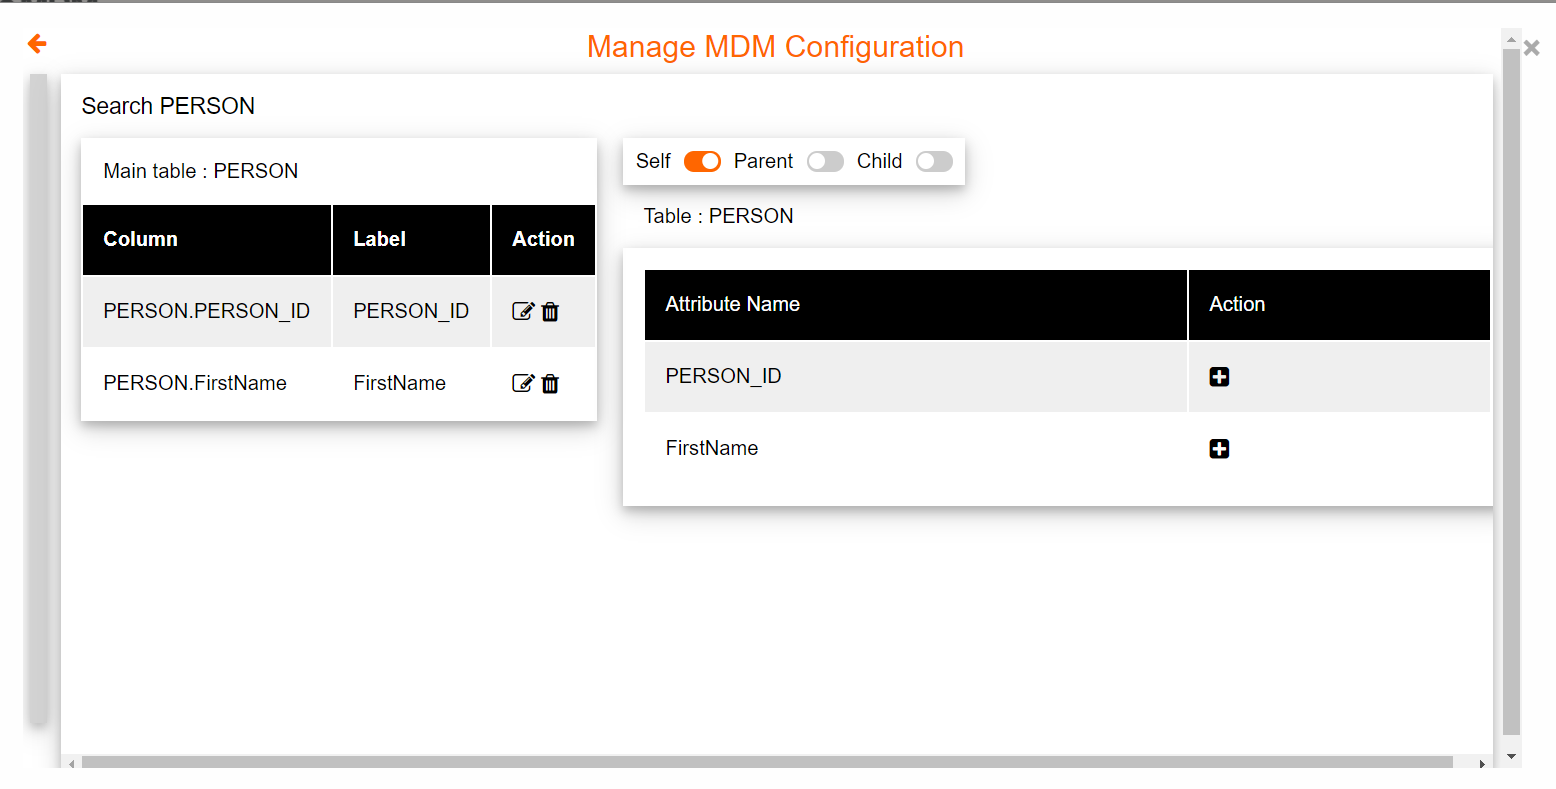
Note: Additional Attributes from the Parent or Children can be made visible in a Search layout.
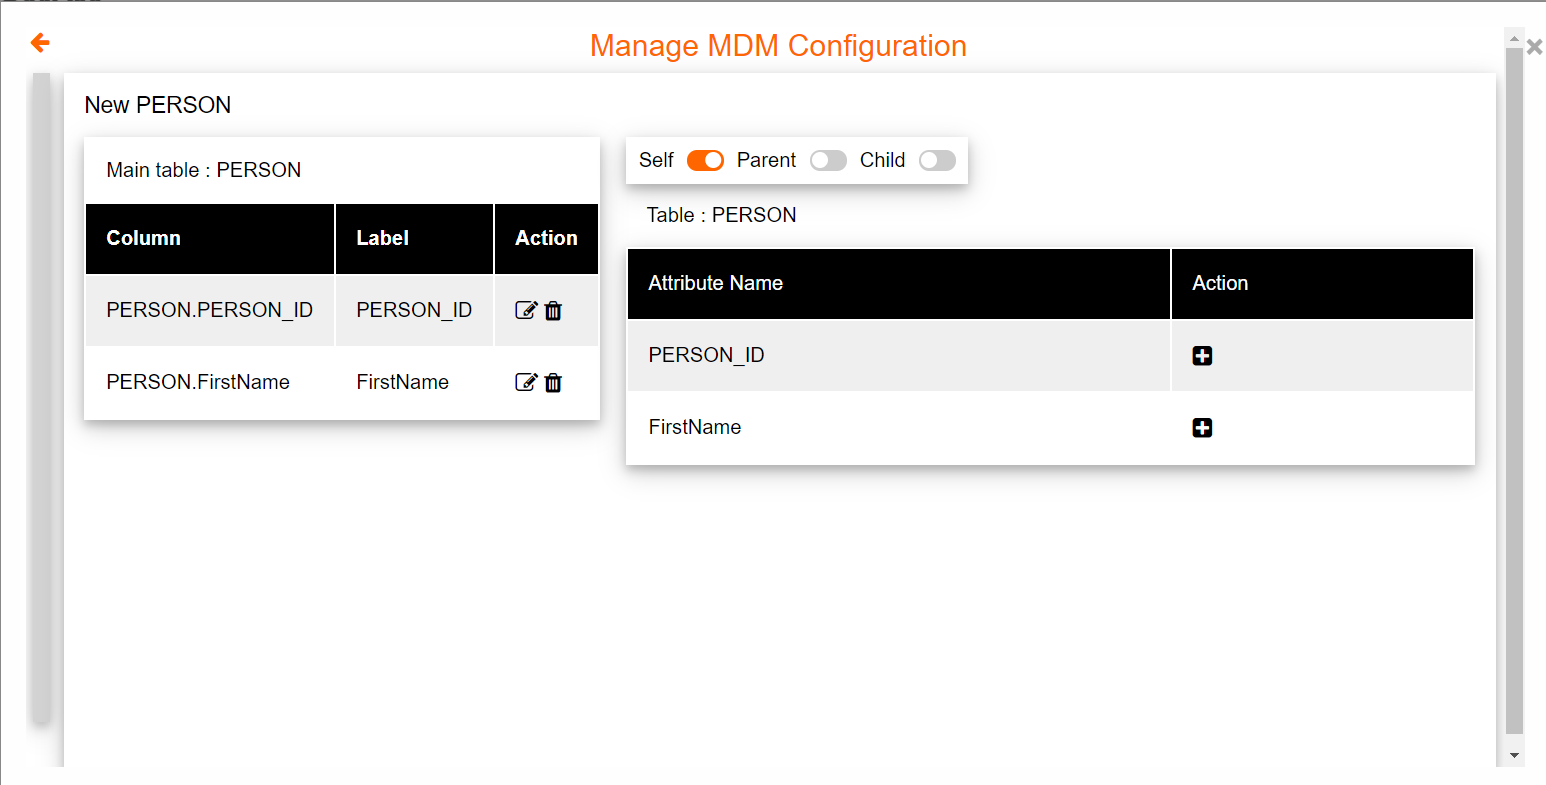
Similarly by clicking on New: users can include Parent or Children attributes.Parent is created first (if not already created) & the children are created only after the parent is created.
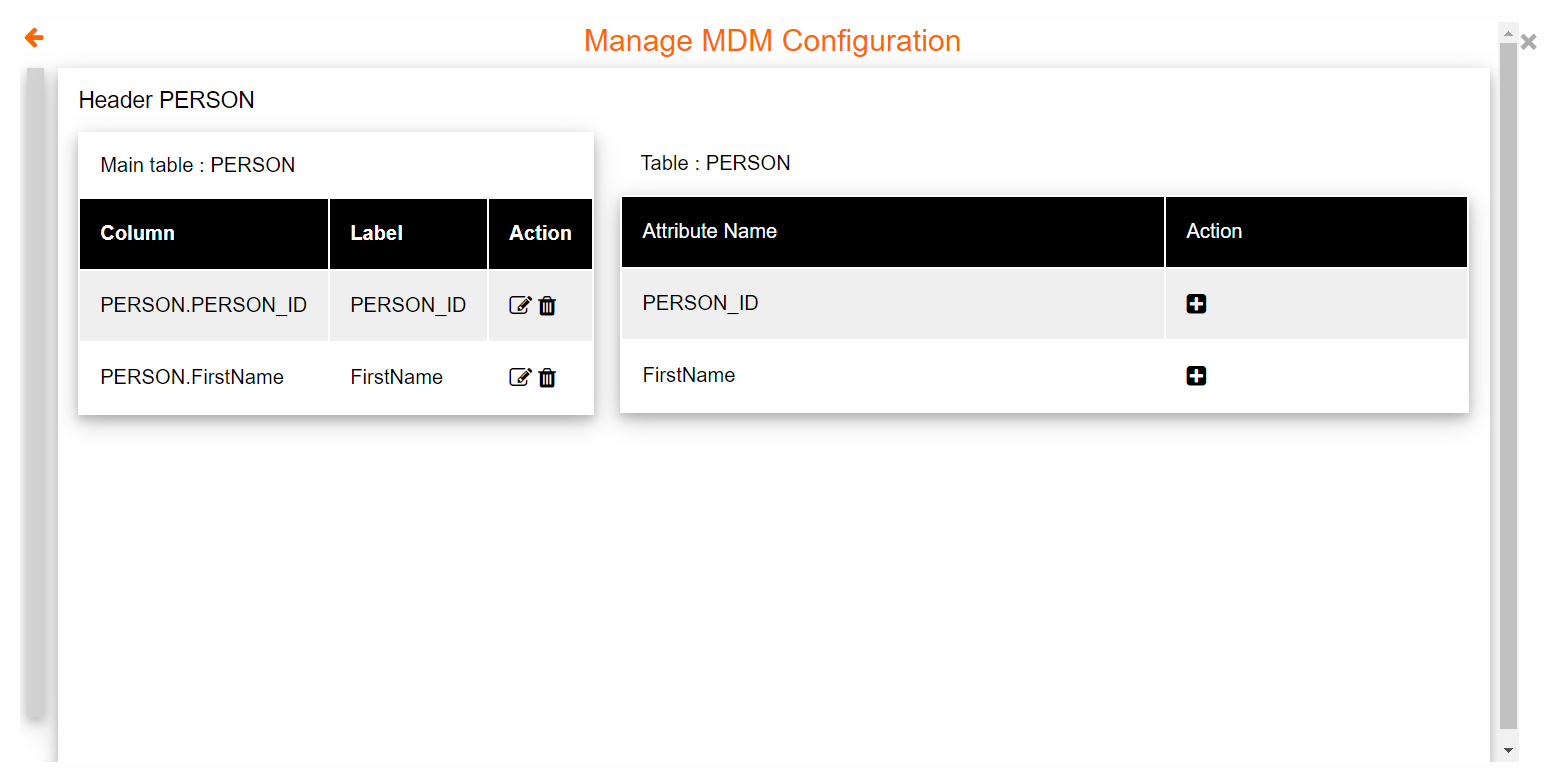
Finally click on Header Menu (Note: the Header can display only its own attributes and it's parents). To choose Parent, pick the Foreign key, this will automatically pick the Parent attributes.
Go to the Configuration Menu, by clicking the Home button, Then click the Manage Configuration menu.
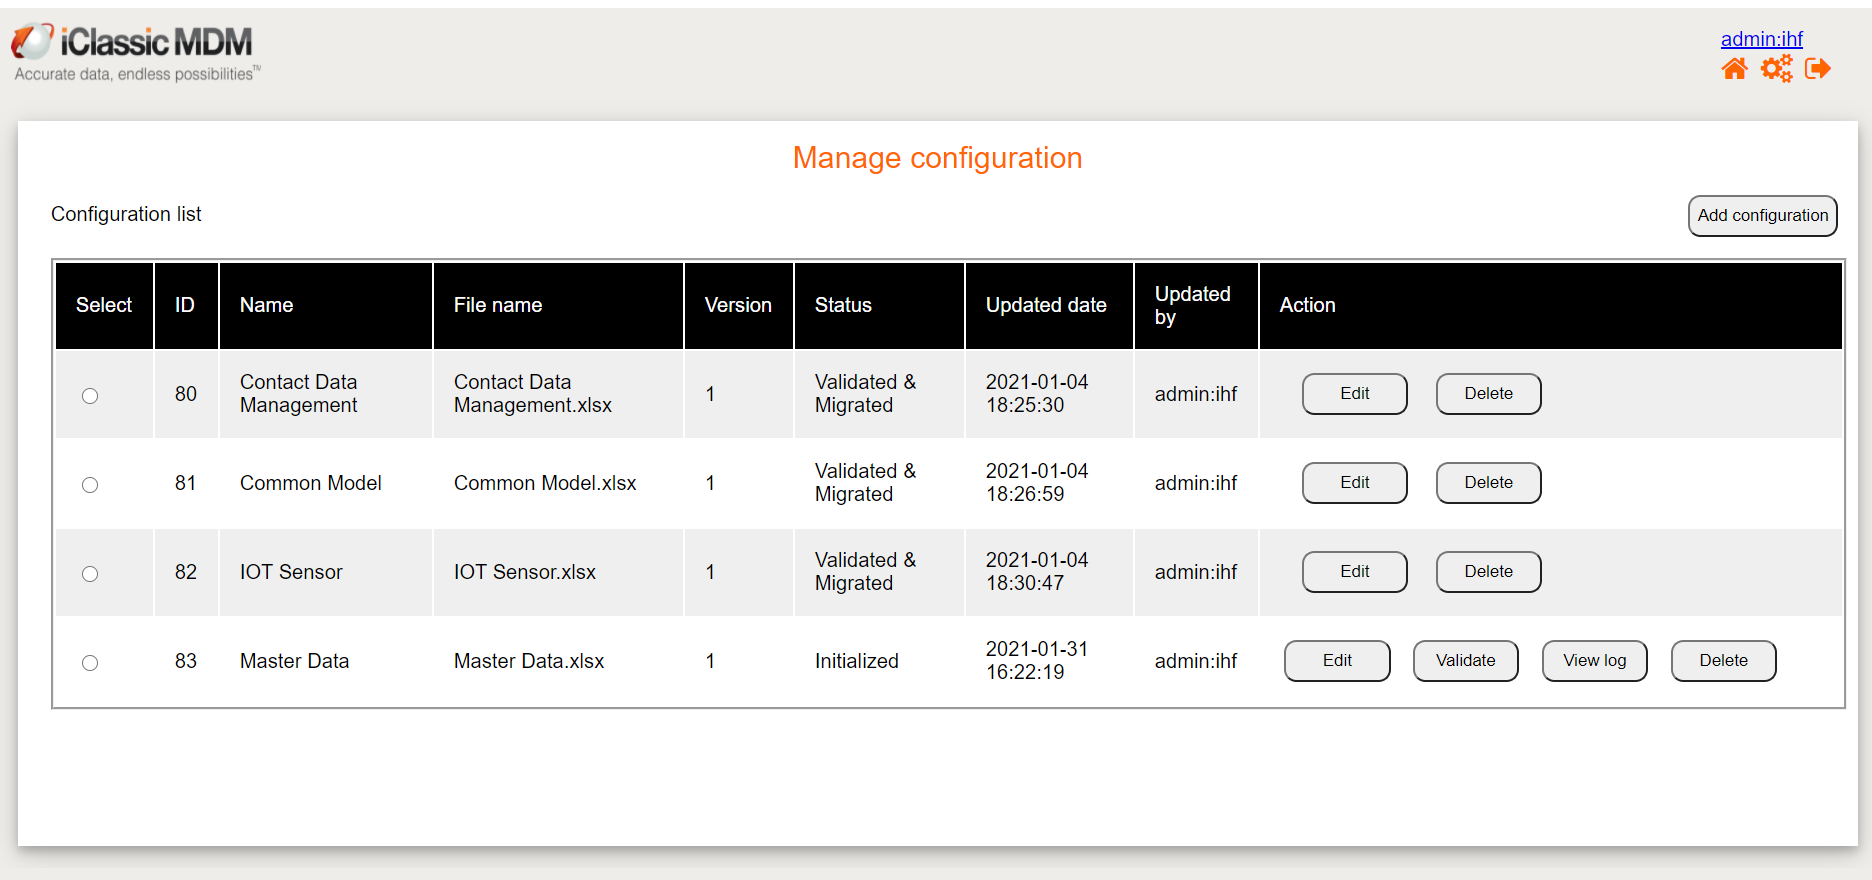
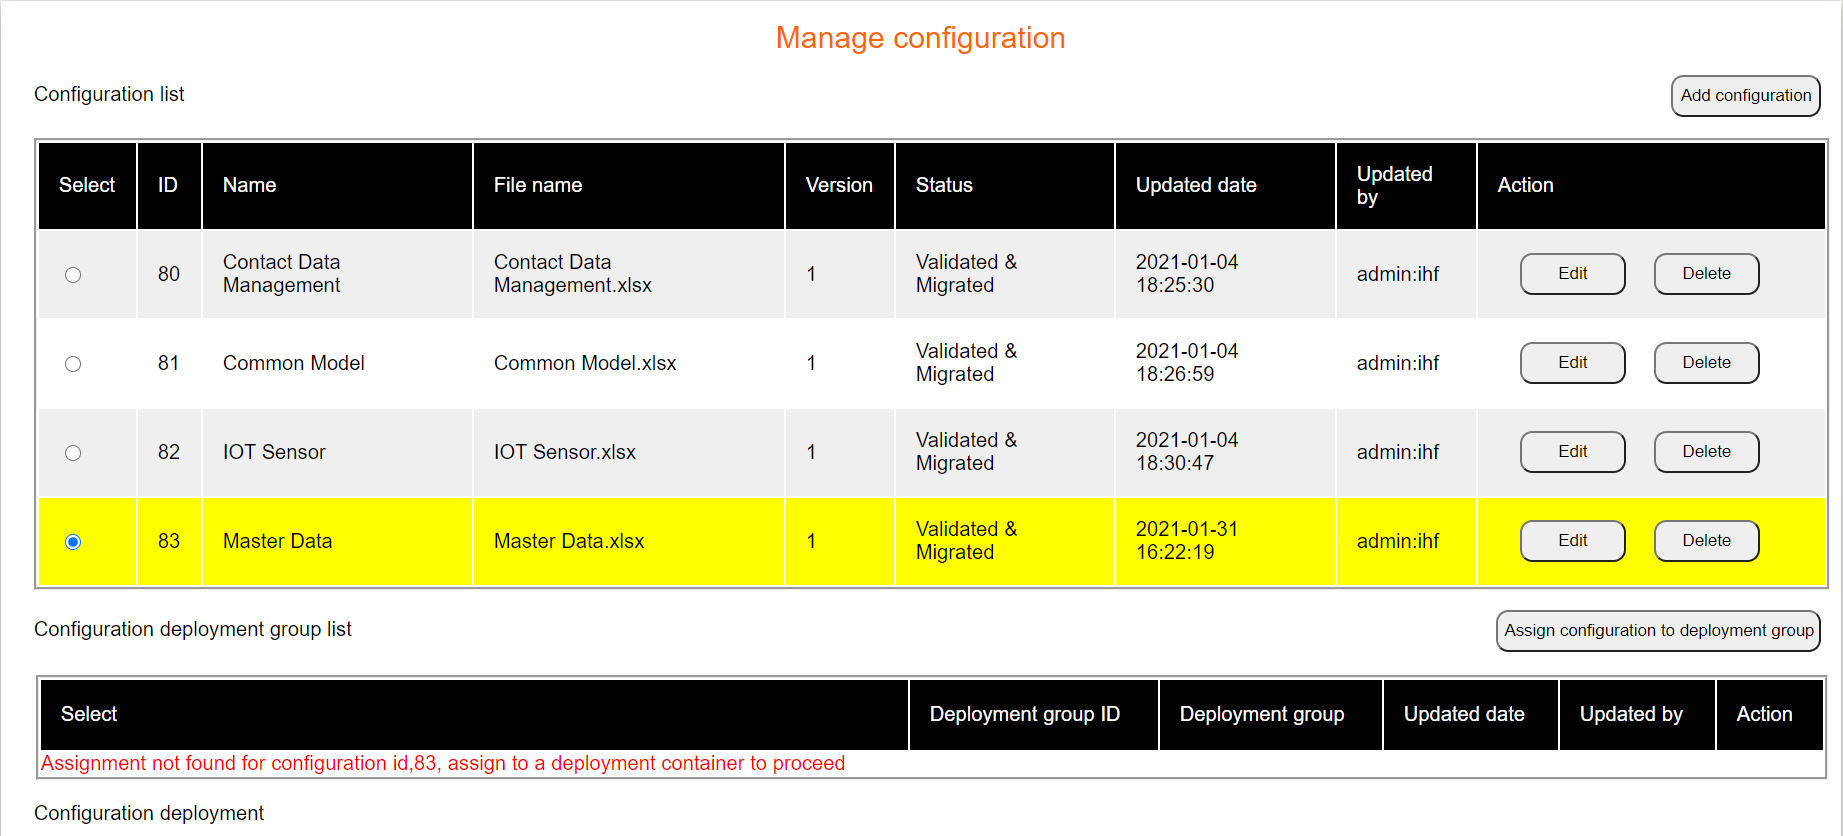
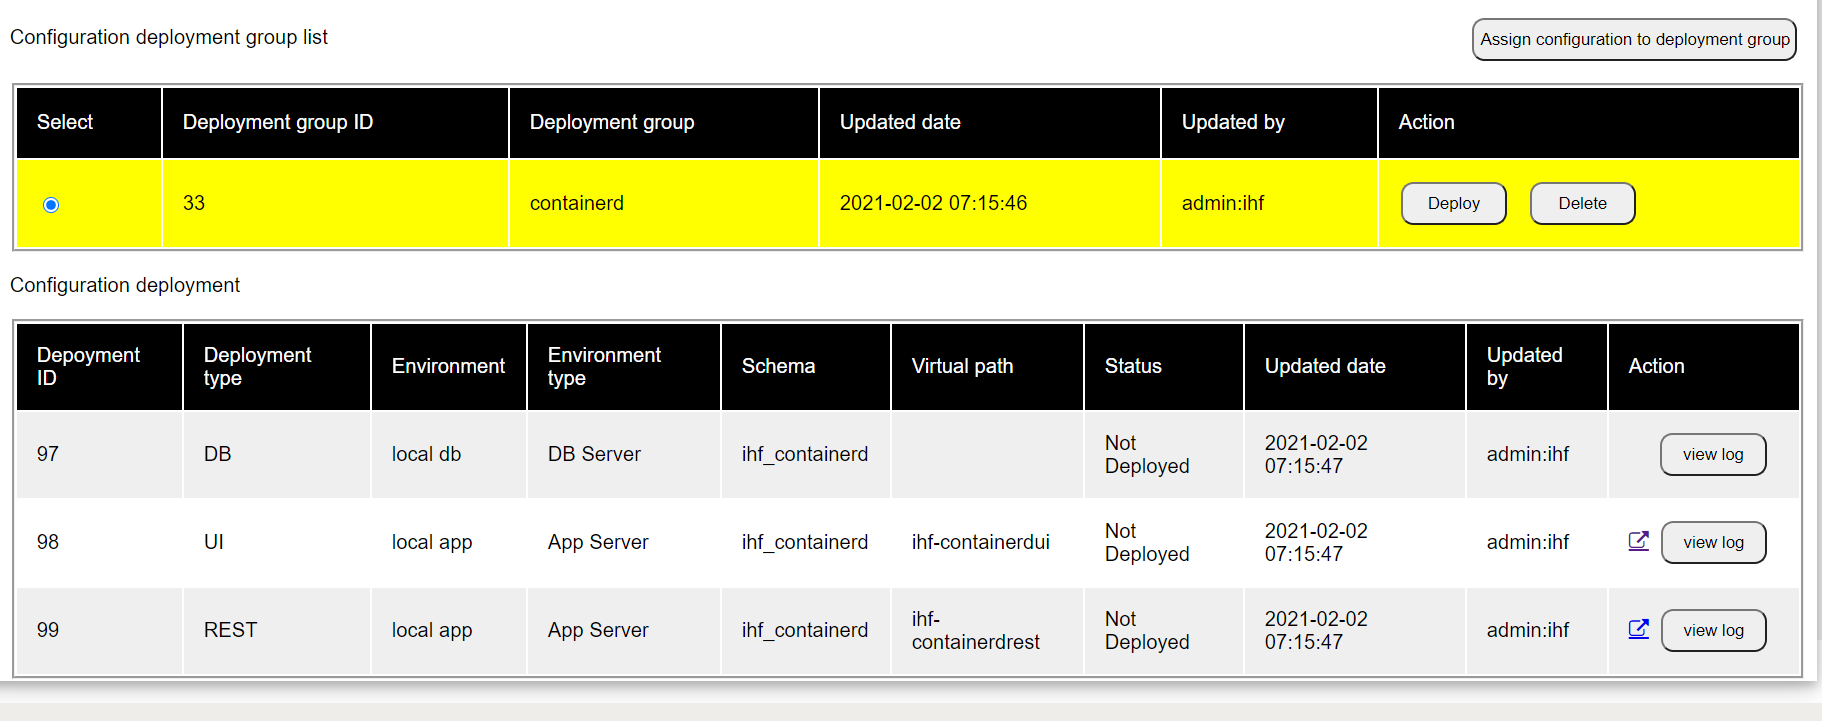
To Validate the Model, click the Validate button. Let us see the steps to assign the model to a deployment group, Select the Master Data configuration, then click Assign Configuration to deployment group button
Choose an unused deployment group, in this case we will pick, containerd.
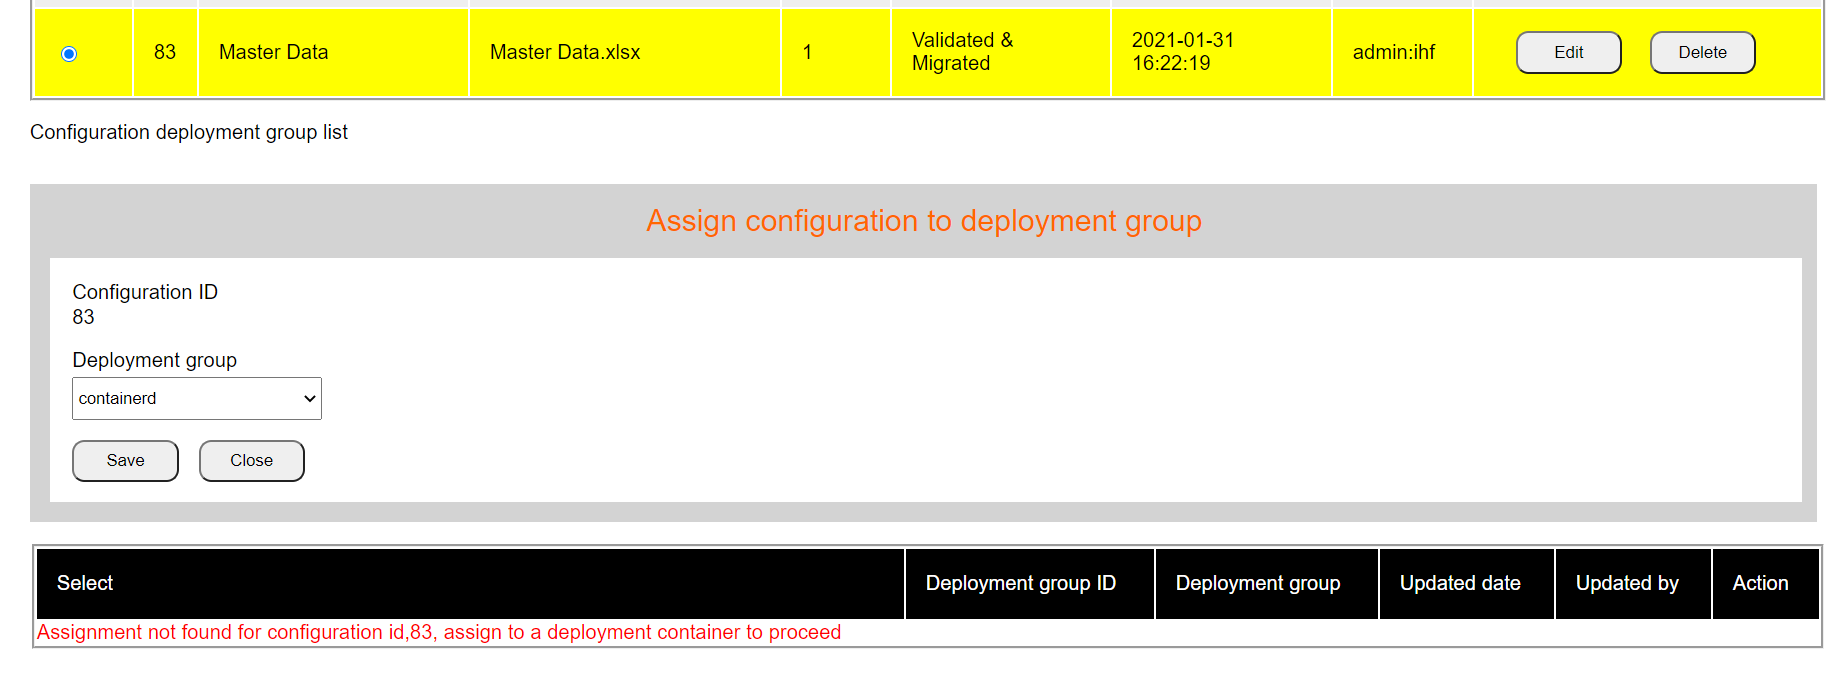
Click Save and then press the Close button. Now this should look as follows
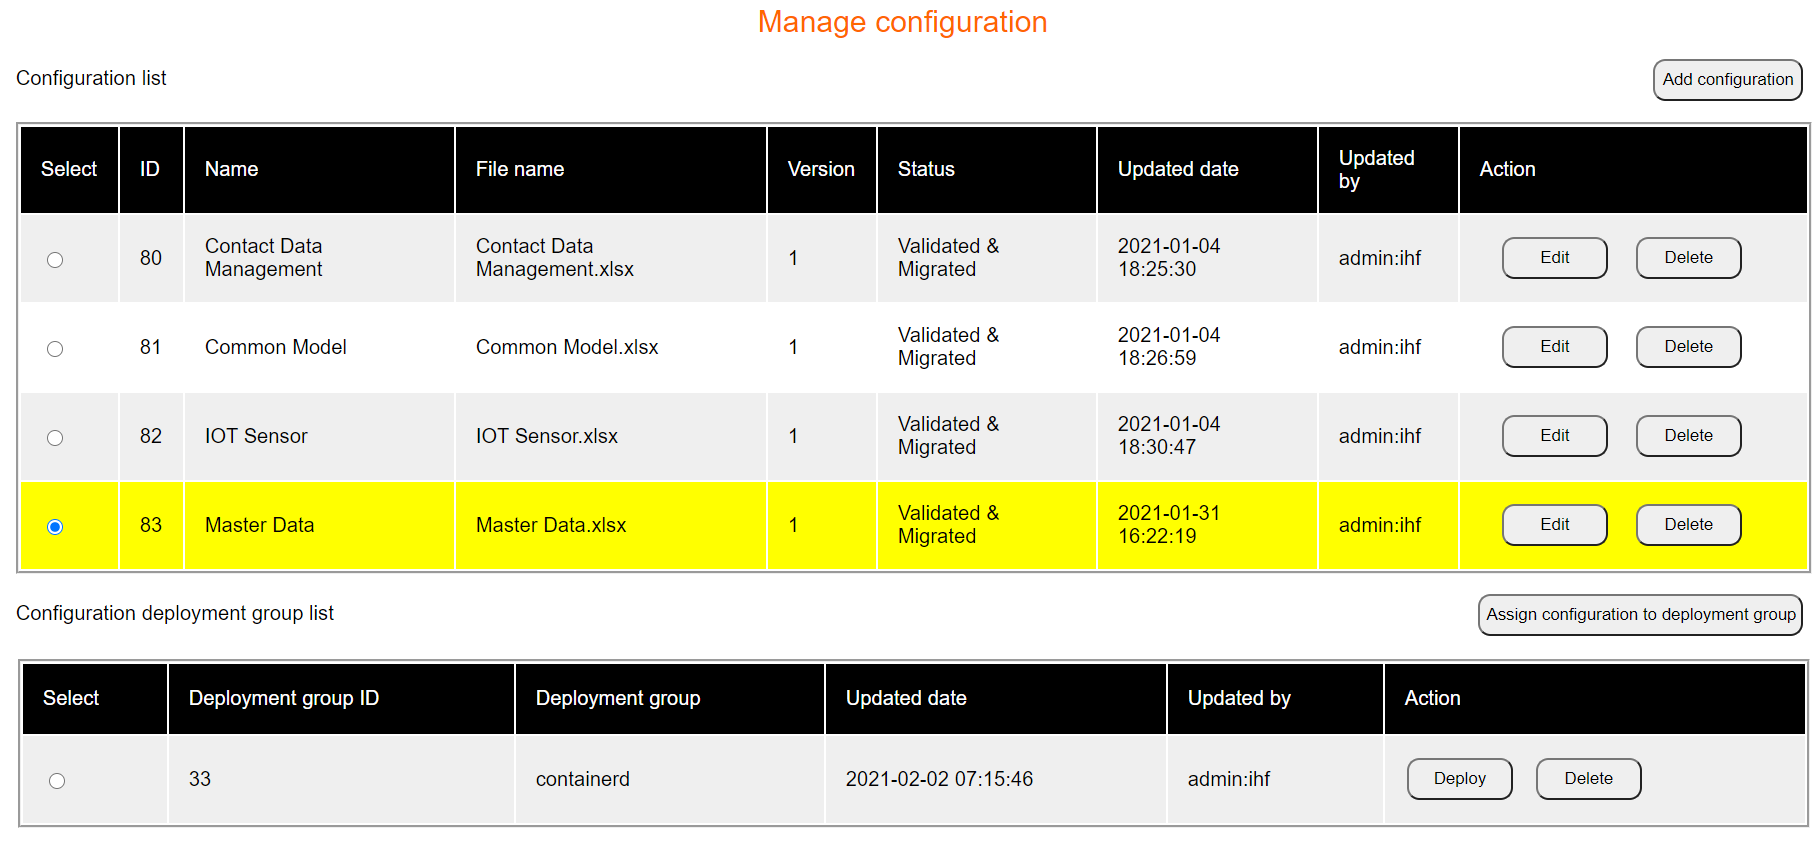
As a final step: pick the Deployment Group and hit Deploy
This will create a database and move your configurations into the respective schema.
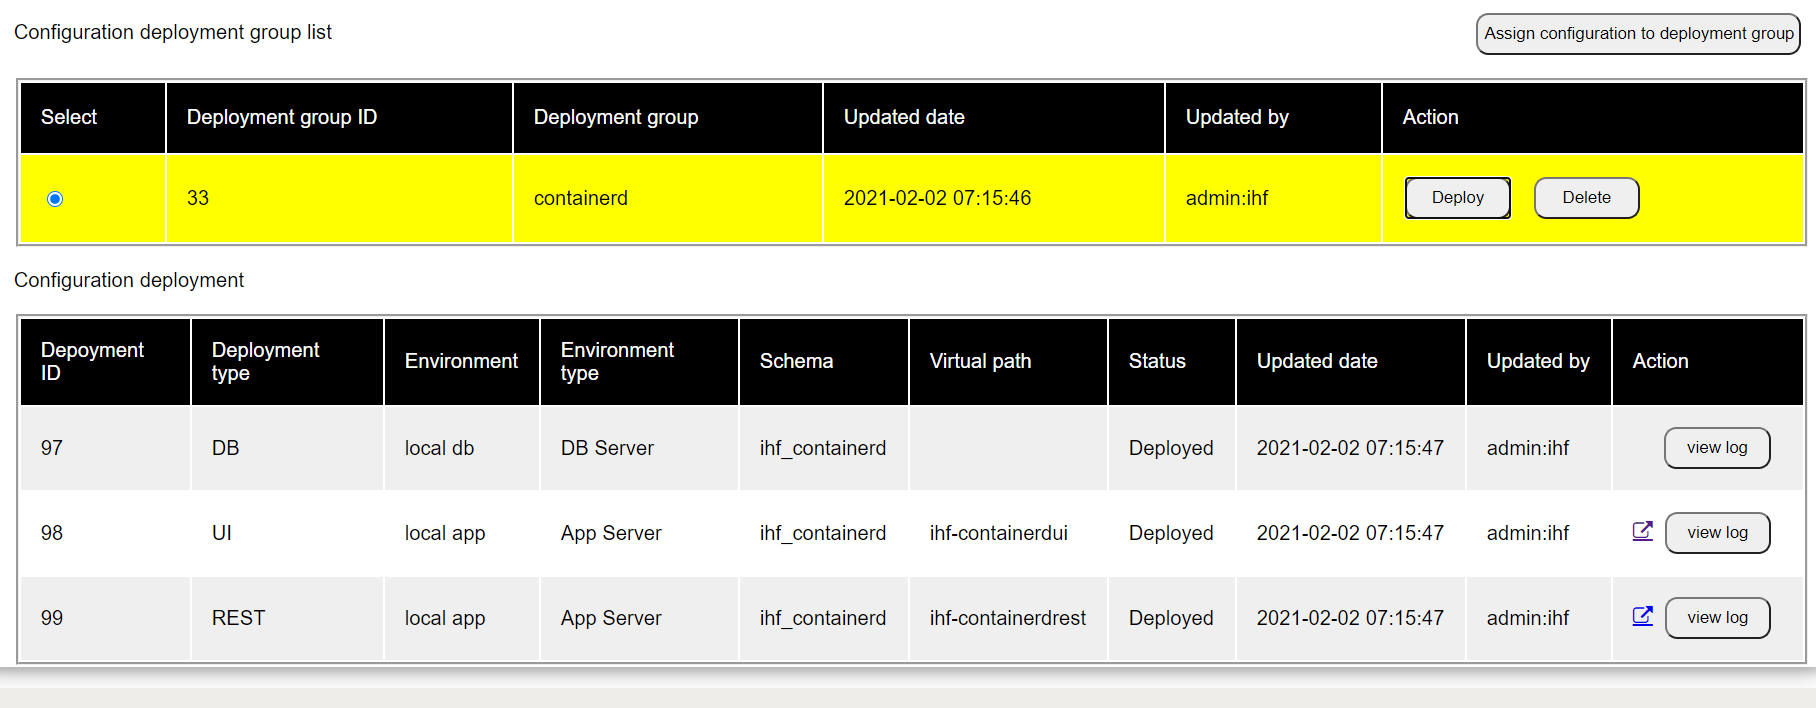
Now you can access your application by clicking the link under the Deployment Type, UI. You should be able to see the screen below. Congratulations you have created your first application!
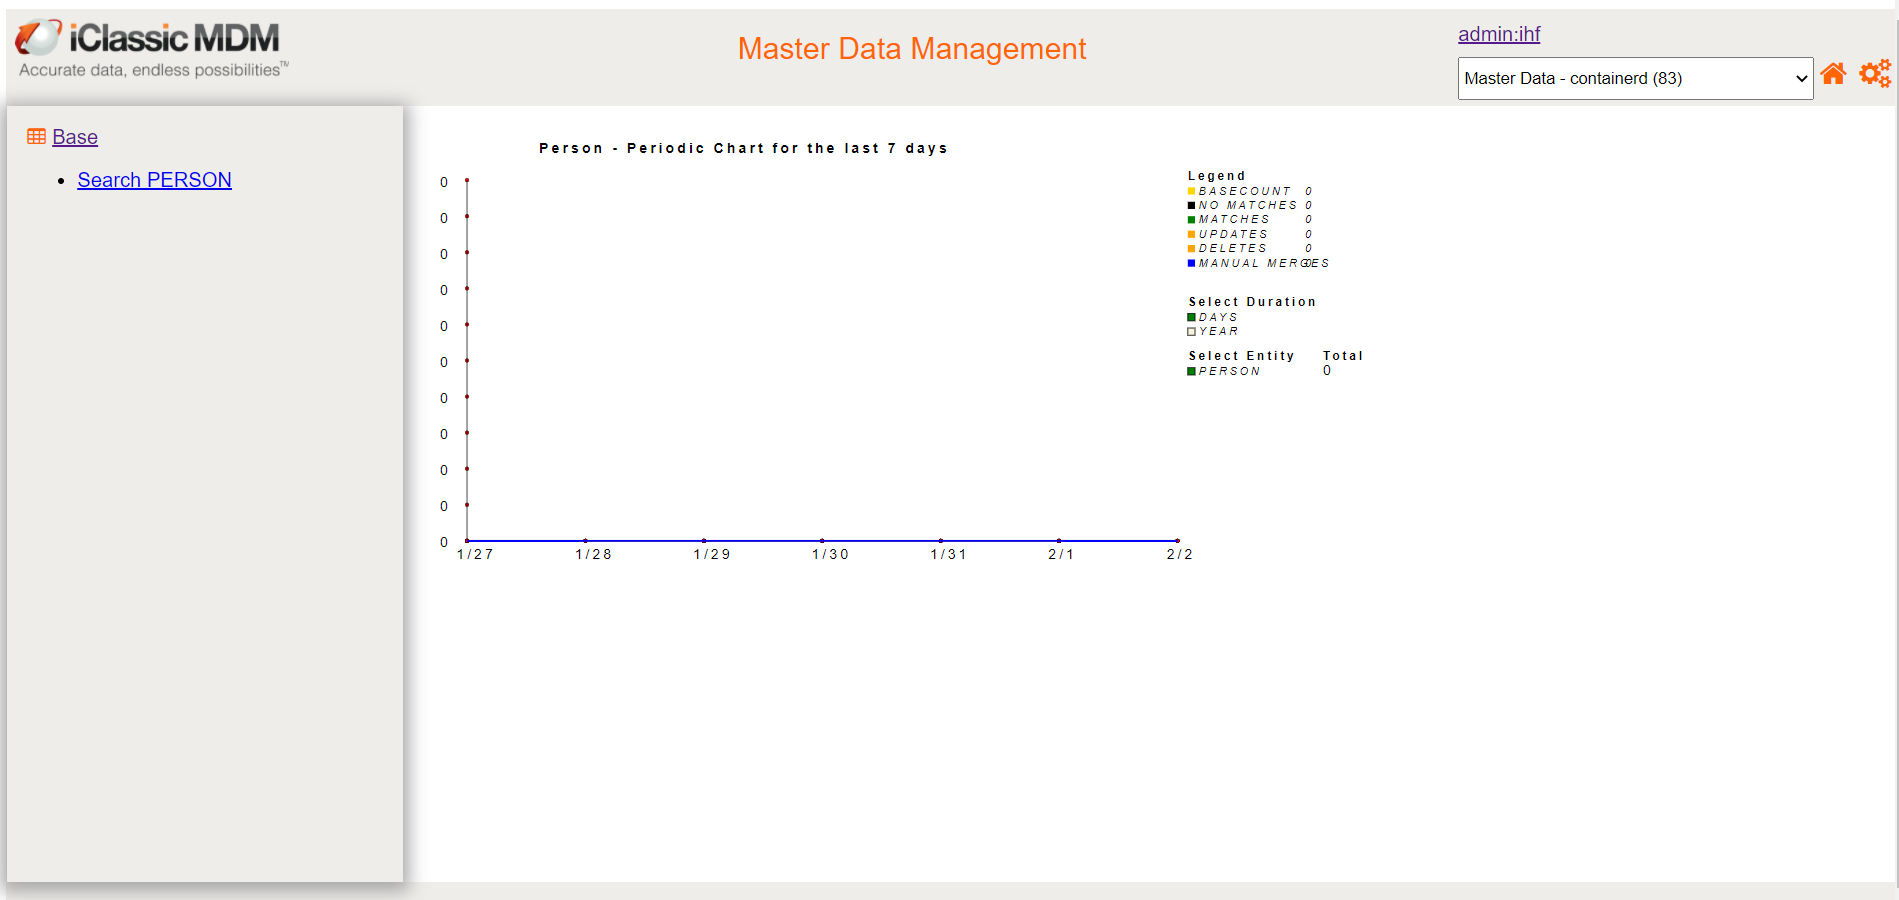
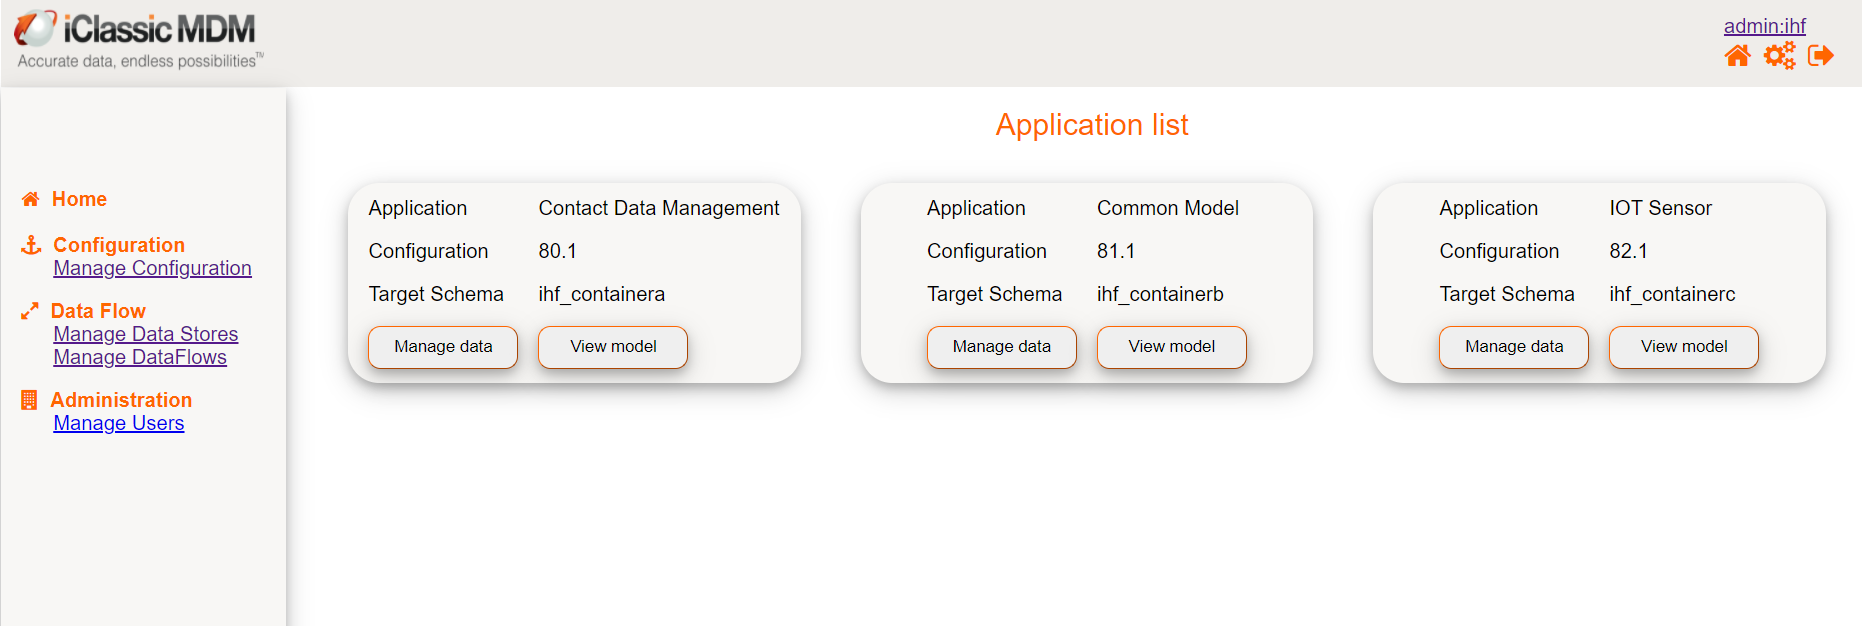
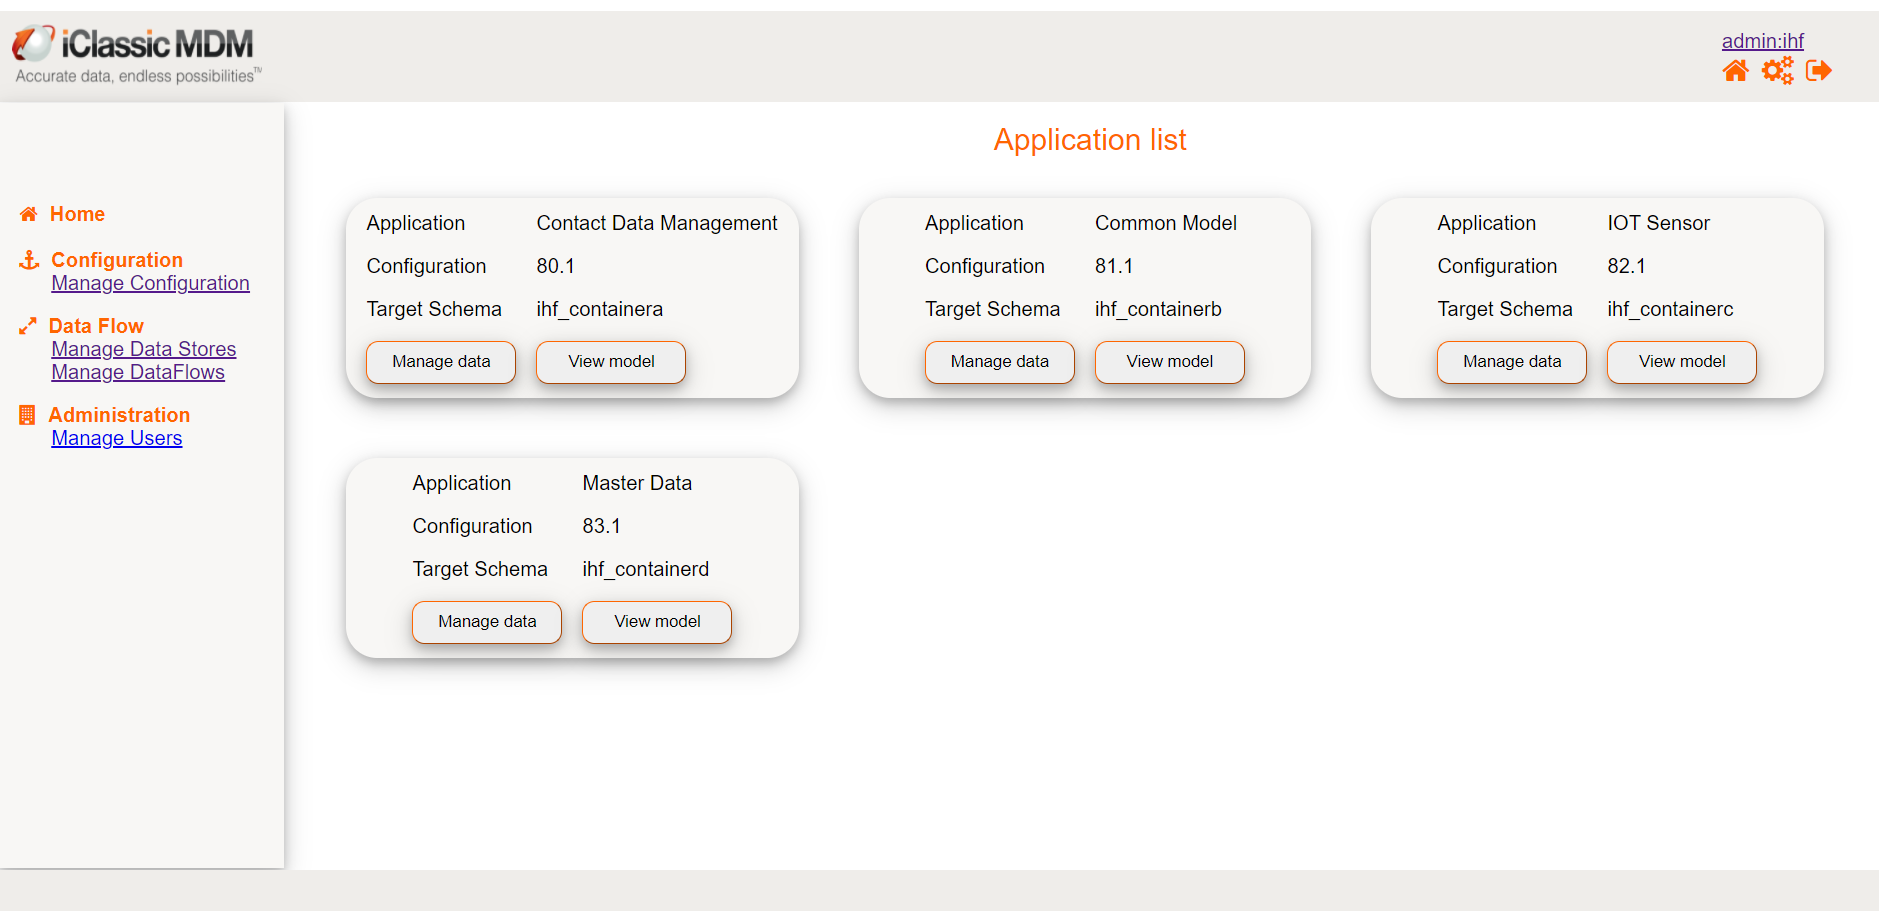
The iClassic MDM application can be accessed from the main welcome menu. If you click the Home button, you should be able to view existing application or newly deployed applications. If you are continuning the tutorial "Create your First App" then you should see, Master Data, in the dashboard. Now users can either view the model, or access the data. Click on Manage Data.
After clicking Manage Data, open the left menu, Base to see the Search Person sub menu.
Click on Search Person, you will notice there are no new records in the application. To add data, click on the Add New button
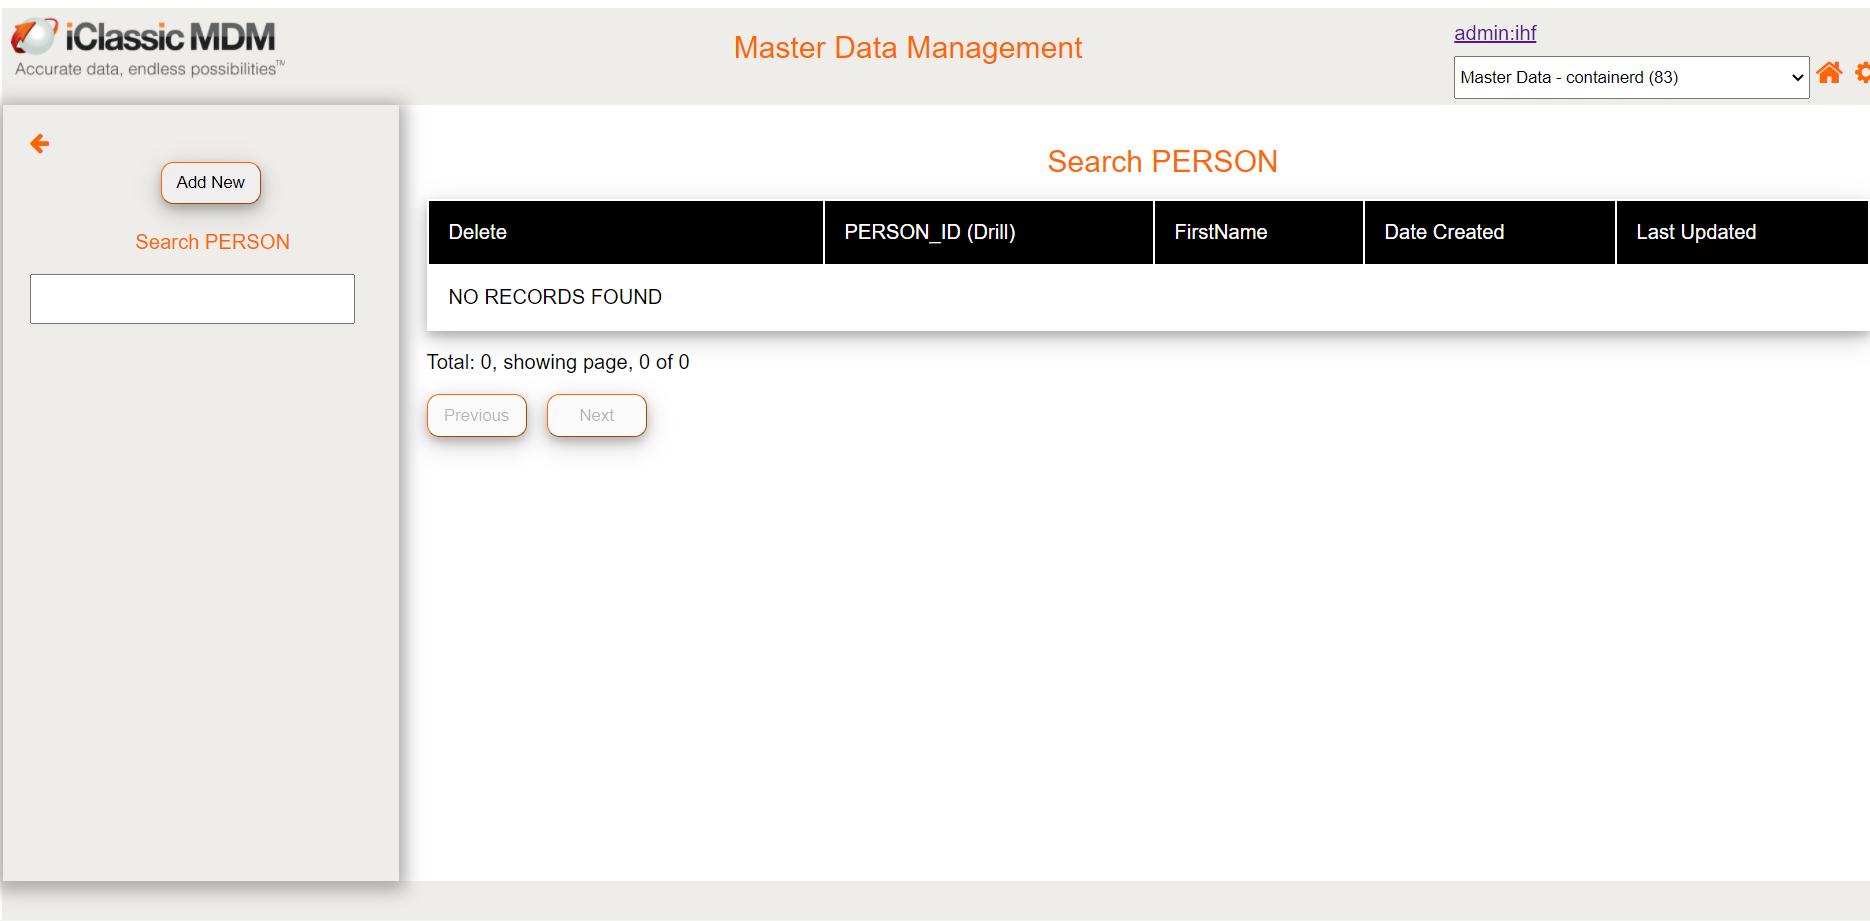
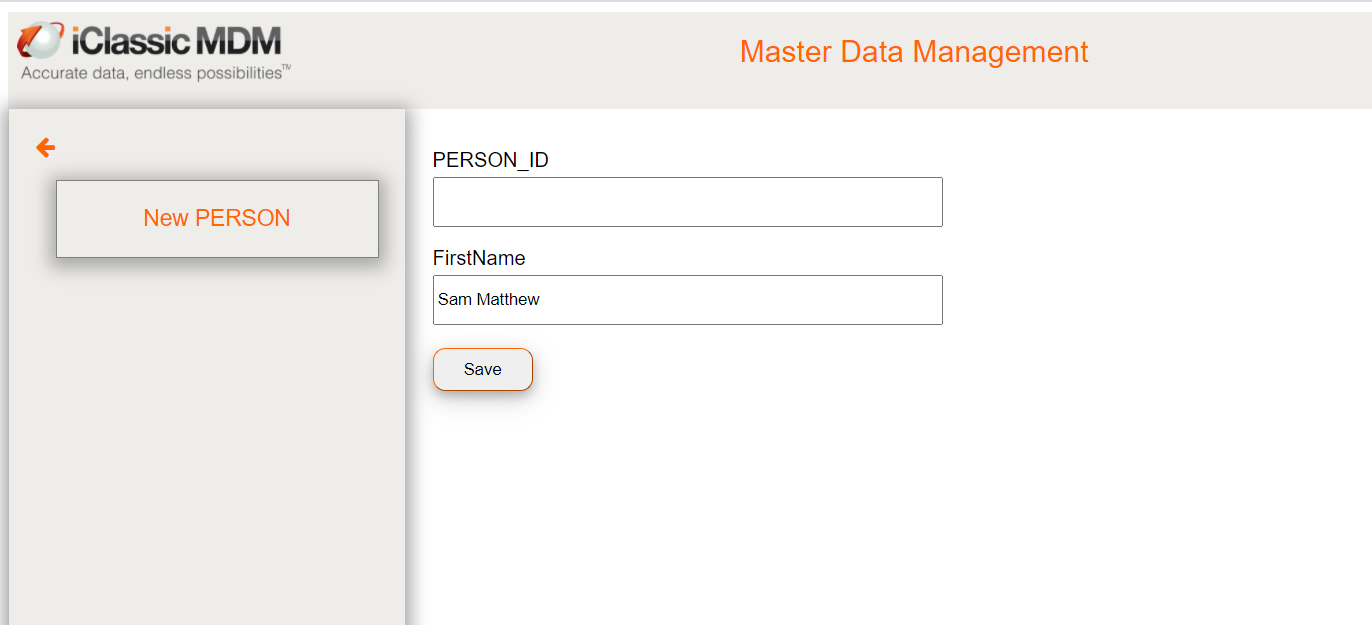
The screen should look as follows
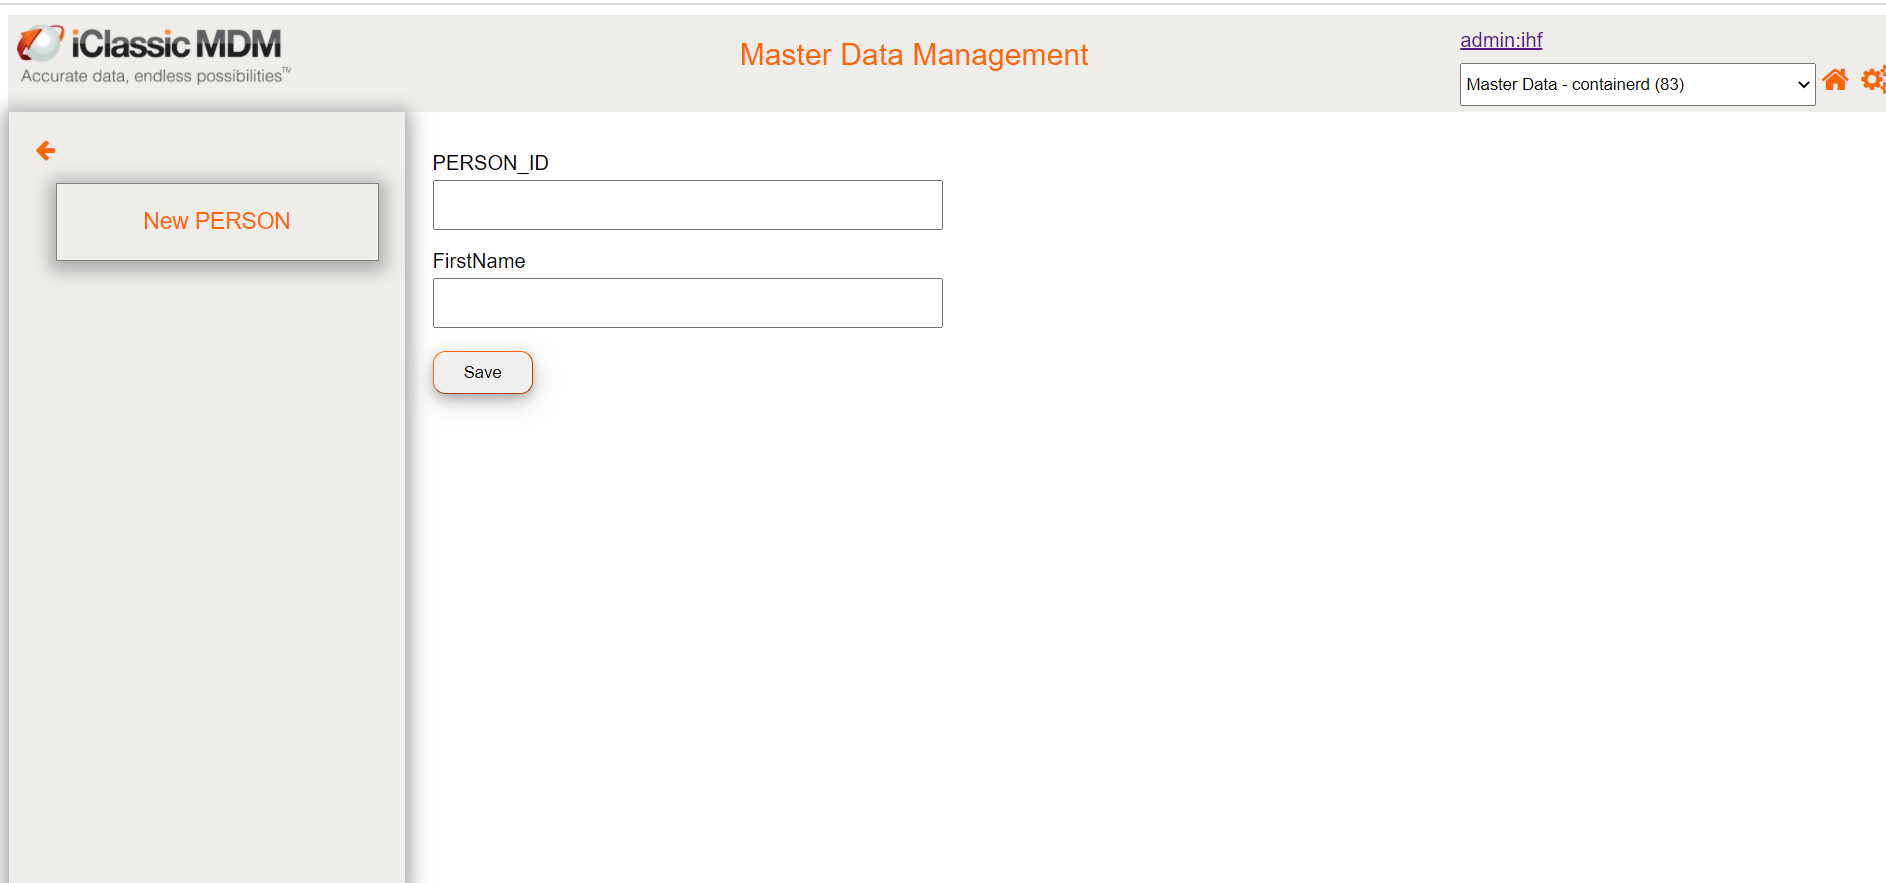
Let's create a record, with First Name as Som Matthew
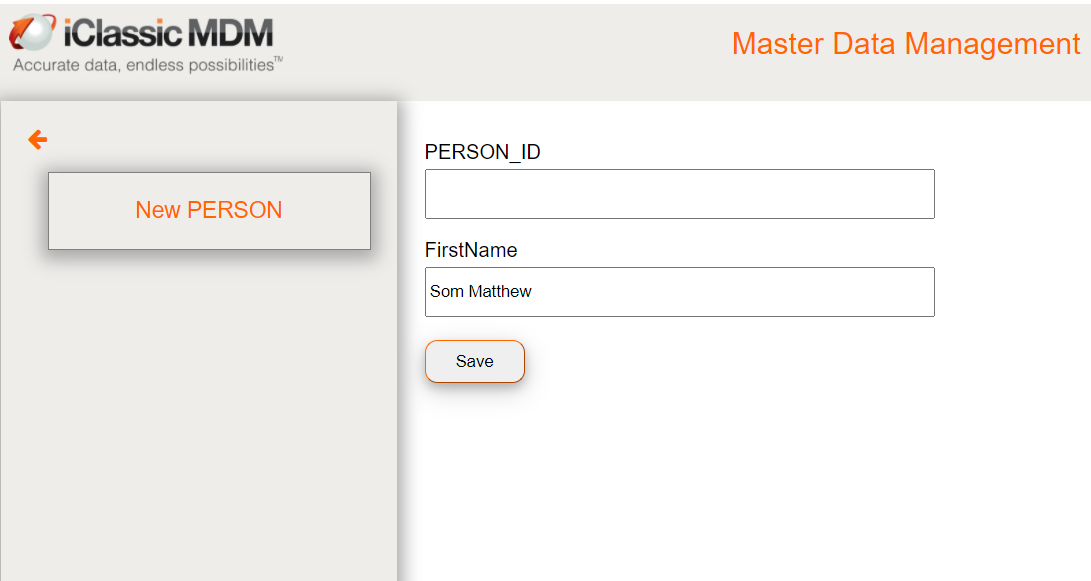
& Click Save
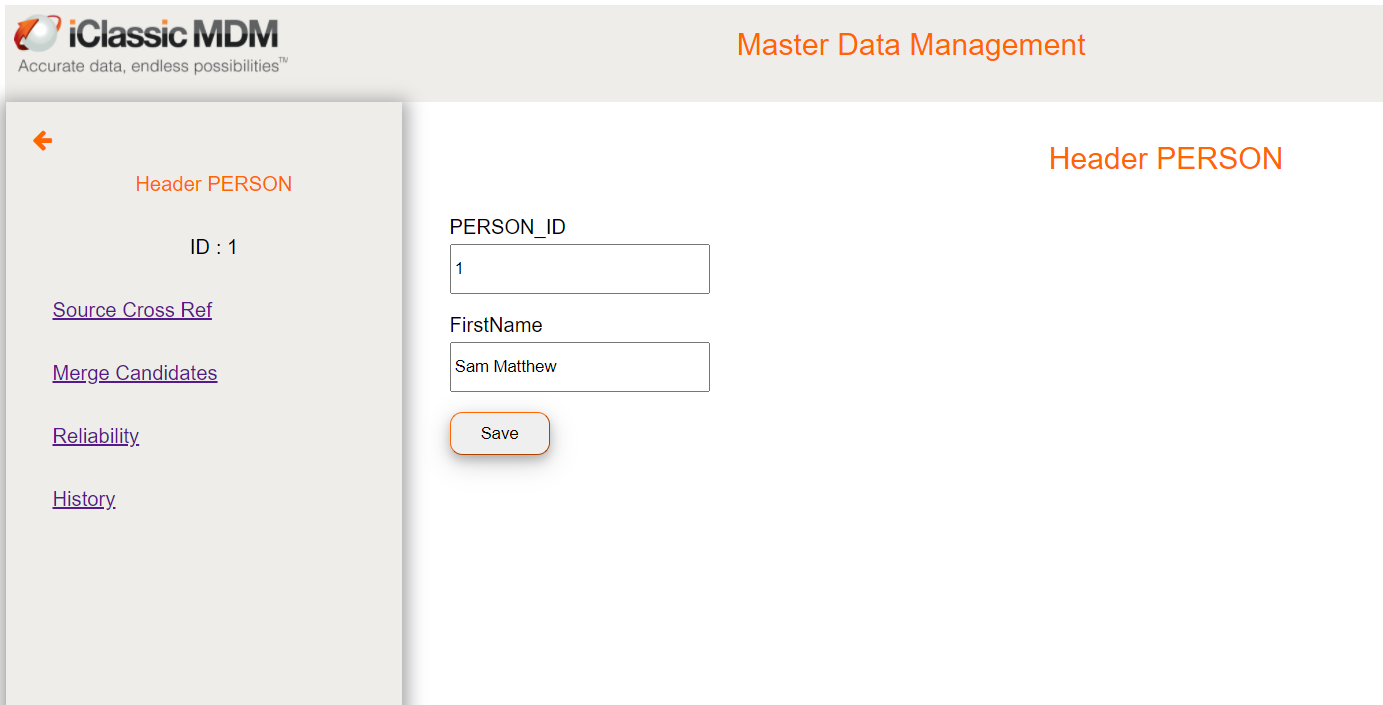
Note that the cleanse rule that we configured earlier, kicked in and changed Som to Sam, a golden record has been created with ID = 1. Now let's create one more record, called Som Matthew and see if the application's Match Rules are triggered.
We will follow the same step as above to access the Add New window,
Click on Save. Users will notice that the record is merged with the existing one. Click on the Source Cross Ref under the Header screen for Sam Matthew. Users will now notice 2 MDM records. Notice there is an Un Merge button also available, this is to undo automatic merges.
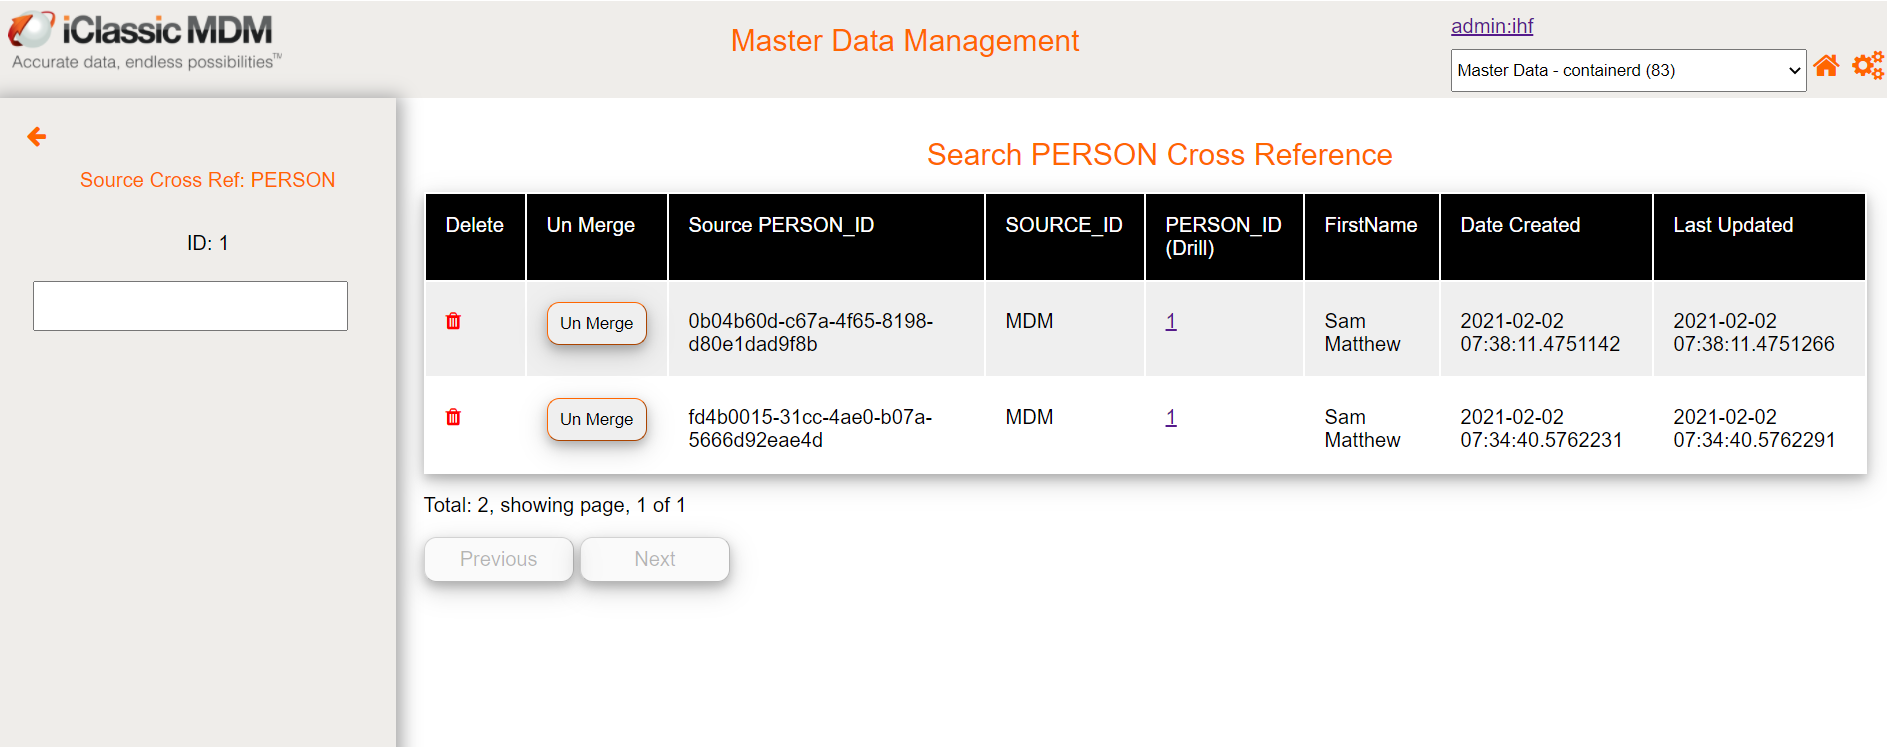
There are other scenarios you can perform under the Header Menu, such as View Merge Candidates, View History, Lookup which systems contributed to this golden record via the Reliability screen. You can also Unmerge Records through the Source Cross Ref screen. If you have configured child screen, then they are visible under the Header Menu as well.
iClassicMDM allows you to create your own Data Models. Users can either use Existing Models, or Create New Model. Follow the instructions under Create your First App Tutorial.

The model canvas, allows you to create or delete relationships between entities. You can also move the entities around by dragging them around. In order to add or delete columns or tables, you need to access the Glossary UI by clicking on the manage model pen icon.
Data stores are physical stores for files and also contain logical pointers to existing iClassicMDM schemas. They are pre-requisites and are essential for setting up Data Flow pipelines. From the Main Menu which can be accessed by clicking the Home button, choose Manage Data Store Menu. This should give you a list of the Data Stores that have been configured.
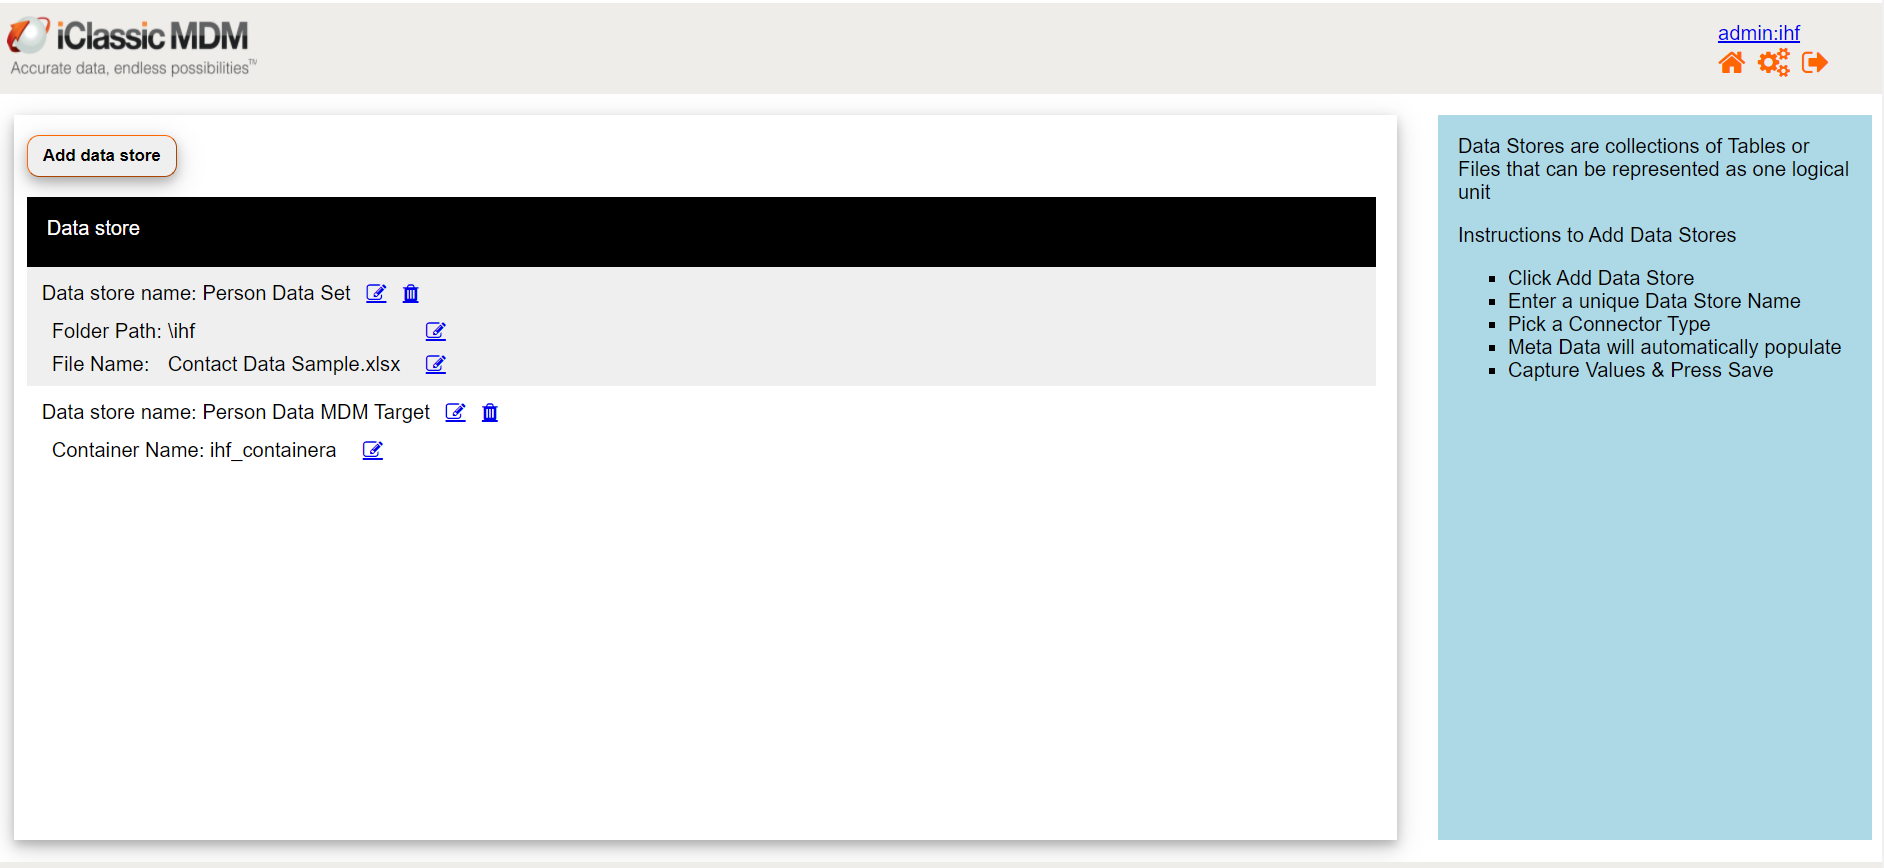
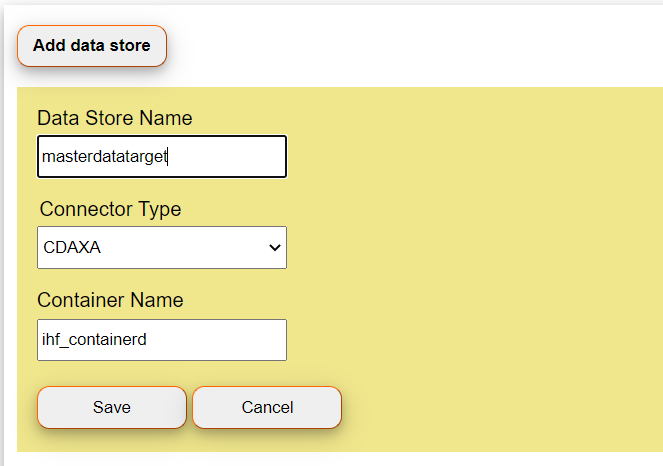
There are 2 types of data stores currently allowed in iClassic MDM - Excel and CDAXA. Excel allows you to upload a worksheet, so you can import the data into your iClassicMDM application. CDAXA data stores allow you to capture your target deployment container so you can use this as the target to map the exisiting data from your Excel spreadsheets.
Target Data Store
Source Data Store
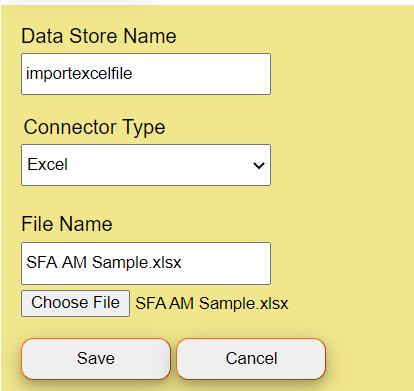
The Save might take a while since the metadata is also being imported and is being made ready for the next Data Flow pipelines step.
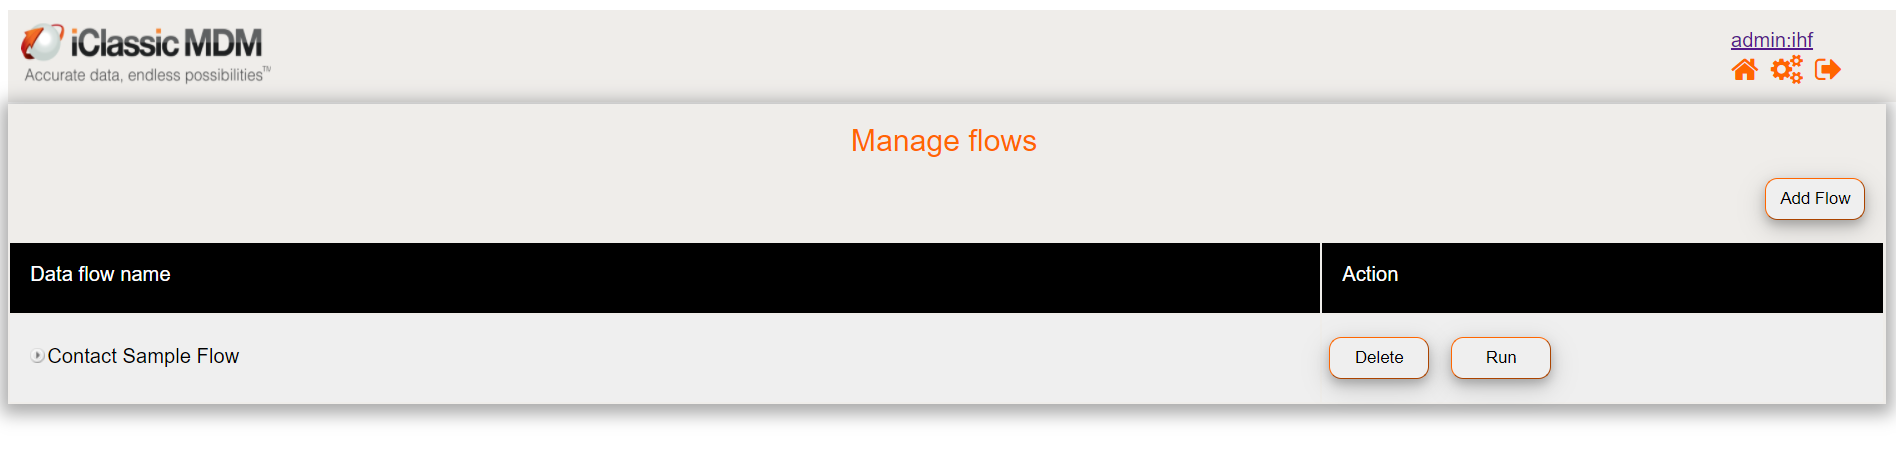
Data flow pipelines can be accessed by clicking on the Home button and accessing the Manage Data Flow menu. Before you create new pipelines, ensure the data store is defined per the instructions provided in the previous section.
Each Data Flow Pipe has the following main sections
- Data store (Source),users can choose the table or collections, and the specific attributes you want to extract
- Ingestion / Extract (Extract into an intermediate layer)
- Map to target iClassicMDM Model that you created
- Invoke the iClassicMDM Batch API to Cleanse, Match, and Load the data
Click on the Configuration Menu
View list of Data Flow Pipeline
Access a Sample Data Flow Pipeline instance
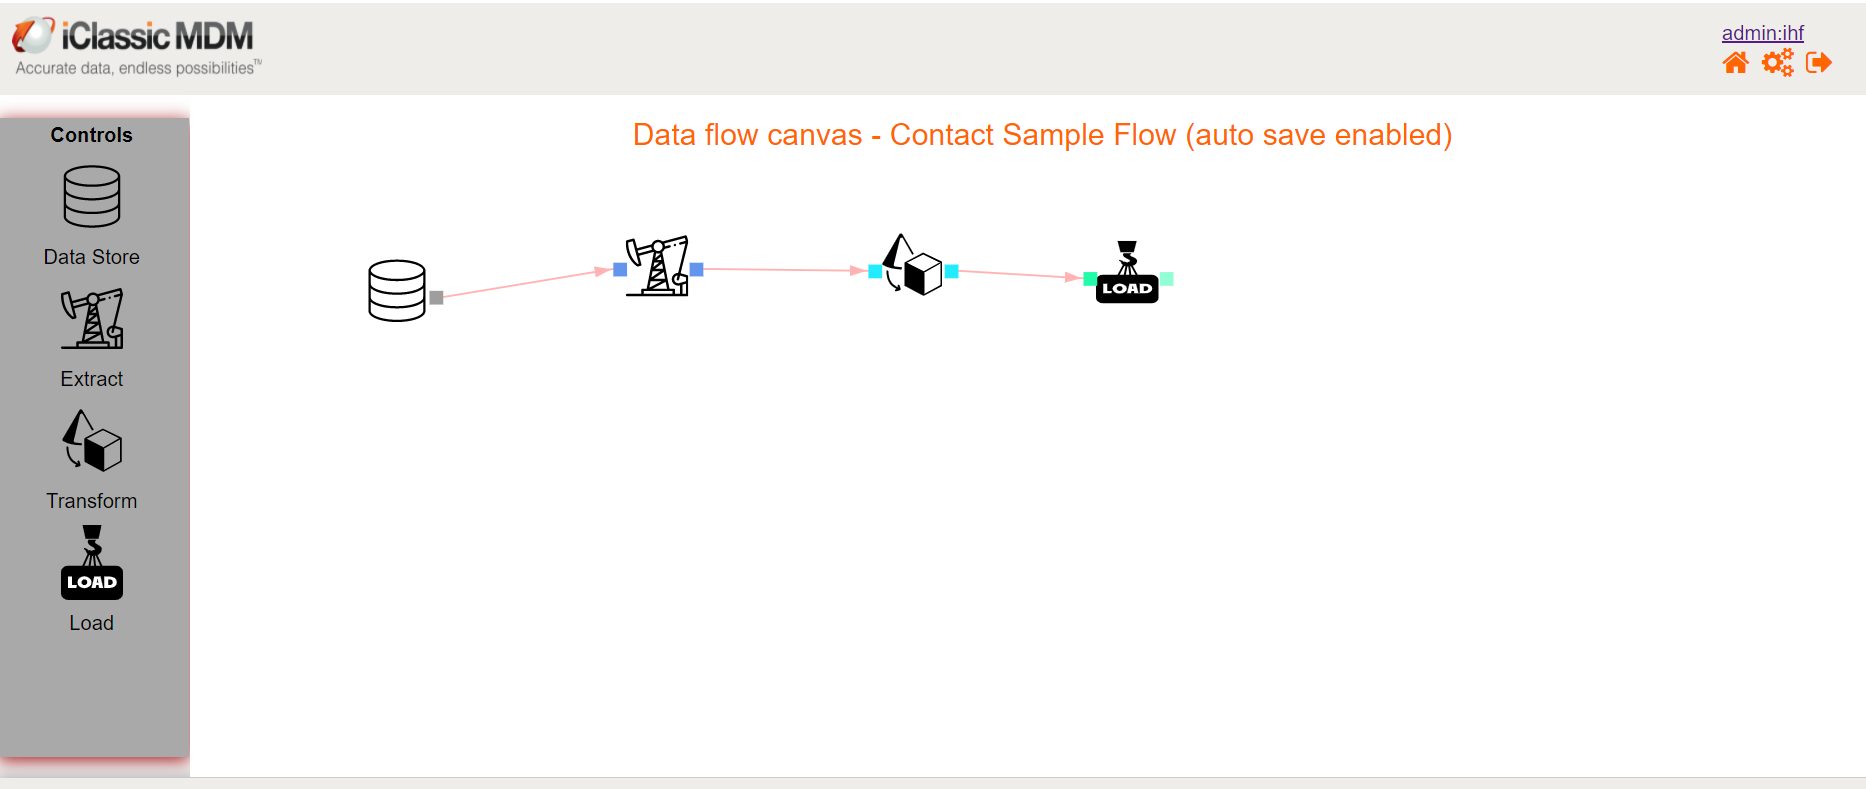
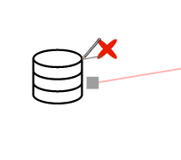
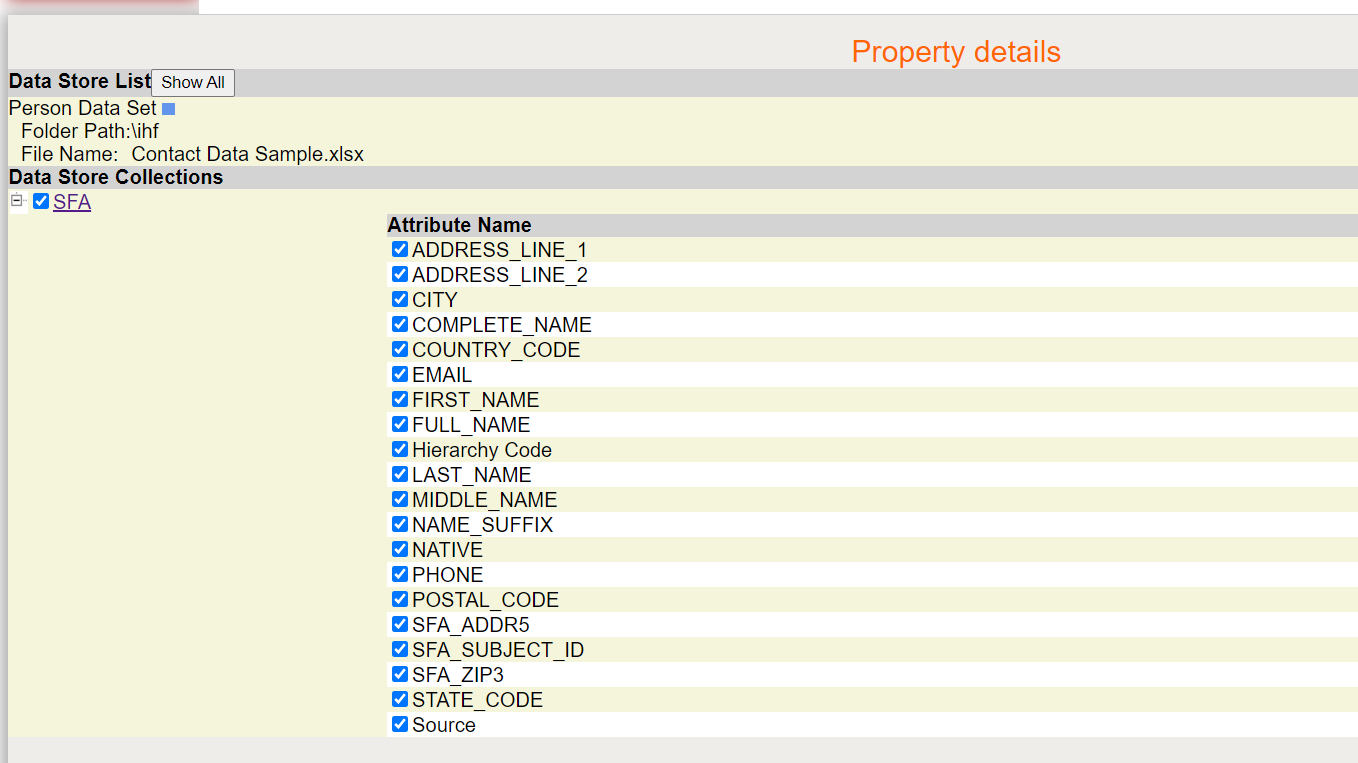
As you hover over the Data store/Database symbol, click on the Edit pen symbol. This should open up the details in the Properties window below.
Expanded view of the Properties, this shows the Excel tabs as collections and the Excel columns as Attributes. In this example, all the columns are selected.
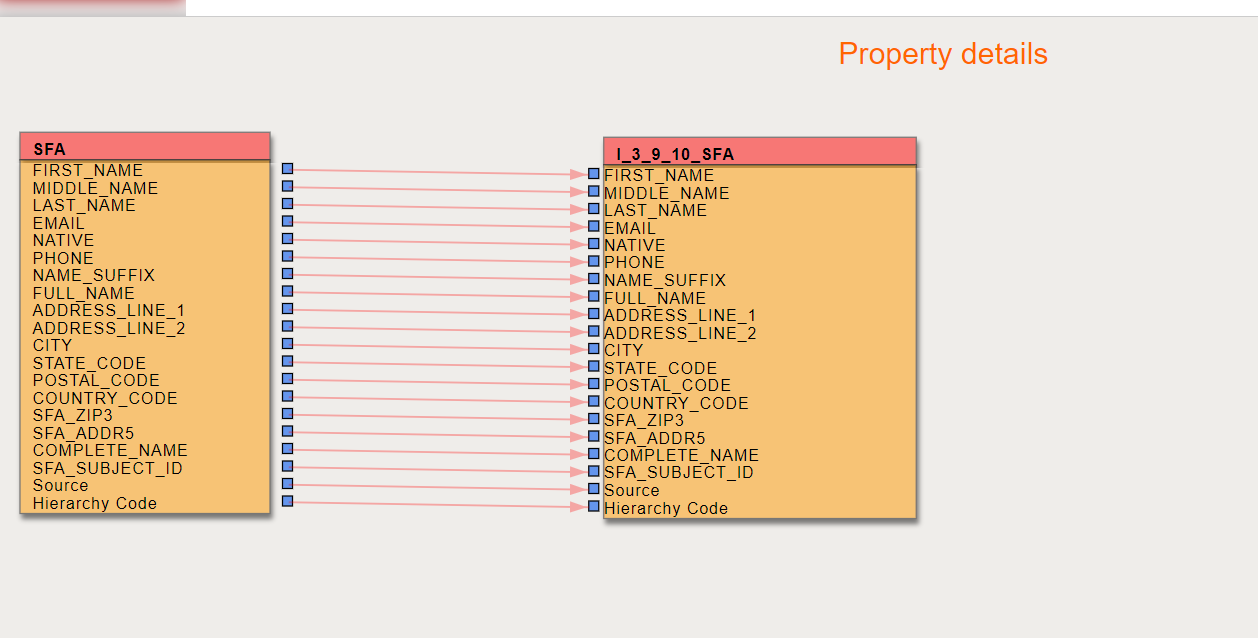
Next, there is an Extract Stage, this stage moves the data as is, into an intermediate table within ihf_xi database. Similar to the above step, hover over the Extract Stage, Rig symbol, and click on the Edit pen icon. This should provide you the details of this stage. You will not be able to make eny edits at this stage, and is not recommended to do so.
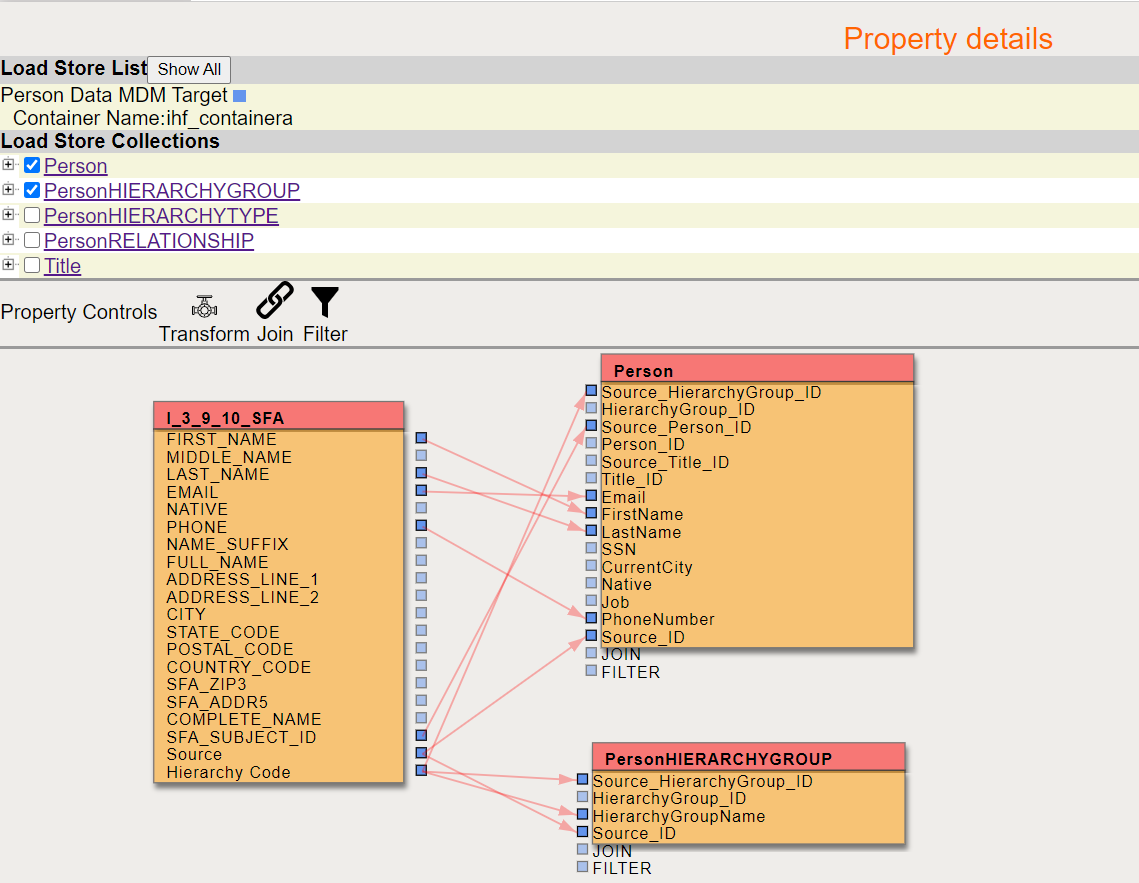
The next stage, called the Transform Stage, is represented by a model transforming from a pyramid into a cube. Click on the "Edit" pen icon in this stage to access the Properties. This stage is slightly different: Users perform 2 activities in this stage. Select the target iclassicmdm schema to perform mapping from the intermediate stage to the target table. This transform stage will only move the data from the source into a staging table. The Load Stage is what moves the data from the staging table into into the actual Base objects. There is also Property Control Flows such as Transform, Join, and Filter that users can leverage, these actions requires skill in SQL scripting basics.
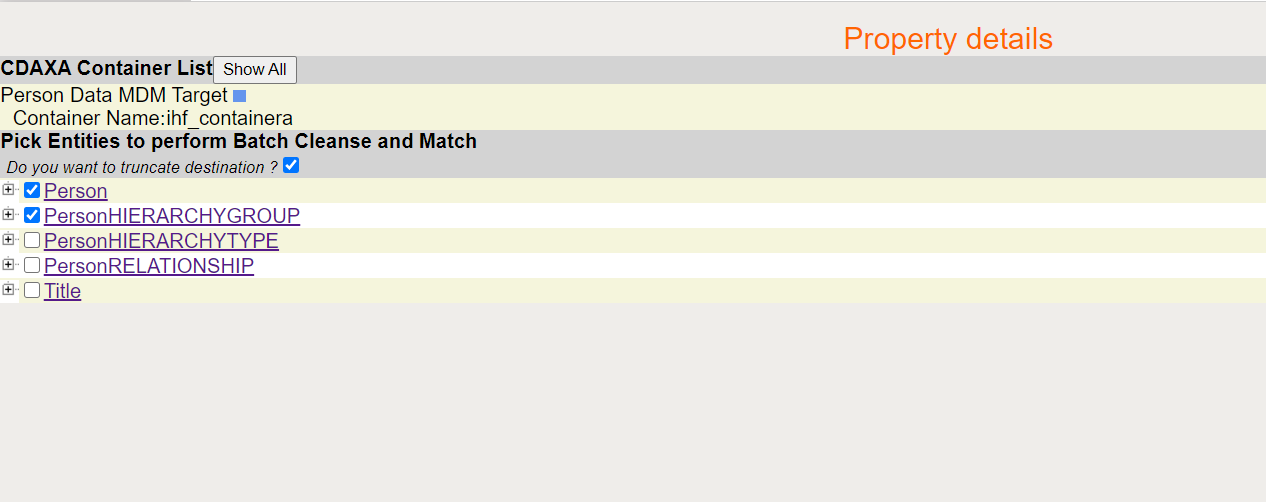
Finally click on the Load stage, Properties. In this stage, you select the iClassicMDM Batch APIs you want to execute. It may seem like you performed this exercise in the previous step, but this is a separate step which actually tells the application to move the data from staging area into Base Objects. The base objects trigger multiple jobs in the background and they automatically detect the logical sequence of steps based on your selction. For example, if you try to load both a child and parent in the same flow, they will automatically adjust to load the parent first, and then load the child.
We currently support the following Operating System : Linux, Windows, Mac OS Browser : Chrome, Safari, Internet Explorer RDMBS: SQL Lite, Microsoft SQL Server Container: Linux Docker Container, Kubernates Orchestrating Engine If you have additional need for other RDBMS or NoSQL, please contact us.
click to goto iclassicmdm download page
For further questions please email us at info@etsondemand.com .