(Deprecated) Notification Service Extension manual integration
This documentation describes the manual process of integration of Mobile Messaging Notification Service Extension. This way of integration is deprecated in favor of automated integration using
mminetoolset. For more details see Delivery improvements and rich content notifications
- Creating a new Notification Service Extension
- Setting up App IDs
- Setting up Xcode project
- Troubleshooting
With the new iOS 10 you can attach a static or animated (GIF) image (see Rich Notifications for more details), or even a video to push notifications as well as modify the notification content prior to show it to the user. But what is more important for us is that with the Notification Service Extensions we can run arbitrary code in background even if your main application is killed by the user. This feature gives us an opportunity to improve message handling and delivery reporting. In this tutorial you will learn how to integrate the Notification Service Extension with your existing application.
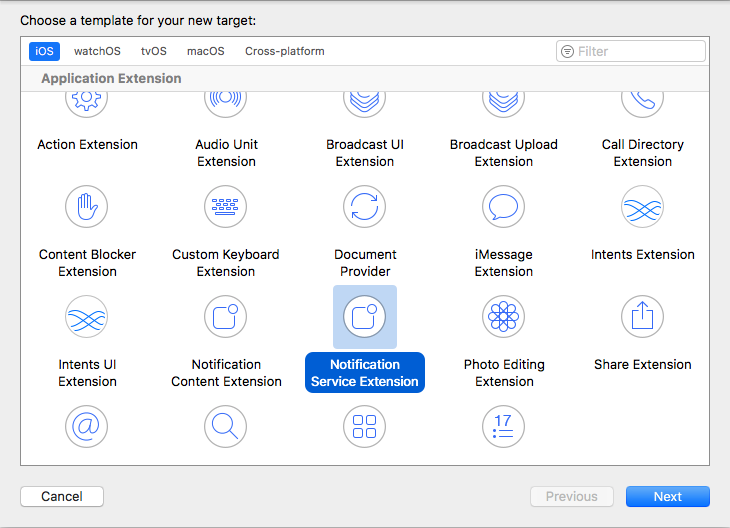
- Add a new Notification Service Extension target to your project (Xcode: File -> New -> Target):
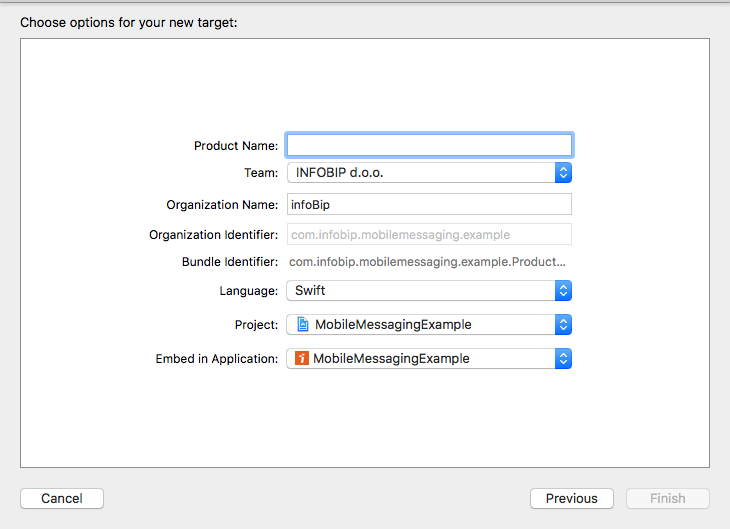
- Embed the extension target in your application:
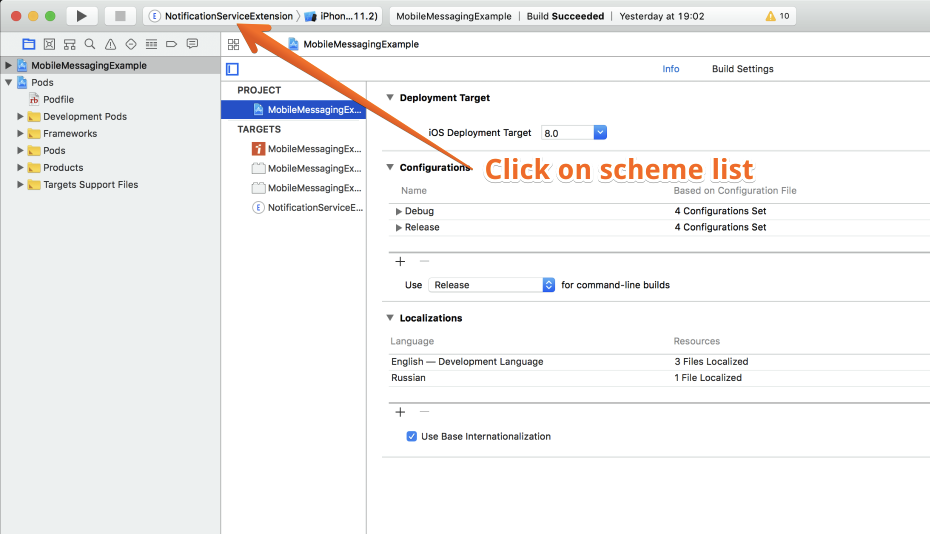
- Set the Deployment Target 10.0 for the newly created target (Xcode: select the target -> "General" tab):

-
Create a new App Group with unique App Group ID, remember this ID for further integration steps (https://developer.apple.com/account/ios/identifier/applicationGroup).
-
Ignore this step if you use automatic signing management ("Automatically manage signing" option is enabled for the notification extensions target). Create a separate Explicit App ID for the notification extension on Apple Developer portal (https://developer.apple.com/account/ios/identifier/bundle).
-
Ignore this step if you use automatic signing management ("Automatically manage signing" option is enabled for the notification extensions target). Enable the newly created App Group (p.1) for both, the extension App ID and your main application App ID, by editing them:

- Enable the App Groups capability for both extension and application targets by turning on the switch control and marking the checkbox for the appropriate App Group that you've created in pt.2 (Xcode: select the target -> Capabilities tab):

It's strongly recommended to have the latest version of CocoaPods.
-
Install MobileMessaging SDK by specifying the dependency in your Podfile as follows:
use_frameworks!
target 'YourMainAppTarget' do
    pod 'MobileMessaging'

    target 'YourNotificationServiceExtension' do
        inherit! :search_paths
    end
end
Run
pod updatefrom Terminal to install/update the dependencies. -
Put your App Group ID in the info.plist file as a value of
com.mobilemessaging.app_groupkey:

Use the following code for your extension source file. Don't forget to fill in the placeholders with your Push Application Code:
//  NotificationService.swift

import UserNotifications
import MobileMessaging

@available(iOS 10.0, *)
class NotificationService: UNNotificationServiceExtension {

    var contentHandler: ((UNNotificationContent) -> Void)?
    var originalContent: UNNotificationContent?

    override func didReceive(_ request: UNNotificationRequest, withContentHandler contentHandler: @escaping (UNNotificationContent) -> Void) {
        self.contentHandler = contentHandler
        self.originalContent = request.content
        MobileMessagingNotificationServiceExtension.startWithApplicationCode(<# put your Application Code here #>)
        MobileMessagingNotificationServiceExtension.didReceive(request, withContentHandler: contentHandler)
    }

    override func serviceExtensionTimeWillExpire() {
        MobileMessagingNotificationServiceExtension.serviceExtensionTimeWillExpire()
        if let originalContent = originalContent {
            contentHandler?(originalContent)
        }
    }
}If you are facing with the following error in your console:
[User Defaults] Failed to read values in CFPrefsPlistSource<0xXXXXXXX> (Domain: ..., User: kCFPreferencesAnyUser, ByHost: Yes, Container: (null)): Using kCFPreferencesAnyUser with a container is only allowed for SystemContainers, detaching from cfprefsd.Although this warning doesn't mean that our code doesn't work, you can shut it up by prefixing your App Group ID with a Team ID of a certificate that you are signing the build with. For example:
"9S95Y6XXXX.group.com.mobile-messaging.notification-service-extension". The App Group ID itself doesn't need to be changed though.
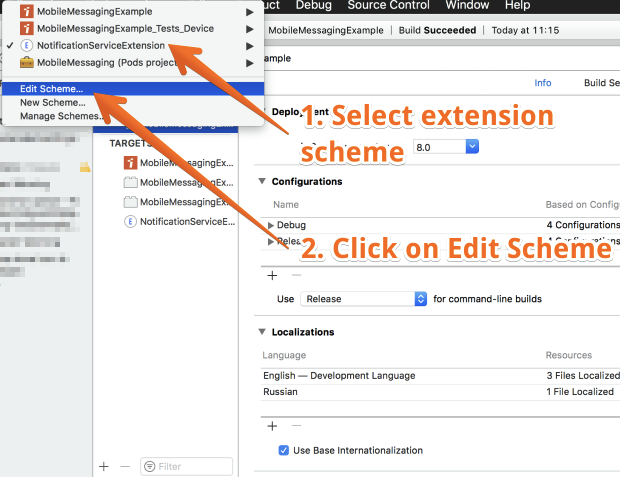
- While developing, make sure you run the project right way. You should build and run the extension's scheme as follows:


- Make sure your extension allows arbitrary loads from non-secure sources (i.e. images from non-https (http) sources). In order to allow your extension to load from non-secure sources, append the following settings in your extensions Info.plist:
