Translations
#Instructions for creating translations
This page explains how to add localizations to A2DP Volume, or any Android app actually.
This app has no revenue. This is a free, open source project and the app contains no ads of revenue generating content of any kind. We will not pay for contributions of any kind but certainly welcome free contributions to the app.
Android handles localization of text strings by using localized XML files. When an Android app is first created, a folder is also created in the res folder called values. The values folder is where the default 'strings.xml' file is created. This file is basically a 2-column table. The first column is for the variable name and the second column has the string associated with that name. Anytime the app refers to that variable, the string will be inserted in its place. Here is an example of one row from the XML:
'<string name="ListName">Bluetooth Geräte</string>'
The variable name is after the 'name=' and the actual string ins between the '> <' brackets.
Adding another language is just a matter of creating another 'strings.xml' file in a localization folder. The folder naming follows ISO 639-1 https://www.loc.gov/standards/iso639-2/php/code_list.php . For instance, German would be in the 'values-de' folder. The default (English) folder is just called 'values'. Those folders can be found here: https://github.com/jroal/a2dpvolume/tree/master/res for this project. More details about Android translations can be found here: http://developer.android.com/guide/topics/resources/localization.html
Android Studio has a Translations file editor that brings up all the strings files together so you can edit them side-by-side. In Android Studio open the '/src/res/values/strings.xml' file. At the top right of the editor window you will see a link to open editor.


The best tool I have found for managing localized strings in Eclipse is the [http://help.eclipse.org/helios/index.jsp?topic=%2Forg.eclipse.sequoyah.localization.android.help%2Ftopics%2Fr_localization-string-editor.html Localization Files Editor] in Eclipse. It opens all the strings.xml files together and shows each language side-by-side. Creating another language is just a matter of inserting another column. The easiest way to do this is by using it’s translate column feature. This will attempt to translate the strings to the desired language using Google Translate. These translations are not very good and should not be used. However, it does automatically create the right directories and strings.xml file for you. Now you can just replace the auto translated strings with the correct ones and save. Below is a screen shot of what this looks like.

Here is how you use it:
1) navigate to the default strings.xml file in the projects res/values folder.
2) Right click on strings.xml and hover over open with.

3) Navigate to other and then Localization Files Editor

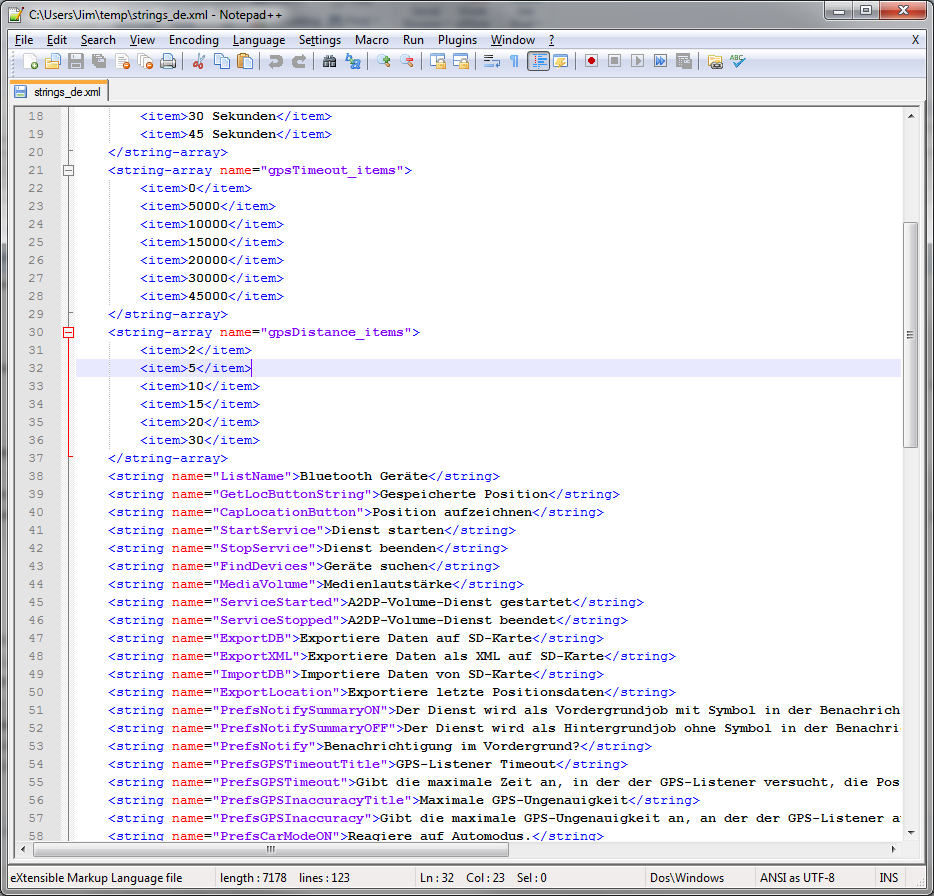
Another way to do the translations is to edit the strings.xml file using an XML editor such as Notepad. You can download Notepad free here: https://notepad-plus-plus.org/ Using Notepad++ would will need to know specifically where to edit, making sure you don’t change the variable names. The strings are between the '> <'. Its generally best to open the original strings.xml file and then make a copy and edit the new strings.xml file. Look at them side-by-side. In order to understand what each string means, you can search for it in the code.
Arrays themselves are not too bad to deal with. They are just like any other string except then also have a list of items like this:
'<string-array name="gpsDistance_items">' '<item>2</item>'
'<item>5</item>'
'<item>10</item>'
'<item>15</item>'
'<item>20</item>'
'<item>30</item>'
'</string-array>'
Android list preferences require 2 synchronized arrays. One is for the text shown to the user and the other is for the actual item that gets selected when the user selects that row.
Here are the items: '<string-array name="gpsDistance">'
'<item>2 m</item>'
'<item>5 m</item>'
'<item>10 m</item>'
'<item>15 m</item>'
'<item>20 m</item>'
'<item>30 m</item>'
'</string-array>'
-
and here is the 2nd array with the actual selections: '<string-array name="gpsDistance_items">'
'<item>2</item>'
'<item>5</item>'
'<item>10</item>'
'<item>15</item>'
'<item>20</item>'
'<item>30</item>'
'</string-array>'
This is handled this way to the 2nd array is consistent across all languages as needed by the app software to make use of the selection. In the example above the user is shown the top array items but when they click an item the same row number from the bottom list is sent back to the app as the selection. For instance, if the user selects 15 m (from the top array) the software will see 15 (from the bottom array).
When doing the translations into another language, the bottom array must stay exactly as it was in the default language. Only the top array gets modified.
The examples above show numbers. Here is an example where both arrays contain strings.
'<string-array name="PrefsOtherIcons">'
'<item>Auto</item>'
'<item>Kopfhörer</item>'
'</string-array>'
'<string-array name="PrefsOtherIcons_items">'
'<item>Car</item>'
'<item>Headset</item>'
'</string-array>'
This is from the German strings.xml file. Notice that the top array has German strings but the bottom array has English. The user would see only the top strings in the list but the software expects only default (English in this case) strings for performing operations. When the user selects 'Auto', 'Car' is sent to the app to be interpreted. This way the app always uses only the default language so no special coding is needed.
The hard part about arrays used for list items is there is no convention for what names are used for the 2 arrays. In A2DP Volume I have used the convention of name1 for the localized list of items and name1_items for the selection items for the app (as you can see above). When translating arrays for A2DP Volume, never edit the xxx_items arrays.
This can be done several ways. You can simply email me the strings.xml that you translated and I will insert it into the proper directory.
The other method would be to push the charges back to the GitHub server. I will need to make you a developer to do that. Let me know if this is your desired path.
Start the first time by creating a local clone. Instruction for that are on the A2DP Volume website in the source tab. You will now have all the project files and the .hg repository locally. Add only the files and folders you are planning to own using Mercurial add function. Now when you push, only those files will go back to the repository on the server.
If you push using Git, you will need to follow these steps:
-
Pull the latest changes using Git
-
Update your project using the update function in Git
-
Open the project in and make your changes
-
Save your changes
-
Commit changes using Git
-
Push your changes back to the server using Git.
Alternatively you can:
-
Download the latest strings.xml file.
-
Change all the strings to the language of choice.
-
Attach the new strings.xml file to the issue to complete the translations.
If you would like to add a language to this app please post an issue in the issues list. We work the issues in that list to create a release. This can go very quickly by: # Download the latest strings.xml file. # Change all the strings to the language of choice. # Attach the new strings.xml file to the issue to complete the translations.
It was a free download from Motorola but they no longer support it. After Google acquired Motorola they retired Motodev but luckily for us they open sourced it: https://android.googlesource.com/platform/tools/motodev/ . Specifically, here is the localization files editor tool: https://android.googlesource.com/platform/tools/motodev/+/jb-mr2-release/src/plugins/android/src/com/motorola/studio/android/command/OpenStringEditor.java