Existence is a series of footnotes to a vast, obscure, unfinished masterpiece. -Vladimir Nabokov
In this lab, you'll create an app using Auto Layout and constraints.
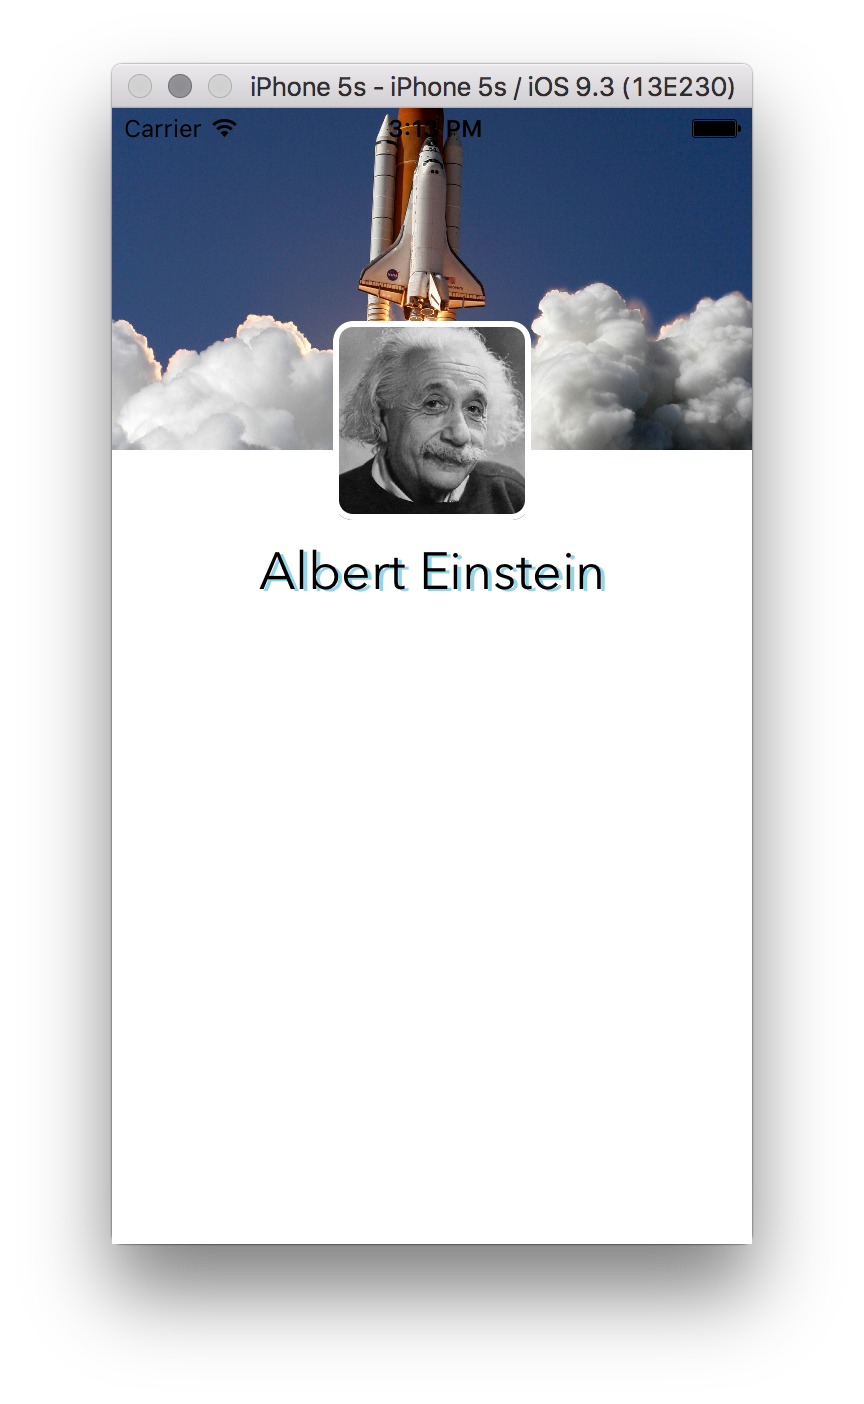
The app you create will look like this:
This app will use constraints so that it look good no matter what devie you run the app on.
Let's go! To get started, open up SquaresNStuff.xcodeproj.
-
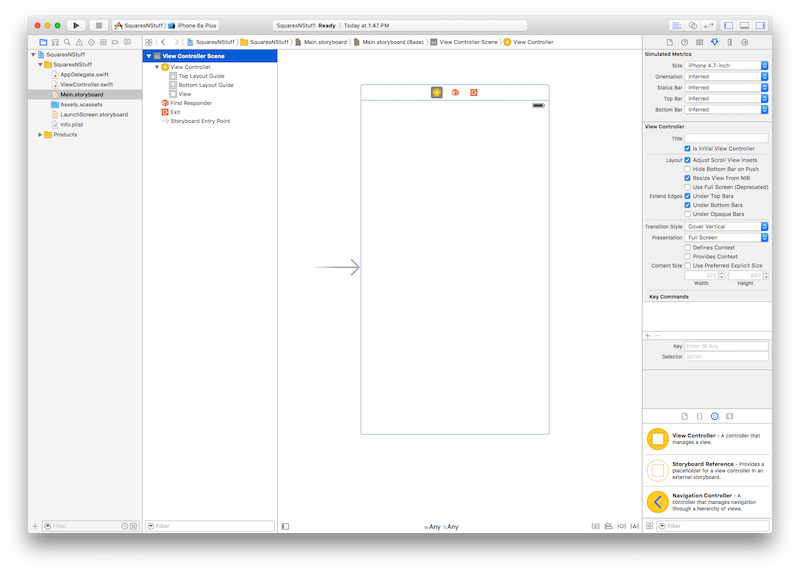
Open up
Main.storyboardin Interface Builder. -
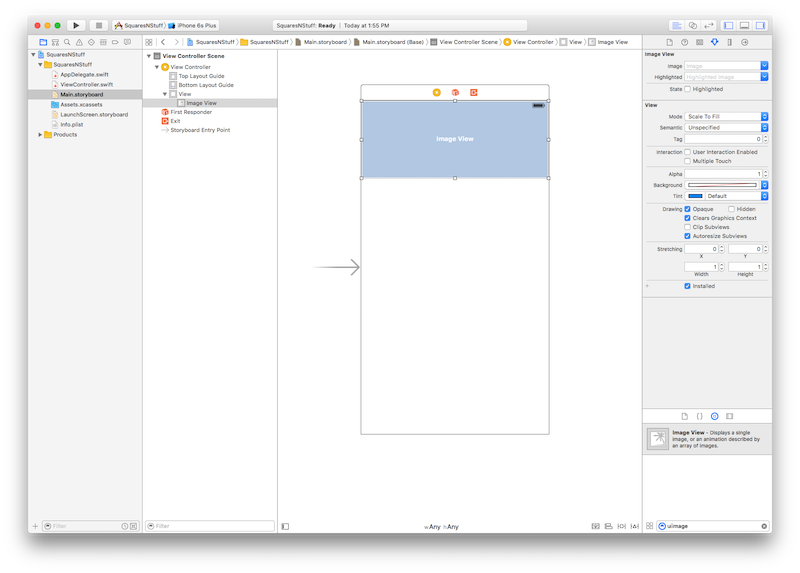
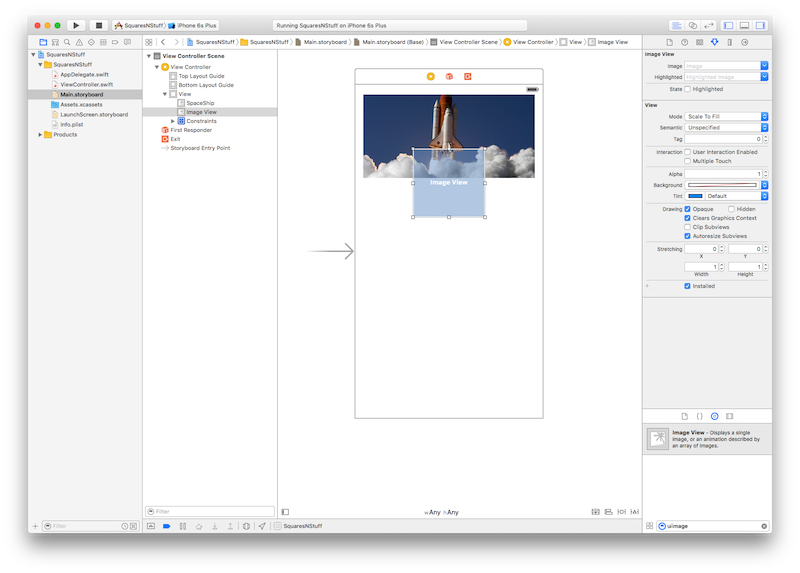
Drag a new
UIImageViewfrom the object library into the view controller scene and position it so it fills the top of the application, like this: -
Add some constraints to this new image view. One way to add constraints to a view is by Control-dragging from one view to another. You haven't seen this in action yet, so here's an example of how you can constrain the new image view you added by its parent view, the main view for the app:
After Control-dragging from the Image View to the View, a menu will appear in which you can add a specific constraint. Contrain the image view to the parent view by adding these four new constraints:
- Leading Space to Container
- Trailing Space to Container
- Vertical Spacing to Top Layer
- Equal Heights
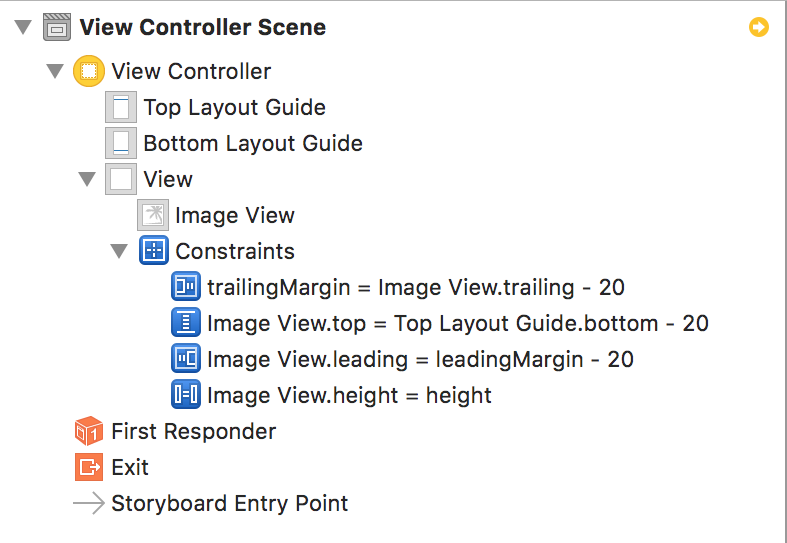
When you're done, the constraints menu will look like this:
You'll also see your new constraints listed in the object library:
-
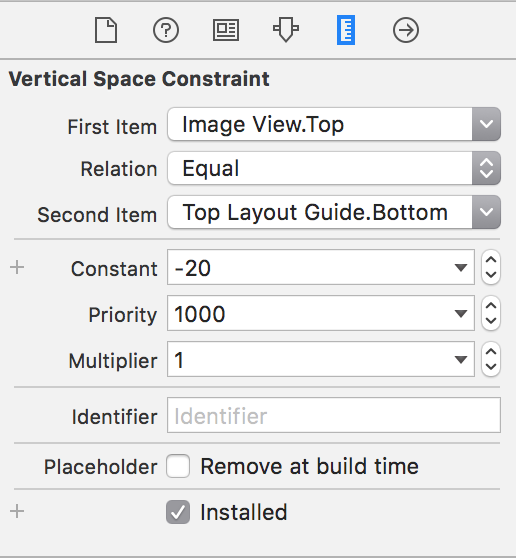
Sometimes when you create constraints, they need to be tweaked a bit. You can tweak the constraints in the Size Inspector, which you can bring up by selecting one of the constraints in the object library. For example, select Image View.top = Top Layout Guide.bottom - 20 in the object library. You'll see its size attributes in its Size Inspector:
You'll see several key attributes in this pane. The first are the First Item, Relation, and Second Item attributes. This means that the first item is constrained to the second item by the given relation. The second import set of items is Constant and Multiplier, which parameterize Relation.
The constraints you added to the image view should be set up like this:
- Image View.top = Top Layout Guide.bottom - 20
- First Item: ImageView.Top
- Relation: Equal
- Second Item: Top Layout Guide.Bottom
- Constant: 0 (by default, this is -20, so you'll need to change this)
- Multiplier: 1
- Image View.leading = leadingMargin - 20
- First Item: ImageView.Leading
- Relation: Equal
- Second Item: Superview.Leading Margin
- Constant: 0
- Multiplier: 1
- trailingMargin = Image View.trailing - 20
- By default, this constraint reverses the First and Second Item. To fix this, open the menu next to Second Item and select Reverse First and Second Item so that Image View.Trailing is the First Item and Superview.Trailing Margin is the Second Item.
- Relation: Equal
- Constant: 0
- Multiplier: 1
- Image View.height = height
- First Item: Image View.Height
- Relation: Equal
- Second Item: Superview.Height
- Constant: 0
- Multiplier: 0.25
- Image View.top = Top Layout Guide.bottom - 20
-
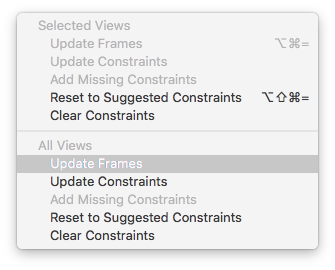
You'll now see a warning in Xcode's toolbar. Select the View Controller Scene in the storyboard, then select Update Frames from the Resolve Auto Layout Issues menu.
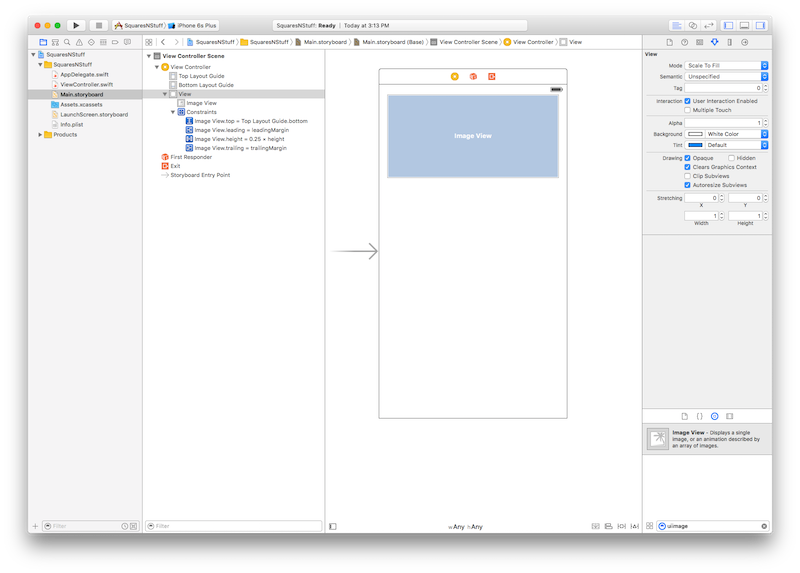
Your canvas should now look like this:
-
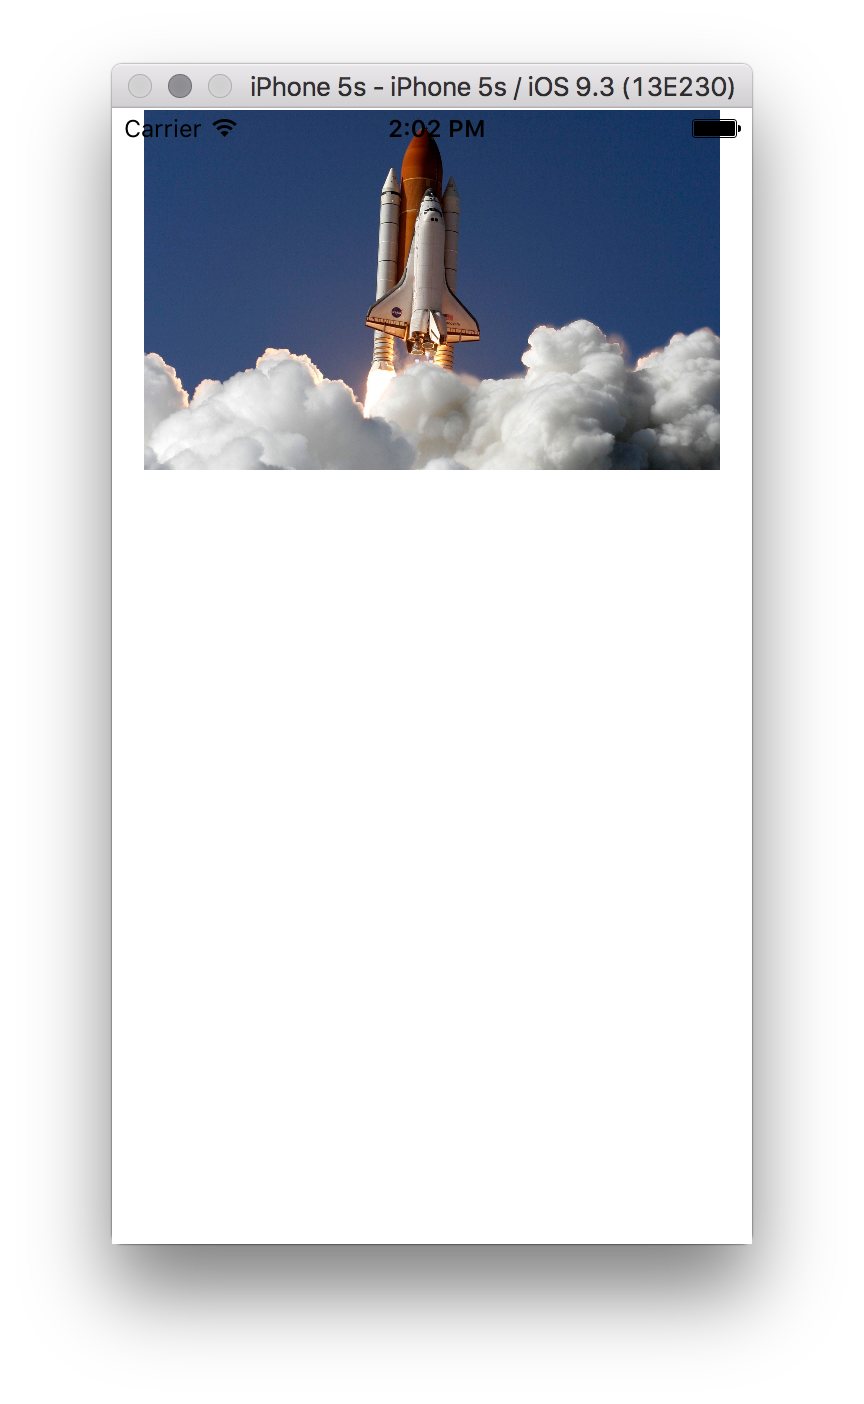
When designing your views, it's good to work with some dummy data, so you can get a sense of how the UI will really look. This project includes a spaceship image that you can use to fill in the image view you just created. In the image view's Attributes Inspector, set the image to
SpaceShip. Set the Mode (again, in the Attributes Inspector) to Aspect Fill, and make sure Clip Subviews is unchecked. -
Build and run your app. It'll look something like this:
-
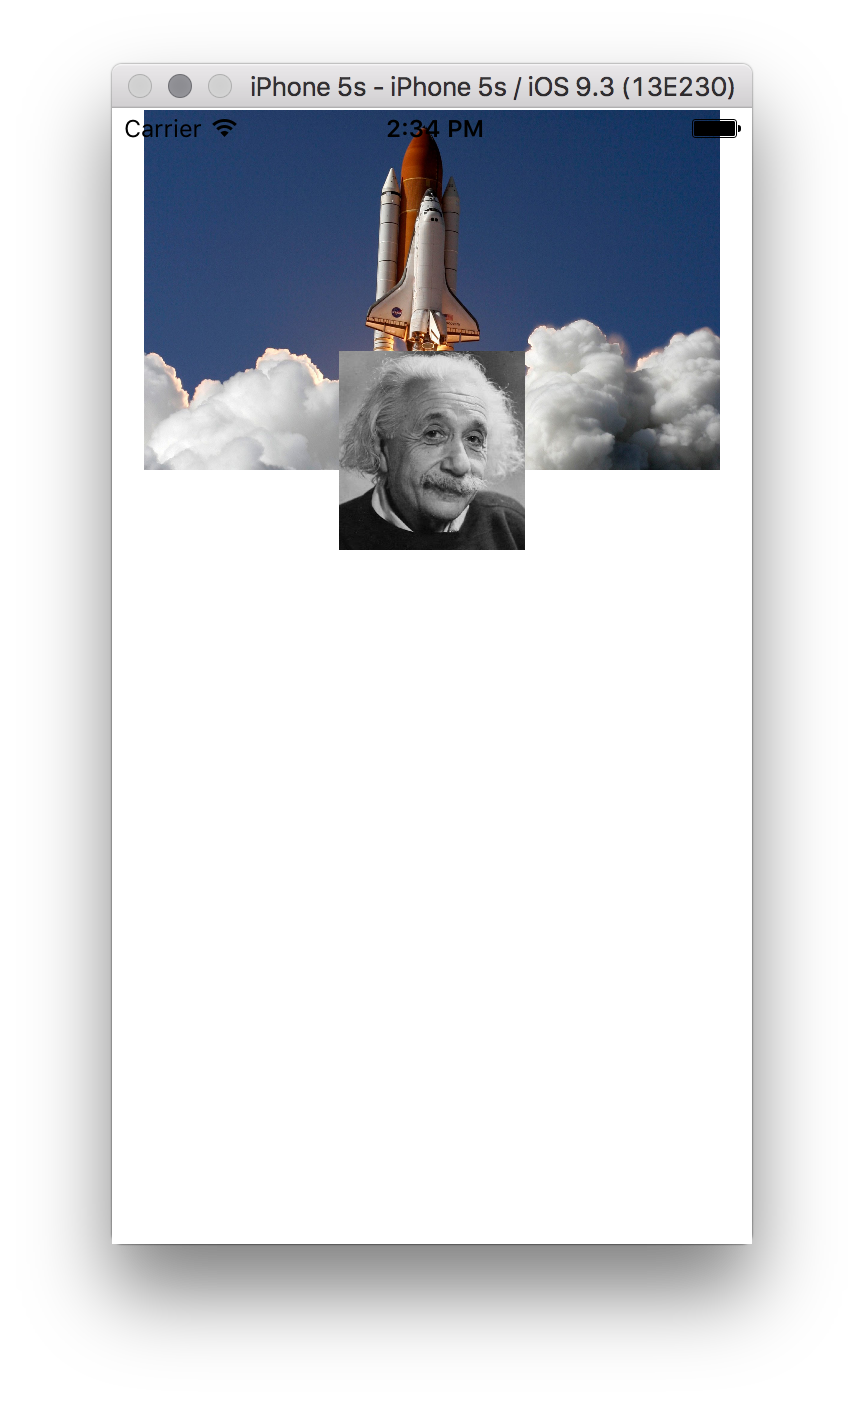
Back in Interface Builder, drag another image view onto the canvas. Put in the center of the UI so that it overlaps the spaceship image view, like this:
Set its size to 117×117. (You'll be constraining this later, but for now it will help you position it properly.)
-
Now you need to set up constraints for this new image view. We'll be doing these one by one, to make it easier. In the end, this image view should be centered in the main view.
- Control-drag from your new image view to the main view (its parent view). Select Center Horizontally in Container from the pop-up menu. Select the new constraint, labeled Image View.centerX = centerX, from the object library, and make sure its attributes are set correctly. They should be:
- First Item: Image View.Center X
- Relation: Equal
- Second Item: Superview.Center X
- Constant: 0
- Multiplier: 1
- Control-drag from the new image view to the spaceship's image view. Select Vertical Spacing from the pop-up menu. Select the new constraint, labeled Image View.top = SpaceShip.bottom - 57, from the object library, and make sure its attributes are set as follows:
- First Item: Image View.Top
- Relation: Equal
- Second Item: SpaceShip.Bottom
- Constant: 0
- Multiplier: 0.75
- Create another constraint by Control-dragging from the new image view to the spaceship's image view (again). Select Equal Heights from the pop-up menu. Select this constraint, labeled Image View.height = SpaceShip.height, from the object library, and make sure its attributes are set as follows:
- First Item: Image View.Height
- Relation: Equal
- Second Item: SpaceShip.Height
- Constant: 0
- Multiplier: 0.7
- Finally, the last constraint you need to worry about is the width of your new image view. You want it to be square, and its height is set relative to that of the spaceship's image view (which is, in turn, relative to the height of whatever device the app is running on). This might seem complicated, but it's actually pretty easy to solve. Control-drag from the new image view to itself (crazy, but it works!) and select Aspect Ratio from the pop-up menu. Select the new constraint, labeled aspect = 1:1, from the object library, and make sure its attributes are set like this:
- First Item: Image View.Width
- Relation: Equal
- Second Item: Image View.Height
- Constant: 0
- Multiplier: 1:1 (note the colon!)
- Control-drag from your new image view to the main view (its parent view). Select Center Horizontally in Container from the pop-up menu. Select the new constraint, labeled Image View.centerX = centerX, from the object library, and make sure its attributes are set correctly. They should be:
-
Select your new image view. In its Attributes Inspector, set the Image to
AlbertEinstein. Its Mode should be set to Aspect Fit. -
Fix the warning by updating the frames, as you did before.
-
Build and run your app again. It should look something like this:
-
Let's jazz this app up by putting a nice border around Albert Einstein's profile photo. Open up
ViewController.swiftin an assistant editor. Control-drag a new IB outlet from the profile photo image view toViewController. Name this outletprofileImageView. -
Open up
ViewController.swiftin the code editor. Add this code to theviewDidLoad()method (after the call tosuper.viewDidLoad()inViewControllerto draw a border around our friend Albert:profileImageView.layer.borderColor = UIColor.white.cgColor profileImageView.layer.borderWidth = 3.0 profileImageView.layer.cornerRadius = 10.0 profileImageView.layer.masksToBounds = true -
Build and run your app again. You should now see something like this:
-
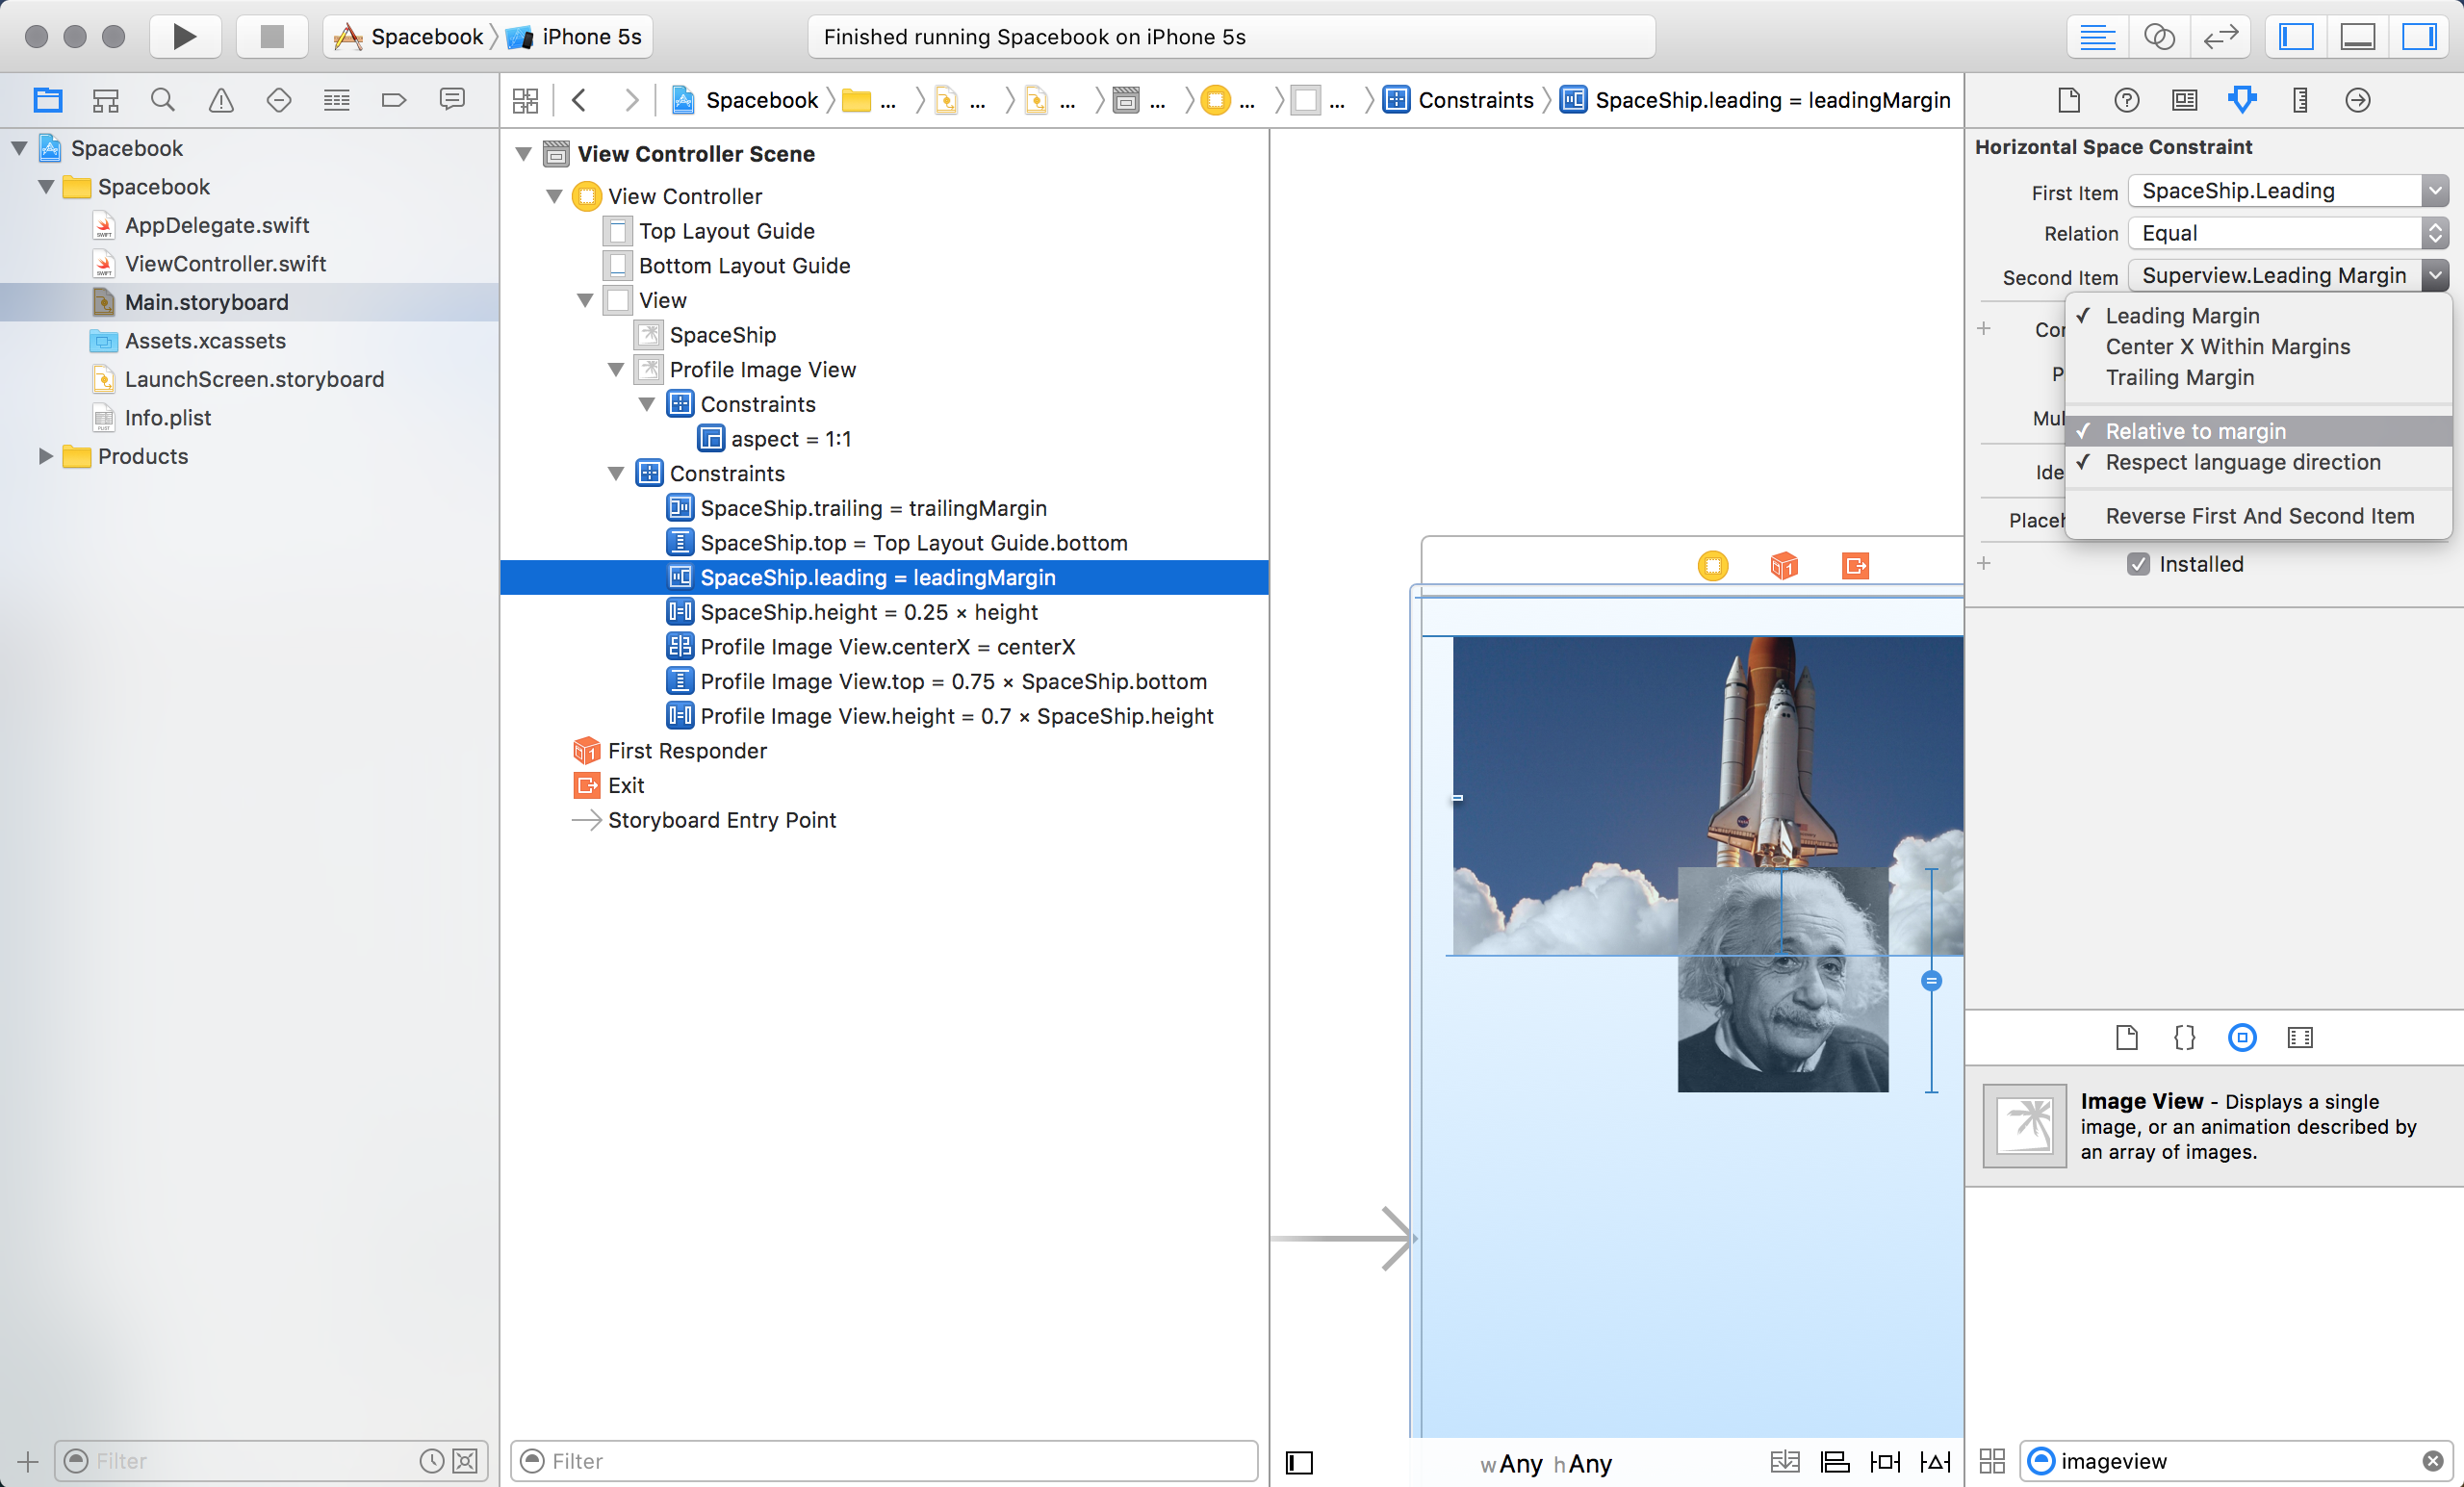
Looks pretty good! The spaceship looks a bit off, though. Ideally, it would fill the entire width of the screen. Let's fix that.
The leading and trailing constraints you created for the spaceship image view need to be adjusted. In the Second Item menu, Relative to margin should be unchecked.
Select both SpaceShip.leading = leadingMargin and SpaceShip.trailing = trailingMargin and uncheck Relative to margin from under the Second Item menu.
-
Notice, however, that Relative to margin is not an option for the SpaceShip.top = Top Layout Guide.bottom constraint, so how do you remove that blank margin from the top of the spaceship image?
To fix this constraint, you'll have to create a new one from scratch. Delete the SpaceShip.top = Top Layout Guide.bottom constraint. Create a new one by Control-dragging from the spaceship image view to its parent view (the main view of the scene). In the popup-menu, hold down Option to bring up alternative constraint options, and (while holding down Option) select the Top Space To Container Margin option.
The new constraint is called SpaceShip.top = topMargin + 20. Select this constraint from the object library, and make sure its attributes are set as follows:
- First Item: SpaceShip.Top
- Relation: Equal
- Second Item: Superview.Top Margin
- Constant: 0
- Multiplier: 1
-
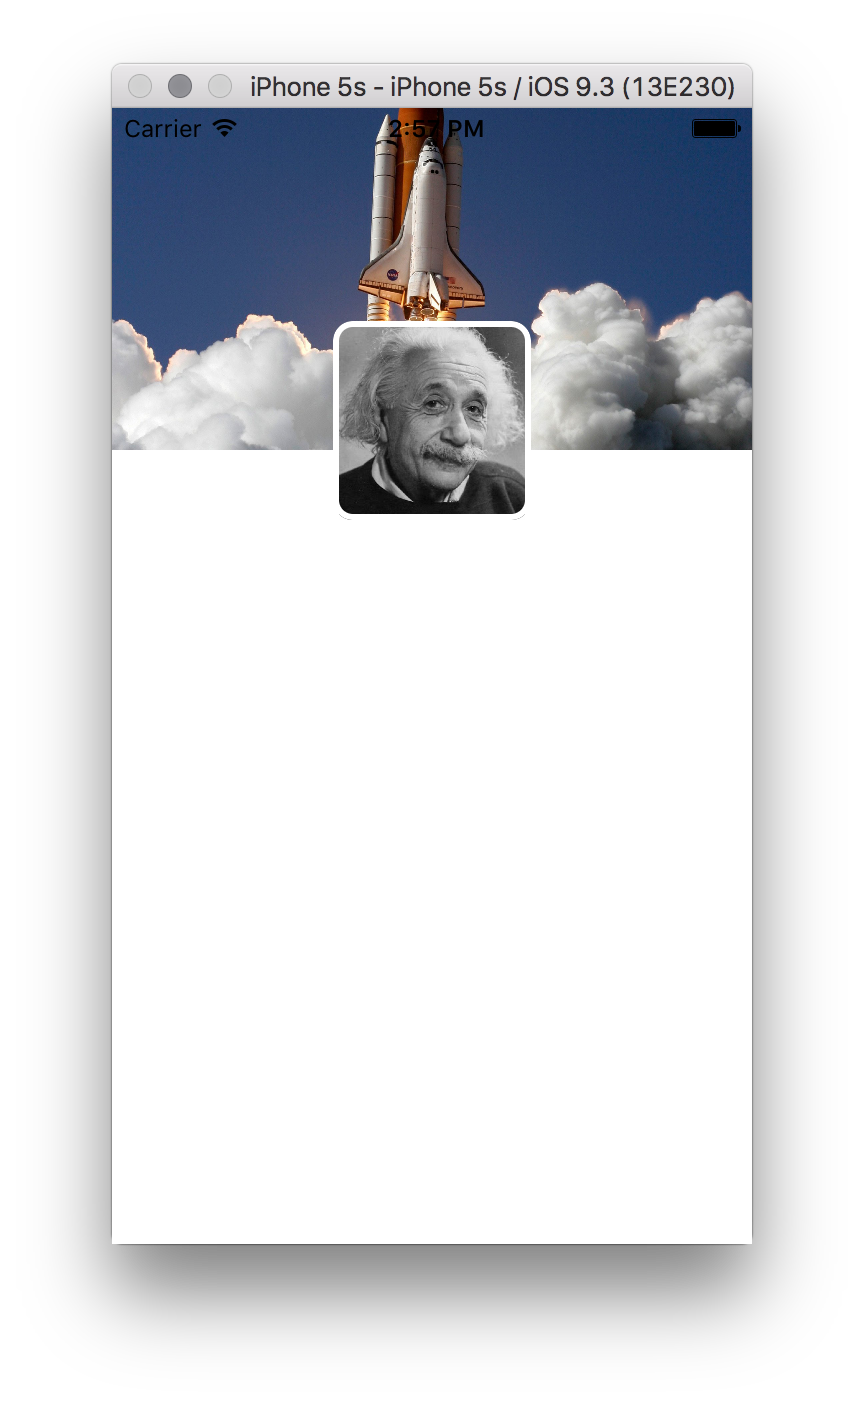
Build and run the app again. It should look like this:
Looking good!
-
One last thing: This app is nothing without a label for Mr. Einstein's name. Drag a new
UILabelonto the canvas, positioning it below Einstein's image. This label should have the following options:* Change the font to Avenir Next, Regular, 26.0 * Change the alignment to Centered * Change the text to "Albert Einstein" * Change the shadow color to a nice light blue * Change the shadow offset to 2 for horizontal and 1 for vertical -
Let's set up the constraints for the label one by one. First, Control-drag from the label to the profile image view, and select Center Horizontally from the pop-up menu. Select the new constraint, labeled Albert Einstein.centerX = Profile Image View.centerX, from the object library, and make sure its attributes are as follows:
- First Item: Albert Einstein.Center X
- Relation: Equal
- Second Item: Profile Image View.Center X
- Constant: 0
- Multiplier: 1
-
Control-drag from the label to the profile image again, and select Vertical Spacing from the pop-up menu. Select the new constraint, labeled Albert Einstein.top = Profile Image View.bottom + 16.5 (the exact number may be different, depending on how you positioned the label), and make sure the attributes are set as follows:
- First Item: Albert Einstein.Top
- Relation: Equal
- Second Item: Profile Image View.Bottom
- Constant: 8
- Multiplier: 1
-
You don't need to set up height or width constraints for the Albert Einstein label.
UILabels have instrinsic content size, which means that its height and width are based on the font you selected for the label. Since you already set the font for the label, that selected font will dictate the size of the label.If the label was set to a very long string, it would go off the app's screen, so if you were releasing this app you probably would want to constrain the width to prevent this problem, but for now the label will work well enough that you don't need to futz with the width in this app.
-
Fix the warning by updating your app's frames using the Resolve Auto Layout Issues menu, like before.
-
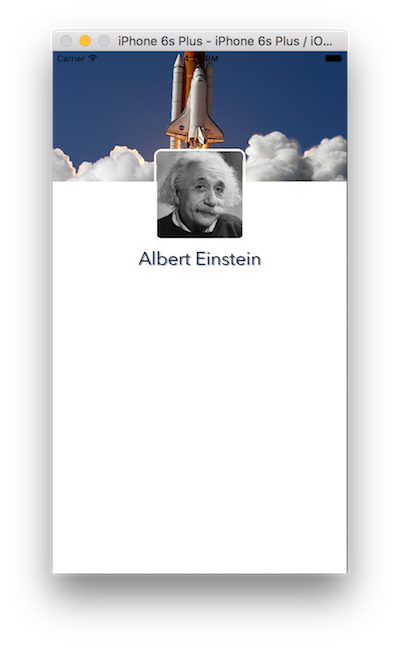
Now build and run your app again. It should look like this:
And that's it! Congratulations on another successful lab!