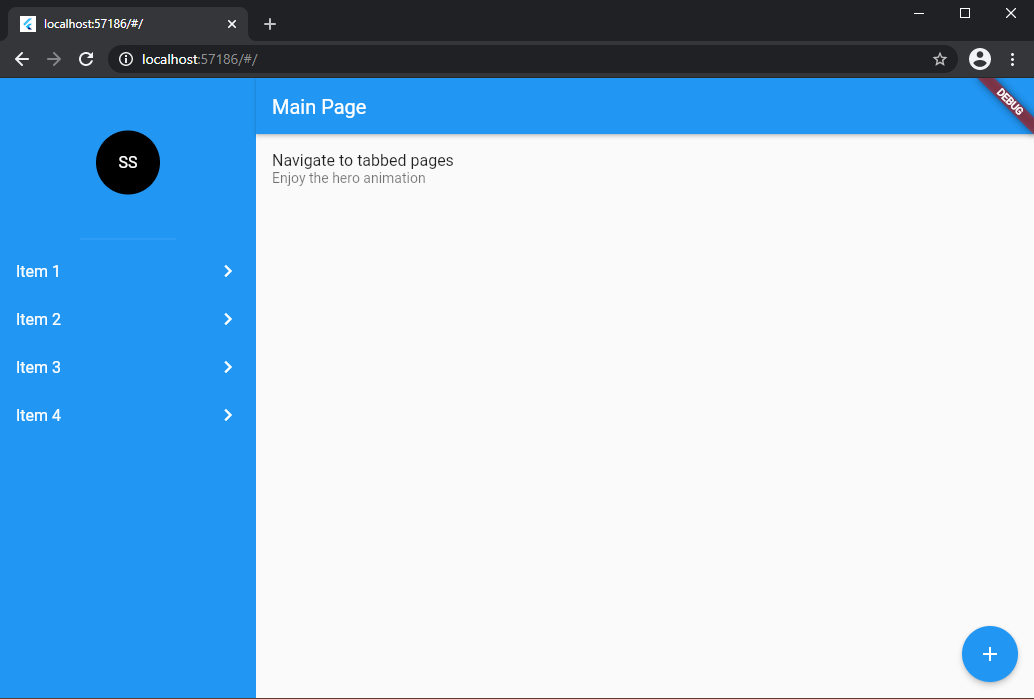
A scaffold with superpowers! Pin the Drawer on the left of screen. Pin the AppBar on the top of screen. Show confirmation dialog and loading screen easily.
If you want to make your application responsive to another orientation (like landscape), but you're using the default Flutter Scaffold, then you'll see that behaviour:
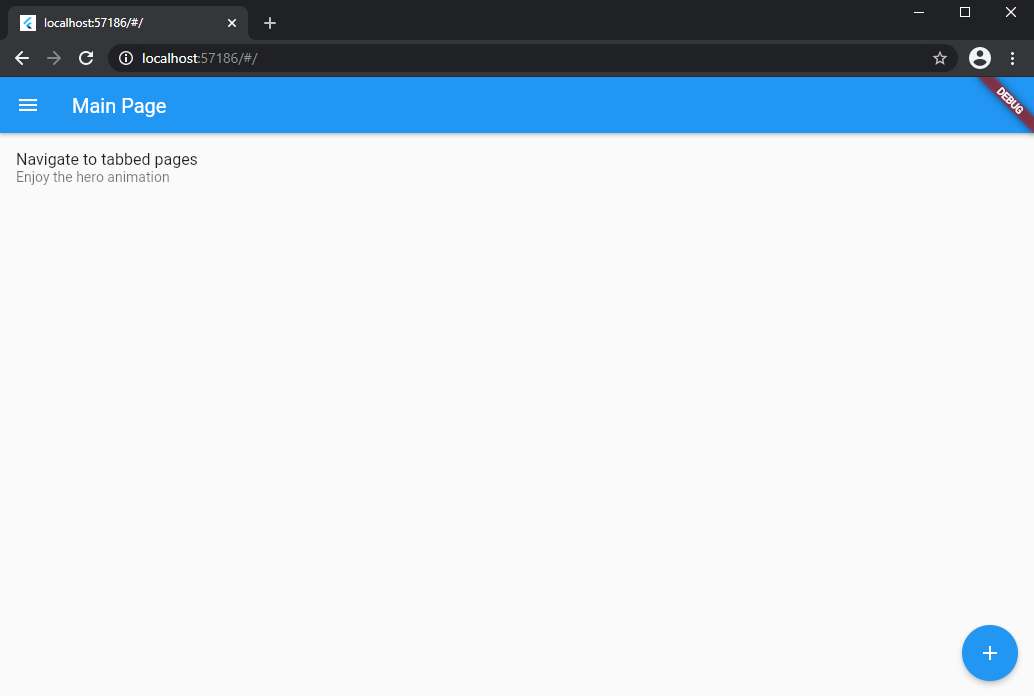
How we can solve this problem? Just replace your Scaffold widget with the SuperScaffold widget.
@override
Widget build(BuildContext context) {
    return SuperScaffold(
        drawer: Drawer(),
    );
}
All properties of Scaffold can be applied in SuperScaffold, like appBar, body, floatingActionButton and so on.
Use the SuperAppBar instead of Flutter AppBar if you need to display the drawer icon on portrait and hide it on landscape automatically.
@override
Widget build(BuildContext context) {
    return SuperScaffold(
        appBar: SuperAppBar(),
        drawer: Drawer(),
    );
}
All properties of AppBar can be applied in SuperAppBar, like title, actions, backgroundColor and so on.
If you're navigating between some pages and want to pin the AppBar on the top of screen, just insert them inside a Hero widget.
@override
Widget build(BuildContext context) {
    return SuperScaffold(
        appBar: Hero(
            tag: "tag",
            child: AppBar(),
        )
        drawer: Drawer(),
    )
}
If one AppBar has an TabBar on the bottom property, follow theses steps:
- Replace State with
SuperStateon your StatefulWidget that owns the TabBar. - Override the getter
tabsLengthfrom SuperState and insert the correct number of tabs. - Add the
tabControllerfrom SuperState inside your TabBar and the TabBarView.
class _PageState extends SuperState<Page> {
    @override
    int get tabsLength => 3;

    @override
    Widget build(BuildContext context) {
        return SuperScaffold(
            appBar: Hero(
                tag: "tag",
                child: AppBar(
                    bottom: TabBar(
                        controller: tabController,
                        ...
                    ),
                ),
            ),
            drawer: Drawer(),
            body: TabBarView(
                controller: tabController,
                ...
            ),
        );
    }
}First, replace State with SuperState on your StatefulWidget that will display the confirmation dialog.
Then, call the asynchronous method confirm from the scaffold property of the SuperState.
class _PageState extends SuperState<Page> {
    @override
    Widget build(BuildContext context) {
        return SuperScaffold(
            floatingActionButton: FloatingActionButton(
                child: Icon(Icons.add),
                onPressed: () async {
                    bool ok = await scaffold!.confirm("Do you want to continue?");
                },
            ),
        );
    }
}First, replace State with SuperState on your StatefulWidget that will display the loading screen.
Then, call the method wait from the scaffold property of the SuperState.
class _PageState extends SuperState<Page> {
    @override
    Widget build(BuildContext context) {
        return SuperScaffold(
            floatingActionButton: FloatingActionButton(
                child: Icon(Icons.refresh),
                onPressed: () async {
                    Completer loading = scaffold!.wait();

                    await Future.delayed(Duration(milliseconds: 1500));

                    loading.complete();
                },
            ),
        );
    }
}The SuperScaffold widget uses the default AlertDialog of Flutter to display the confirmation dialog and the loading screen is just a centered CircularProgressIndicator.
Design your custom confirmation dialog and loading screen with the confirmationBuilder and the loadingBuilder, respectivately.
@override
Widget build(BuildContext context) {
    return SuperScaffold(
        drawer: Drawer(),
        confirmationBuilder: (context, confirmationMessage) {
            return ...
        },
        loadingBuilder: (context) {
            return ...
        }
    );
}Feel free to contact me through GitHub repository.
God bless you.