More tricks with sprites
| Getting Started |
|---|
In this lesson, we will explore more things you can do with sprites.
First create a new project using the instructions from the earlier lessons: Using DeviceResources and Adding the DirectX Tool Kit which we will use for this lesson.
In addition to moving the sprite's position, sprites themselves can be made to move using 'flip-book' style animation.
First, start by saving the file AnimatedTexture.h to your new project's directory--see AnimatedTexture for more information. Then go to the top menu and select Project / Add Existing Item.... Select "AnimatedTexture.h" and click "OK".
Next save shipanimated.png into your new project's directory, and then from the top menu select Project / Add Existing Item.... Select "shipanimated.png" and click "OK".
Add to the top of Game.h the following after the other #include statements:
#include "AnimatedTexture.h"Then add the following variables to the bottom of the Game class's private declarations:
std::unique_ptr<DirectX::SpriteBatch> m_spriteBatch;
std::unique_ptr<AnimatedTexture> m_ship;
Microsoft::WRL::ComPtr<ID3D11ShaderResourceView> m_texture;
DirectX::SimpleMath::Vector2 m_shipPos;
In Game.cpp, add to the TODO of CreateDeviceDependentResources:
auto context = m_deviceResources->GetD3DDeviceContext();
m_spriteBatch = std::make_unique<SpriteBatch>(context);

DX::ThrowIfFailed(CreateWICTextureFromFile(device3, L"shipanimated.png",
    nullptr, m_texture.ReleaseAndGetAddressOf()));

m_ship = std::make_unique<AnimatedTexture>();
m_ship->Load(m_texture.Get(), 4, 20);
In Game.cpp, add to the TODO of CreateWindowSizeDependentResources:
auto size = m_deviceResources->GetOutputSize();
m_shipPos.x = float(size.right / 2);
m_shipPos.y = float((size.bottom / 2) + (size.bottom / 4));
If using the UWP template, you also need to add
m_spriteBatch->SetRotation(m_outputRotation);to handle display orientation changes.
In Game.cpp, add to the TODO of OnDeviceLost:
m_ship.reset();
m_spriteBatch.reset();
m_texture.Reset();
In Game.cpp, add to the TODO of Render:
m_spriteBatch->Begin();

m_ship->Draw(m_spriteBatch.get(), m_shipPos );

m_spriteBatch->End();
In Game.cpp, add to the TODO of Update:
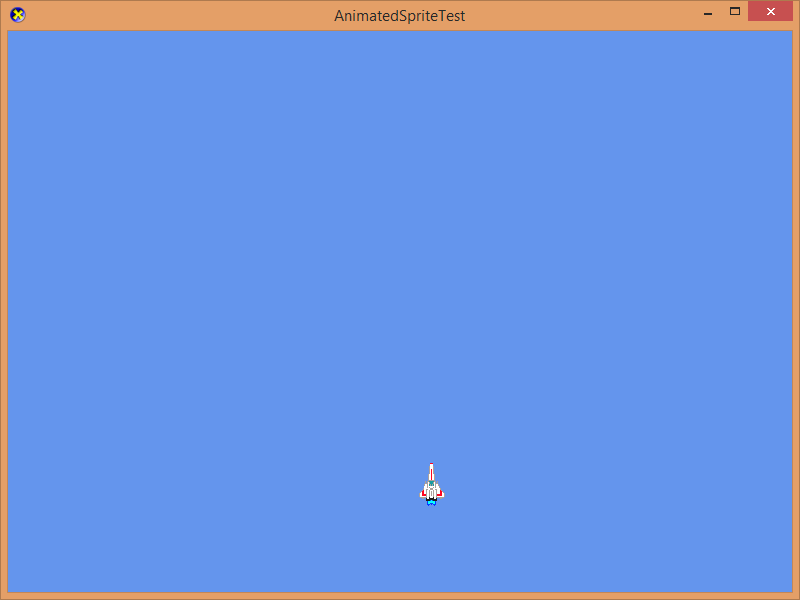
m_ship->Update(elapsedTime);Build and run to see our ship at the bottom with animated thrust.
What really 'sells the shot' for a side-scroller style game is the moving background to give the ship a sense of movement.
First, start saving the file ScrollingBackground.h to your new project's directory--see ScrollingBackground for more information. Then go to the top menu and select Project / Add Existing Item.... Select "ScrollingBackground.h" and click "OK".
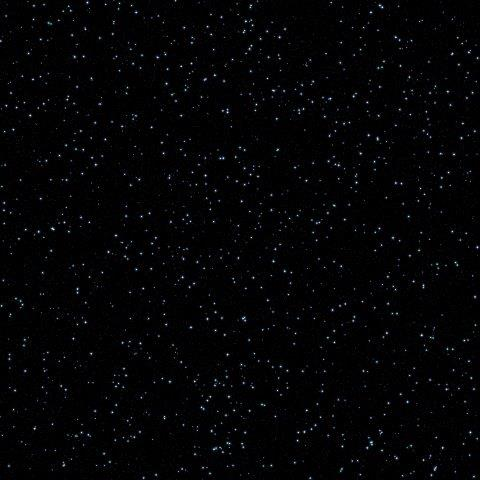
Next save starfield.png into your new project's directory, and then from the top menu select Project / Add Existing Item.... Select "starfield.png" and click "OK".
Add to the top of Game.h the following after the other #include statements:
#include "ScrollingBackground.h"Then add the following variables to the bottom of the Game class's private declarations:
std::unique_ptr<ScrollingBackground> m_stars;
Microsoft::WRL::ComPtr<ID3D11ShaderResourceView> m_backgroundTex;
In Game.cpp, add to the TODO of CreateDeviceDependentResources:
DX::ThrowIfFailed(CreateWICTextureFromFile(device, L"starfield.png",
    nullptr, m_backgroundTex.ReleaseAndGetAddressOf()));

m_stars = std::make_unique<ScrollingBackground>();
m_stars->Load(m_backgroundTex.Get());
In Game.cpp, add to the TODO of CreateWindowSizeDependentResources:
m_stars->SetWindow(size.right, size.bottom);In Game.cpp, add to the TODO of OnDeviceLost:
m_stars.reset();
m_backgroundTex.Reset();
In Game.cpp, modify the TODO of Render:
m_spriteBatch->Begin();

m_stars->Draw(m_spriteBatch.get());
m_ship->Draw(m_spriteBatch.get(), m_shipPos );

m_spriteBatch->End();
In Game.cpp, add to the TODO of Update:
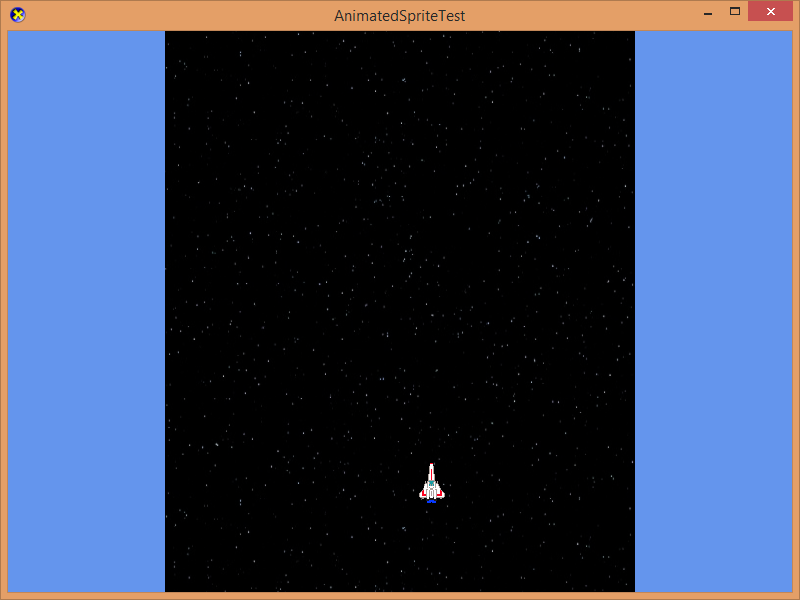
m_stars->Update(elapsedTime * 500 );Build and run to see our ship in space!
These lessons on SpriteBatch only begin to show the many techniques you can implement. Here are some other ideas to consider:
-
SpriteBatch can be used to draw "filled color rectangles" extremely easily. Just use a 1x1 white texture, and draw it as a sprite with optional tinting. This allows you to easily batch-up solid rectangles with other sprite drawing as well.
-
SpriteBatch can perform sorting of the sprites in a number of different modes. We've used the default sortMode of
SpriteSortMode_DeferredforBegin. If drawing with lots of different textures, you should trySpriteSortMode_Texture. If you are making use of the layerDepth parameter to sort your sprites correctly, useSpriteSortMode_BackToFrontorSpriteSortMode_FrontToBack. For all these modes, the actual drawing does not happen until you callEnd--or you exceed the internal vertex buffer size. If you useSpriteSortMode_Immediate, then the sprite is drawn as soon as you callDraw. -
SpriteBatch can 'flip' the texture image at runtime using
SpriteEffects_FlipHorizontally,SpriteEffects_FlipVertically, orSpriteEffects_FlipBoth. The default effects parameter forDrawisSpriteEffects_None. -
When drawing lots of different sprites, having to load hundreds of individual texture files is inefficient and potentially wastes video memory. One solution is to pack the sprite images into a single (or a few) textures and then render parts of them using sourceRectangle for
Draw. For more on implementing this technique, see SpriteSheet. -
The SpriteBatch class has a 'rotation mode' setting which can be used to handle device orientation changes for Universal Windows Platform (UWP) apps, or just for special effects. You call SetRotation with one of the
DXGI_MODE_ROTATIONsettings which controls the final view transformation to flip the output an extra 90 degrees, 180 degrees, or 270 degrees. It defaults to no extra rotation withDXGI_MODE_ROTATION_IDENTITY. -
With the setCustomShaders parameter to
Beginyou can override the shader settings and other Direct3D state to implement things like post-processing, chroma-key conversion to alpha, or normal-map based effects with SpriteBatch. -
The transformationMatrix parameter to
Beginlets you provide a custom transformation for the sprite renderering. This is combined with the viewport-based final view transform, but if you useSetRotation( DXGI_MODE_ROTATION_UNSPECIFIED )this will be disabled. The default value for this parameter is the identity matrix. -
You can use custom sampler states for special effects utilizing texture addressing. You can also achieve a 'pixel art' look by using
CommonStates::PointClamp.
Next lesson: Drawing text
DirectX Tool Kit docs - SpriteBatch