Nerd Jersey is in super-early alpha mode with merely the bare bones implemented. Proceed at your own risk.
Nerd Jersey is a blogging platform designed specifically for the wants and needs of developers (namely this developer) and is inspired by Marco Arment's SecondCrack (PHP) and Joe Hewitt's Nerve (NodeJS).
The main goal of Nerd Jersey is to be a Sinatra-based, Dropbox-driven, Markdown-formatted blogging platform. Yes, a lot like http://scriptogr.am, but hopefully more powerful.
All the gems are listed in the Gemfile so after forking and cloning, run bundle in the console from the application directory.
The first real step is to get Dropbox set up. To do so, create an app here: https://www.dropbox.com/developers/apps, but be sure to select "App folder" as the access level.
Once you have it, replace the necessary values in config/config.example.yml and rename the file to config/config.yml.
dropbox_app_key: AAAAAAAAAAAAAAA
dropbox_app_secret: BBBBBBBBBBBBBBB
Back at the console, run
bundle exec rake dropbox:authorize
When you call this Rake task, it will ask you to provide the consumer key (app key) and secret (app secret). Afterwards it will present you with an authorize url on Dropbox.
Simply go to that url, authorize the app, then press ENTER in the console.
The rake task will provide the client token and client secret, which you can now add to config/config.yml.
dropbox_client_token: XXXXXXXXXXXXXXX
dropbox_client_secret: YYYYYYYYYYYYYYY
Congratulations! Dropbox is set up.
Now, in your Dropbox, you should see an Apps folder with a subfolder named after your Dropbox application. In order to get the folder structure set up, you can run the following rake task:
rake nerdjersey:setup:dropbox
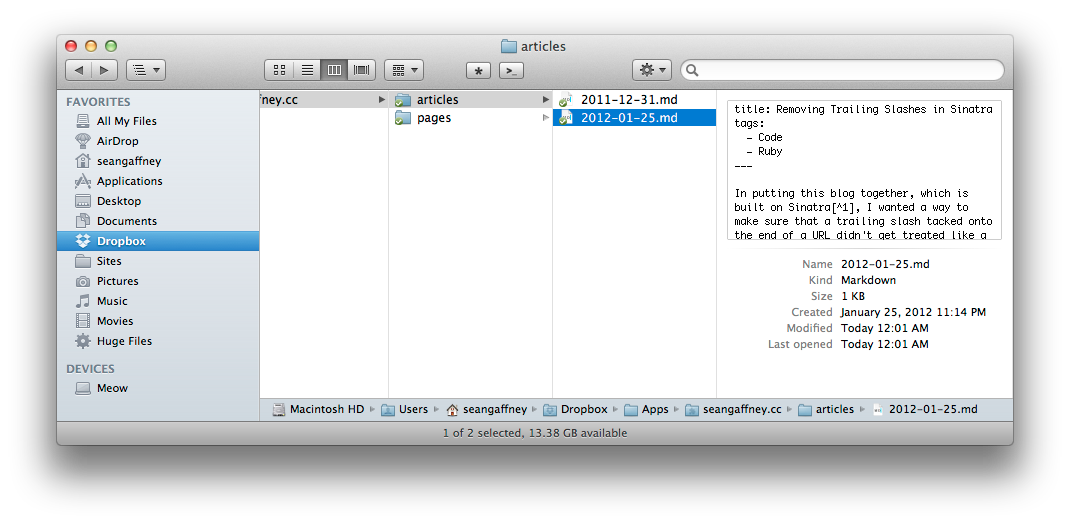
Alternatively, you can just create two subfolders articles and pages as shown below, but the rake task will also add an example article and page for you to work with.
Once you've got the folder structure set up, just start creating Markdown files. Nerd Jersey takes care of the rest (naming, slugifying, published date, etc.) with "Smart Defaults".
By default, the title will be taken from the filename. However, if you'd like to title your article something different than the name of your file, just add a title line to the meta YAML at the top of your file. Meta information is separated from content with a --- delimiter on a new line (you can use more than three hyphens if you wish).
By default, the slug is created by parameterizing the title. However, if you'd like to define your own slug, just add a slug line to the meta YAML at the top of your file.
By default, the publish date is taken from the file's modified date on the filesystem. However, if you'd like to define your own publish date, just add a date line to the meta YAML at the top of your file. Noticing a theme yet? Ruby just happens to be really good at parsing Date/Time strings, so just type whatever makes sense to you. Files with a future date/time will not be published until the date/time specified.
All of the YAML in the metadata section is parsed and available via the document's object. So for the tags below, just call article.tags to get an array of tags. You can add whatever other YAML data you want and it'll be ready for you in the views.
title: My First Blog Post
date: February 29, 2012 at 9:02am
tags:
  - Winner
  - Chicken Dinner
---

Lorem ipsum dolor sit amet, consectetur adipisicing elit, sed do eiusmod tempor incididunt ut labore et dolore magna aliqua. Ut enim ad minim veniam, quis nostrud exercitation ullamco laboris nisi ut aliquip ex ea commodo consequat.