Install Homebridge on Windows 10
This guide provides step-by-step instructions to show you how to install Homebridge on Windows 10 as a service so it will automatically start on boot.
- Prerequisites
- Install Homebridge
- Manage and Configure Homebridge
- How To Uninstall Homebridge
- Multiple Instances
- Additional Utilities
- Major Node.js Version Updates
- Configuration Reference
⚠️ Some users report their iOS devices are not able to connect Homebridge running natively on Windows 10.
For this reason we recommend running Homebridge in a Linux virtual machine instead.
If you are using Windows 10 Pro / Edu / Enterprise, you can follow our guide for setting up Homebridge using Hyper-V, otherwise, see the required network settings for a VM running in Virtual Box or VMWare Workstation.
Before you get started, make sure you have the following ready:
- A computer running an update-to-date version of Windows 10 (this guide is based on 1903).
- An account with Administrator Privileges.
Homebridge requires Node.js installed on your system to run. Download the LTS version of Node.js (v16.16.0) and run the installer with all the default options selected:
Open a new Node.js Command Prompt window as administrator, then check that Node.js and NPM have installed correctly by running the following commands:
# test node.js is working
node -v

# test npm is working
npm -v
From the administrator Node.js command prompt, run the following command to install Homebridge and the Homebridge UI:
npm install -g --unsafe-perm homebridge homebridge-config-ui-x
To install Homebridge as a service we use the hb-service command provided by the Homebridge UI plugin:
hb-service install

If you see a Windows Firewall warning, make sure you grant Node.js permissions to access your private network.
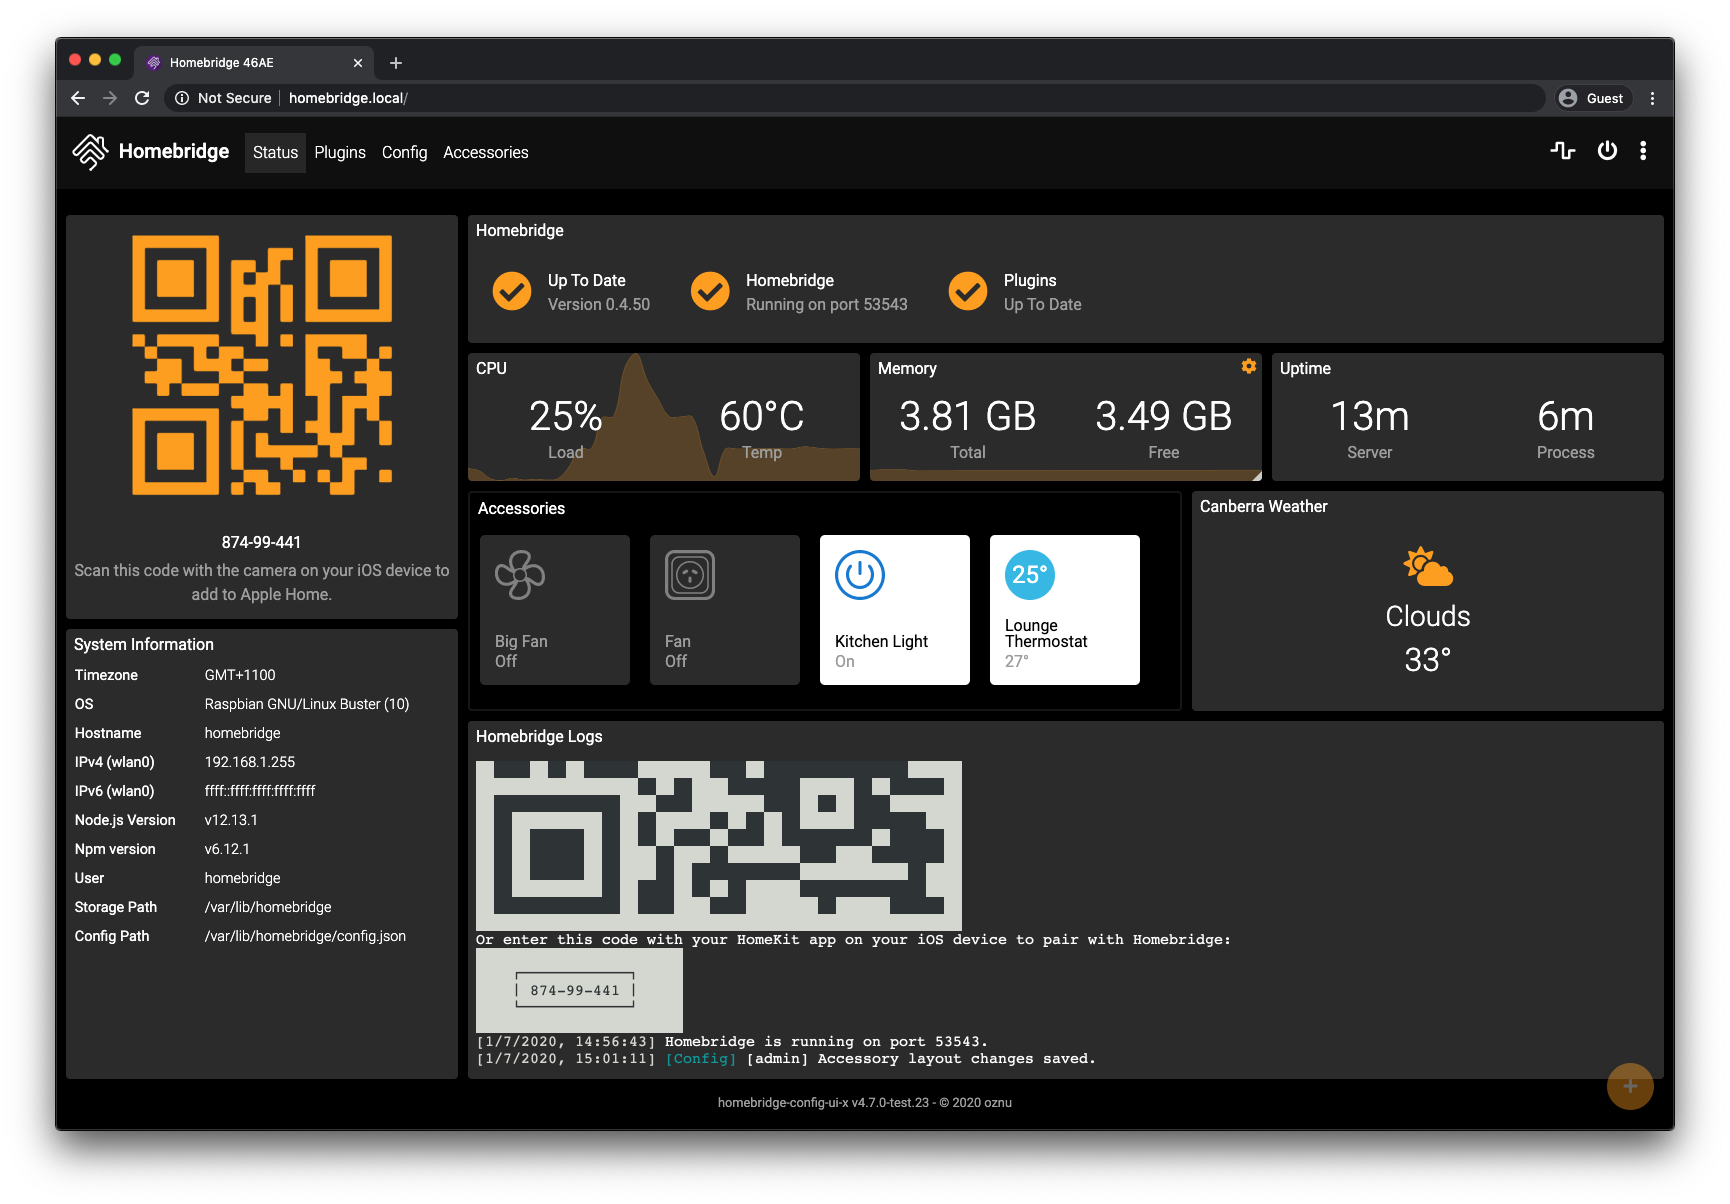
To access the Homebridge UI go to http://localhost:8581 in your browser.
The Homebridge UI will allow you to install, remove and update plugins, and modify the Homebridge config.json.
Review the Configuration Reference at the bottom of this guide.
To view your pairing QR code, you'll need to view the logs which are stored in the $HOME\.homebridge\homebridge.log file. You can view the from a Node.js command prompt with this command:
hb-service logs
To edit your config.json file you can open the $HOME\.homebridge\config.json file in a code editor of your choosing (VS Code is a good option with syntax checking).
Do not edit the config.json file using the a word processor that does text formatting as this will corrupt the file.
After making any changes to your config.json you need to restart Homebridge using by stopping and starting the service in Task Manager. You can also run this command from a Node.js command prompt:
hb-service stop
hb-service start
Delete the service run the following command from a Node.js administrator command prompt:
hb-service uninstall
Remove Homebridge and Homebridge Config UI X:
npm uninstall -g homebridge homebridge-config-ui-x
You can optionally delete all Homebridge data stored in $HOME\.homebridge and uninstall Node.js.
💡 Homebridge now supports Child Bridges which are an easier to manage alternative to running multiple instances.
Some users like to run multiple instances of Homebridge.
The hb-service command makes this easy to do via the --service-name flag.
See the hb-service documentation for instructions.
Some plugins may require you to have git installed, or the windows-build-tools to compile native modules.
While installing certain plugins you may encounter the spawn git ENOENT or ENOGIT error. To resolve this issue you need to install the git utility. You can download the installer from https://git-scm.com/downloads.
The windows-build-tools allow Homebridge plugins to compile native code for your platform. While increasingly rare, some plugins will require this. To install the windows-build-tools open a Node.js command prompt as an Administrator and run:
npm install --global windows-build-tools
It is recommended to run Homebridge on the current stable LTS version of Node.js. You can download the new releases from the Node.js website.
Before updating Node.js, stop Homebridge:
hb-service stopRun the Node.js installer with the default options.
Once installed, run this command to rebuild the modules:
# This command can take a very long time to run. Be patient.
hb-service rebuild
Then start Homebridge again:
hb-service start
This table contains important information about your setup. You can use the information provided here as a reference when configuring or troubleshooting your environment after setting up Homebridge using the instructions below.
| File Location / Command | |
|---|---|
| Config File Path | %HOMEPATH%\.homebridge\config.json |
| Storage Path | %HOMEPATH%\.homebridge |
| Restart Command | hb-service restart |
| Stop Command | hb-service stop |
| Start Command | hb-service start |
| View Logs Command | hb-service logs |