
This module posts OpenMRS Period Indicator Report data to DHIS2 using the Reporting Rest module. Mappings between Period Indicator Reports and DHIS2 Data Sets can be generated via the UI. The DHIS2 API is backed up for offline operation and DXF files can be downloaded instead of posting to DHIS2 directly.
- This module so-far is only tested to support daily, weekly and monthly period types, For automated reporting, the module will only run once for each day, week or month only for the previous past period
Before you use the DHIS Connector Module, you will need to configure both a Period Indicator Report in OpenMRS (instructions) and the corresponding DHIS2 Data Set in DHIS2 (instructions).
First install the Reporting Rest Module† (you will also need the Rest Module and the Reporting Module). Then download and install the DHIS Connector Module.
† You will actually need to download this build of the Reporting Rest Module until this change is merged and released.
Development installation Steps
Install depended on modules
-
git clone https://github.com/openmrs/openmrs-module-reporting.git
- Depends on some other modules
* cd ../
- git clone https://github.com/openmrs/openmrs-module-serialization.xstream.git
- cd openmrs-module-serialization.xstream
- git checkout tags/0.2.10
- mvn clean install
- cp omod/target/*.omod ~/.OpenMRS/modules
- cd ../
- git clone https://github.com/openmrs/openmrs-module-htmlwidgets.git
- cd openmrs-module-htmlwidgets
- git checkout tags/1.7.2
- mvn clean install
- cp omod/target/*.omod ~/.OpenMRS/modules
- cd ../
- git clone https://github.com/openmrs/openmrs-module-calculation.git
- cd openmrs-module-calculation
- git checkout tags/1.1
- mvn clean install
- cp omod/target/*.omod ~/.OpenMRS/modules
- git clone https://github.com/openmrs/openmrs-module-serialization.xstream.git
- cd ../
- cd openmrs-module-reporting
- git checkout tags/0.9.4
- mvn clean install
- cp omod/target/*.omod ~/.OpenMRS/modules
- Depends on some other modules
* cd ../
-
cd ../
-
git clone https://github.com/openmrs/openmrs-module-reportingrest.git
- Depends on rest webservices module as well as reporting above
- cd ../
- git clone https://github.com/openmrs/openmrs-module-webservices.rest.git
- cd openmrs-module-webservices.rest
- git checkout tags/2.5
- mvn clean install
- cp omod/target/*.omod ~/.OpenMRS/modules
- cd ../
- cd ../
- cd openmrs-module-reportingrest
- git checkout tags/1.5
- mvn clean install
- cp omod/target/*.omod ~/.OpenMRS/modules
- Depends on rest webservices module as well as reporting above
-
Install DHIS connector module
- cd ../
- git clone http://github.com/jembi/openmrs-module-dhisconnector.git
- mvn clean install
- cp omod/target/*.omod ~/.OpenMRS/modules
-
Start OpenMRS.
The first step is to configure the link to your DHIS2 server. This is done by clicking the Configure DHIS Server link under the DHIS Connector Module heading on the OpenMRS Administration page. You will need to know the URL of your target DHIS2 instance as well the details of a user that has access to the API. To test with the DHIS2 demo server, use the following details:
| Field | Value |
|---|---|
| URL | https://play.dhis2.org/demo |
| Username | admin |
| Password | district |
⚠️ NB: Since DHIS API pagination isn't handled yet, you will have to change the Rest Max Results Absolute Webservices Module global property to 2000. Do this by clicking the Settings link on the OpenMRS Administration page, then click Webservices on the bottom left. Change the value of the Rest Max Results Absolute property to 2000 and click save. Ensure to build your reports in OpenMRS but making sure each indicator id is uniquely named
Before you can send Period Indicator Report data to DHIS2, a mapping must exist between the report and a DHIS2 Data Set. Mappings can either be generated via the UI or placed in the correct location. Mappings are stored as JSON on the file system at OPENMRS_DIR/dhisconnector/mappings/. On Ubuntu, this usually corresponds to /usr/share/tomcat7/.OpenMRS/dhisconnector/mappings/.
To generate a mapping via the UI, click the Create Mapping link under the DHIS Connector Module heading on the OpenMRS Administration page. Then select the Period Indicator Report from the left menu and the corresponding DHIS2 Data Set from the right menu. Drag the Data Elements and Category Option Combos from the right to the matching row on the left as follows:

Finally, click save and give your mapping a unique name.
This module provides a way of exporting existing mappings which basically archives them into one download that can thereafter be imported/uploaded into the current or another OpenMRS instance.
The module provides an option to import or upload mappings previously exported from the current or other instances, this feature is available and will be released as part of 0.1.2
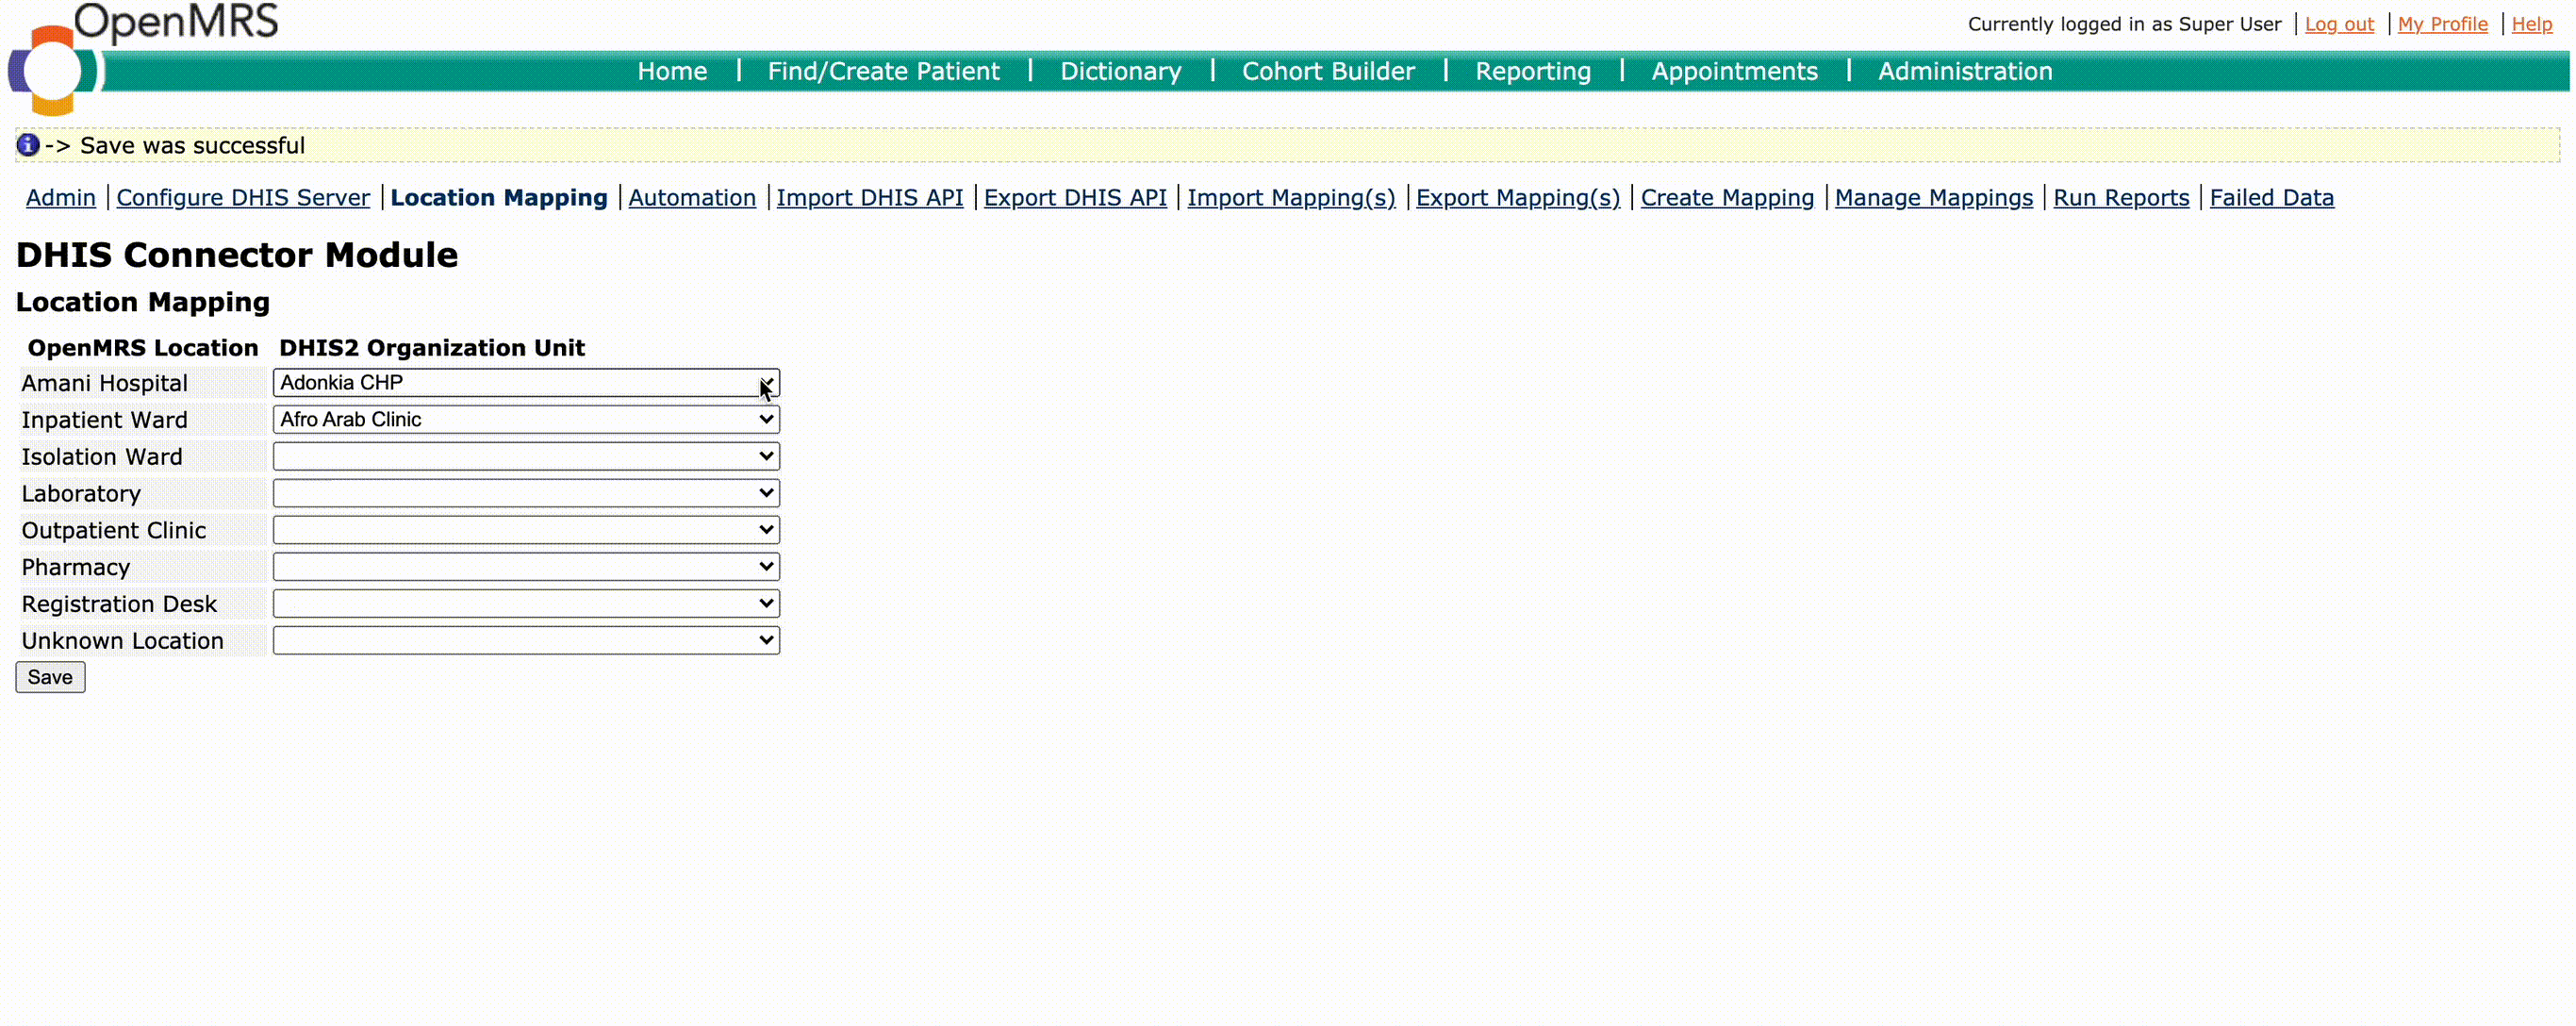
Before you can send Period Indicator Report data to DHIS2, a mapping must exist between the OpenMRS Location and a DHIS2 Organization Unit. So when pushing data, the respective DHIS Organization Unit and OpenMRS Location of the Dataset will be automatically mapped. Location Mappings can be saved via the Location Mapping UI. Mappings are stored in the database at dhisconnector_location_to_orgunit table.
To post data to the DHIS2 server or download the data in DXF format, click the Run Reports link under the DHIS Connector Module heading on the OpenMRS Administration page. Select the Period Indicator Report and the corresponding mapping to use.
Since Period Indicator Reports are always run for a specific location, you will also need to select the OpenMRS Location as well as the corresponding DHIS2 Organisation Unit. But with the automated location mapping feature, it will show the available location mappings when the mapping is selected. You can select the required location-orgunit mappings from the available mappings.
The date selector will changed based on the period type of the DHIS2 Data Set.

Once you have selected a value for all the fields, click Send Data to post data directly to the DHIS2 server, or Download JSON to download the data in DXF format.
To post backedup DHIS2 API, run;
bash postDHIS2API.shand enter required details
To schedule/automate pushing data, click Automation link under the DHIS Connector Module heading on the OpenMRS Administration page.
To add mappings, choose the mapping from the dropdown lost and click Add.
You need to map the relevant OpenMRS Location and DHIS2 Organisation Unit using the Location Mapping UI before scheduling the mappings.
To push data manually, select the mappings and click Run Selected. Available OpenMRS locations and DHIS2 organization units will be mapped automatically. Automated reports will be ran and pushed automatically by the end of the relevant period.
You can toggle the automation by checking/unchecking the tick box and clicking save.

Every time a request is sent to the DHIS2 server, the resulting JSON is stored on the file system at OPENMRS_DIR/dhisconnector/dhis2Backup/. On Ubuntu, this usually corresponds to /usr/share/tomcat7/.OpenMRS/dhisconnector/dhis2Backup/. If the DHIS2 server is no longer reachable, these backed up API values will be used by the DHIS Connector Module.
For OpenMRS implementations that should operate offline, it is possible to pre-populate this dhis2Backup by using both the DHIS API Import and export pages. Assuming all the required resources have been backed up by the online implementation, the offline implementation should be able to function correctly without ever being able to reach the DHIS2 server.
The DHIS Connector module comes with these user privileges.
View Connection- Viewing DHIS2 ConnectionManage Connection- Edit DHIS2 ConnectionView Location Mappings- View location-orgunit mappingsManage Location Mappings- Edit/Delete location-orgunit mappingsView Automation- View scheduled mappingsRun Automation- Run scheduled mappingsManage Automation- Add/Edit/Delete scheduled mappingsRun Reports- Base privilege for running the reportsRun Failed data- Base privilege for pushing the failed dataManage Mappings- Create/Edit MappingsImport and Export- Import and export mappings and DHIS2 API
Users are required to have the necessary user privileges in order to use the functionalities of the module. The admins can create and assign roles with the combinations of privileges. If the required privilege is missing, the user will be redirected to the Home page.
In addition, users should have the privileges related to the used period indicator reports when pushing data. Also users must have Manage Global Properties to toggle automation and to update the DHIS2 Connection. More Info...
Jira Issues
Implemented
- Configure DHIS2 Server
- Drag and drop mapping generator
- Post data or download DXF
- Backup DHIS2 API for offline use
- Interface for uploading mappings
- Interface for exporting mappings
- Fix mapping creation UI to support multi-line DataElement names
- Interface for prepopulating DHIS2 API backup
- Error handling
- Managing/editing mappings
- Scroll page when dragging mapping to top and bottom of page if necessary
- Generation, Downloading & Posting of ADX
- Automated reporting and posting to DHIS2 using configured mapping
- Support Quarterly, SixMonthly, SixMonthlyApril, FinancialApril, FinancialJuly, FinancialOct period types
- Add location mapping feature
- Implement role based user access controlling
- Support WeeklySunday, Biweekly, Bimonthly, FinancialNov, SixMonthlyNov, WeeklyWednesday, WeeklyThursday, WeeklySaturday period types in Automation
TODO
- Support other types of OpenMRS reports
- DHIS2 API pagination
- Upgrade all dhis endpoints or api to work after 2.20
- Support remaining period types in Run Reports