Getting started
This tutorial will guide you to setup your environment so you can use dotSpaces for your very own project. You can chose to either work directly with the binaries using the nuget packet manager, or download the complete source and compile it yourself. Both can be obtained from the following link: Latest-release. You can also obtain the sources by cloning the github repository dotSpaces. If you want to work with the examples, you must download their source code.
You are free to chose from either Visual Studio or MonoDevelop. Both are freely available, and run on all platforms. However, if you are running Linux or Mac then you have to rely on Mono, whereas Windows natively runs .NET and can optionally run Mono. You are even able to develop crossplatform, as both Visual Studio and MonoDevelop integrate seamlessly. I.e. developing a project on Windows using Visual Studio is fully executable on a Mac using MonoDevelop and Mono.
The following links can be used for downloading the development environment:
The following section will illustrate how to get started with dotSpaces using Visual Studio 2015. Please note that minor discrepancies might occur with different versions of Visual Studio. This tutorial should also be somewhat applicable with MonoDevelop.
-
Start Vistual Studio
-
Select File → New → Project
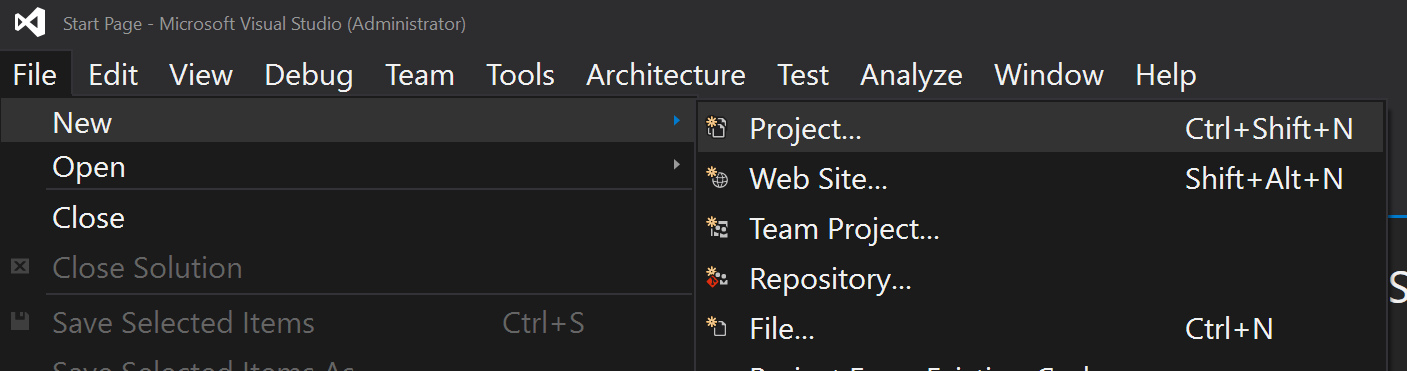
A window opens and prompts you to select a project type.
- In the left pane, select Visual C# → Windows, then in the right pane select Console Application

- Name your project. e.g. 'Hello World'
- Select a suitable path for storing your project
- Select a name for your solution. e.g. 'TupleSpaces-101'
You have now created a simple console application, in order to proceed with dotSpaces we need to add a reference to the binaries.
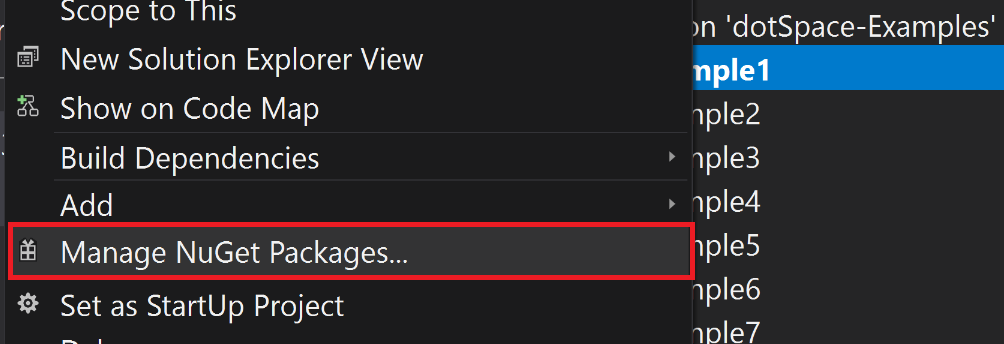
- To the right in the Solution Explorer pane, expand the project.
- Then right click on the project and select Manage Nuget Packages.
- Select Browse and write dotSpace in the listbox below.
- Select the dotSpace by Shane McLean and press Install

To test that you have completed the above steps correctly, replace the existing class Program with the one below:
    class Program
    {
        static void Main(string[] args)
        {
            SequentialSpace inbox = new SequentialSpace();
            inbox.Put("Hello world!");
            ITuple tuple = inbox.Get(typeof(string));
            Console.WriteLine(tuple);
            Console.Read();
        }
    }
We also need to specify the namespaces that we access. This is done at the top of the source file.
using dotSpace.Interfaces.Space;
using dotSpace.Objects.Space;
using System;
Compile and run the program. You should hopefully see the following message in the console window: "<Hello world!>". If not, contact a TA or the teacher.
You are now ready to work with dotSpace!