User_Inst_Unity3DOnWindows
Installing Unity
- Download and install Unity
- Start Unity and follow on screen instructions to sign in/create an account
- Create a new project
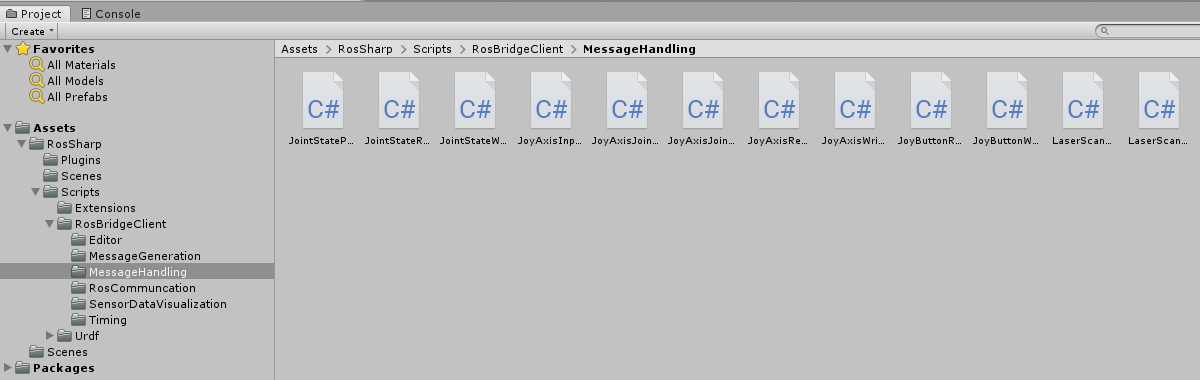
- Copy the RosSharp folder from the latest commit of our repository into the Assets folder of your Unity project.
Note: Make sure that Unity is using .NET Framework 4.x, since it is required by RosBridgeClient. To do this:
- In the Unity menu, go to
Edit>Project Settings>Player. - In the Inspector pane, look under
Other Settings>Configuration. - Set
Scripting Runtime Version*to.Net 4.x Equivalent.
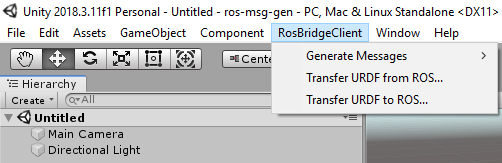
Now RosBridgeClient and UrdfImporter are included in your Unity project. Once the plugins have been loaded, the following new menu items will show up:
-
ROSBridgeClient>Generate Messages\Transfer URDF to ROS\Transfer URDF from ROS
-
GameObject>3D Object>URDF Model (import)\URDF Model (new)

Furthermore various scripts and GameObjects are now contained in the Assets folder. These accomplish different functionalities explained in these tutorials.
Next tutorial: 1.2 Ubuntu on Oracle VM
© Siemens AG, 2017-2019 Author: Verena Röhrl (verena.roehrl@siemens.com)