Releases: td512/RMS
Panther build 901
This is a maintenance release
- Updates gems to fix security vulnerabilities
- Updates CDN URL
Panther build 863
Changes in this release:
- Comment spam is now dealt with automagically with Google reCAPTCHA
- Profile Pages!
- reCAPTCHA
How To Install
The OS components
You'll need
- A RedHat based distro, like CentOS or Fedora (I'll be using CentOS 7, for Fedora substitute
yumwithdnf)
Let's start.
First, you'll need to log in to your new VPS or dedicated server, on Windows, you can use PuTTY, KiTTY, or Bitvise. Other paid options exist, but that's outside the scope of this article. For Linux, and Mac OS X (<10.12) or macOS Sierra (10.12), you should know how to do this natively, by running ssh <root>@<server> from your terminal emulator (my favourite is iTerm2)
Next, let's update the OS, you can do this by issuing yum update -y

CentOS updating
Extra Packages for Enterprise Linux
Next, we want to install the Extra Packages for Enterprise Linux (this only applies to CentOS, don't do this on Fedora), so issue yum install -y epel-release

EPEL Installation
PostgreSQL
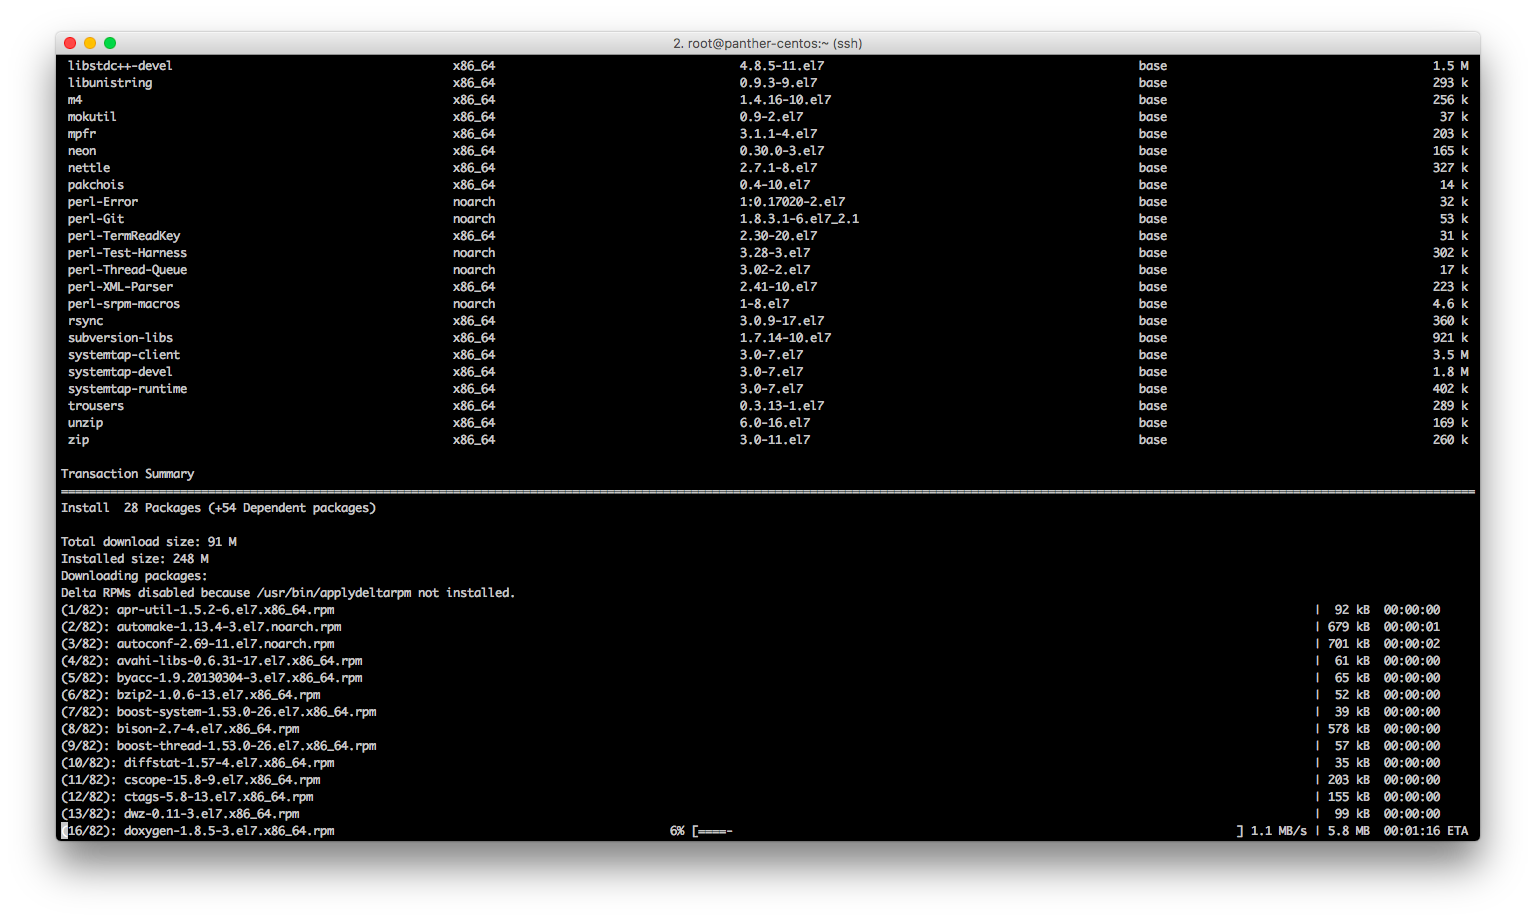
Now install PostgreSQL with yum install postgresql-server postgresql-contrib postgresql-devel -y

Installing PostgreSQL
Yay, almost half way there. Next we need the Development Tools group to be installed (this is required for Ruby). You can install this with yum groupinstall -y "Development Tools"
Installing the Development Tools group
Let's set PostgreSQL up next. Issue postgresql-setup initdb in your terminal.

Initializing PostgreSQL
Now start the PostgreSQL service, and make sure it starts on boot with systemctl start postgresql and systemctl enable postgresql

Starting and enabling PostgreSQL
PostgreSQL on CentOS has a little issue with template1 (the default template) not being UTF-8, let's fix that.
Start by running sudo -upostgres -i psql to drop to the PostgreSQL shell, once you're there, issue these commands to recreate template1
UPDATE pg_database SET datistemplate = FALSE WHERE datname = 'template1';
DROP DATABASE template1;
CREATE DATABASE template1 WITH TEMPLATE = template0 ENCODING = 'UNICODE';
UPDATE pg_database SET datistemplate = TRUE WHERE datname = 'template1';
\c template1
VACUUM FREEZE;
Finally, execute \q to quit
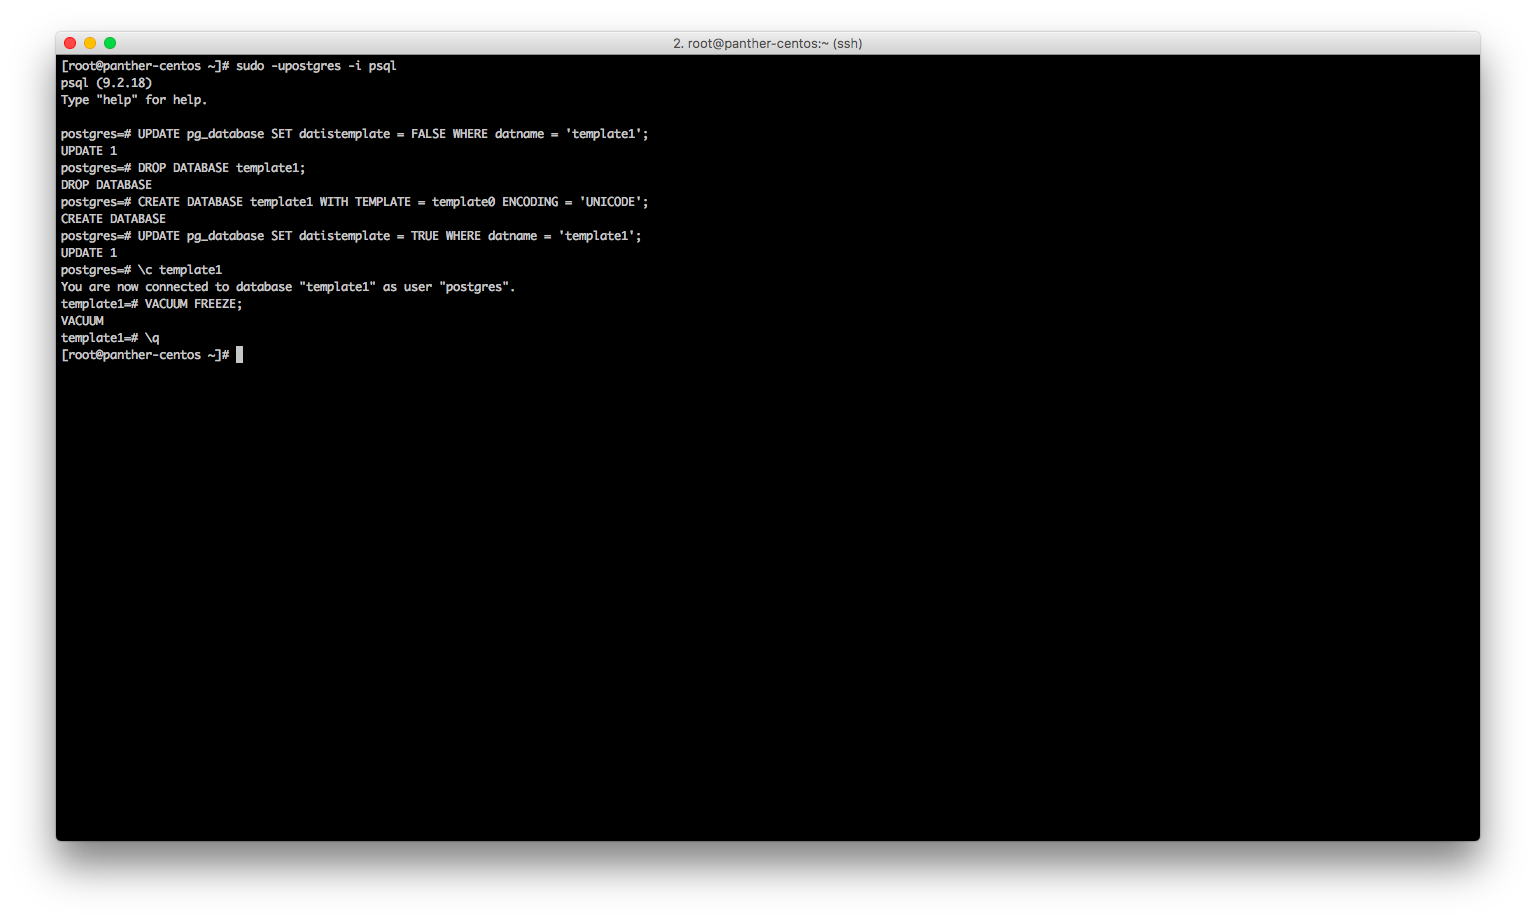
Recreating template1
Now that's done, we need to create the user in PostgreSQL (so close to finished). Let's do that now with sudo -upostgres -i createuser -d panther
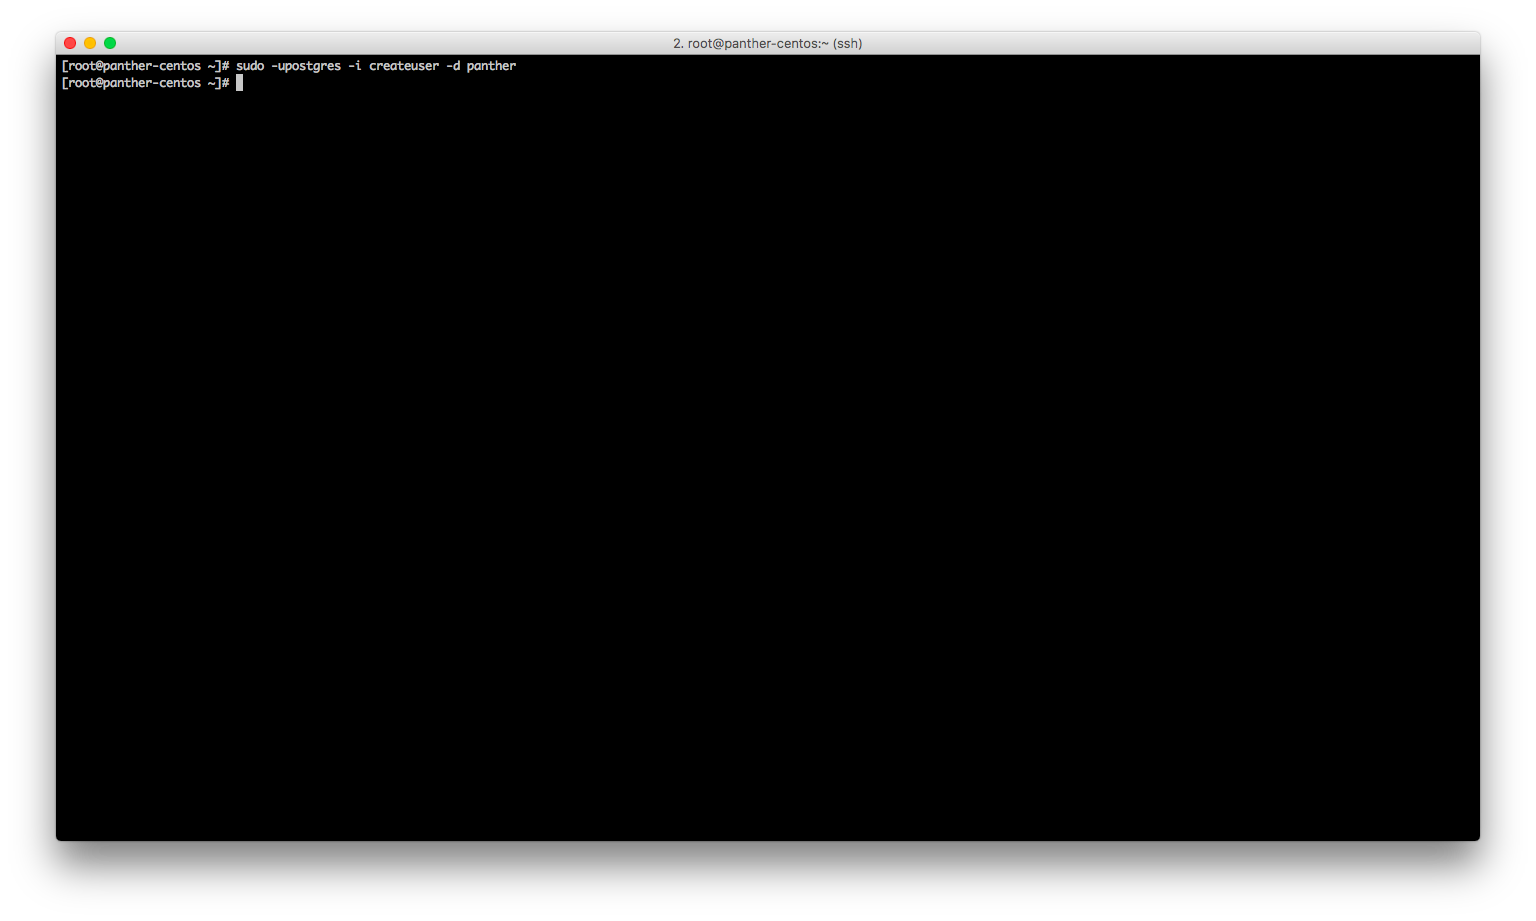
Creating the PostgreSQL user
Finally, let's create the user Panther will run as with useradd -m -s /bin/bash panther
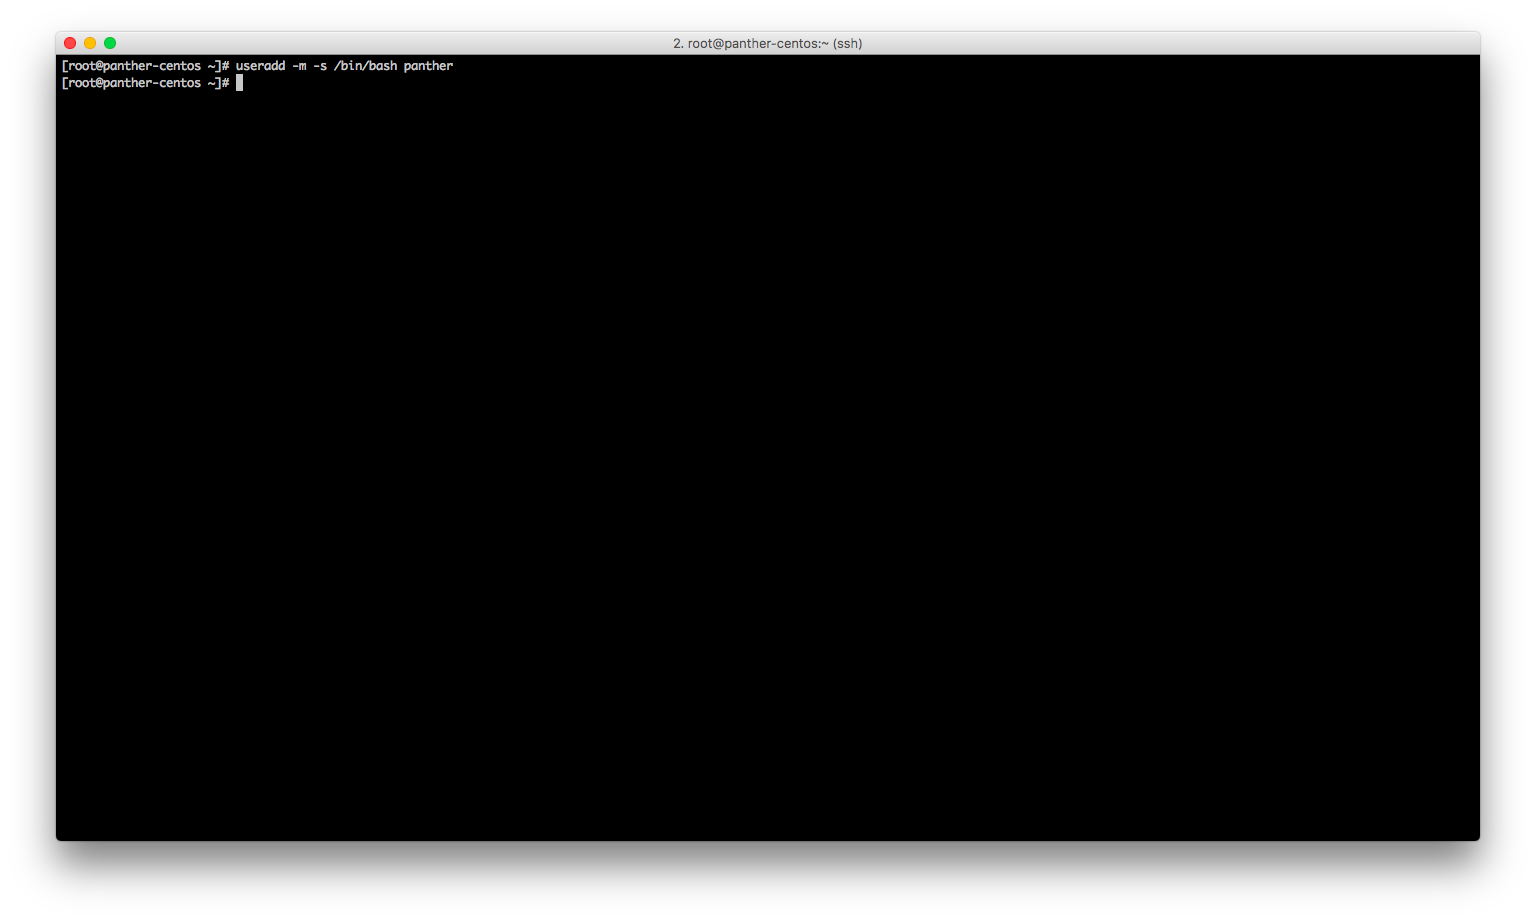
Creating the user
Installing Node.js
Now to install Node.js. This will be the simplest part of this. Import the Node.js repo with curl --silent --location https://rpm.nodesource.com/setup_8.x | sudo bash -
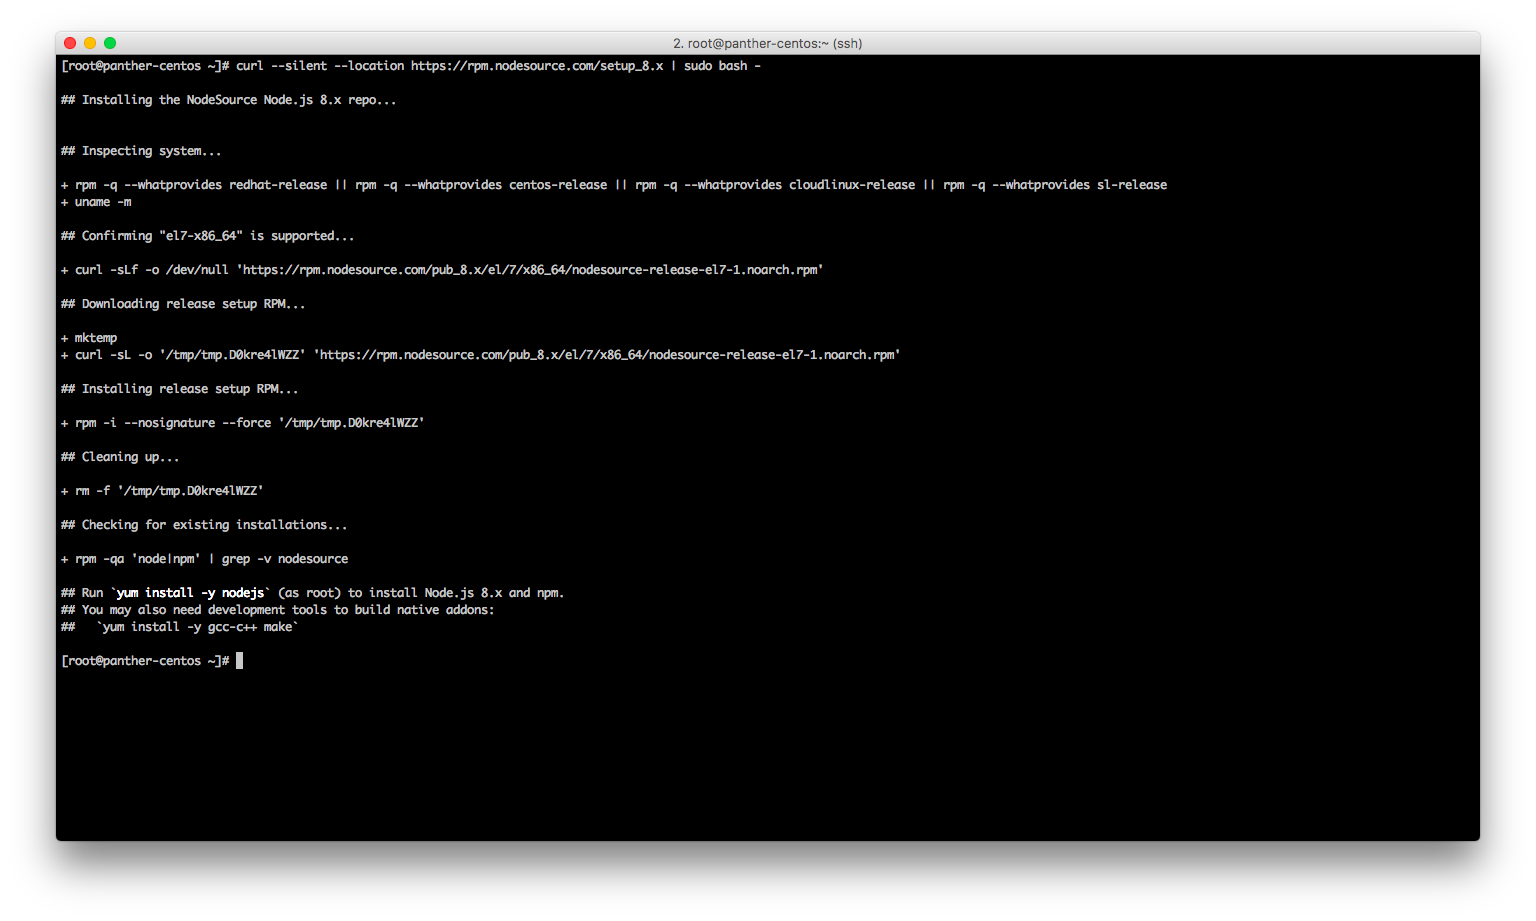
Importing the Node.js repo
Finally, install Node.js with yum -y install nodejs

Installing Node.js
Installing Ruby
Next up is Ruby. Let's start by installing the extra packages rbenv will need with yum install -y git-core zlib zlib-devel gcc-c++ patch readline readline-devel libyaml-devel libffi-devel openssl-devel make bzip2 autoconf automake libtool bison curl wget sqlite-devel
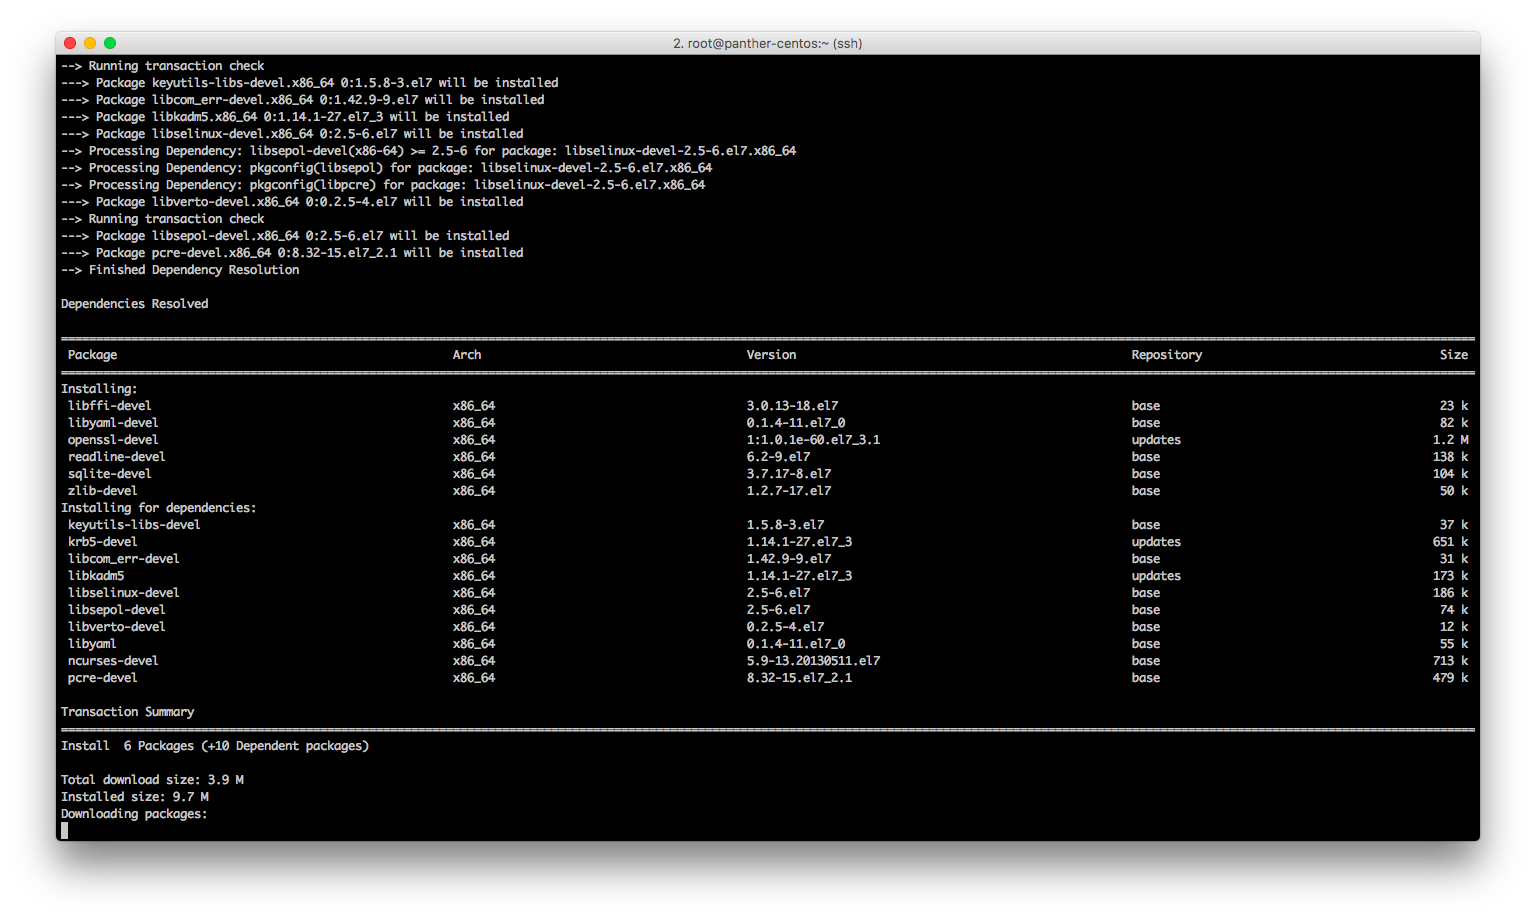
Installing Ruby requirements
Now switch to panther with su - panther

Switching user to panther
Next let's install rbenv with the following commands:
cd
git clone git://github.com/sstephenson/rbenv.git .rbenv
echo 'export PATH="$HOME/.rbenv/bin:$PATH"' >> ~/.bash_profile
echo 'eval "$(rbenv init -)"' >> ~/.bash_profile
git clone git://github.com/sstephenson/ruby-build.git ~/.rbenv/plugins/ruby-build
echo 'export PATH="$HOME/.rbenv/plugins/ruby-build/bin:$PATH"' >> ~/.bash_profile
. ~/.bash_profile
Installing rbenv
Now let's install Ruby 2.4.0 with rbenv install -v 2.4.0

Installing Ruby 2.4.0
Let's set ruby 2.4.0 as the default with rbenv global 2.4.0. Now to save space, you'll want to stop gem generating documentation with echo "gem: --no-document" > ~/.gemrc


Making Ruby 2.4.0 the default and stopping gem from generating documentation
Now install bundler with gem install bundler

Installing Bundler
Just a few commands left!
Next, you'll want to install Rails (5.0.0 only please!) with gem install rails -v 5.0.0
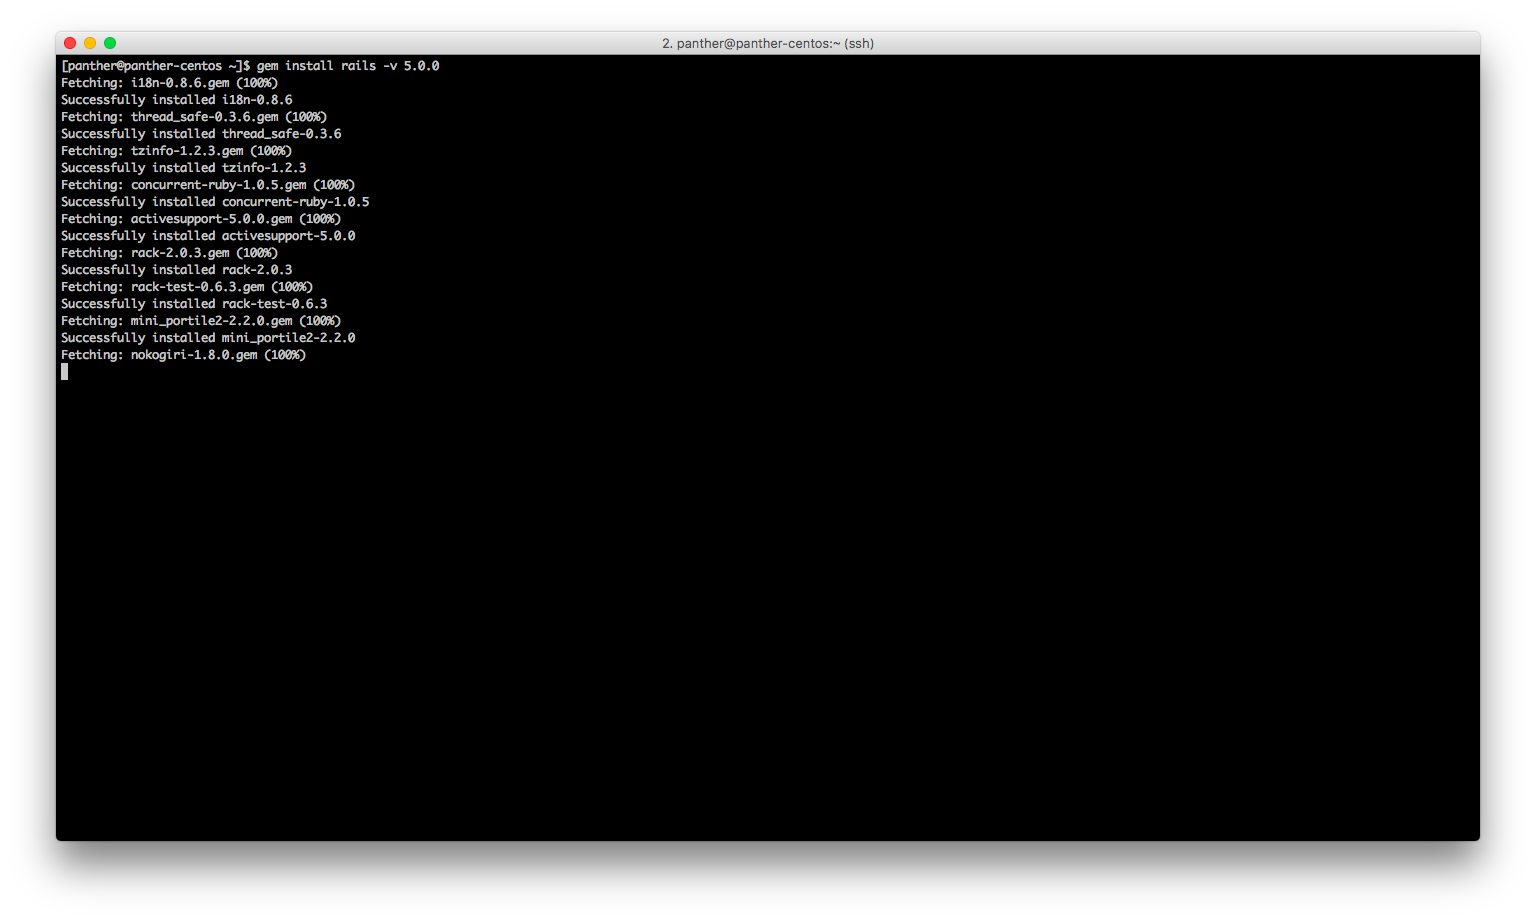
Installing Rails
Finally, rehash rbenv with rbenv rehash
Installing Panther
Downloading Panther
Start by copying the link for the version of Panther you want to download (at the time of writing, only 8xx is available)
Next, wget it with wget <URL-you-just-copied>

Downloading Panther
Change directory to it with cd RMS-*
Next, bundle the application with bundle install

Bundling the application
Migrate the database with rake db:create db:migrate
Update the Postmark API token with your own from Postmark by using vi config/secrets.yml, going to the line that says replace-me pressing I to insert, and when you're done, hitting ESC and typing :wq
Finally, start Panther with rails s

Starting Panther for the first time
Finally, browse to your server's IP on port 3000

Visiting your site
Finally, create an account, by browsing to <server-ip>:3000/signup.

Creating an account
After that, you might want to set your site's settings. Don't worry about the Dash and Blog options, they'll be autofilled for you. You'll need to grab a Facebook App ID if you want people to be able to share your content.

Setting up your site
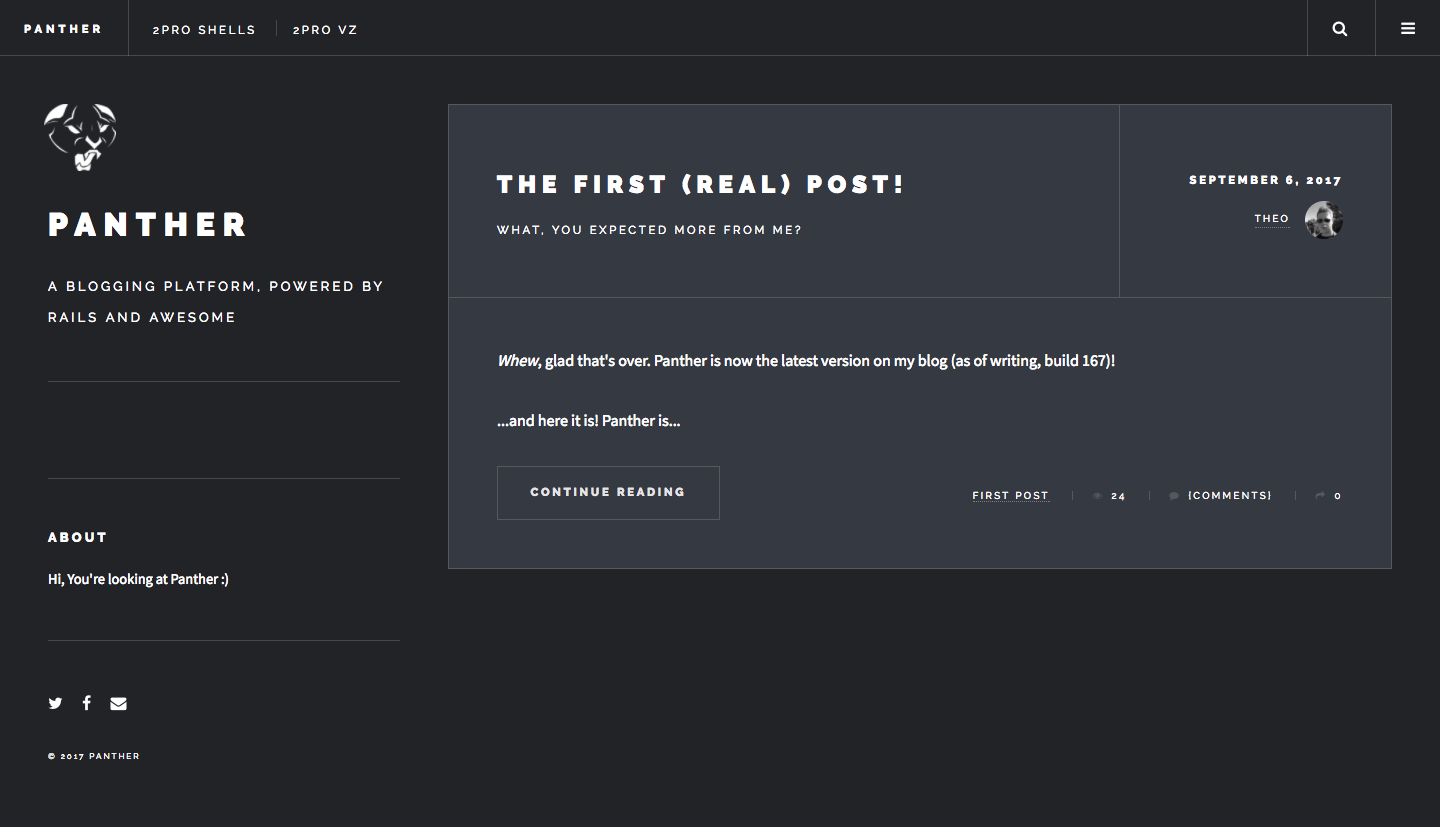
If you'd like to change the style of your site, use the colour options. My favourites are:
- Blog body and header: #212327
- Blog text: #ffffff
- Blog post: #353941
- Blog button: #e6e5e5
- Dash background: #212327
- Dash text: #ffffff
- Dash highlight: #23E1F4
- Dash menu text: #ffffff
- New Logo Image:
/images/logo-text-white.png
This is what they look like:

What next?
- Consider running this in a
screenortmuxsession, so it stays up when you close the terminal - Use Apache's HTTPd or nginx for reverse proxying the application to port 80 and 443 if using SSL
- If using a reverse proxy, bind to 127.0.0.1 with
rails s -b127.0.0.1
Have fun,
Theo