This is a small script made for keeping a DNS record on a Namecheap-managed domain up to date with the current WAN IP -- i.e. dynamic dns.
-
Enable DDNS for your domain on Namecheap.
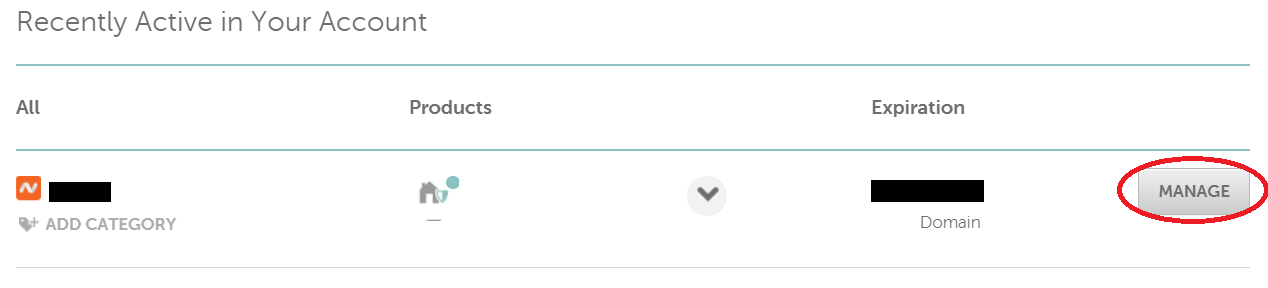
- Navigate to the Namecheap Dashboard (a.k.a. My Account Panel).
- Click Manage on the domain for which you wish to have ddns.
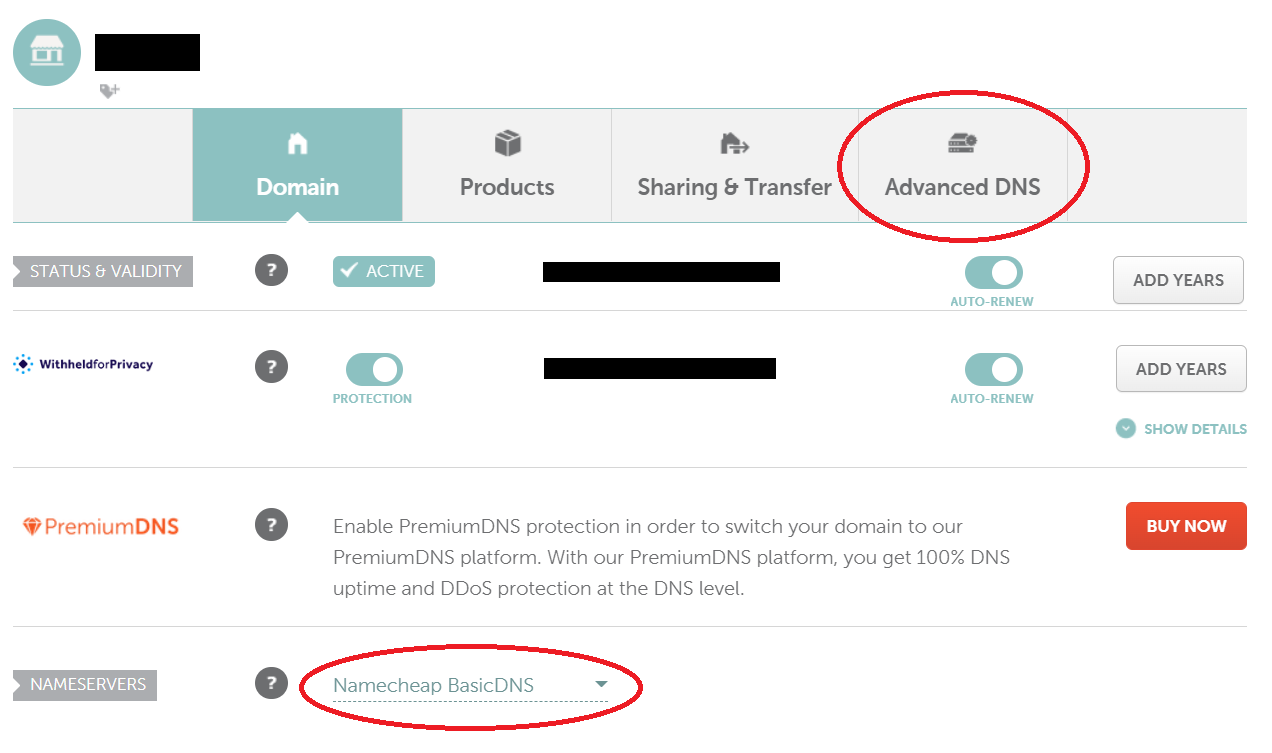
- Verify that Namecheap DNS is selected in the Nameservers dropdown. In order for this DDNS strategy to work, you will need to be using some form of Namecheap DNS service (free, premium, etc.). Once you've verified that you're using Namecheap's DNS services, click Advanced DNS.
- Add a new A record (AAAA records are not supported -- as of writing, this script only works with IPv4, per a limitation with the Namecheap API endpoint). For the host, enter whatever subdomain you wish to be set to your WAN ip. If you want the domain itself to point at your WAN ip, use '@' as the host. In the image below, The host has been set to "ddns" as an example. Leave TTL as automatic, or set it to 30 minutes. Set it to any address you want. It will be updated to your WAN IP as soon as we run the script, so you can just use "1.1.1.1" for now.
- Scroll down to the Dynamic DNS section and enable it. Copy the password that is generated, we will use it in next.
-
Create environment file and set variables
- Create the environment file:
cat .env.template > .env. - Set the environment variables by opening the environment file in your favorite text editor:
nano .env- I recommend setting the polling frequency to 300000 (5 minutes).
- Create the environment file:
-
Install dependencies
- Run
npm i. - Start the script with
npm run start.
- Run
-
Done!