Connectathon FAQ
Connectathon testing of the MHD Provide Document Bundle transaction uses the Proxy in FHIR Toolkit to record the transaction and allow it to be graded. Before the event a proxy channel is created for each MHD Document Recipient.
Open the Channel configuration editor
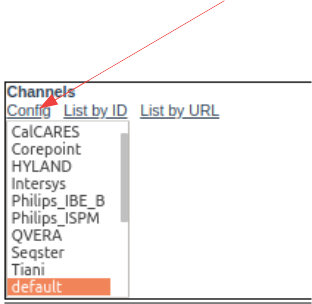
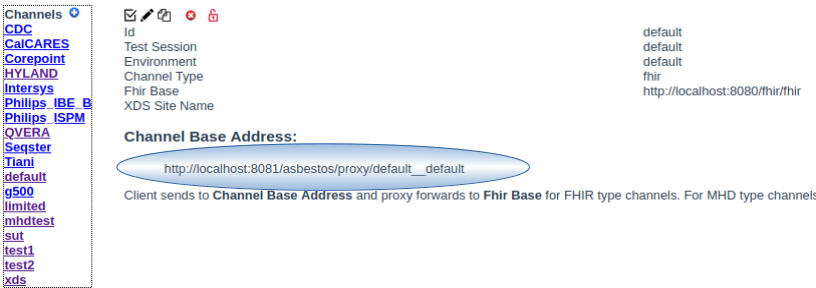
Select the target system from the list on the left. The URL to send to is displayed with the title Channel Base Address.
They are are registered under the recipient system you sent to. Open the event listing for the recipient system
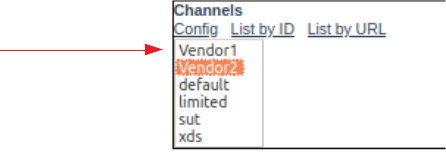
First select the channel for the recipient
then open the selected channel with the view link

This will show all messages to that channel

All messages to the recipient system will be shown. Each includes a timestamp, IP address of the sender, HTTP verb, FHIR resource type, and status. Since you are trying to find a Provide Document Bundle message, you should pick a Bundle message since that is the FHIR format used for the transaction. If there are a lot of message, you can filter with the Source IP addr filter.
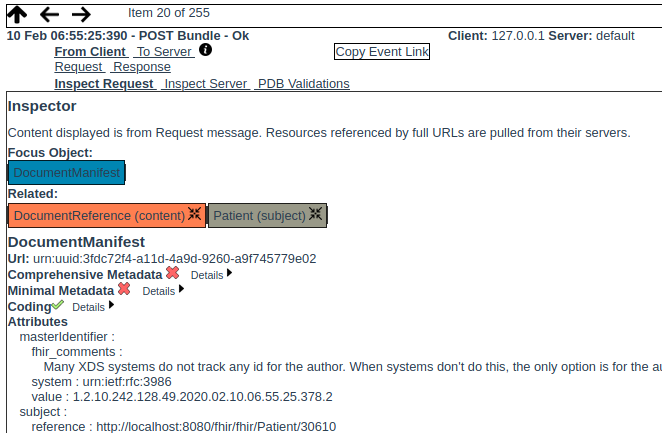
When you select a message the display changes to the Inspector:
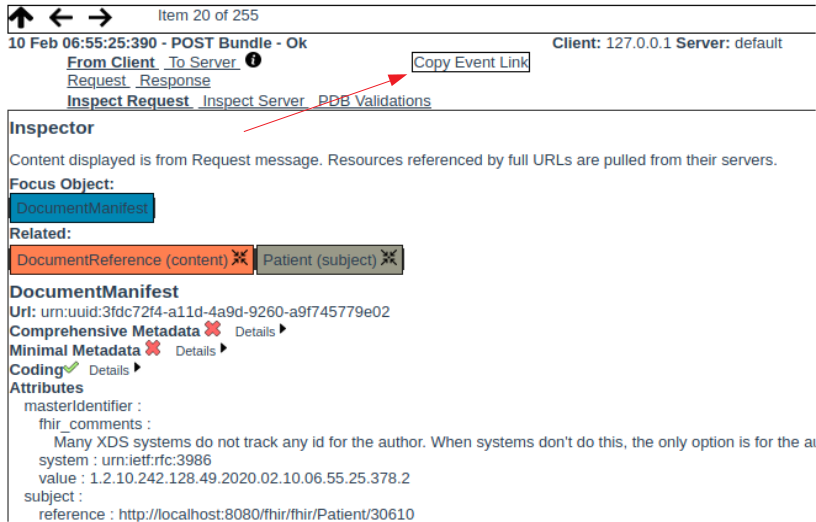
Once the message details are displayed, click the Copy Event Link button. Go to the Gazelle Chat and paste. This will save a link back to this display so a Monitor can find your work.
When a Monitor clicks on this link in the Gazelle Chat, it will bring them back to this display where they can investigate the message. More on this below.
For more information on the Inspector see the section below.
The MHD Document Source vendor will provide a link to the message in the FHIR Toolkit message viewer. Clicking on the link will bring up the Inspector in FHIR Toolkit.
The display should show POST Bundle since that is the form of the Provide Document Bundle transaction. From this display you can grade the message.
To grade a message you have to understand the capabilities of the Inspector (next section). The key element of the Inspector is the PDB Validations link which will grade an MHD Provide Document Bundle transaction and display the results. Any errors (red) are a problem. You can use other elements of the Inspector to look at details.
The Inspector is to view transaction details from one of three sources: proxy log accessed through the Channel Event viewer, proxy log accessed from Test Runner or from the custom GET Tool. In all these cases the Inspector view looks like:
To review the event messages captured by the proxy use the header section:

which allows you to select the request or response message as viewed from the client system or from the server system. Remember, the Proxy is in the middle and it does some necessary header rewriting.
Event message display reads the request_body.txt file, which is based on the HAPI FHIR Library pretty printing.
HAPI FHIR Library does not include the Contained resource if there are no references to it in the bundle, or the Contained resource id is invalid. See this link.
Message display reads the request_body.bin file, which is based on the raw proxy capture.
More advanced views are available below that

as Inspect Request, Inspect Server, and PDB Validations.
This takes the selected proxy event and uses the content sent from the client and displays it graphically:
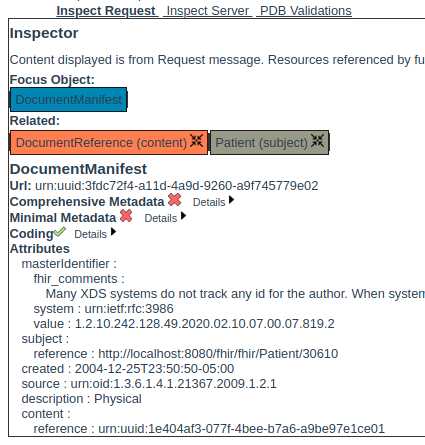
In this display there is always a Focus Object (a Resource) which is an anchor for the display. Any Resources that the Focus Object links to are listed under Related. Any of these objects can be selected to display details below. The details include validations against the requirements for Comprehensive and Minimal metadata as well as validation against the required event Coding.
In each Resource graphic, selecting the star shape to the right of the Resource type makes that Resource the Focus Object, showing its detail content as well as showing its related content (referenced Resources). This is a way to explore the linked Resources. This will follow links to other Resources in the Bundle as well as absolute links to Resources on a server.
If the transaction request contents is a Bundle and that Bundle represents an MDH Provide Document Bundle then the initial Focus Object is the Manifest by default. Search requests also result in a Bundle but in this case there is no Focus Object.
This works the same way as Inspect Request except the source of the Resources displayed is the server and not the message. The Focus Object is extracted from the response message (location link of the response). The Resource is retrieved using the link and that Resource becomes the Focus Object. Related Objects are taken from links in the Focus Object, which are expected to point to the server.
This tool grades the Provide Document Bundle request and response messages against FHIR and MHD rules.
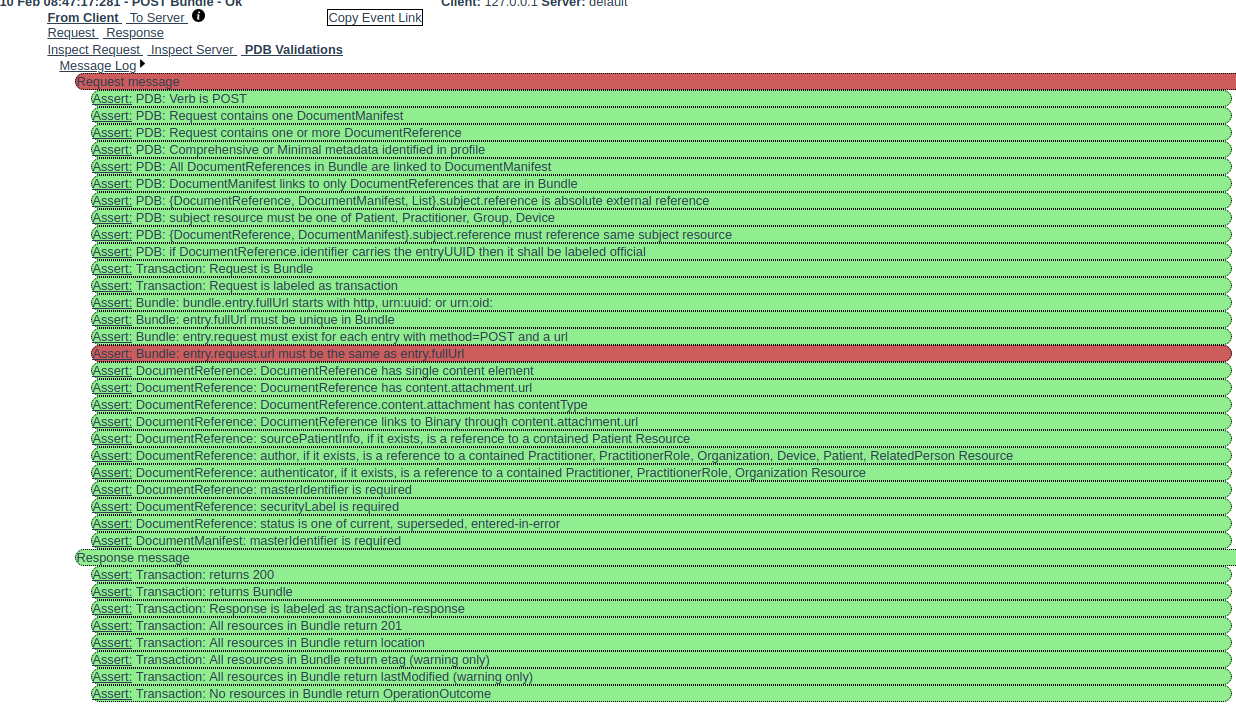
Each horizontal bar labeled with Assert: is the result of an assertion run against the message. Green means the assertion passed, red means it failed, and blue indicates an internal error. Internal errors should be reported to Bill.
Each assertion is categorized by what part of the specification produced the rule that the assertions tests (Bundle, PDB, Transaction etc.).
For a test to pass, all assertions must show green.
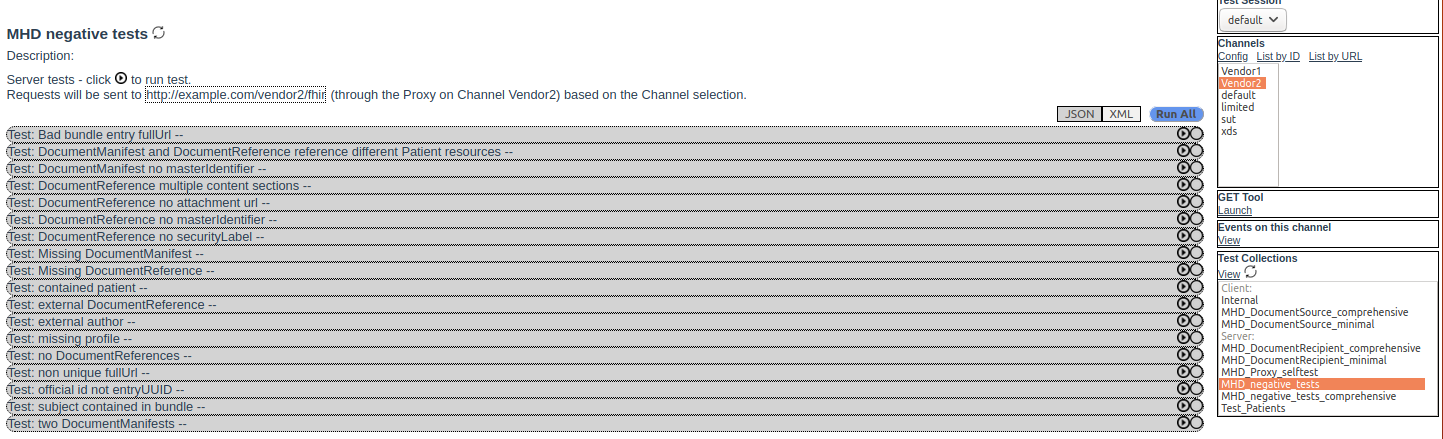
This test is an automated collection of negative tests which evaluate how the MHD Document Recipient reacts to errors in the MHD Provide Document Bundle transaction. These tests operate by sending a PDB transaction to your MHD Document Recipient. Each transaction contains a different flaw that violates the MHD or FHIR Transaction specification. An individual test passes when the flawed transaction is rejected with an HTTP 400 status as specified by the FHIR specification on transactions.
Instructions for running the test
Using the NIST FHIR Toolkit
The collection of test transactions will be sent to your system and the return status will be evaluated. Results are displayed. Tests colored green passed and those colored red failed. A test labeled blue indicates an internal error in the tool and should be reported to Bill. Gray tests have not been run yet.
Note that tests can be run individually using the run button on each test (right facing arrow in a circle).
Note that some tests are annotated (Comprehensive metadata). These tests should not be expected to pass if you do not support Comprehensive metadata.
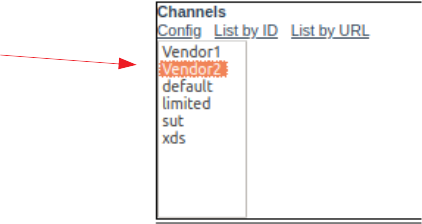
Select a channel (see above)
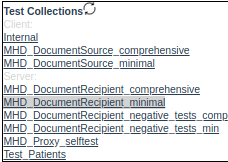
Choose a test collection (see above)
The collection of test transactions will be sent to your system and the return status will be evaluated. Results are displayed. Tests colored green passed and those colored red failed. A test labeled blue indicates an internal error in the tool and should be reported to Bill. Gray tests have not been run yet.
Tests can be run individually using the run button on each test (right facing arrow in a circle).
JSON or XML can be used for the message format (default is JSON).