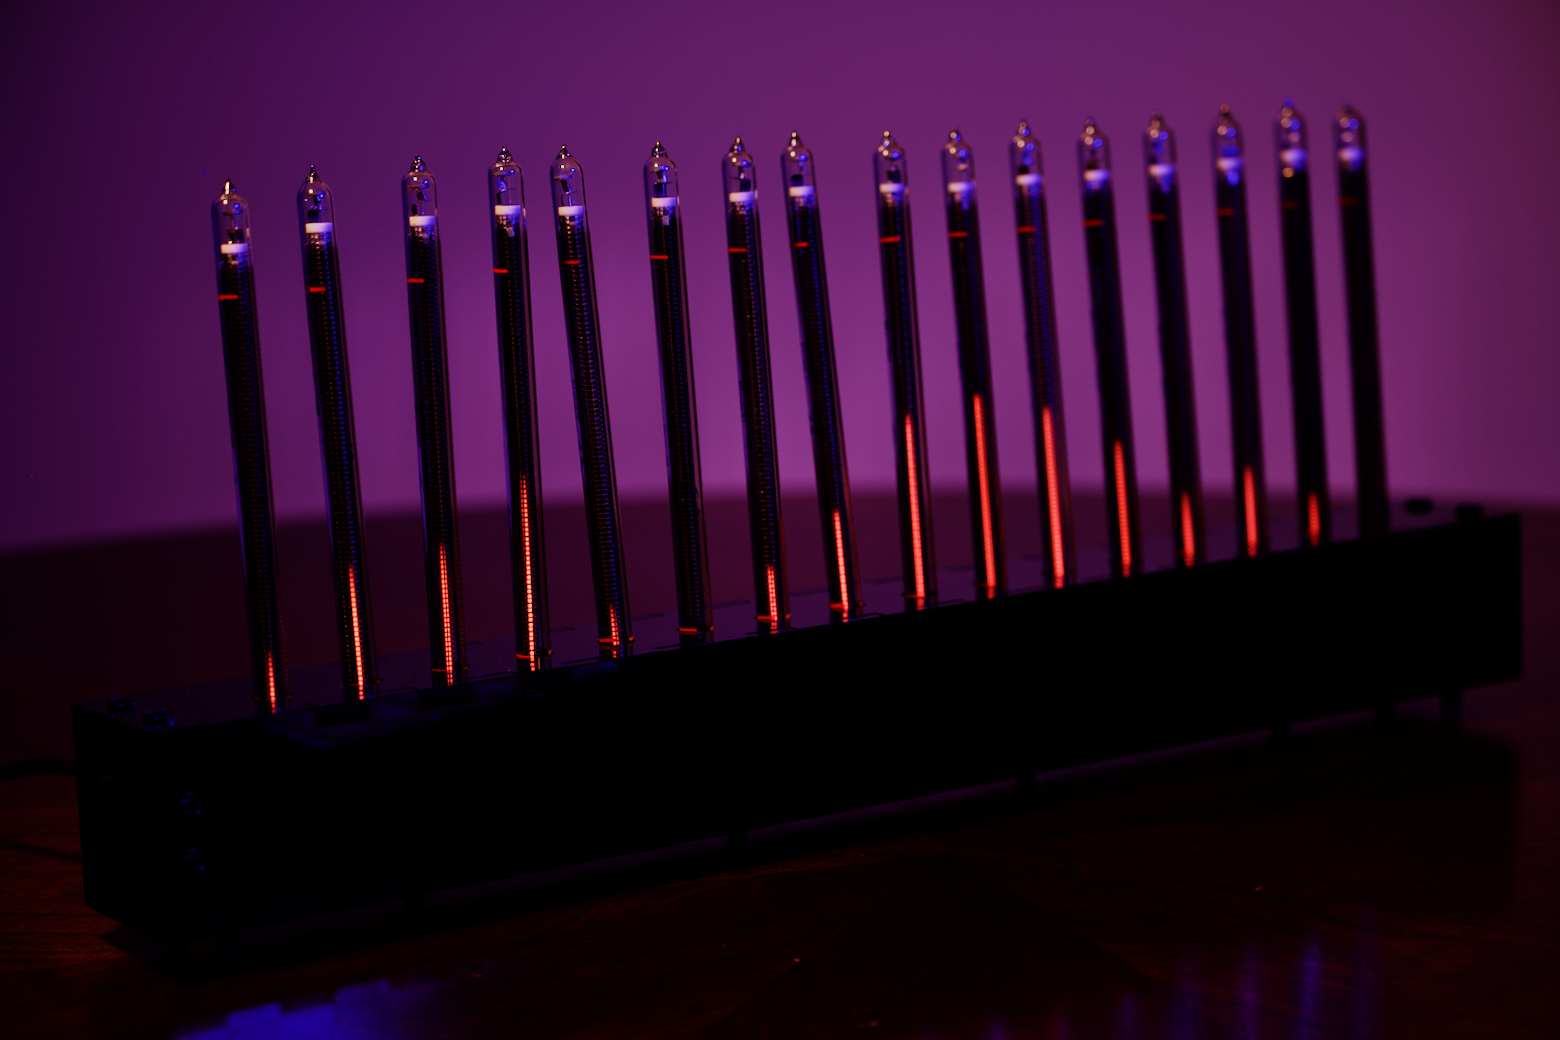
A full writeup is available here.
- schematics
- tube-board - the board that powers and controls the nixie tubes
- tube-offset-1,2 - PCBs that hold the tubes in place
- audio-board - a teensy-based board that takes in S/PDIF audio over TOSLINK, does DSP, and outputs control data to the tube boards
- custom - custom kicad parts for this project
- case - freecad designs and macros for the case, plus some resultant SVGs I used to laser-cut the acrylic
- bom - a list of some non-commodity part numbers
- code
- audio-board - the code for the board that reads in S/PDIF audio over TOSLINK, does DSP, and controls the tube boards
- linux-control - some code for controlling the tube boards from Linux/mac. Mostly used for testing.
- test - used for testing the DSP code on desktop
- tube-board - code for the board that powers/controls the bargraph tubes
- vumeter-lib - hardware-independent code
Go into code/audio_board and code/tube_board and run cargo build --release. (Without --release, the binaries may be too large.)
First, build the code.
Go into code/tube_board.
Plug your AVR-ICE or similar JTAG programmer into the tube board via the programming header and run ./program.sh.
Go into code/audio_board.
Plug in your teensy over USB, put it in programming mode, and run ./program.sh
Get KiCad and open the schematics. How to export the schematics depends on your choice of PCB manufacturer. They should have instructions available online.
