A Vue.js project


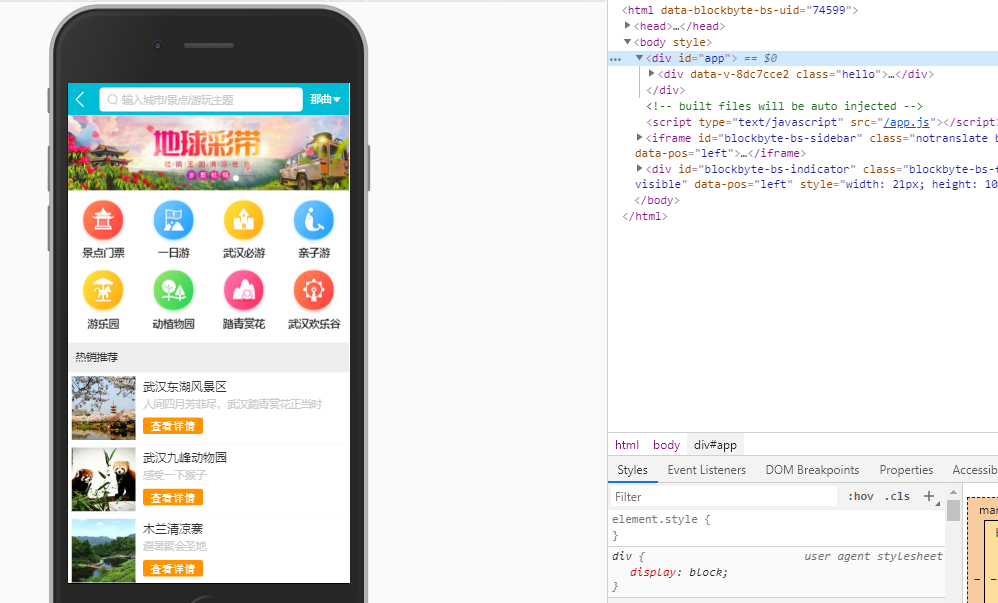
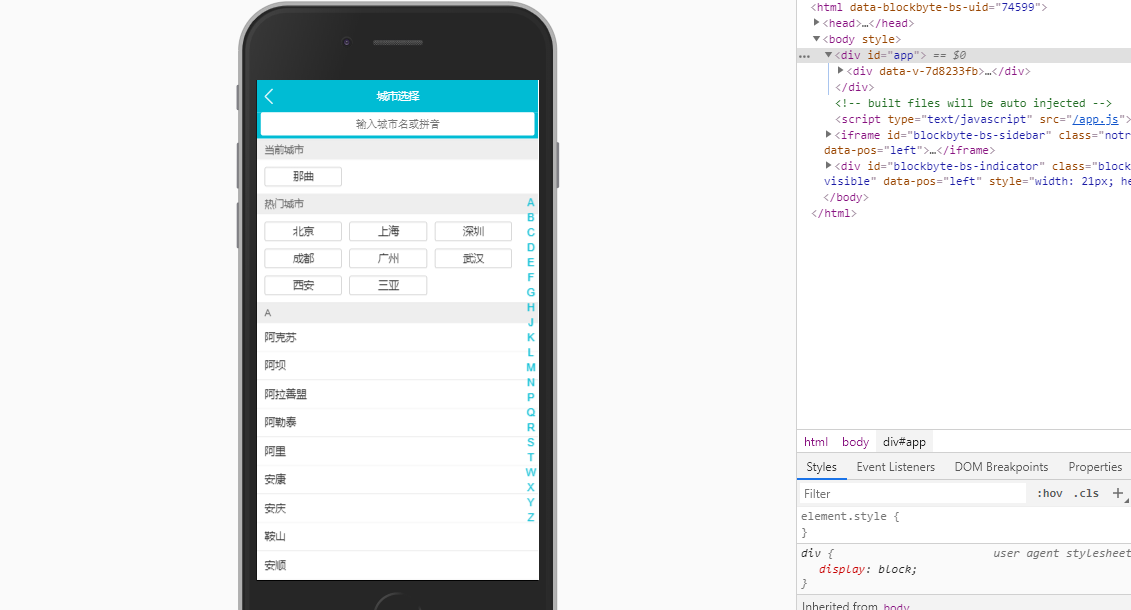
预览地址:https://xiaohuwei.github.io/travel/dist/
1.在index.html中添加
<meta name="viewport" content="width=device-width,initial-scale=1.0,minimum-scale=1.0,maximum-scale=1.0,user-scalable=no">

2.在main.js中使用reset.css和border.css清除手机的适配问题
	2.1 import './assets/styles/reset.css'
		import './assets/styles/border.css'

3.使用npm i fastclick --save 插件解决移动端点击有300ms延迟的问题
	3.1 在main.js中导入import fastClick from 'fastclick'
	3.2 fastClick.attach(document.body)

4.在iconfont官网点击图标管理 点击我的项目新建一个项目1.npm i stylus -S
2.npm i stylue-loader -S$bgColor = #00bcd4
在header组件引入样式 @import '~styles/varibles.styl'打开build文件中的webpack.base.conf.js 找到resolve配置
复制@内容然后新建指向的名字以及路径(替换路径前需要加入~)
ssh-keygen -t rsa -C "xxxxx@xxxxx.com"
# 三次回车即可生成 ssh key

cat ~/.ssh/id_rsa.pub
# 查看公钥git config --global user.name "xxxxxx"
git config --global user.password "xxxxx"
git config --global user.email "76858586@qq.com"1.在git上选择新建分支为index-swiper
2.进入git bash 打开项目目录 输入git pull
3.输入git checkout index-swiper1.进入github 搜索 vue-awesome-swiper
2.进入cmd控制台输入npm install vue-awesome-swiper@2.6.7 --save
3.main.js配置
import VueAwesomeSwiper from 'vue-awesome-swiper'
import 'swiper/dist/css/swiper.css'
Vue.use(VueAwesomeSwiper, /* { default global options } */)
4.data() {
return {
swiperOption: {
pagination: '.swiper-pagination' //页码器
loop: true //循环播放
}
};
}
5. .wrapper >>> .swiper-pagination-bullet-active
background-color #fff
//样式穿透 不受scoped限制git checkout master 切换主分支
git merge (origin/)index-swiper 合并
git push 推送overflow hidden
white-space nowrap
text-overflow ellipsis新建styl文件
ellipsis()
overflow hidden
white-space nowrap
text-overflow ellipsis在设置中加入autoplayDisableOnInteraction: false
pages(){
    // 最终分页结果
    const pages=[]
    // 遍历icon列表
    this.iconList.forEach((item,index) => {
        // 每8条为一页;例:0-7为第一页
        // page为当前页码;
        const page =Math.floor(index/8)
        // 判断pages中当前页的存储数组是否已声明,未声明则声明当前页为数组格式;
        if(!pages[page]){
            pages[page]=[]
        }
        // 将当前icon信息放入对应的页码数组中;
        pages[page].push(item)
    })
    // 返回分页之后的icon集合;
    return pages
}使用命令 git push origin --delete Chapater6 可以删除远程分支Chapater6
使用命令,git branch -d Chapater8 可以删除本地分支(在主分支中)
git branch 查看本地分支
git branch -a 查看本地和远程分支
* 表示当前分支
git branch newbranch 创建新的本地分支
git branch 检查是否创建成功
git checkout newbranch 切换到新的分支
git push --set-upstream origin index-recommend
本地分支和远程分支没有建立联系 (使用git branch -vv 可以查看本地分支和远程分支的关联关系) .根据命令行提示只需要执行以下命令即可
git branch --set-upstream-to=origin/远程分支的名字 本地分支的名字。static文件是唯一可访问到的静态文件夹,里面可以存放mock数据
mock数据引入时可以在config文件夹下的index.js里面
dev对象下的proxyTable设置访问的路径
proxyTable: {
'api': {
target: 'http://localhost:8000',(端口号)
pathRewrite: {
'^/api': '/static/mock'
}
}
} .border-topbottom
&:before
border-color #ccc
$:after
border-color #cccnpm i better-scroll -S
<div class="wrapper">
<ul class="content">
<li>...</li>
<li>...</li>
...
</ul>
<!-- you can put some other DOMs here, it won't affect the scrolling -->
</div>
mounted() {
this.scroll = new Bscroll(this.$refs.wrapper)
}handleClick(e) {
console.log(e.target.innerText);
}在list中 通过ref绑定 以便获取到dom元素 :ref="item.initial"
使用watch监听letter 每次点击发生改变的时候
letter() {
if (this.letter) {
const element = this.$refs[this.letter][0]
this.scroll.scrollToElement(element)
}
}
打印this.$refs可以看到获取到的dom元素<li
class="item"
v-for="(item, index) in letters"
:key="index"
:ref="item"
@touchstart="handleTouchStart"
@touchmove="handleTouchMove"
@touchend="handleTouchEnd"
@click="handleClick"
>
{{ item }}
</li>
加入触摸事件 @touchstart="handleTouchStart"
@touchmove="handleTouchMove"
@touchend="handleTouchEnd"
使用computed: {
letters () {
const letters = []
for (let i in this.city) {
letters.push(this.city[i].initial)
}
return letters
}
}
转换对象为数组
data () {
return {
touchStatus: false, //开关
startY: 0,
timer: null //节流
}
},
updated () {
this.startY = this.$refs['A'][0].offsetTop //A距离上面的距离
}
handleTouchStart () {
this.touchStatus = true
},
handleTouchMove (e) {
if (this.touchStatus) {
if (this.timer) {
clearTimeout(this.timer)
}
this.timer = setTimeout(() => {
const touchY = e.touches[0].clientY - 79 //手指距离最顶部的高度
const index = Math.floor((touchY - this.startY) / 20) //20为字母高度 取整获得下标
if (index >= 0 && index < this.letters.length) {
this.$emit("change", this.letters[index])
}
}, 16);
}
},
handleTouchEnd () {
this.touchStatus = false
},for(let i in this.city) {
this.city[i].list.forEach((value) => {
value.pinyin = value.pinyin.toLowerCase() //全部换为小写
if (value.pinyin.indexOf(this.keyword) > -1 ||
value.name.indexOf(this.keyword) > -1) {
result.push(value.name)
}
})
}npm i vuex -S
由于vuex可能数据较大 可以在src下面新建一个store文件夹
然后再store文件夹中新建一个index.js的文件在里面编写vuex的代码
//Vuex
import Vue from 'vue'
import Vuex from 'vuex'
Vue.use(Vuex)
export default new Vuex.Store({
state: {
},
mutations: {
},
getters: {
}
})
在main.js中加入
import store from './store';
最后在实例上挂载 store//Vuex
import Vue from 'vue'
import Vuex from 'vuex'
Vue.use(Vuex)
export default new Vuex.Store({
state: {
city: "武汉"
},
mutations: {
changeCity (state, city) {
state.city = city
}
},
getters: {
city (state) {
return state.city
}
}
})
methods: {
cityClick (city) {
this.$store.commit("changeCity", city)
this.$router.push('/')
}
}
<div class="button">{{ this.$store.getters.city }}</div> state: {
city: localStorage.city || '武汉'
},
mutations: {
changeCity (state, city) {
state.city = city
localStorage.city = city
}
},新建state.js和mutations.js
state.js
let defaultCity = "上海"
try {
if (localStorage.city) {
defaultCity = localStorage.city
}
} catch (e) {}
export default {
city: defaultCity
}
mutations.js
export default {
changeCity (state, city) {
state.city = city
try {
localStorage.city = city
} catch (e) {}
}
}
//Vuex
import Vue from 'vue'
import Vuex from 'vuex'
import state from "./state"
import mutations from './mutations';
Vue.use(Vuex)
export default new Vuex.Store({
state,
mutations,
getters: {
city (state) {
return state.city
}
}
})<div class="header-right">
{{ this.city }}
<span class='iconfont arrow-icon'></span>
</div>
import { mapState } from "vuex"
computed: {
...mapState(["city"])
}
computed: {
...mapState ({
currentCity: "city"
})
}import { mapState, mapMutations } from "vuex"
methods: {
cityClick (city) {
// this.$store.commit("changeCity", city)
this.changeCity(city)
this.$router.push('/')
},
...mapMutations (["changeCity"])
},network 切换到XHR 切换页面会反复请求数据
在app.vue 使用keep-alive标签包裹router-view
这样只会在首次进入的时候发送ajax请求 再次切换会直接从内存中调用渲染
使用keep-alive后会有一个新的生命周期函数 activated

在首次加载页面先将旧城市存放在lastCity中
在切换页面的时候先判断此时的页面城市是否和上一次相同 相同则不进行任何操作 不相同先存放当前城市 然后重新发送ajax请求新城市的数据

  mounted() {
    this.lastCity = this.city
    this.getData()
  },
  activated () {
    if (this.lastCity !== this.city) {
      this.lastCity = this.city
      this.getData()
    }
  }
当使用了better-scroll作为滚动插件后
在移动端上的点击事件将会失效
此时需要加上 click: true 即可解决
mounted() {
      this.scroll = new Bscroll(this.$refs.wrapper, { click: true })
}
router-link包裹 然后在router-link里面加入tag='li'

            <router-link
                tag="li"
                class='item border-bottom'
                v-for='item in recommendList'
                :key='item.id'
                :to="'/detail/' + item.id"
            >

            {
                path: '/detail/:id',
                name: "Detail",
                component: Detail
            }


detail页面接收id

<template>
  <div class="hello">
      {{ id }}
  </div>
</template>

<script>
export default {
    data () {
        return {
            id: this.$route.params.id
        }
    }
}
</script>
background-image linear-gradient(top, rgba(0, 0, 0, 0), rgba(0, 0, 0, 0.8))
src下新建common文件夹 用于存放组件
修改build下面的webpack.base
在resolve加入       'common': resolve('src/common')
去掉overflow-hidden的样式
.container >>> .swiper-container
        overflow inherit
在swiper插件配置上加入

observeParents: true,
observer: true
handlerScrool () {
    const top = document.documentElement.scrollTop;
    if (top > 60) {
        let opacity = top / 140
        opacity = opacity > 1 ? 1 : opacity
        this.opacityStyle = { opacity }
        this.showAbs = false
    } else {
    	this.showAbs = true
    }
}

activated () {
    window.addEventListener('scroll', this.handlerScrool)
}

const top = document.documentElement.scrollTop;

:style="opacityStyle"
opacityStyle: {
	opacity: 0
}