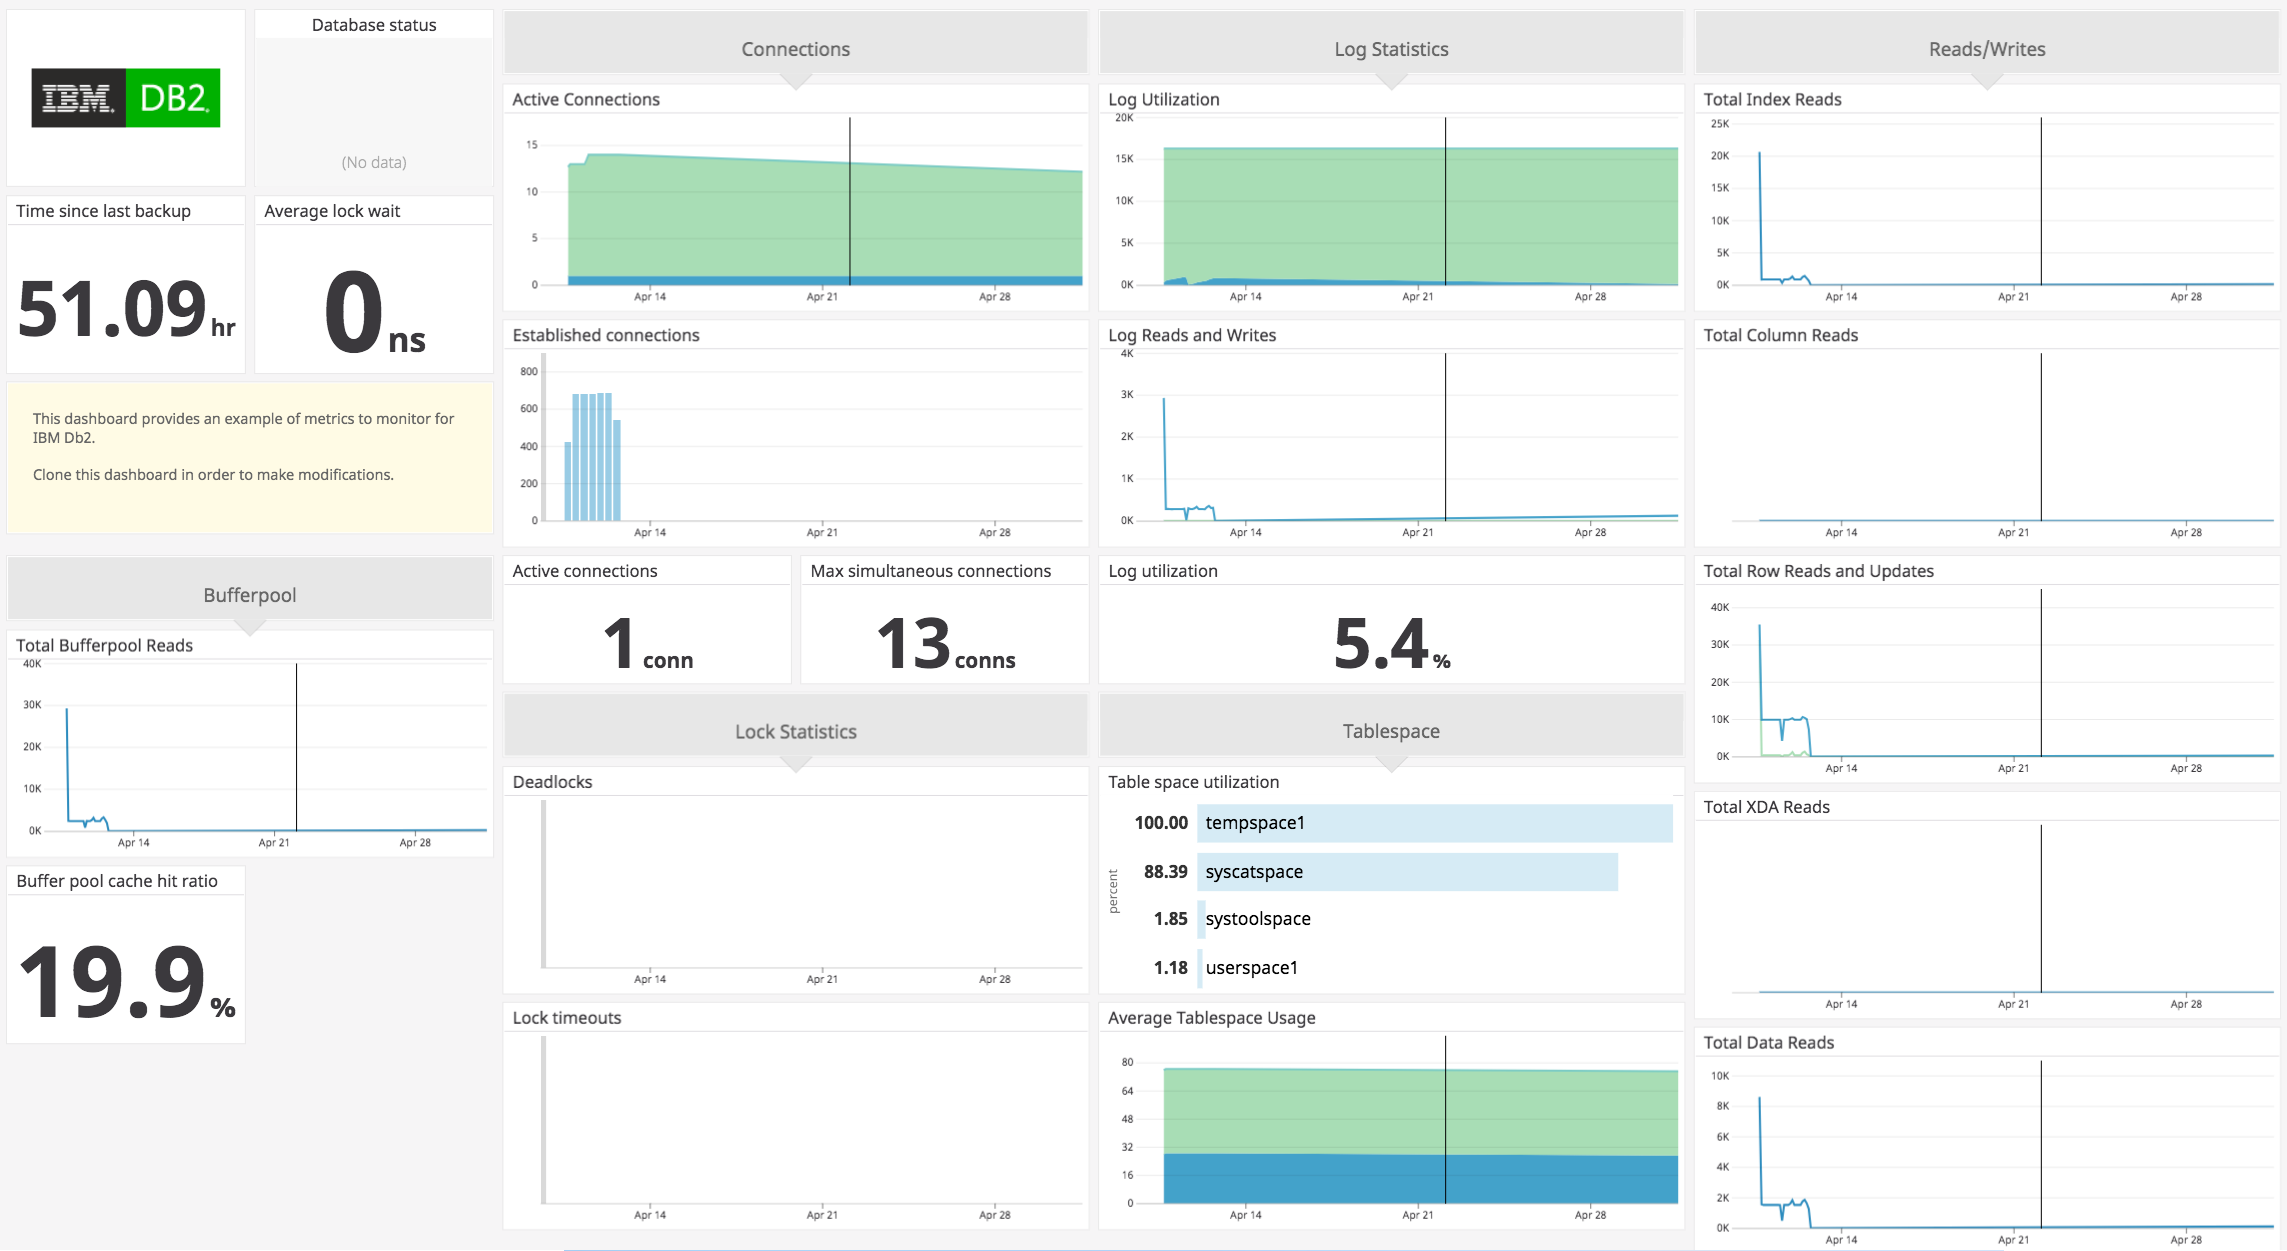
This check monitors IBM Db2 through the Datadog Agent.
The IBM Db2 check is included in the Datadog Agent package.
The ibm_db client library is required. To install it, ensure you have a working compiler and run:
sudo -Hu dd-agent /opt/datadog-agent/embedded/bin/pip install ibm_db==3.2.3
Note: If you are on an Agent running Python 2, use ibm_db==3.0.1 instead of ibm_db=3.1.0.
For Agent versions <= 6.11:
"C:\Program Files\Datadog\Datadog Agent\embedded\python.exe" -m pip install ibm_db==3.0.1
For Agent versions >= 6.12 and < 7.0:
"C:\Program Files\Datadog\Datadog Agent\embedded<PYTHON_MAJOR_VERSION>\python.exe" -m pip install ibm_db==3.0.1
For Agent versions >= 7.0 and < 7.58:
"C:\Program Files\Datadog\Datadog Agent\embedded3\python.exe" -m pip install ibm_db==3.1.4
For Agent versions >= 7.58:
"C:\Program Files\Datadog\Datadog Agent\embedded3\python.exe" -m pip install ibm_db==3.2.3
On Linux there may be need for XML functionality. If you encounter errors during
the build process, install libxslt-dev (or libxslt-devel for RPM).
The IBM Db2 integration pulls data using the following table functions:
MON_GET_TABLESPACEMON_GET_TRANSACTION_LOGMON_GET_BUFFERPOOLMON_GET_DATABASEMON_GET_INSTANCE
For more information about these table functions, see the official IBM documentation.
To monitor a Db2 instance, create a Db2 user with either the EXECUTE permission on the above five table functions, or grant the Db2 user one of the following roles:
DATAACCESSauthorityDBADMauthoritySQLADMauthority
To monitor the health of an instance, its associated databases, and database objects, enable the database system monitor switches for each of the objects you want to monitor:
- Statement
- Lock
- Tables
- Buffer pool
Switch to the instance master user and run these commands at the db2 prompt:
update dbm cfg using HEALTH_MON on
update dbm cfg using DFT_MON_STMT on
update dbm cfg using DFT_MON_LOCK on
update dbm cfg using DFT_MON_TABLE on
update dbm cfg using DFT_MON_BUFPOOL on
Next, run get dbm cfg and you should see the following:
 Default database monitor switches
   Buffer pool                         (DFT_MON_BUFPOOL) = ON
   Lock                                   (DFT_MON_LOCK) = ON
   Sort                                   (DFT_MON_SORT) = OFF
   Statement                              (DFT_MON_STMT) = ON
   Table                                 (DFT_MON_TABLE) = ON
   Timestamp                         (DFT_MON_TIMESTAMP) = ON
   Unit of work                            (DFT_MON_UOW) = OFF
 Monitor health of instance and databases   (HEALTH_MON) = ON
To configure this check for an Agent running on a host:
-
Edit the
ibm_db2.d/conf.yamlfile, in theconf.d/folder at the root of your Agent's configuration directory to start collecting youribm_db2performance data. See the sample ibm_db2.d/conf.yaml for all available configuration options.
Available for Agent versions >6.0
-
Collecting logs is disabled by default in the Datadog Agent, enable it in your
datadog.yamlfile:logs_enabled: true
-
Add this configuration block to your
ibm_db2.d/conf.yamlfile to start collecting your IBM Db2 logs:logs: - type: file path: /home/db2inst1/sqllib/db2dump/db2diag.log source: ibm_db2 service: db2sysc log_processing_rules: - type: multi_line name: new_log_start_with_date pattern: \d{4}\-(0?[1-9]|[12][0-9]|3[01])\-(0?[1-9]|1[012])
For containerized environments, see the Autodiscovery Integration Templates for guidance on applying the parameters below.
| Parameter | Value |
|---|---|
<INTEGRATION_NAME> |
ibm_db2 |
<INIT_CONFIG> |
blank or {} |
<INSTANCE_CONFIG> |
{"db": "<DB_NAME>", "username":"<USERNAME>", "password":"<PASSWORD>", "host":"%%host%%", "port":"%%port%%"} |
Available for Agent versions >6.0
Collecting logs is disabled by default in the Datadog Agent. To enable it, see Kubernetes Log Collection.
| Parameter | Value |
|---|---|
<LOG_CONFIG> |
`{"source": "ibm_db2", "service": "<SERVICE_NAME>", "log_processing_rules": {"type":"multi_line","name":"new_log_start_with_date", "pattern":"\d{4}-(0?[1-9] |
Run the Agent's status subcommand and look for ibm_db2 under the Checks section.
See metadata.csv for a list of metrics provided by this integration.
ibm_db2.tablespace_state_changeis triggered whenever the state of a tablespace changes.
See service_checks.json for a list of service checks provided by this integration.
If you encounter an issue that produces error logs like the following:
2023-08-10 23:34:47 UTC | CORE | ERROR | (pkg/collector/python/datadog_agent.go:129 in LogMessage) | ibm_db2:c051131490335a94 | (ibm_db2.py:563) | Unable to connect to database `datadog` as user `db2inst1`: [IBM][CLI Driver] SQL1531N The connection failed because the name specified with the DSN connection string keyword could not be found in either the db2dsdriver.cfg configuration file or the db2cli.ini configuration file. Data source name specified in the connection string: "DATADOG". SQLCODE=-1531
Then it's most likely caused by one of the following scenarios:
- The configuration (conf.yaml) is missing a host and port configuration
- The CLI Driver isn't able to locate the database due to the absence of
db2cli.inianddb2dsdriver.cfg
The Agent requires the information in both of the above scenarios to determine where to properly connect to the database. To solve this issue, you can either include a host and port parameter for every instance of the ibm_db2 check experiencing this issue. Alternatively, if you want to use the DSNs defined in either the db2cli.ini or db2dsdriver.cfg files, you can copy those files over to the clidriver directory that the Agent uses. Under normal circumstances, that directory is located at /opt/datadog-agent/embedded/lib/python3.9/site-packages/clidriver/cfg for Linux.
If you're in an air gapped environment, or on a restricted network where it's not possible to run pip install ibm_db==x.y.z where x.y.z is the version number, you can install ibm_db using the following method:
-
On a machine with network access, download the source tarballs for the
ibm_dblibrary and the ODBC and CLI. The ODBC and CLI are required to be downloaded separately because theibm_dblibrary requires them, but it cannot download them viapip. The following script installs the archive file foribm_db==x.y.zon a Linux machine, wherex.y.zis the version number:curl -Lo ibm_db.tar.gz https://github.com/ibmdb/python-ibmdb/archive/refs/tags/vx.y.z.tar.gz curl -Lo linuxx64_odbc_cli.tar.gz https://public.dhe.ibm.com/ibmdl/export/pub/software/data/db2/drivers/odbc_cli/linuxx64_odbc_cli.tar.gz -
Transport the two files over to the restricted host, and then extract the archive.
tar -xvf ibm_db.tar.gz tar -xvf linuxx64_odbc_cli.tar.gz -
Set the
IBM_DB_HOMEenvironment variable to the location of where/clidriverwas extracted fromlinuxx64_odbc_cli.tar.gz. This will prevent theibm_dblibrary from installing a new version of the ODBC and CLI since that would fail.export IBM_DB_HOME=/path/to/clidriver -
Using the embedded
pipon the Agent, install theibm_dblibrary locally. This library's files are contained within the extractedpython-ibmdb-x.y.zfromibm_db.tar.gz./opt/datadog-agent/embedded/bin/pip install --no-index --no-deps --no-build-isolation /path/to/python-ibmdb-x.y.z/IBM_DB/ibm_db/
If you get the following error:
  error: subprocess-exited-with-error

  × Preparing metadata (pyproject.toml) did not run successfully.
  | exit code: 1
   -> [8 lines of output]
      Detected 64-bit Python
      Detected platform = linux, uname = x86_64
      Downloading https://public.dhe.ibm.com/ibmdl/export/pub/software/data/db2/drivers/odbc_cli/linuxx64_odbc_cli.tar.gz
       Downloading DSDriver from url =  https://public.dhe.ibm.com/ibmdl/export/pub/software/data/db2/drivers/odbc_cli/linuxx64_odbc_cli.tar.gz
      Pre-requisite check [which gcc] : Failed

      No Gcc installation detected.
      Please install gcc and continue with the installation of the ibm_db.
      [end of output]
You may need to install gcc.
Need help? Contact Datadog support.
Additional helpful documentation, links, and articles:
