| title |
|---|
Snapshot Testing |
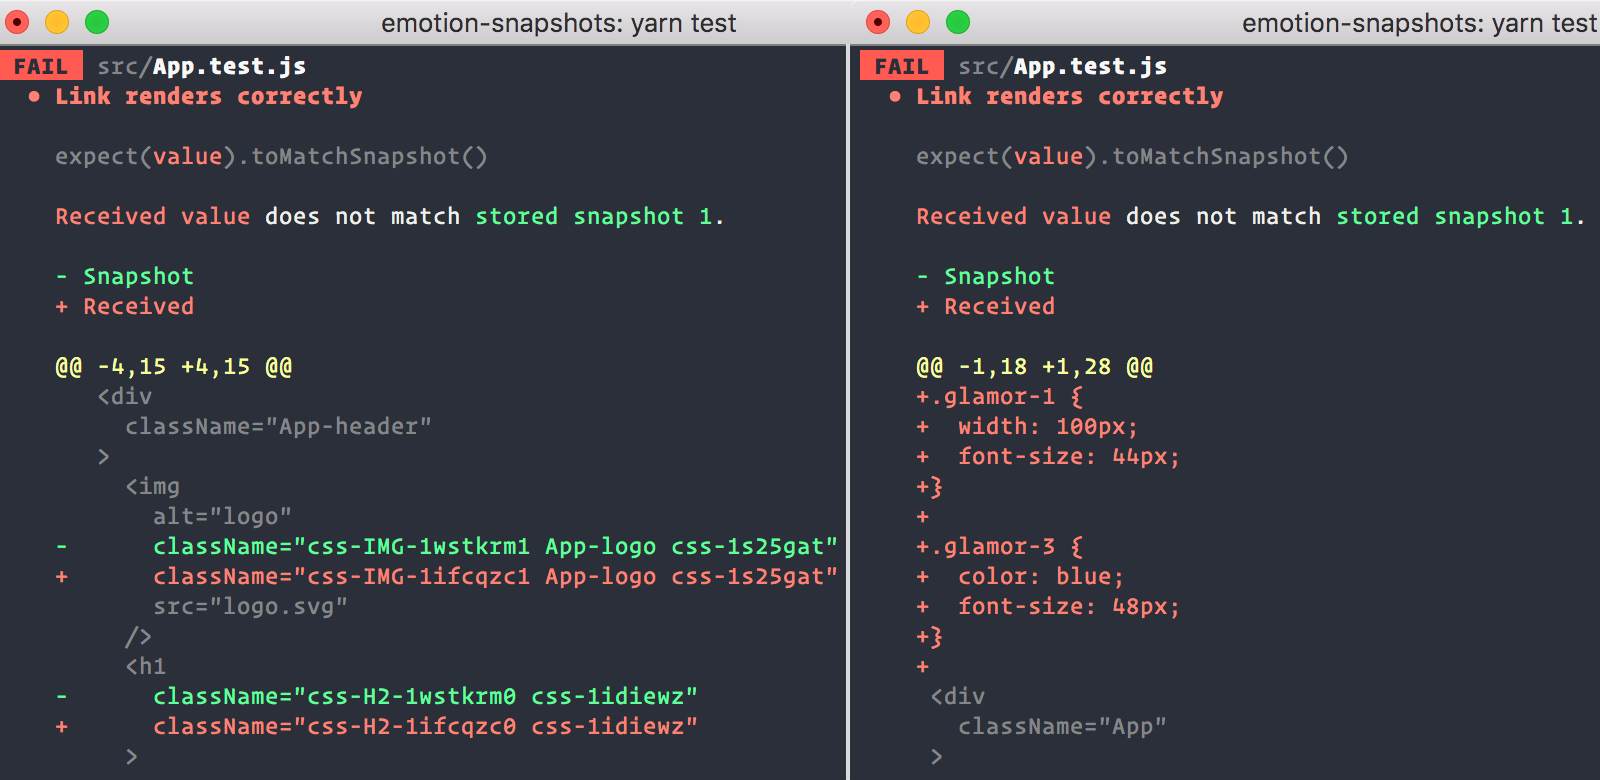
Adding snapshot tests with Jest is a great way to help avoid unintended changes to your app's UI.
By diffing the serialized value of your React tree Jest can show you what changed in your app and allow you to fix it or update the snapshot.
By default snapshots with emotion show generated class names. Adding jest-emotion allows you to output the actual styles being applied.
npm install --save-dev jest-emotionAdd the snapshot serializer in your setupTestFrameworkScriptFile or at the top of your test file.
import * as emotion from 'emotion'
import { createSerializer } from 'jest-emotion'

expect.addSnapshotSerializer(createSerializer(emotion))
Writing a test with jest-emotion involves creating a snapshot from the react-test-renderer or enzyme-to-json's resulting JSON.
import React from 'react'
import serializer from 'jest-emotion'
/** @jsx jsx */
import { jsx } from '@emotion/core'
import renderer from 'react-test-renderer'

expect.addSnapshotSerializer(serializer)

const Button = props => (
  <button
    css={{
      color: 'hotpink'
    }}
    {...props}
  />
)

test('Button renders correctly', () => {
  expect(
    renderer
      .create(<Button>This is hotpink.</Button>)
      .toJSON()
  ).toMatchSnapshot()
})
It'll create a snapshot that looks like this.
// Jest Snapshot v1, https://goo.gl/fbAQLP

exports[`Button renders correctly 1`] = `
.emotion-0 {
  color: hotpink;
}

<div
  className="emotion-0"
>
  This is hotpink.
</div>
`
When the styles of a component change, the snapshot will fail and you'll be able to update the snapshot or fix the component.