

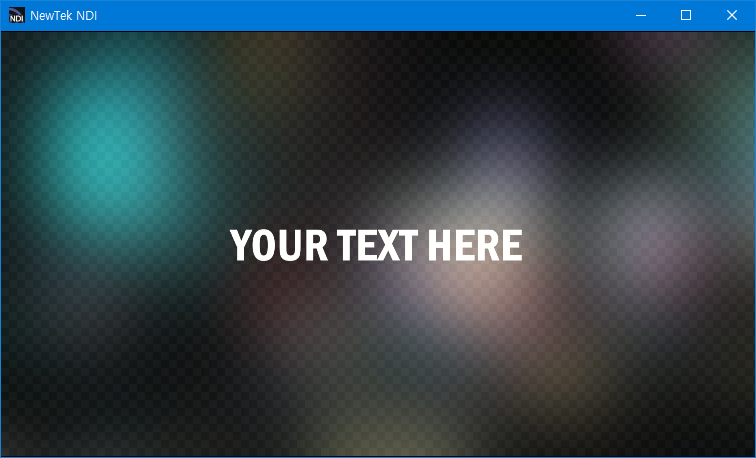
PPT NDI transfers PowerPoint presentations via NDI technology released by NewTek. Thanks to the transparency support, it can be also used as a character generator.
It also provides SlideShow monitor functionality that supports alpha transparency and can be integrated into any third-party video players that do not support NDI.
The latest version is PPT NDI v1.0.5.
- Download PPT NDI from https://github.com/ykhwong/ppt-ndi/releases
- If you have downloaded the installer, execute the pptndi_setup.exe. After the installation, click the Start button and select "PPT NDI".
- If you have downloaded the 7z file, decompress it and simply run the executable "ppt-ndi.exe"
- Please select either one of the following modes.
- PowerPoint SlideShow Mode
- Classic Mode
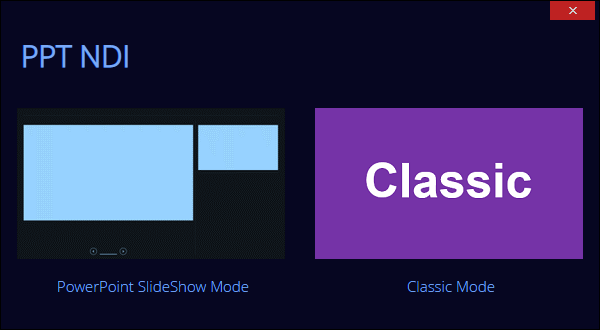
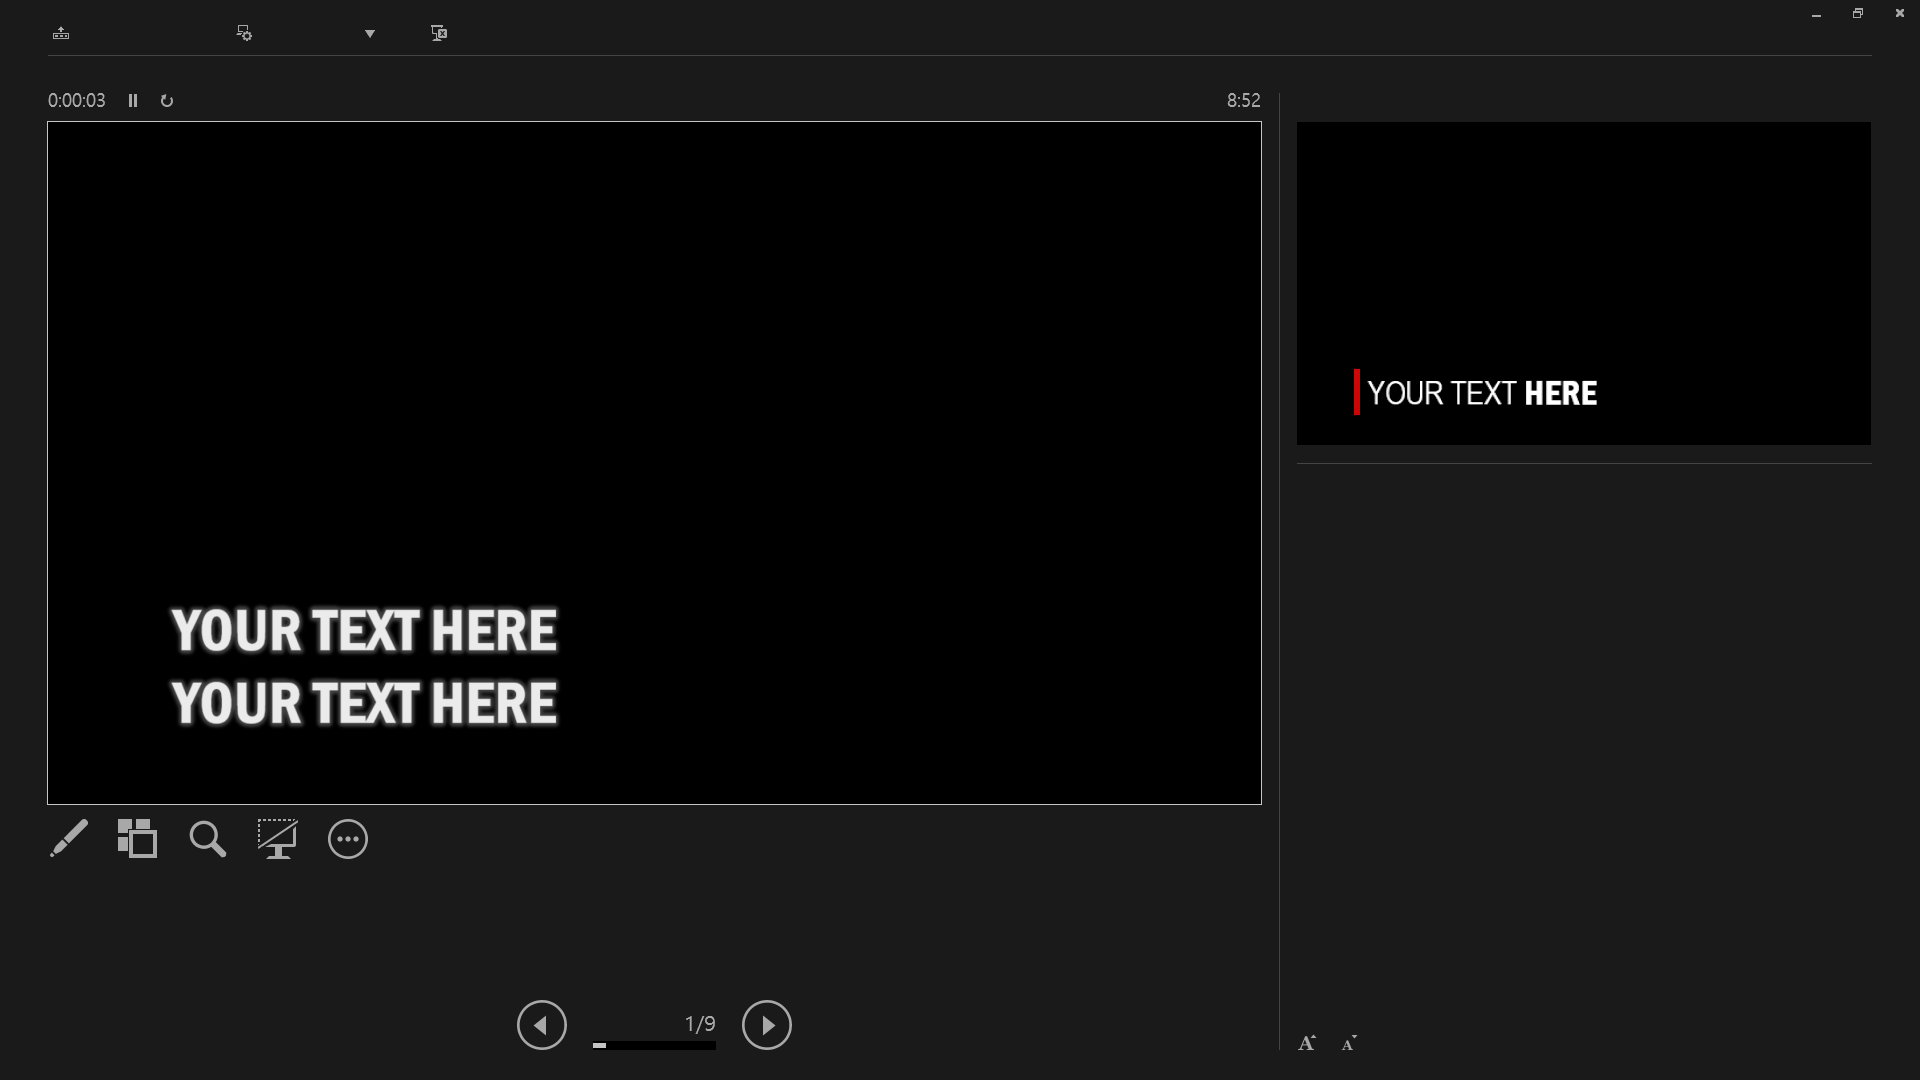
Select PowerPoint SlideShow Mode to display the NDI Preview window. Please make sure to disable the "Include background" option to enable transparency.
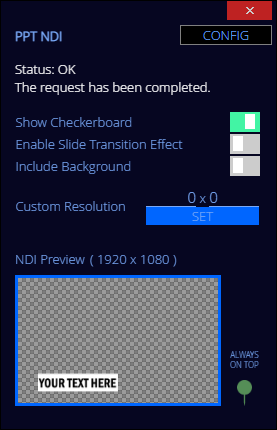
Open a PowerPoint presentation and start the slide show by pressing Alt-F5 or Alt-Shift-F5.
Select Classic Mode to display the dedicated graphical user interface window.
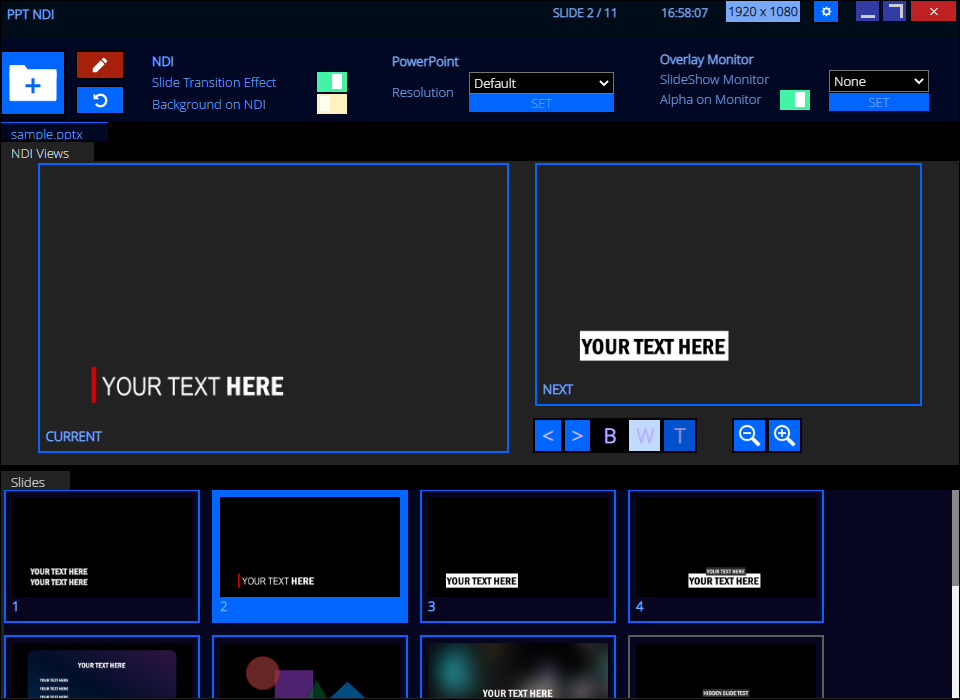
Click the Open icon to load a Powerpoint file. Please make sure to disable "Include background" option to enable transparency.
The features of PPT NDI can be tested with NDI Studio Monitor. Any NDI-compatible software or hardware can be also used for integration.
- obs-ndi users must set the latency mode to Low in the Properties for NDI Source window.
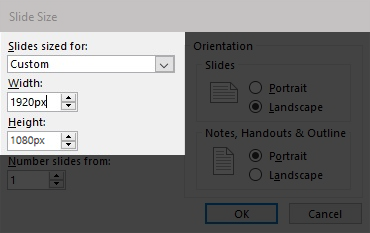
For the best result, please set the slide resolution properly.
- Open PowerPoint, and go to Design - Slide Size - Custom Slide Size.

- Set the width and height manually. For example, if you prefer Full HD, set the width to 1920px and height to 1080px. The px will be automatically converted to either cm or inch depending on the system locale.
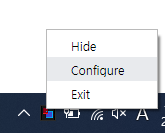
Right-click the system tray icon and click Configure to configure the PPT NDI.
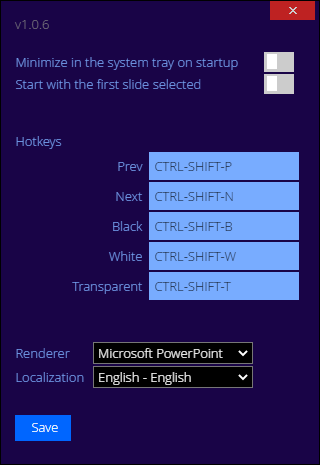
Here, you can assign system-wide hotkeys. Additionally, you can set PPT NDI to be minimized in the system tray on startup.
  ppt-ndi.exe  [--slideshow] [--classic]
     [--slideshow] : SlidShow Mode
[--classic] : Classic ModePlease also download and open the sample.pptx file to see some examples of the lower thirds:
https://github.com/ykhwong/ppt-ndi/raw/master/resources/sample.pptx
For advanced users who want to build the PPT-NDI, please make sure to install:
- Git for Windows
- Visual Studio 2017 15.2 (26418.1 Preview) or higher
- Python 3
- Node.js 10 or higher
Run the below commands:
git clone https://github.com/ykhwong/ppt-ndi.git
cd ppt-ndi
npm install --save
npm run buildFor advanced users who want to build the PPT-NDI for macOS, please make sure to install:
- Git
- Command Line Tools for Xcode (to compile PPTNDI.cpp)
- Python 3
- Node.js 10 or higher
- NDI SDK v5
The macOS build only supports classic mode, and uses the experimental internal renderer which is limited to simple text and images, though doesn't have a dependency on Microsoft PowerPoint.
- Microsoft Windows 7+ or macOS El Capitan 10.11+ (see above). Both 64-bit only.
- For Windows Users: Please have Microsoft PowerPoint installed because the internal renderer is still experimental.
When using non-internal renderer on Windows, PPT NDI depends on Visual Basic for Applications (VBA), a component of Microsoft Office. In a default installation of Office, you'll get the VBA installed automatically. People doing a custom installation of Microsoft Office may sometimes change options to exclude VBA. In that way, the PPT NDI has no access to the PowerPoint components.
- In Control Panel > Programs and Features, locate Microsoft Office. Right-click it, and select Change.
- On the next panel, select Add or Remove Features.
- Under Office Shared Features, set Visual Basic for Applications to Run from My Computer. Click Continue.