
PulseSensor.com Playground
This Playground is a collection of code for the most popular uses of PulseSensor and Arduino.

- The playgroud includes a number of projects, with the code already written-out and commented! 🤘
- Use this code to get started quickly, or do advanced stuff. 👍
- Switch between projects right in the Arduino IDE (software). 💻
- Contritube your projects code back to the GitHub hive-mind. 🐝
How To Install: 🤓
An Arduino Library is a collection of code and examples on a specific topic or device. For example, our PulseSensor Playground Library is a collection of code and projects made just for your PulseSensor and Arduino.
(NOTE If you do not have Arduino, you can download it here)
To install the PulseSensor Playground Library, in Arduino, to go
Sketch > Include Library > Manage Library...

In the Library Manager: Search for and Select
"PulseSensor.com

Install or update to the lastest version.👍

Hurray! Once this library is installed you will see our examples in Arduino's dropdown!
To select an example project, go to:
File > Examples > PulseSensor Playground > GettingStartedProject

More Info On Libraries in General 👉 https://www.arduino.cc/en/Guide/Libraries.
Plug your sensor in for the first time! Blink an LED with your pulse, live.

Focus-in on the code that calculates a user's HeartRate Beats Per Minute, "BPM".
See the best practises to get the best signal.

Transform the heartbeat into a live "beep" with a speaker.

Make a servo motor pulse to your live heartbeat.

Use 2 or more Pulse Sensors on one Arduino.

Get detailed visualization of the heart's pulse and behavior. Send the PulseSensor data into Processing!

Use two Pulse Sensors on different parts of your body to measure Pulse Transit Time!

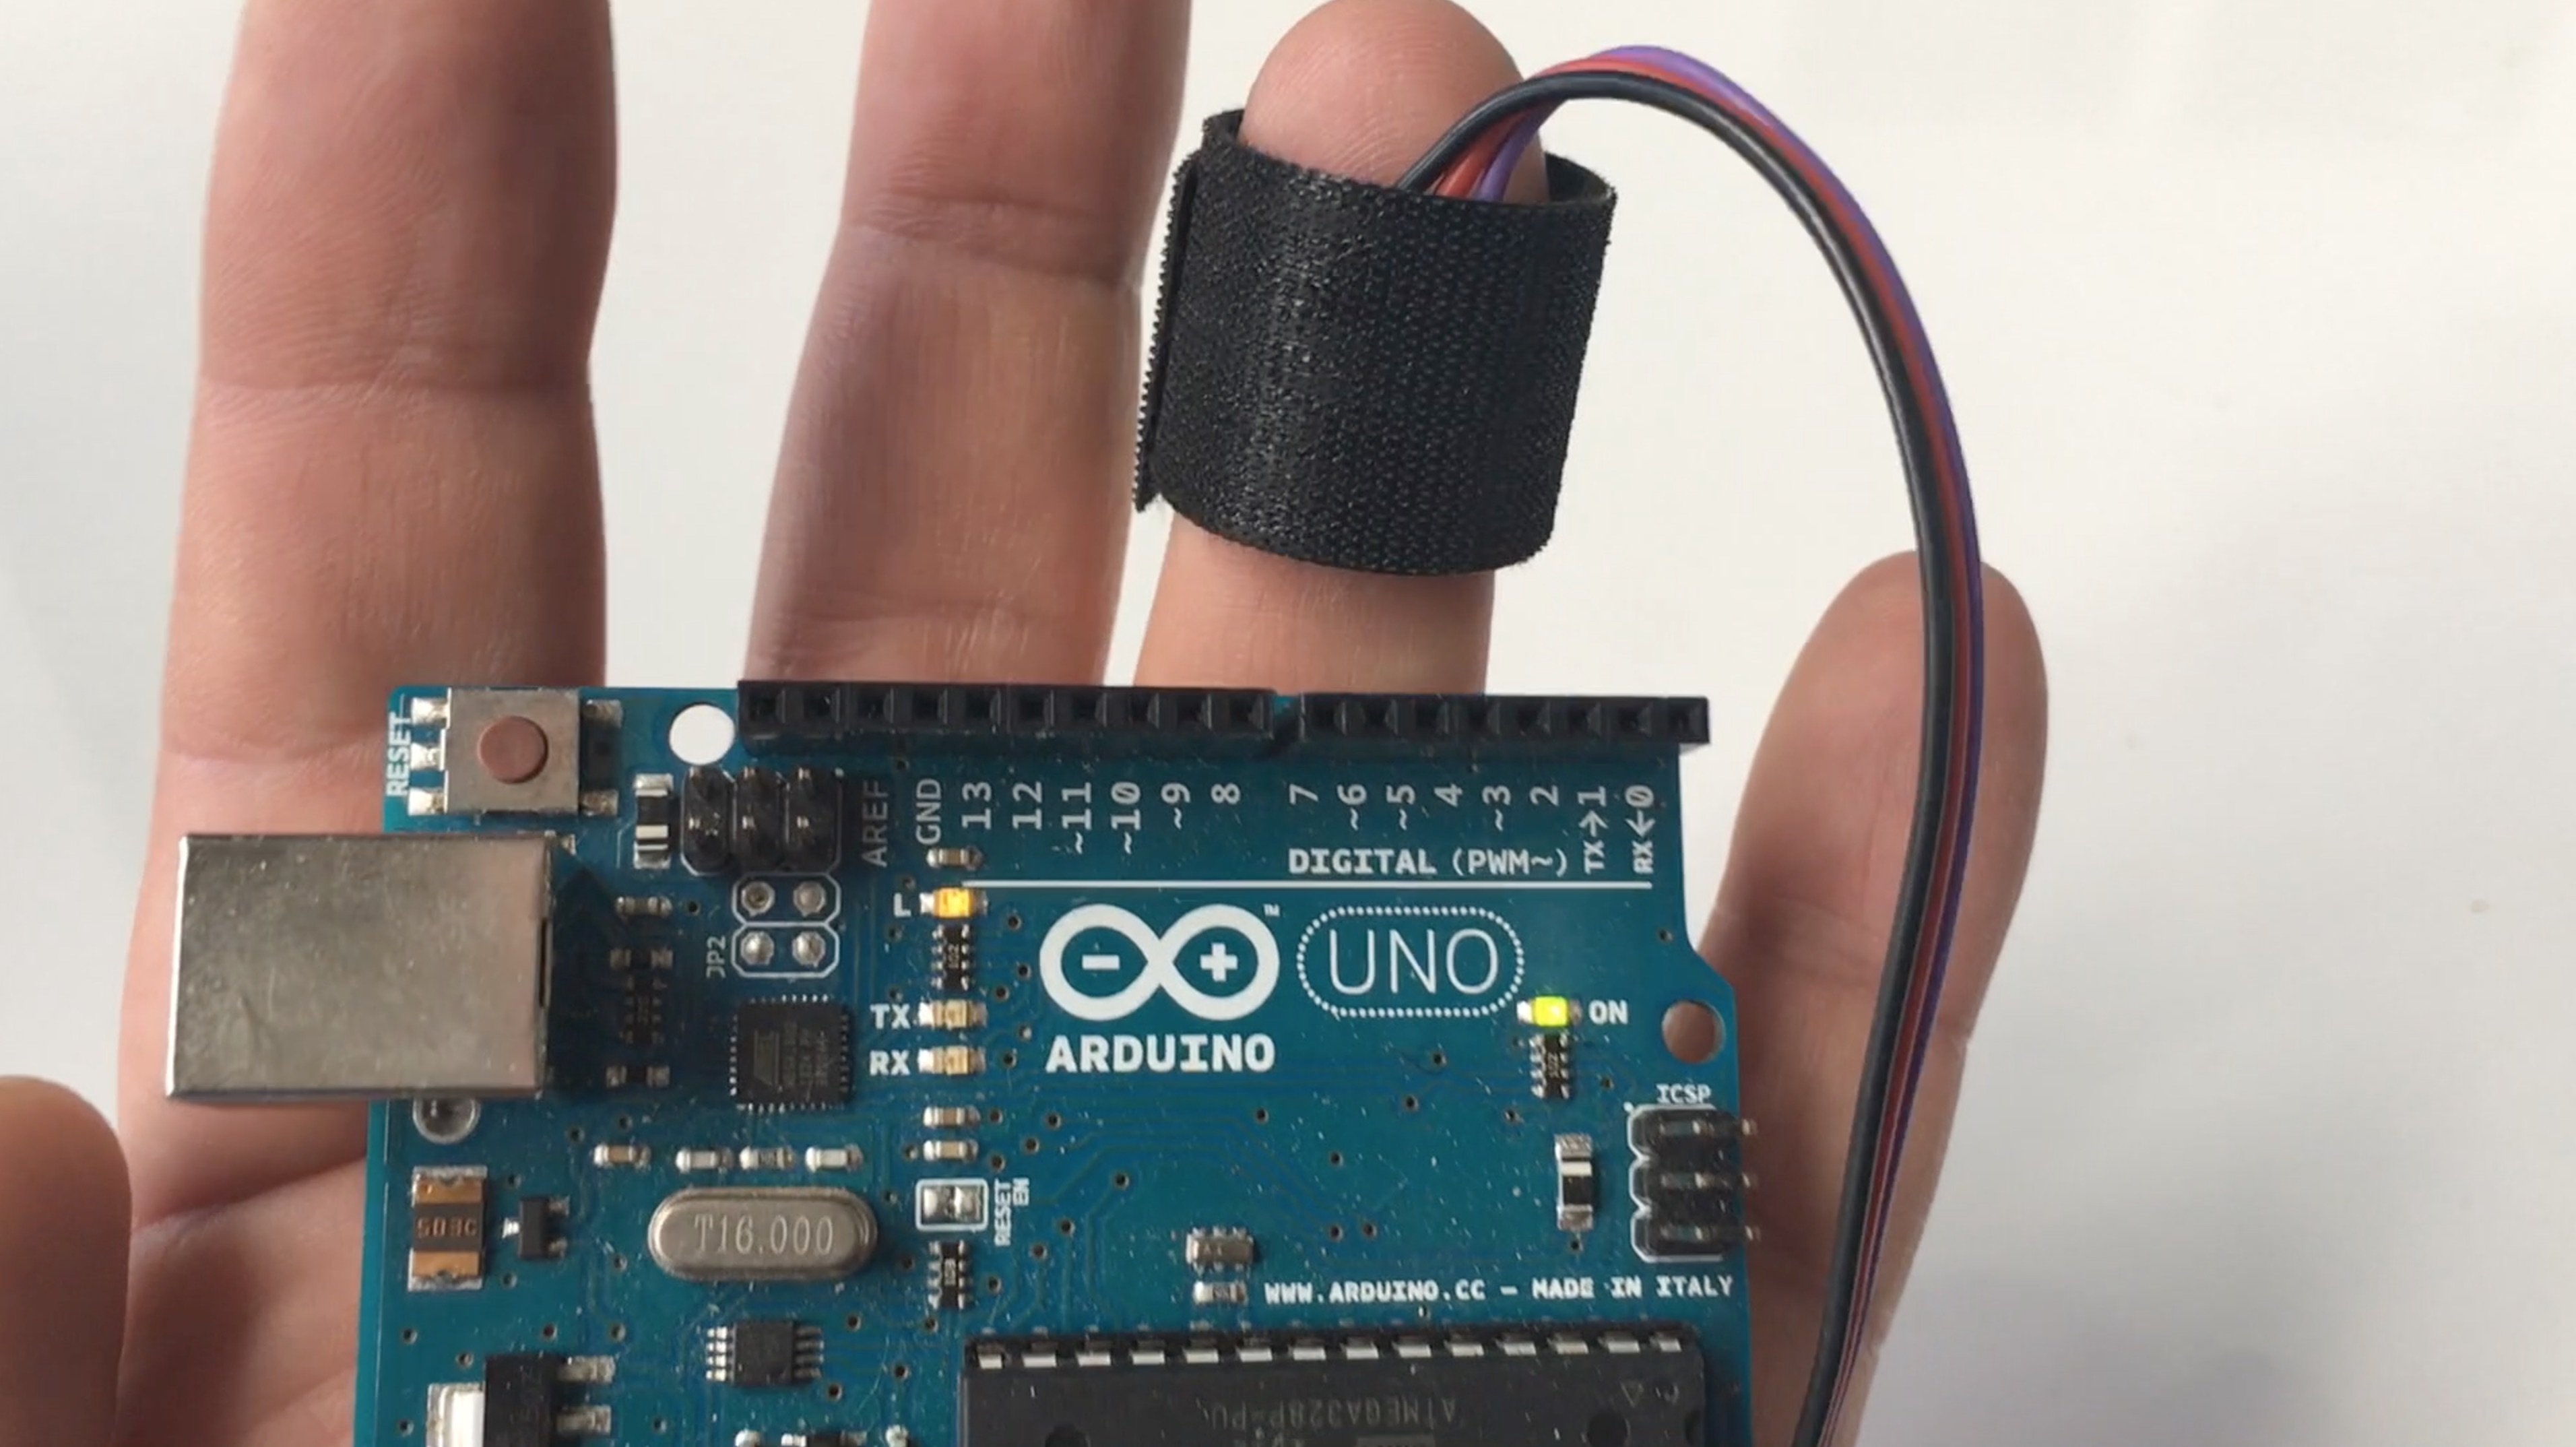
- Prepare the sensor, with the Kit parts.

- See the recommended wiring for your specific project

We put together a HANDY GUIDE to the function-ality of our library. Check it out if you want to dive into the inner workings!
Ugh, Where's the Beat ? 😵
If you're having trouble seeing a heartbeat, make sure that you are using 'Goldilocks' pressure on the Pulse Sensor: Not too hard, not too soft. Squeezing the Pulse Sensor too hard against your skin will make the heartbeat go away, and not enough pressure will cause too much noise to creep in!
If you are seeing way too many Beats Per Minute, or you are getting lots of noise, try adjusting the Threshold setting. The Threshold variable tells Arduino when to find a pulse that is legit. Adjust this number (noted below with arrows) up for less sensitivity and down for more sensitivity. In the StarterProject you can find the Threshold variable as shown in the pic below:

In the other examples, the THRESHOLD is defined at the top of the code.
The Issues Tab will get you the quickest answers to common techinal questions.