Beginner's Guide
This beginner's guide will introduce you with the general process into creating new GEAR items through the ModComponent SDK. This guide will only go through the basics of creating a prefab and exporting you mod so it's fully functional.
This guide however will not cover more 'advanced' components such as Blueprints or Gear Spawns - however they are quite easy to understand and pick up without a tutorial.
Important
Before proceeding, please make sure that you have setup everything from the Unity Setup guide.
This tutorial also assumes that you grasped the basics of Unity.
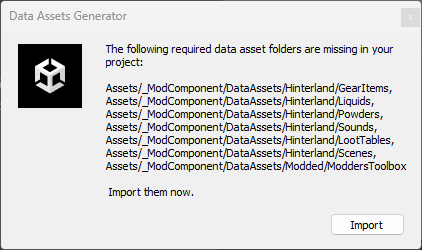
- This is a crucial step as this mod heavily depends on all the assets generated. To ensure this step has been completed, navigate to
ModComponentSDK > Validate Project, and import all the Data Assets if you haven't done so already.
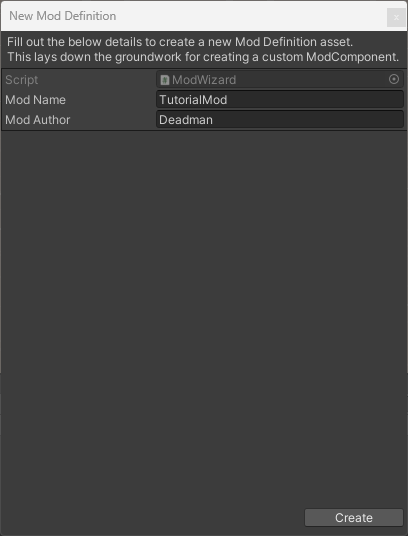
- Now navigate to
ModComponentSDK > New Mod Definition. Then enter in the name of your mod and the author. This will then create a new folder atAssets/_ModComponent/{YOUR MOD NAME HERE}.
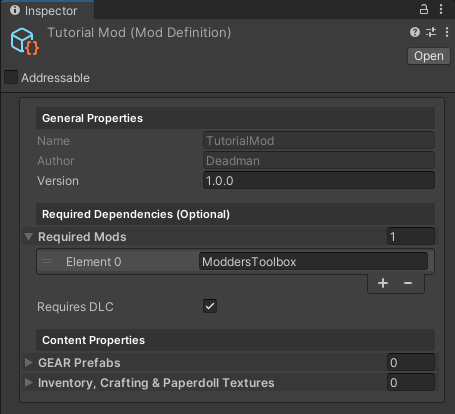
- From here you can navigate to your newly created
ModDefinitionasset file. You can then manipulate the other fields provided to you. You will also notice a Localization asset file, we will come back to this later.
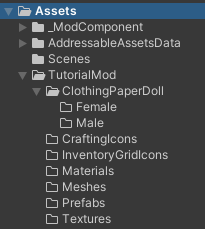
- Now we can actually move onto creating a new GEAR item. First we need to define a new folder to put all of our stuff, this includes Meshes, Textures, Materials, Prefabs, etc. For this tutorial we will be putting everything within a new folder created at the
Assetsroot folder. So atAssets/TutorialMod.
Note
While organising everything within your assets folder is optional, it's recommended for an easier workflow process. You could copy the image above as an example.
Important
DO NOT put your assets for this mod within the same folder in which the ModDefinition was created.
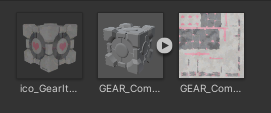
- Once you have created your workspace folder and it's layout. Import any assets you will be using for your GEAR item, this includes any meshes or textures.
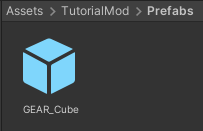
- Now that all the assets are imported, we can get to the good stuff - actually creating the GEAR prefab item. To begin, right-click in your
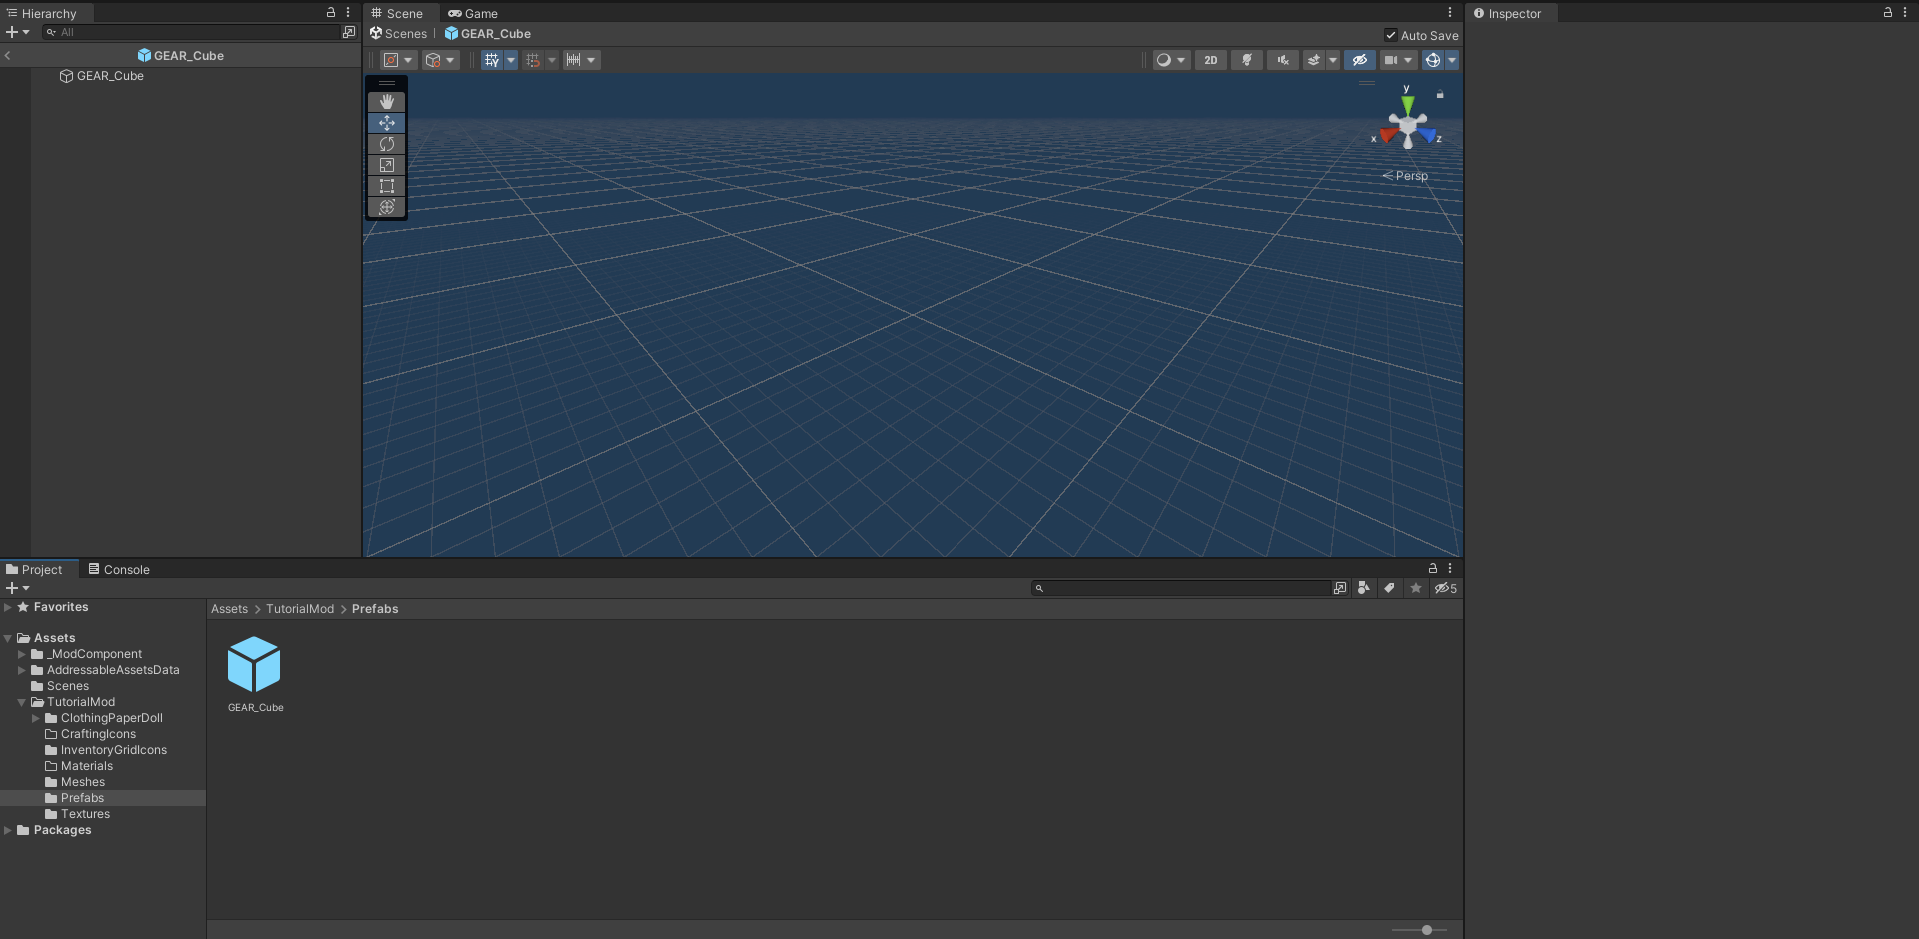
Prefabsfolder (or however you've setup your workspace) and selectCreate > Prefab. From here, name it according to what the item is. In my case it'll be calledGEAR_Cube. From here, double-click the prefab - this will bring you into the prefabs workspace.
Important
It's crucial that you have the prefab named with the prefix of GEAR_.
- Once you have opened up the workspace for your prefab by double-clicking on it, navigate back to where you imported your mesh. Once you have, drag and drop it onto your prefabs parent object. In my case it'll be
GEAR_Cubethat I'm dropping my mesh onto. - After doing so, you'll notice that your mesh has no textures. Navigate to where you imported your texture, then drag and drop it onto the mesh you just dragged in. It should then create a new
Materialfor you somewhere in your workspace. Navigate to it and bring down theSmoothnessslider down to 0.

- From the hierarchy panel, select the root of your prefab again. In my case it's
GEAR_Cube, then on your Inspector panel on the right, select theAdd Componentbutton and search forcollider. Select any collider which will suit the shape of your item the best and apply it. Resize the collider appropriately.

Warning
Make sure that the collider is on the root GameObject which for me is GEAR_Cube and NOT the mesh GameObject.
- Now onto the fun stuff. On the same root GameObject, select the
Add Componentagain and search forMod. This will bring up every Components, Behaviours and Blueprints available to use on your new GEAR item. For this example, we will only be attaching the ModGenericComponent to our prefab. - Adjust the different fields to your liking, so go crazy! You can view what I have set my fields to under each category below.
- After doing all that, make sure to have your prefab by holding
CTRL+S.


- Now you have officially created your first GEAR item! Now navigate back to your Mod Definition asset that was created at the beginning. Notice the two fields
GEAR PrefabsandInventory, Crafting & Paperdoll Textures. Now we need to expand those fields and add our new prefab and inventory texture which we created and imported earlier.

- Now we need to open the Mod Manager so we can view the contents of our mod and so we can export it. Navigate to
ModComponentSDK > Mod Managerand dock it somewhere in your project as you will use it quite often. From there you should see your newly created Mod Definition and the prefabs and textures which we recently attached to the Mod Definition.

Note
If you don't see anything, click the refresh button - otherwise you must've screwed up a step.
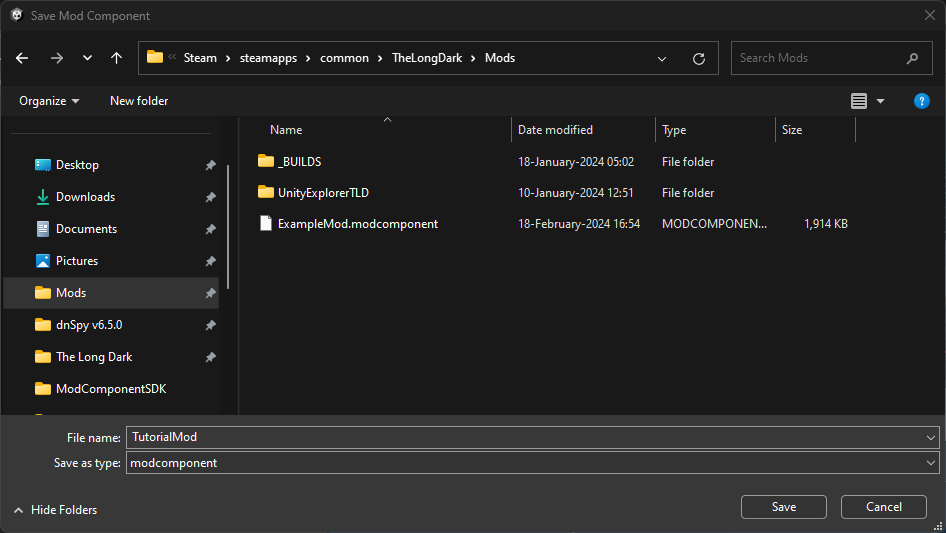
- One all of that has been done, select your Mod Definition within the Mod Manager. This will allow you to export your selected mod by clicking the export mod button. From there choose a location to save your
.modcomponentand launch The Long Dark!
You have now created your very first GEAR item with the ModComponent SDK! How easy was that?
Make sure to test everything in-game beforehand, but apart from that - happy adding new items to the game!
For more information regarding different Components, Behaviours and Blueprints - other anything else in this mod. Please visit the links below.
- Workspace Information: An information guide which introduces you to the various assets and tools that come along with the ModComponent SDK.
- Unity Tips: General purpose tips that will be useful for any unity project.
- API: Detailed documentation of the various components, behaviours and blueprints.