Serverless backends like AWS Lambda allow us to write and run code without thinking about what server it is going to run on. Specifically, these technologies allow us to automatically scale based on traffic and only pay for as much as we use. It's great for applications where traffic is inconsistent.
💡 We use "lower-case" serverless – the architecture, not the name-brand framework. (Why?)
We manage our serverless infrastructure with Terraform. To start, use the lambda_function module to provision a
new function. This will create a new function with the given name. It will also create a log group, execution role, deployment bucket, and limited deployment credentials.
module "app" {
source = "../components/lambda_function"
name = "hello-serverless"
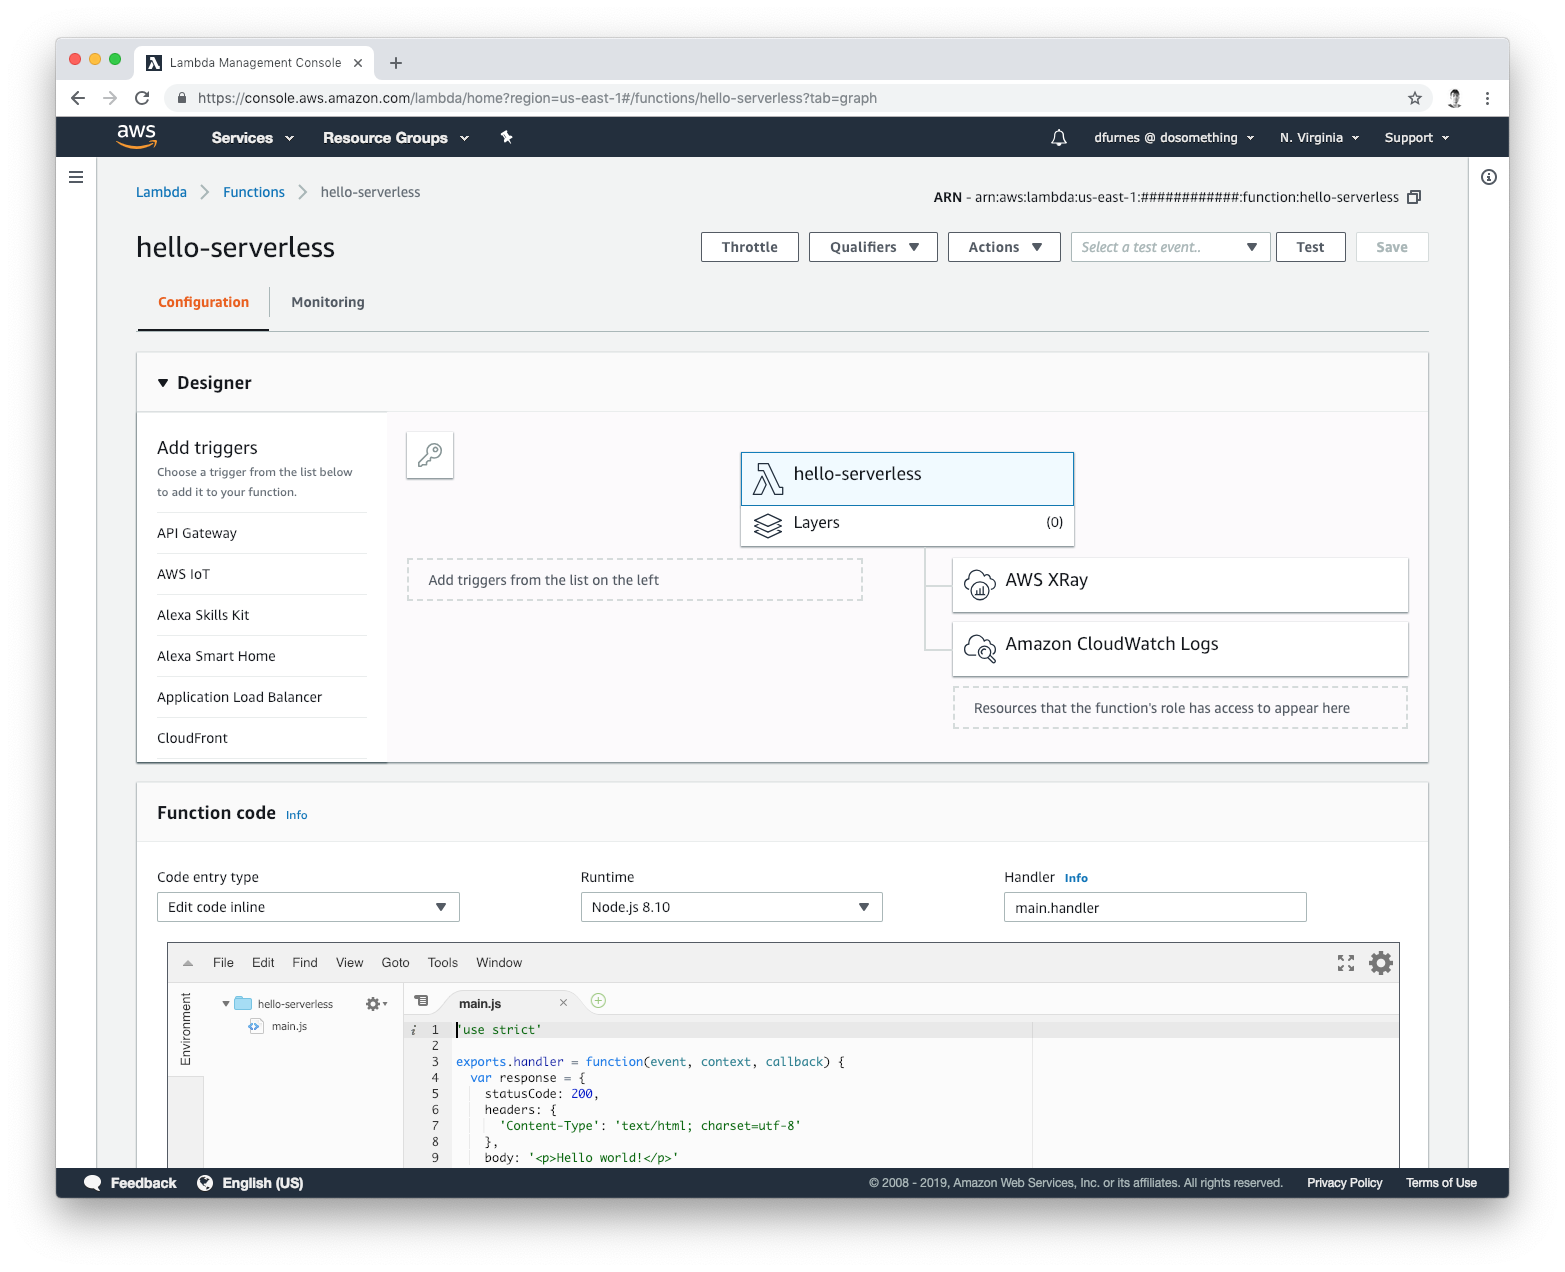
runtime = "nodejs12.x"
}After you run make apply, you should see the function on the AWS Console:
We haven't configured the function to accept HTTP requests yet (and not all Serverless functions have to). We can check that everything works by executing this function using the AWS CLI:
$ aws lambda invoke --function-name=hello-serverless /dev/stdout

{"statusCode":200,"headers":{"Content-Type":"text/html; charset=utf-8"},"body":"<p>Hello world!</p>"}{
    "StatusCode": 200,
    "ExecutedVersion": "$LATEST"
}
We're off to a great start! 🚀
Often, we'll want our functions to be accessible via the internet. To do so, we can use the api_gateway_proxy module:
module "gateway" {
source = "../components/api_gateway_proxy"
name = "hello-serverless"
environment = "development"
function_arn = "${module.app.arn}"
function_invoke_arn = "${module.app.invoke_arn}"
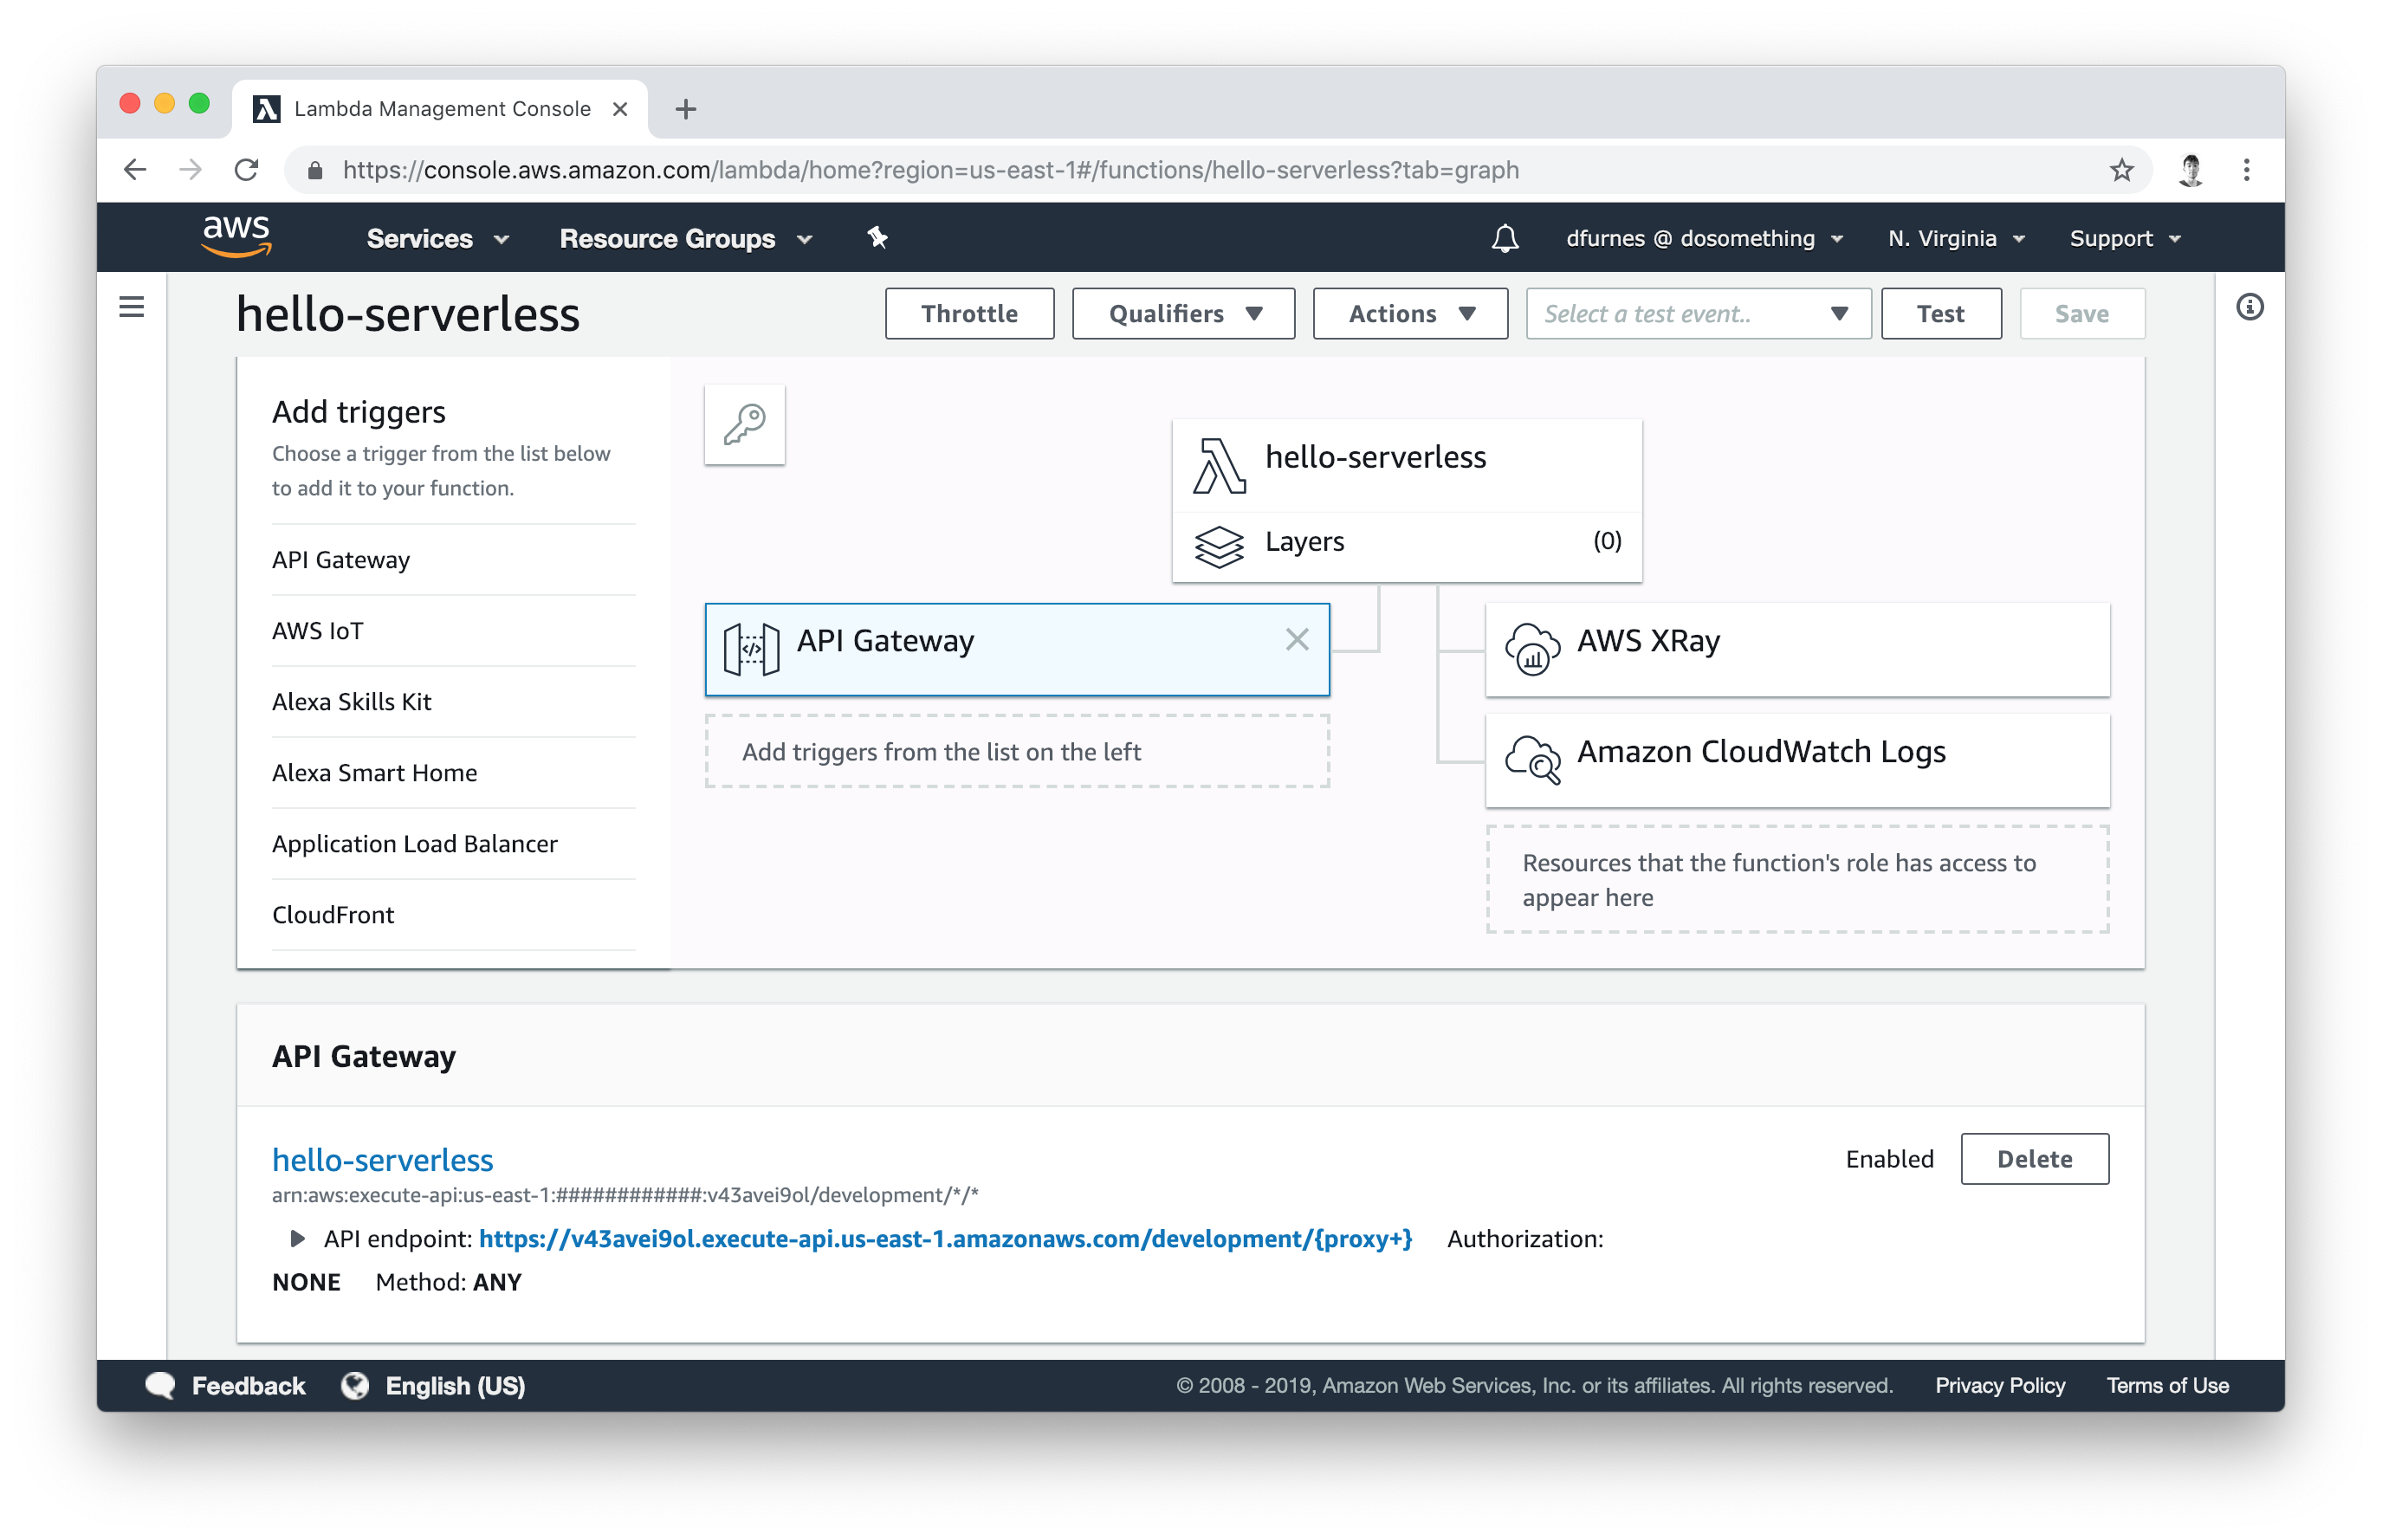
}If we apply that change and return to our Lambda dashboard, we'll see it now has a "API Gateway" trigger. Click on it to see the URL that's been automatically provisioned for this application:
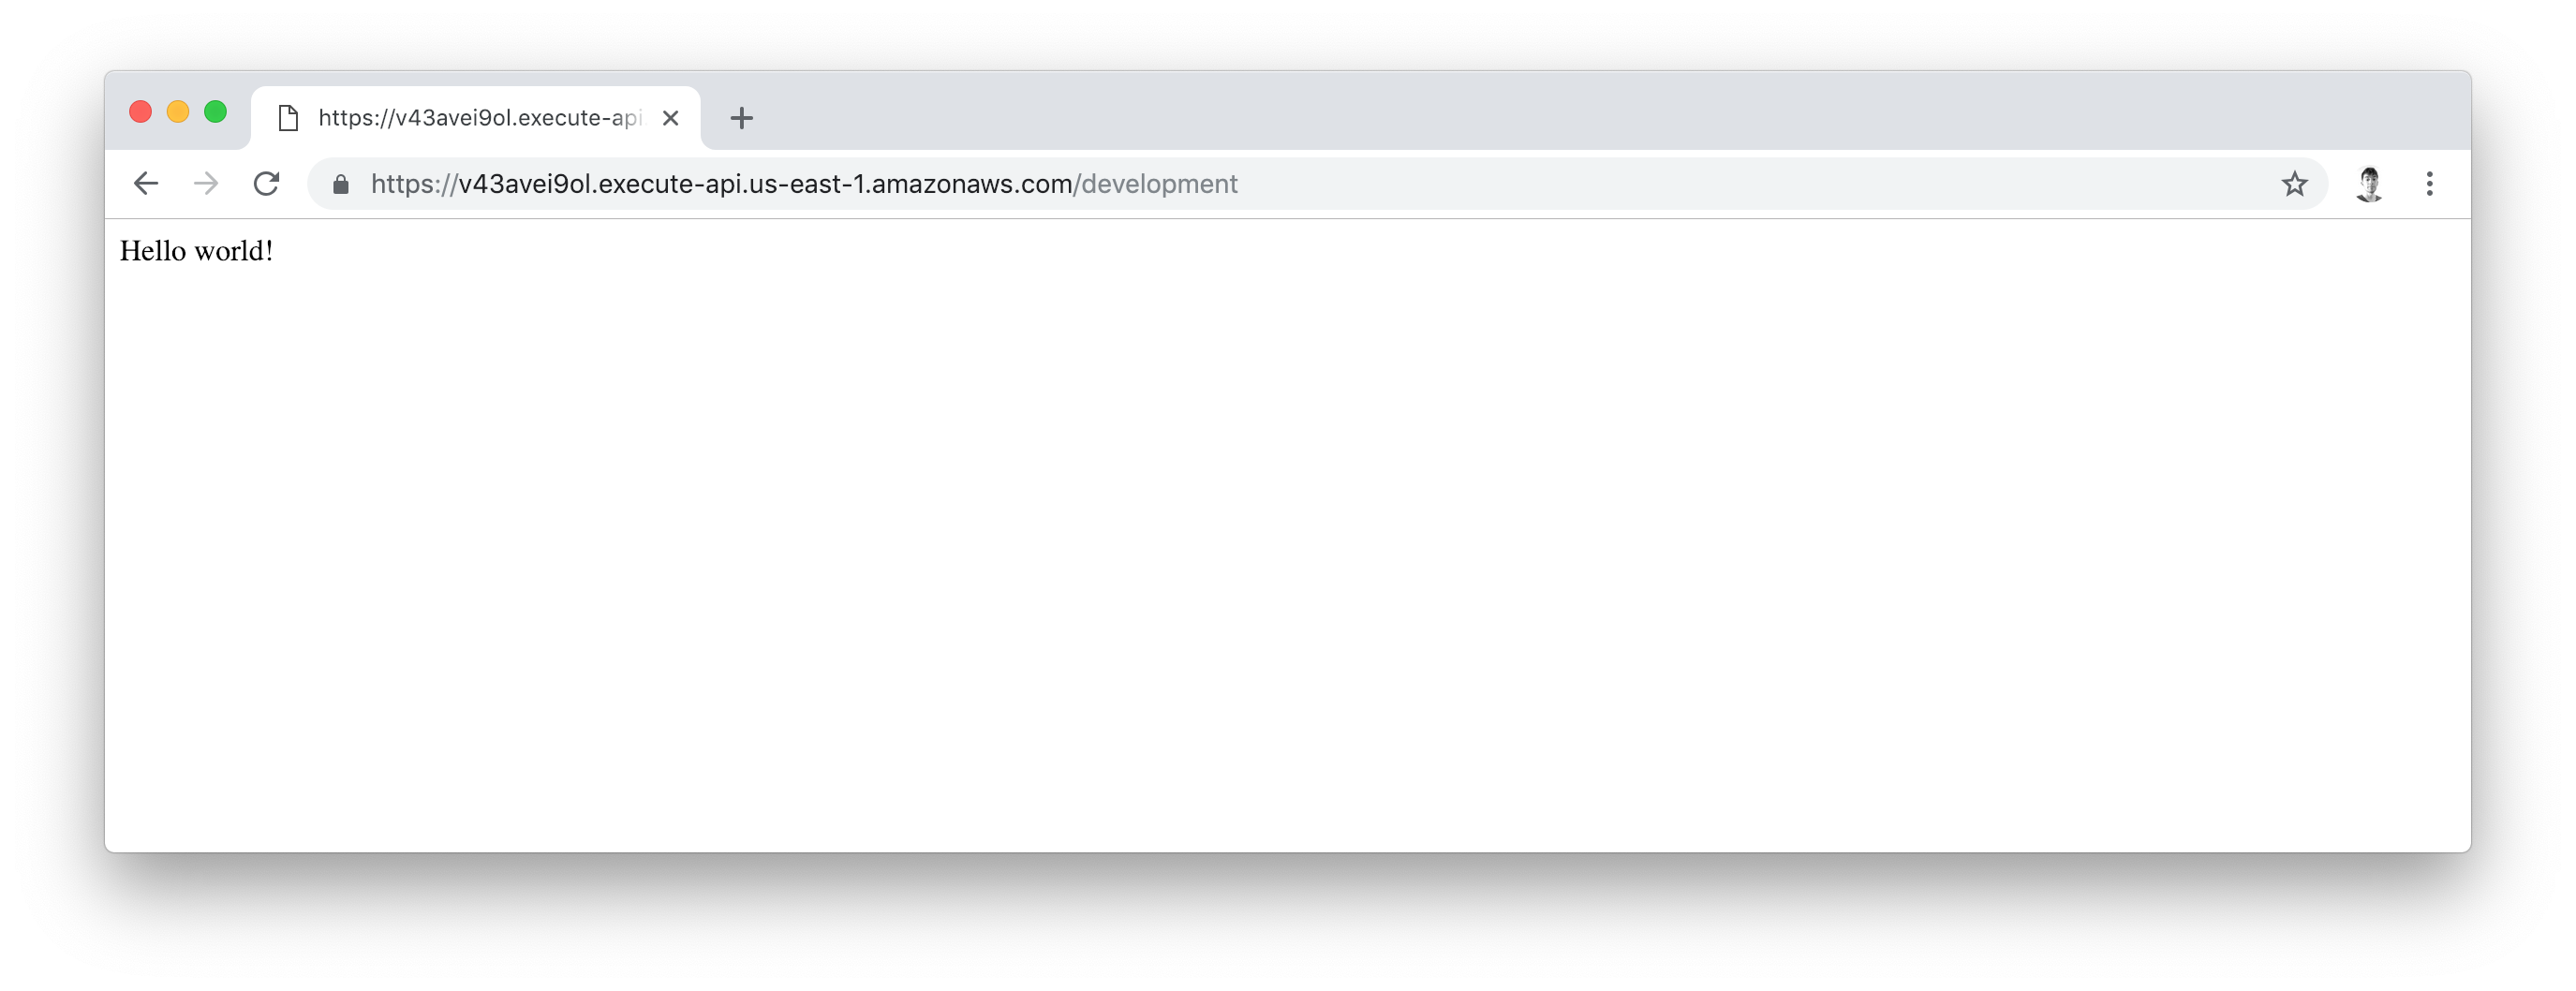
If we visit that URL, anyone can now execute our "hello world" Lambda function via the web!
To use a custom domain, just set the domain variable on the gateway:
module "gateway" {
  # ...
  domain = "hello-serverless.dosomething.org"
}
This will attach the custom domain to our API Gateway, and (if it's a DoSomething.org subdomain) automatically provision a SSL Certificate using Amazon Certificate Manager. If you're using a different top-level domain, you'll need to manually request & validate a certificate.
Once you've attached the custom domain, visit API Gateway's Custom Domain Names panel to find out what CNAME to point the DNS record at. Ask someone in #dev-infrastructure to attach it to the domain in our DNSMadeEasy account. You may have to wait up to 40 minutes for the certificate and CloudFront distribution to finish provisioning:
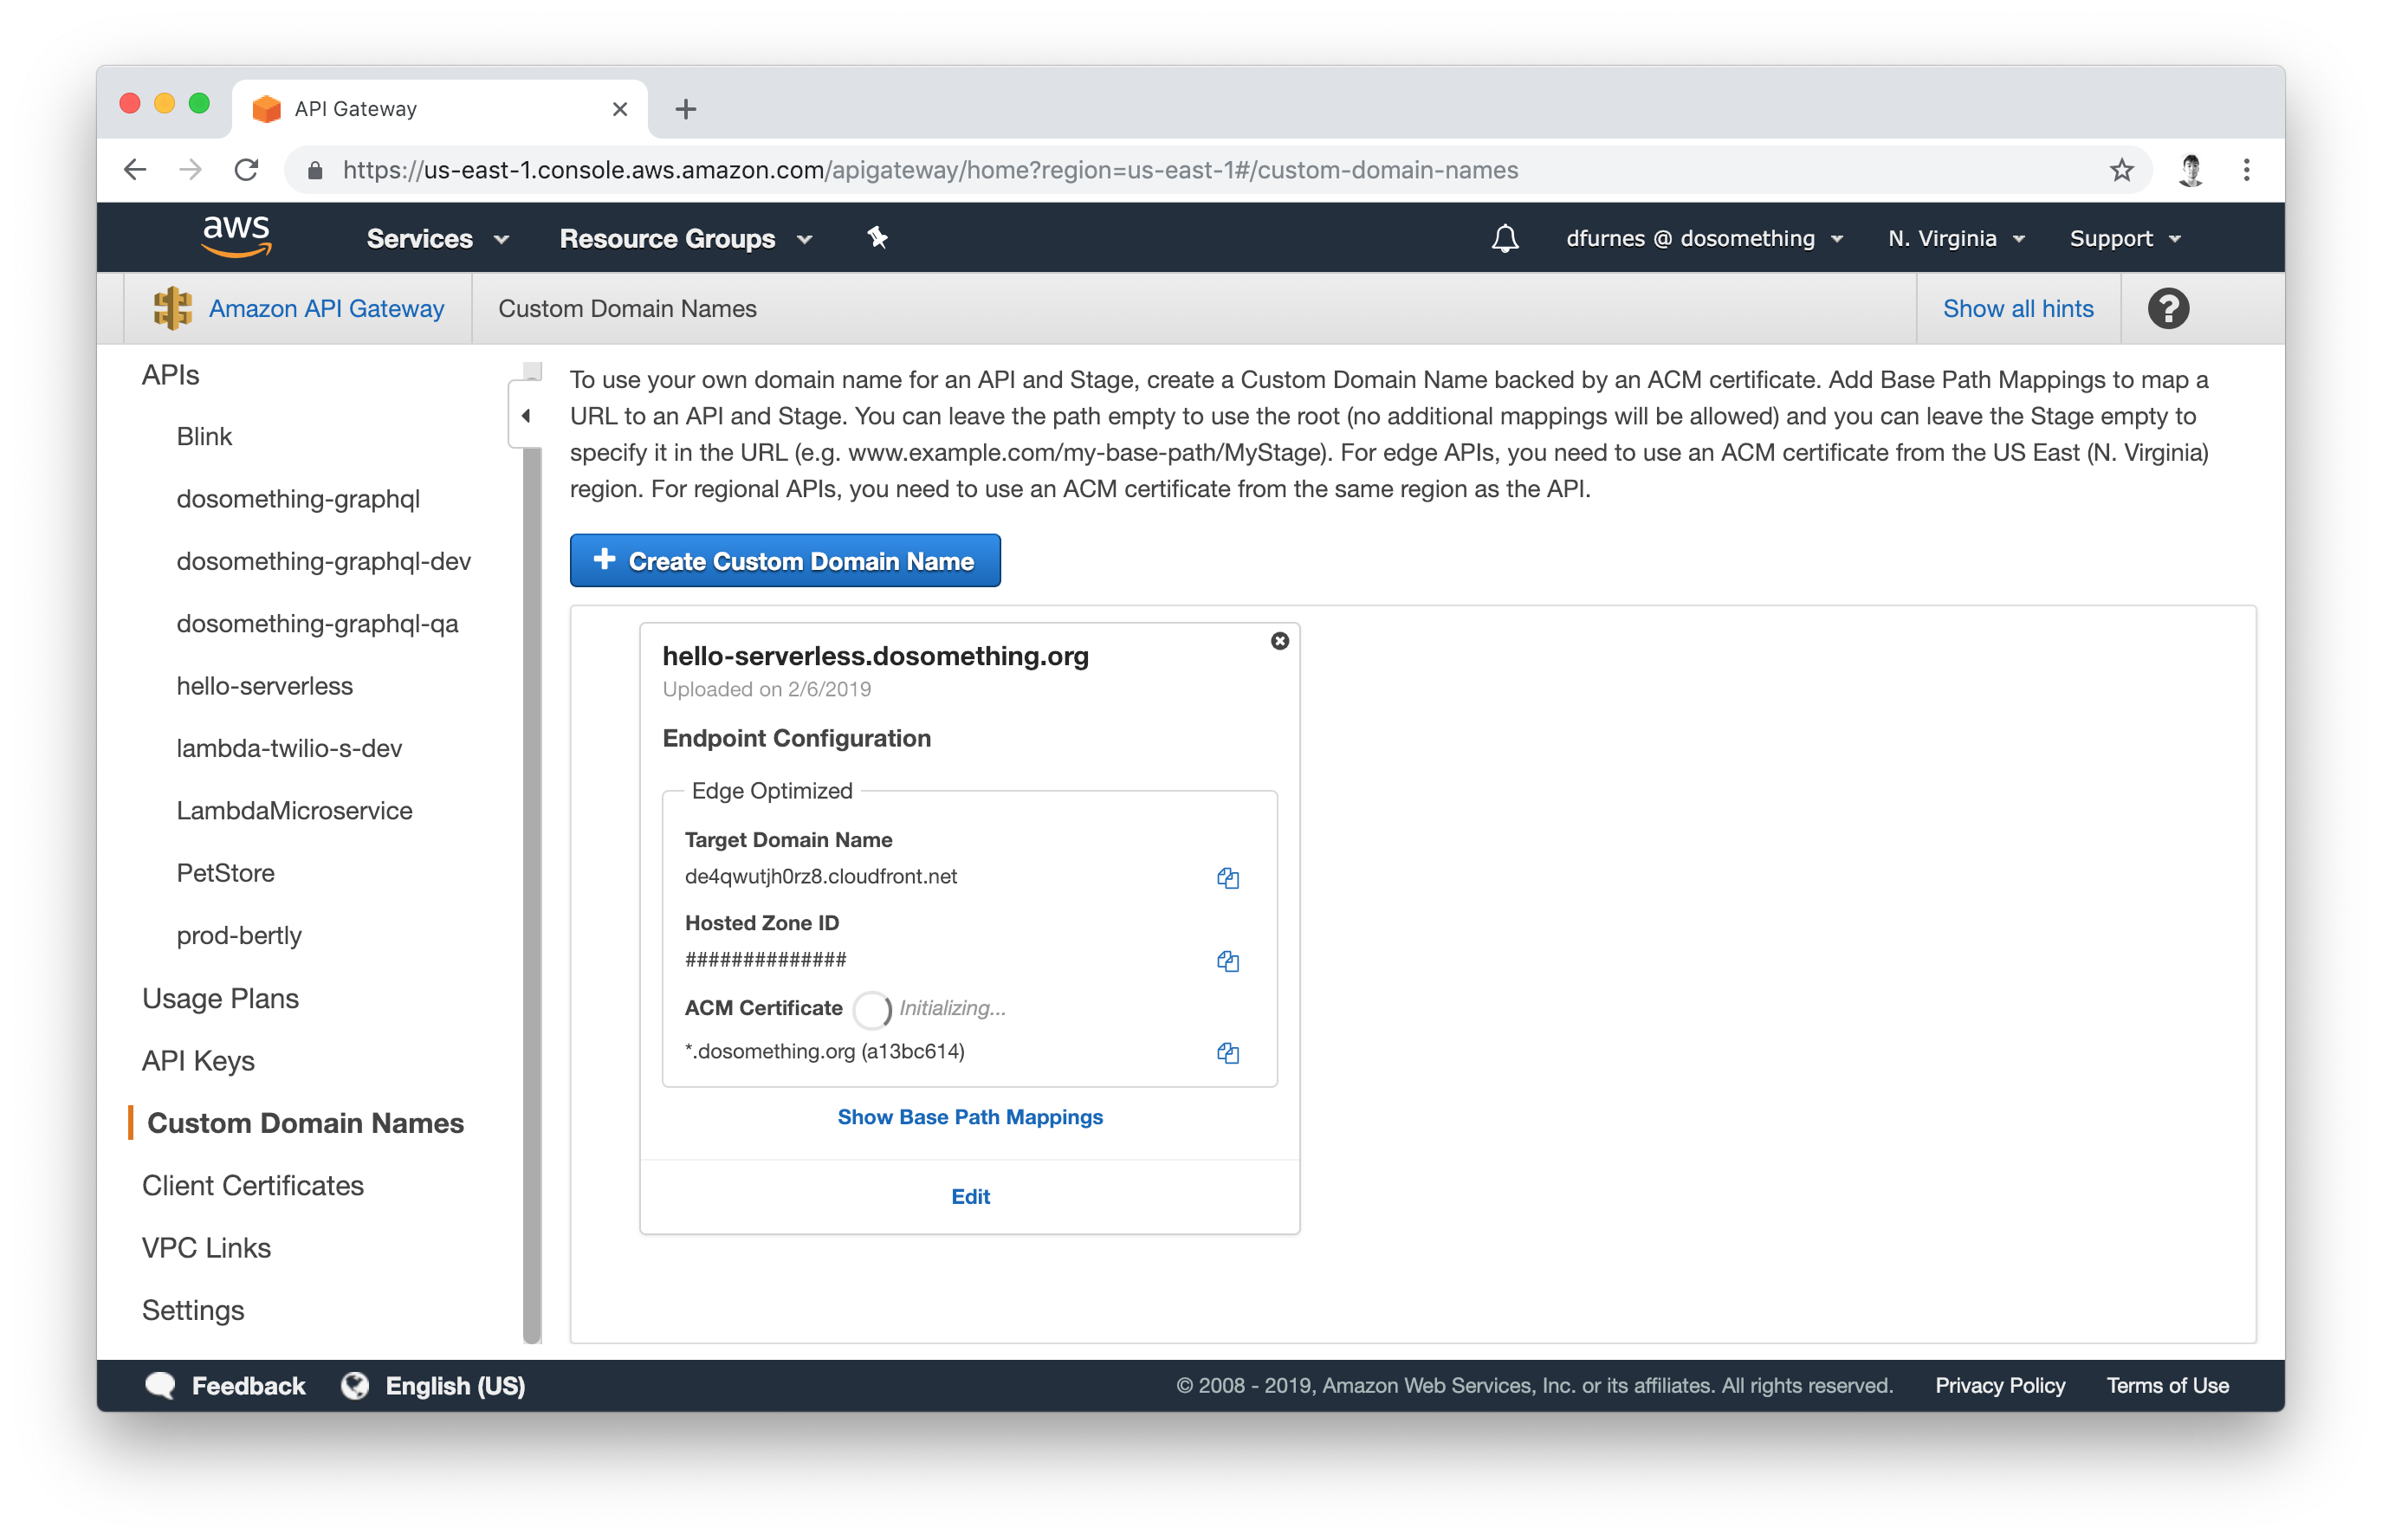
Your patience will be rewarded with a fancy new domain!

In rare cases, you may want more than the default "hello world" app can provide. Luckily, deploying code is a breeze.
We deploy our serverless applications using CircleCI and our dosomething/lambda helper orb. If you haven't already, add a .circleci/config.yml file to your application's repository. You can use the template below to start, making sure to replace hello-serverless in the deploy step with the name of your Lambda function:
version: 2.1

orbs:
  lambda: dosomething/lambda@0.0.3

jobs:
  # Install dependencies, run tests, and compile for Lambda.
  build:
    docker:
      - image: circleci/node:8.10
    steps:
      - checkout
      - restore_cache:
          keys:
          - v1-dependencies-{{ checksum "package.json" }}
          - v1-dependencies-
      - run: npm install
      - save_cache:
          paths:
            - node_modules
          key: v1-dependencies-{{ checksum "package.json" }}
      - lambda/store

# Configure workflows & scheduled jobs:
workflows:
  version: 2
  build-deploy:
    jobs:
      - build
      - lambda/deploy:
          name: deploy
          app: hello-serverless
          requires:
            - build
          filters:
            branches:
              only: main
After adding this file to your application's repository, add the app as a "project". Your first build may fail due to missing credentials - that's okay! Head to the project's "Build Settings" page and import environment variables from an existing serverless project, such as dosomething/graphql.
Now, any commits to the default branch on this repository will automatically deploy our Lambda function!