The goal of this project is to reduce the time spent on taking inventory in the department of Public Works at Clark County.
The way this application works is that it will land on a page that looks like this:

Click on the "Location" dropdown you see above the county icon. You will see a list of locations like the following one:

Select the location you are at. Once you have selected the location you can move on to the next step.
Next click the "Device" dropdown to show you the types of devices available.

After you have selected the type of device that you want to scan, you can click on the scan icon that is right above the device type dropdown.
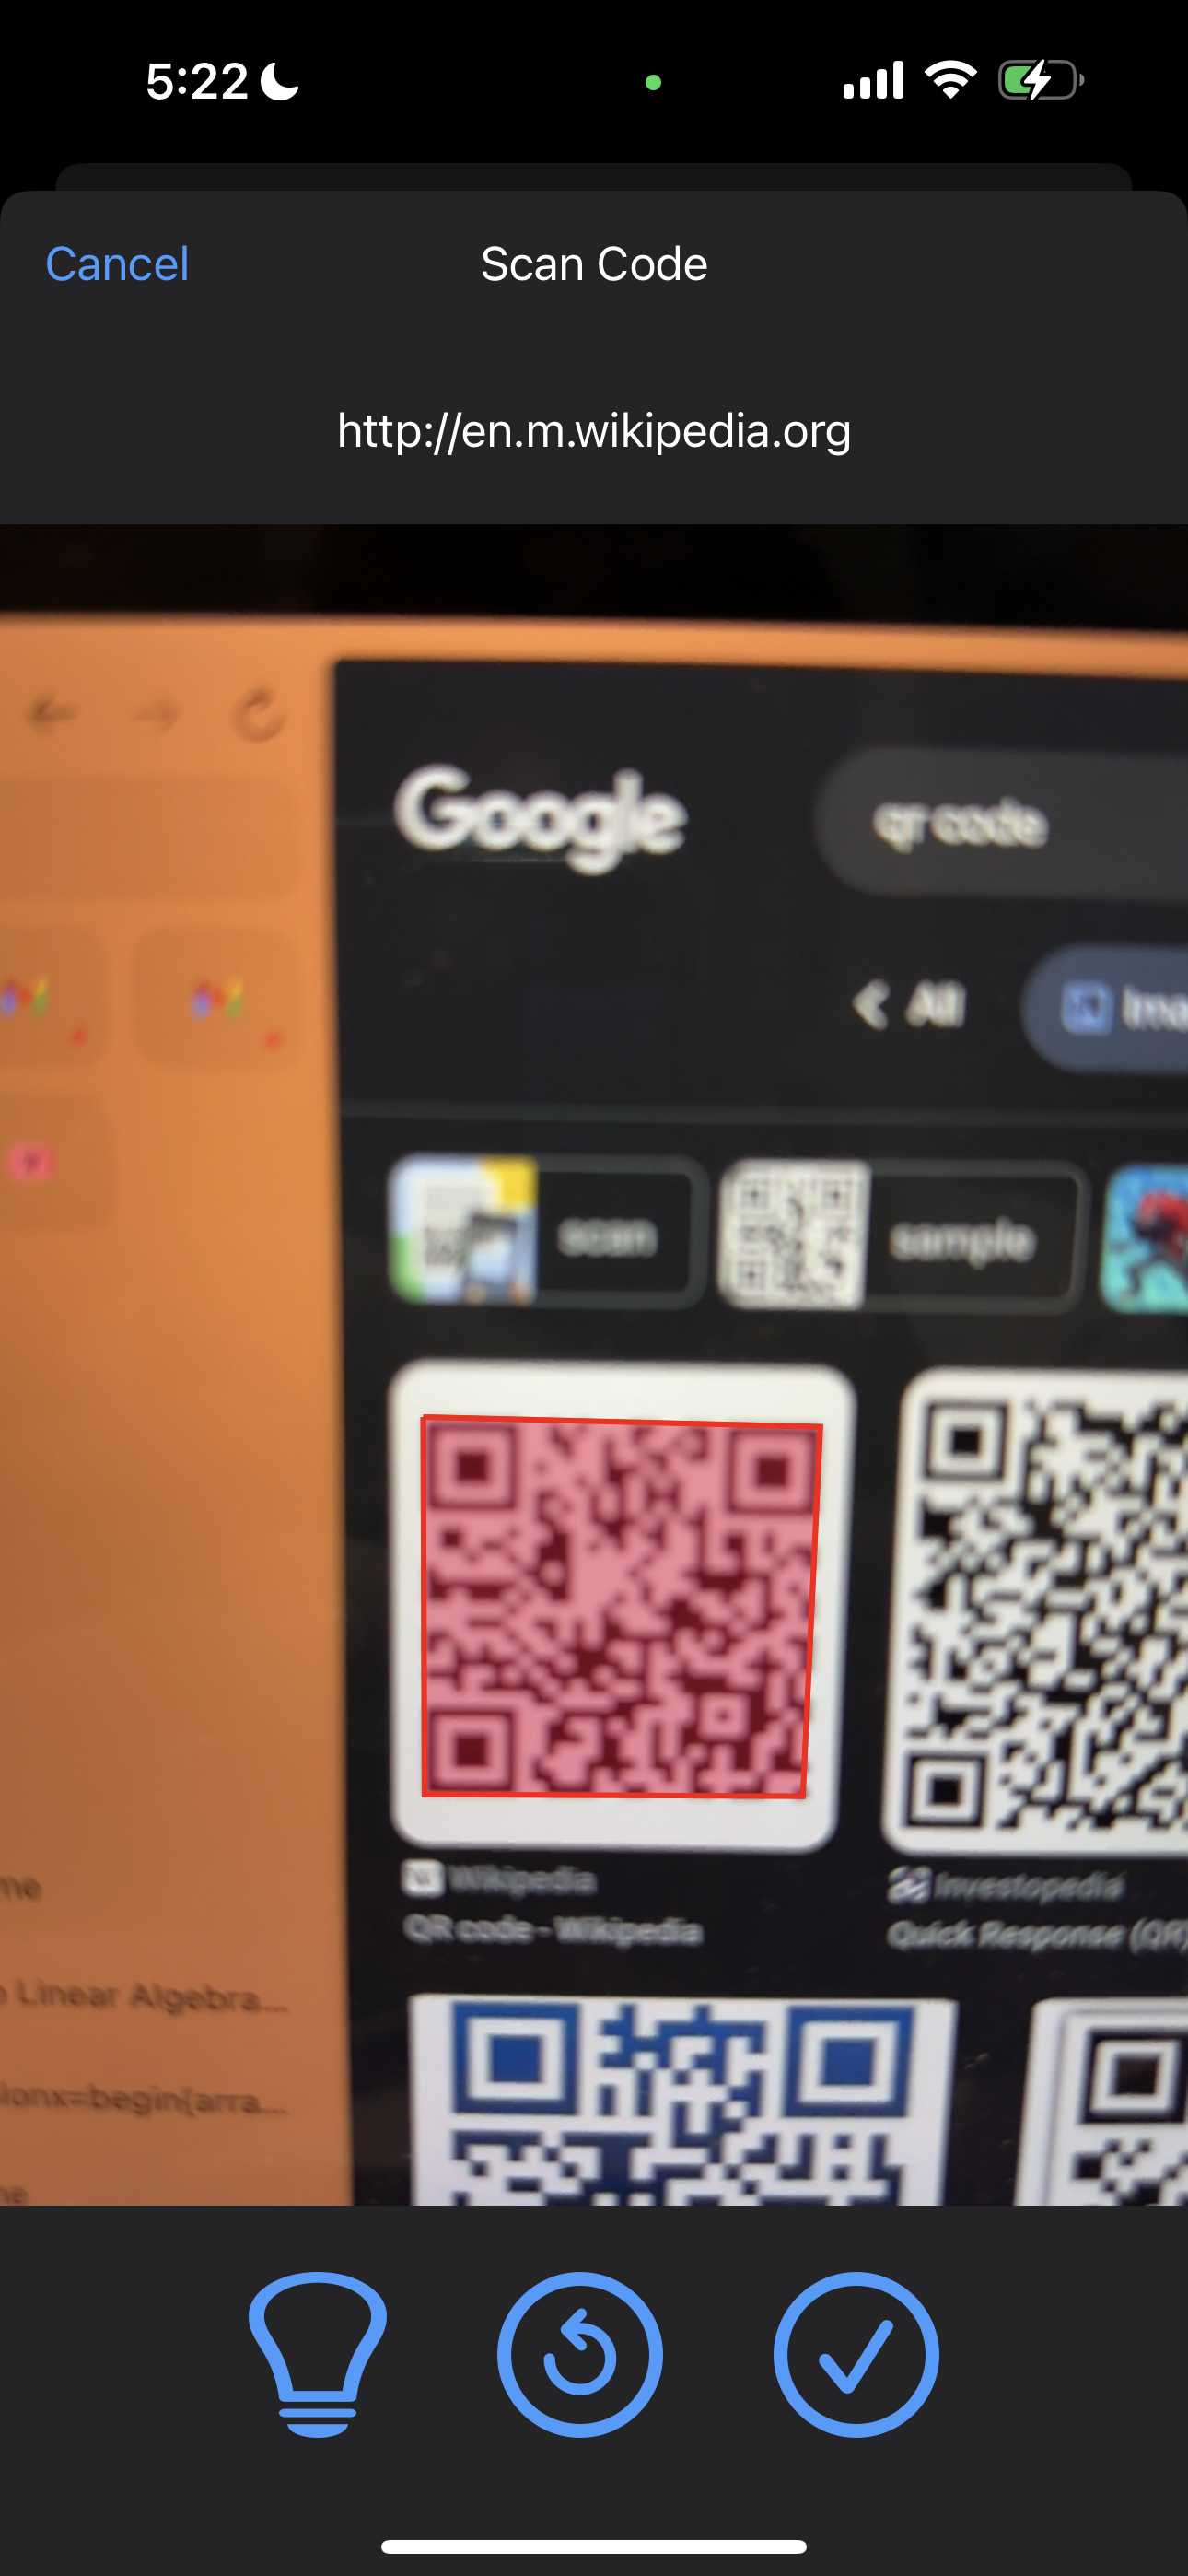
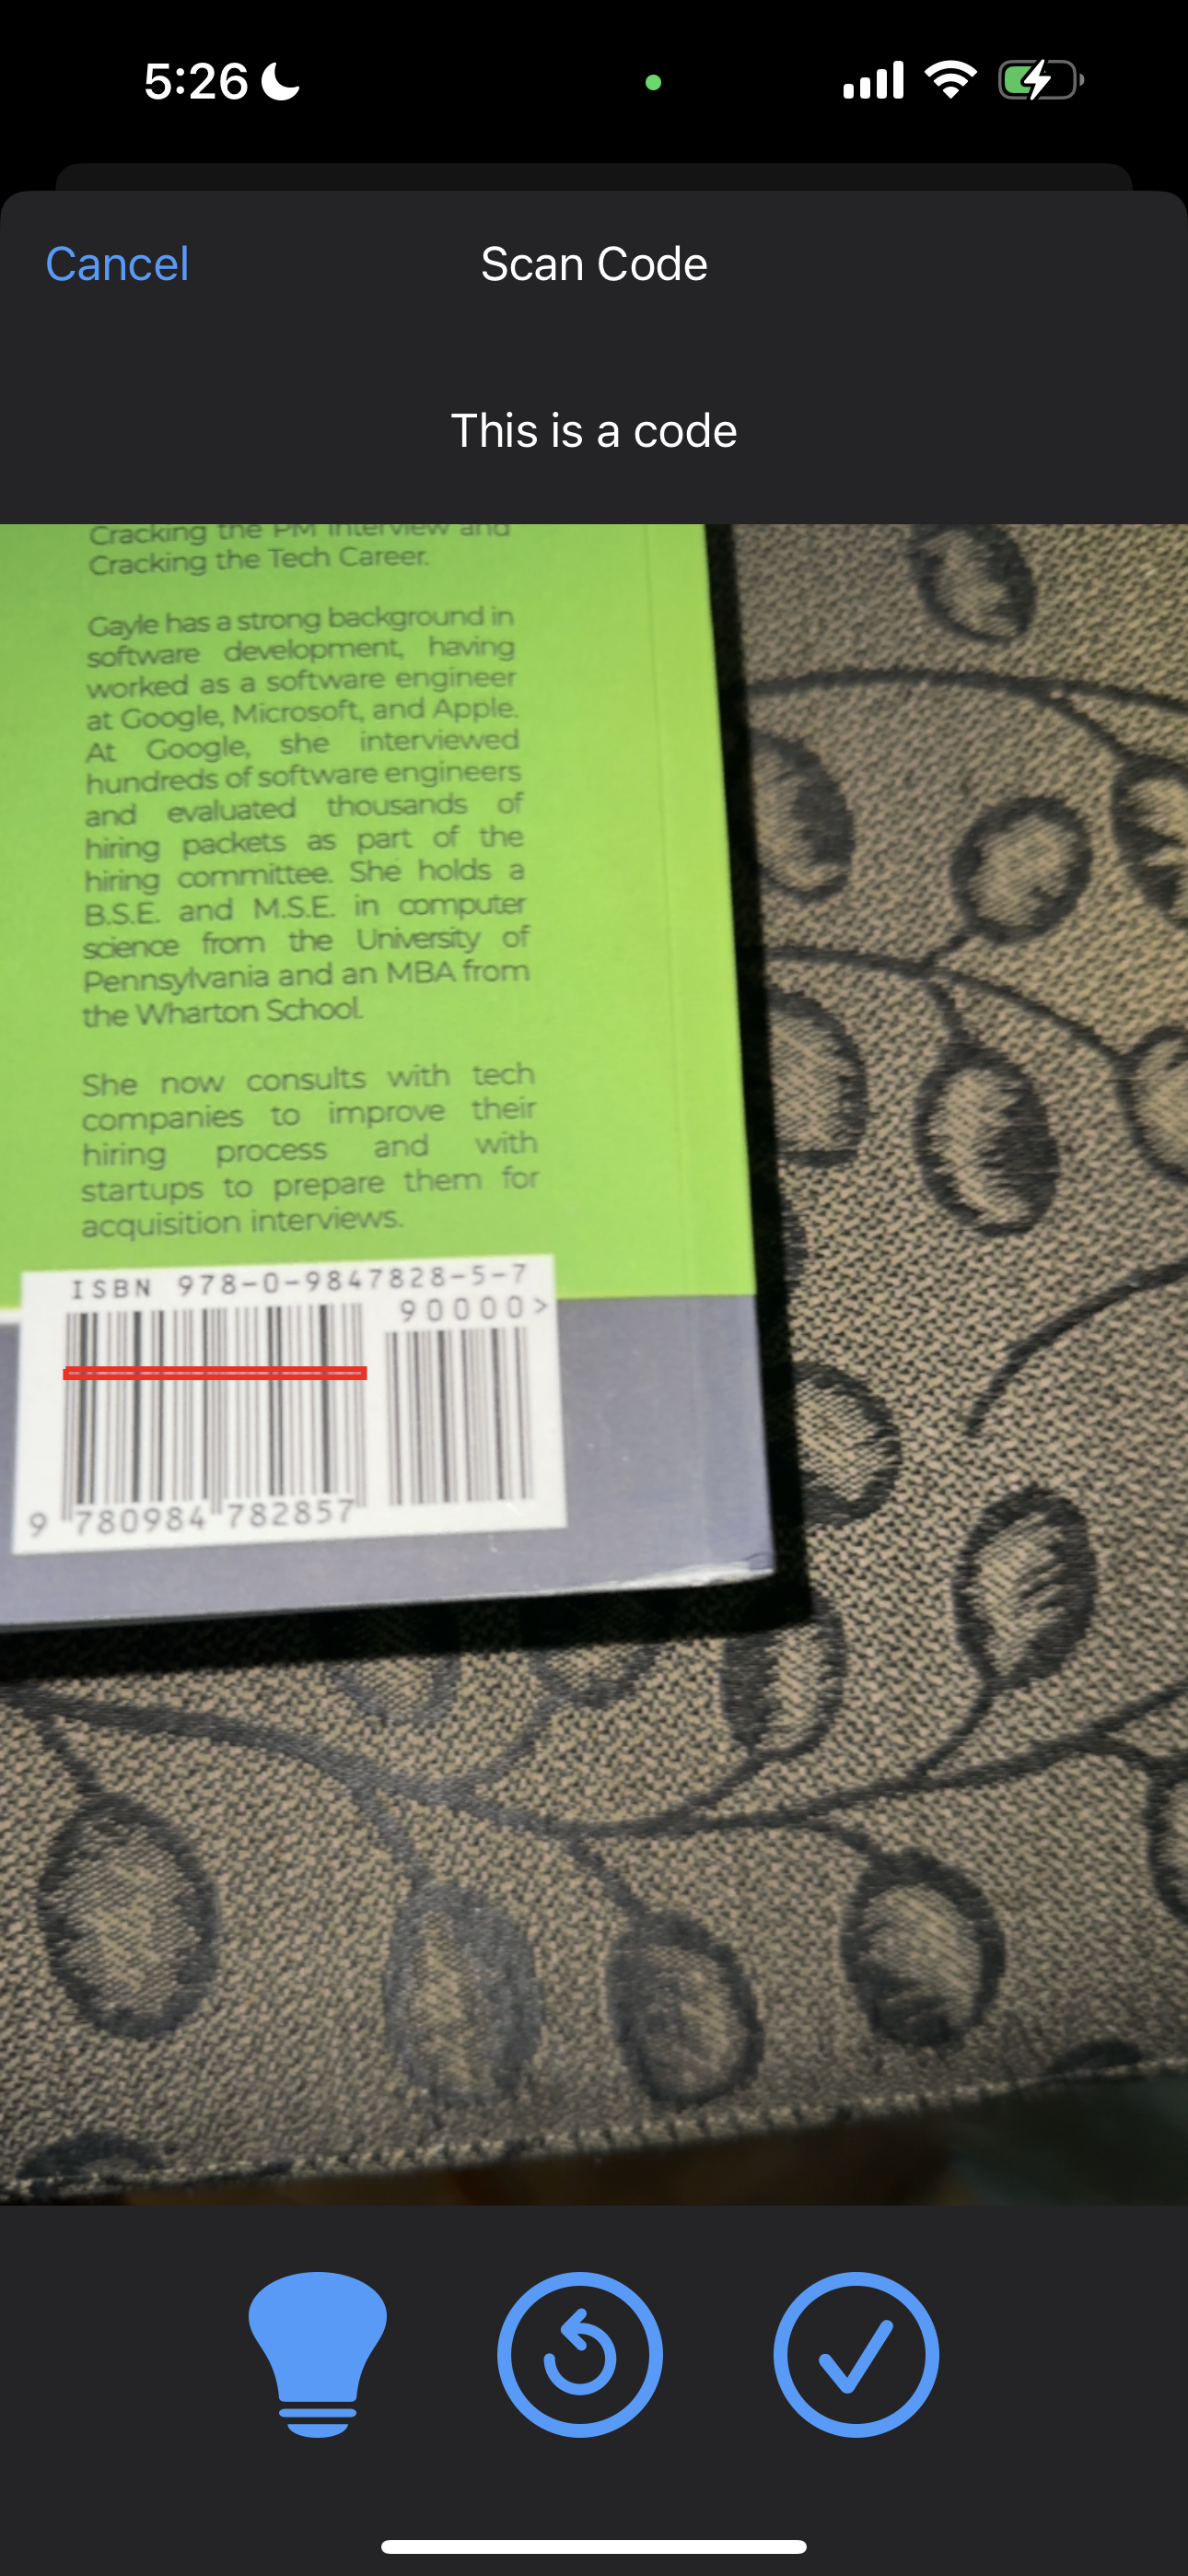
Once you are on the camera screen you will see the camera screen. This screen will outline and shade any type of machine-readable optical image.
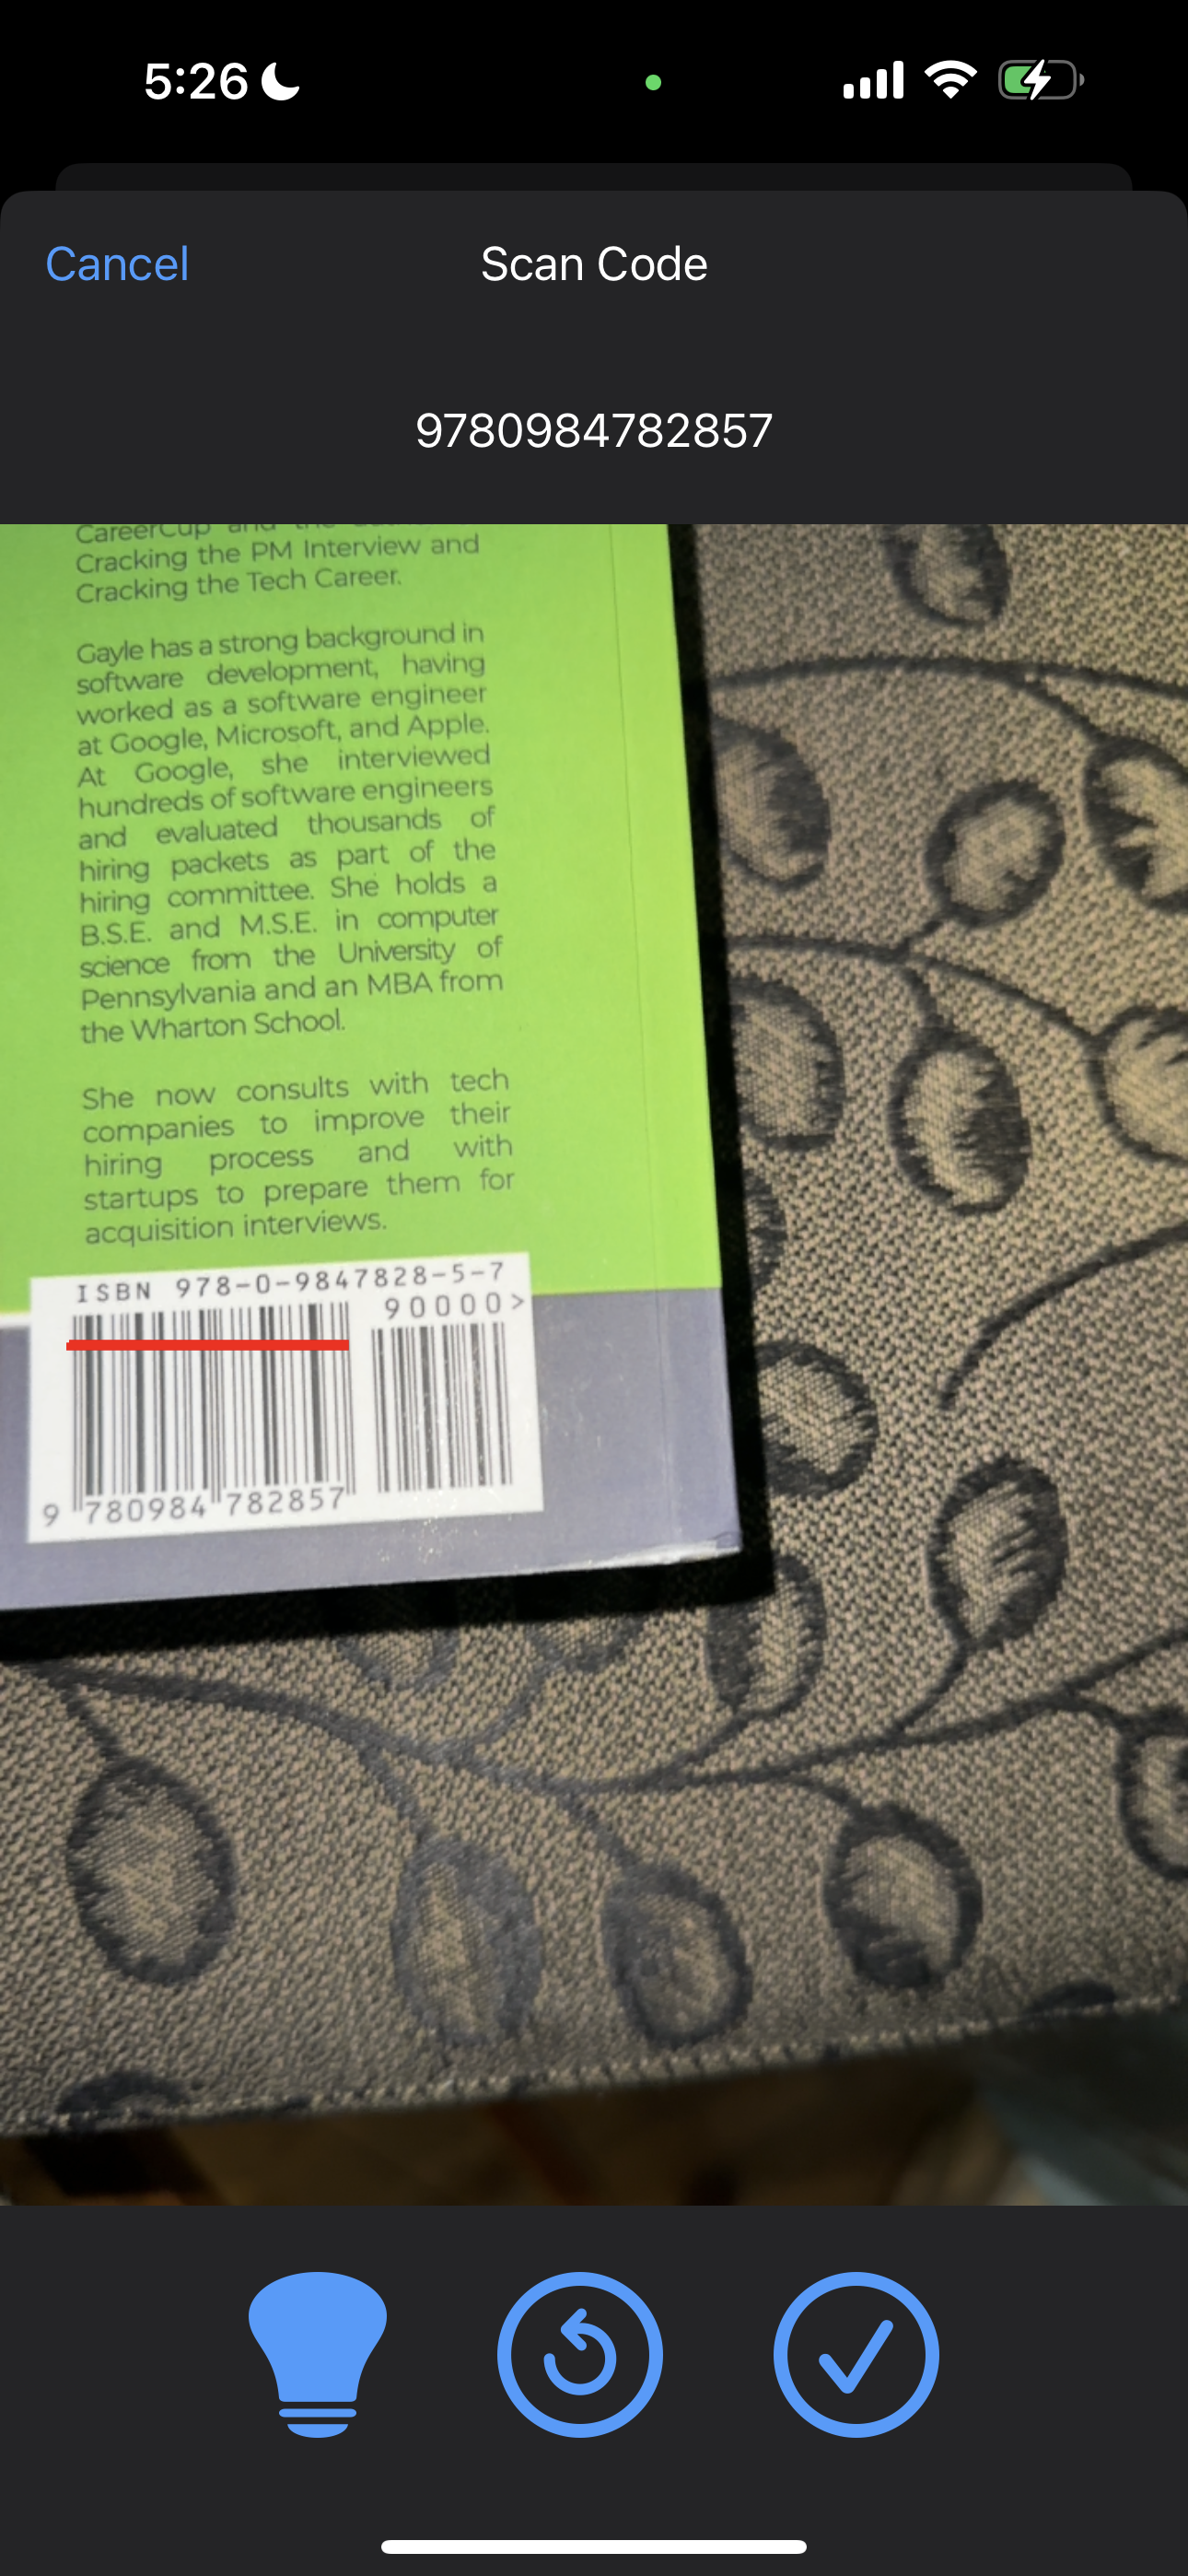
Above the camera screen you will see the content of the code that was scanned. Once the value is shown above every machine-readable optical image the camera sees will be shaded in red. If the wrong image was scanned then you can click on the redo button that is on the bottom, this will allow the app to search and scan the next new value found in a machine-readable optical image.
The camera will show you a green outline and shade for the code that it can scan before you press the refresh button.

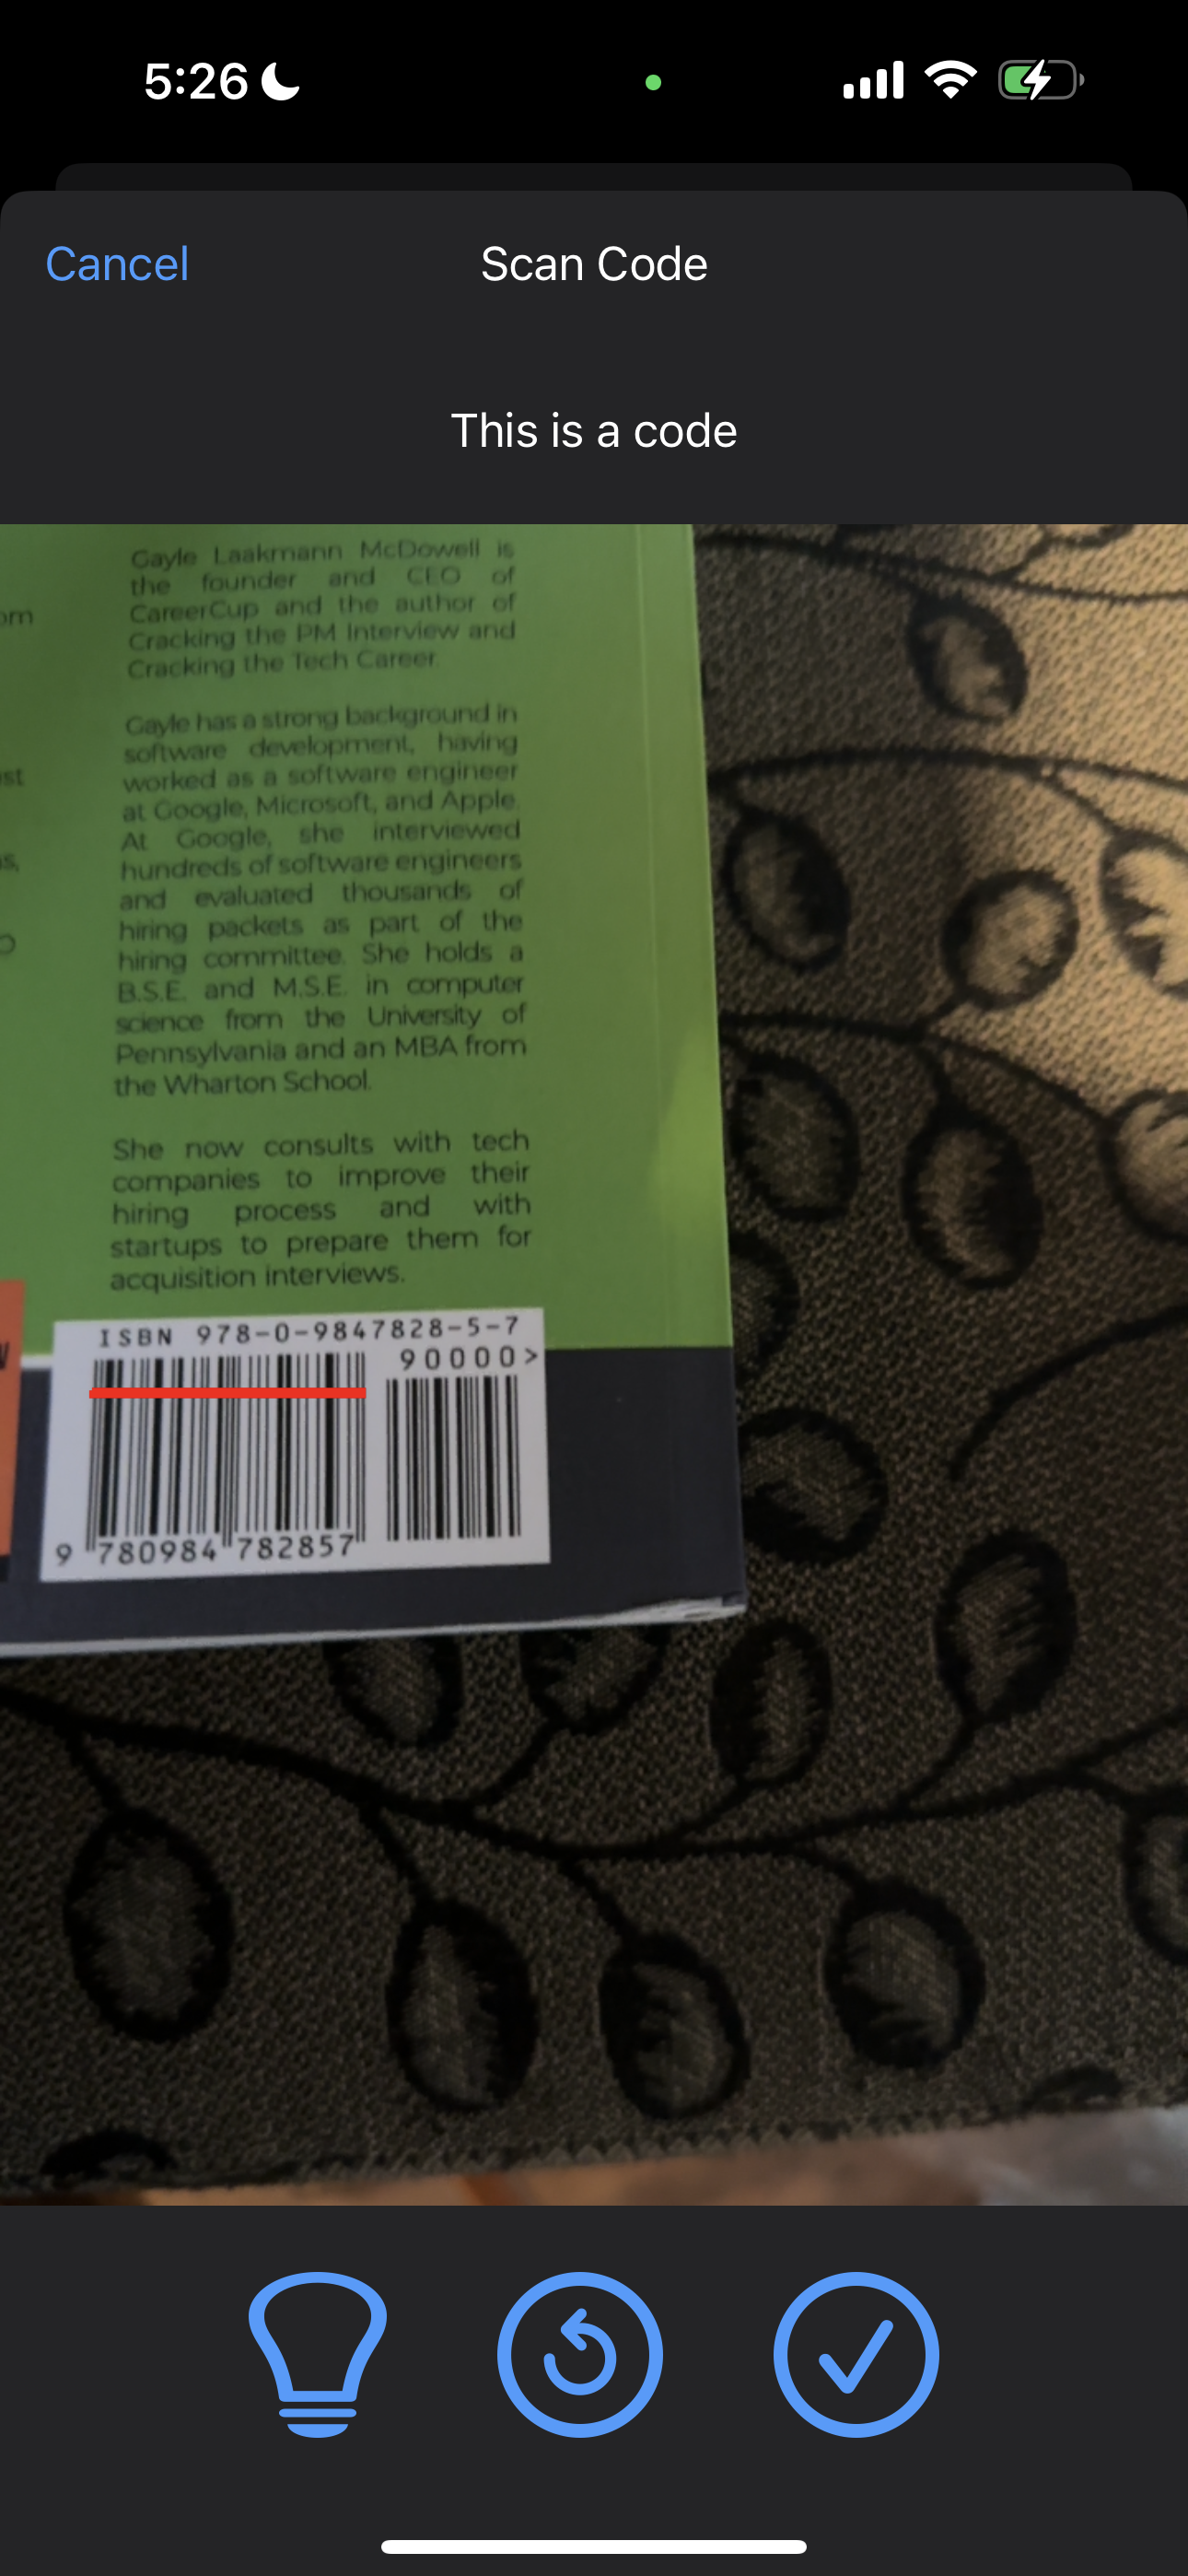
There is also a flashlight button for dark and hard to see places.
Once you have scanned the device you wanted. Click on the check button that is on the bottom right. This will take you back to the home screen and will show you the code that you have scanned. You can confirm the value and adding it to the inventory list by selecting the "Add" button that is at the bottom. Repeat the process until you are done scanning all of the devices from the location that you are at.
Once you have scanned all of the devices, click on the "Done" button that is on the top right corner of the screen. It will ask you to confirm that you want to export the information. Click "OK".

Once you have exported the information you will see a file per device type on the folder with the name of the location you had selected. Each one of these files will contain a .txt file with the values that you have scanned.
