This document shows how to run the watson-assistant-slots-intro application on your local machine.
- Clone the repo
- Create IBM Cloud services
- Configure Watson Assistant
- Get IBM Cloud credentials and add to .env
- Run the application
Clone watson-conversation-slots-intro locally. In a terminal, run:
$ git clone https://github.com/ibm/watson-conversation-slots-intro
We’ll be using the file data/watson-pizzeria.json to upload
the Assistant Intents, Entities, and Dialog Nodes.
Create the following service and name it wcsi-conversation-service:
The following instructions will depend on if you are provisioning Assistant from IBM Cloud or from an IBM Cloud Pak for Data cluster. Choose one:
Provision on IBM Cloud
- Find the Assistant service in your IBM Cloud Dashboard.
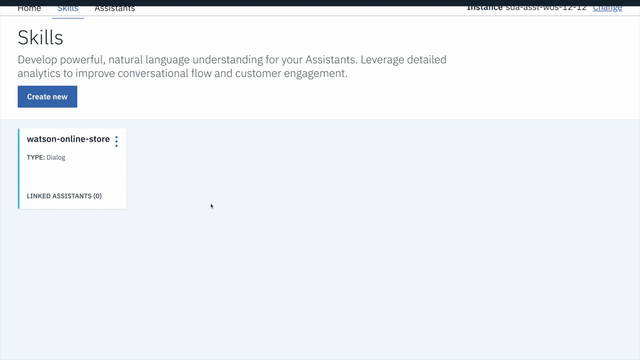
- Click on the
Managetab and then click onLaunch Watson Assistant. - Go to the
Skillstab. - Click
Create skill - Select the
Dialog skilloption and then clickNext. - Click the
Import skilltab. - Click
Choose JSON file, go to your cloned repo dir, andOpenthe workspace.json file indata/watson-pizzeria.json. - Select
Everythingand clickImport.
Provision on IBM Cloud Pak for Data
- Find the Assistant service in your list of
Provisioned Instancesin your IBM Cloud Pak for Data Dashboard. - Click on
View Detailsfrom the options menu associated with your Assistant service. - Click on
Open Watson Assistant. - Go to the
Skillstab. - Click
Create skill - Select the
Dialog skilloption and then clickNext. - Click the
Import skilltab. - Click
Choose JSON file, go to your cloned repo dir, andOpenthe workspace.json file indata/watson-pizzeria.json. - Select
Everythingand clickImport.
To find the WORKSPACE_ID for Watson Assistant:
- Go back to the
Skillstab. - Find the card for the workspace you would like to use. Look for
WatsonPizzeria. - Click on the three dots in the upper right-hand corner of the card and select
View API Details. - Copy the
Workspace IDGUID.
- In the next step, you will put this
Workspace IDinto the `.env file asWORKSPACE_ID.
-
Move the
watson-conversation-slots-intro/env.samplefile towatson-conversation-slots-intro/.env. -
Put the
Workspace IDinto the `.env file asWORKSPACE_ID.
WORKSPACE_ID=<put workspace id here>The remaining credentials will depend on if you are provisioning Assistant from IBM Cloud or from an IBM Cloud Pak for Data cluster. Choose one:
Provision on IBM Cloud
- Use the
apikeyandurlfrom your Watson Assistant service credentials in the.envfile.
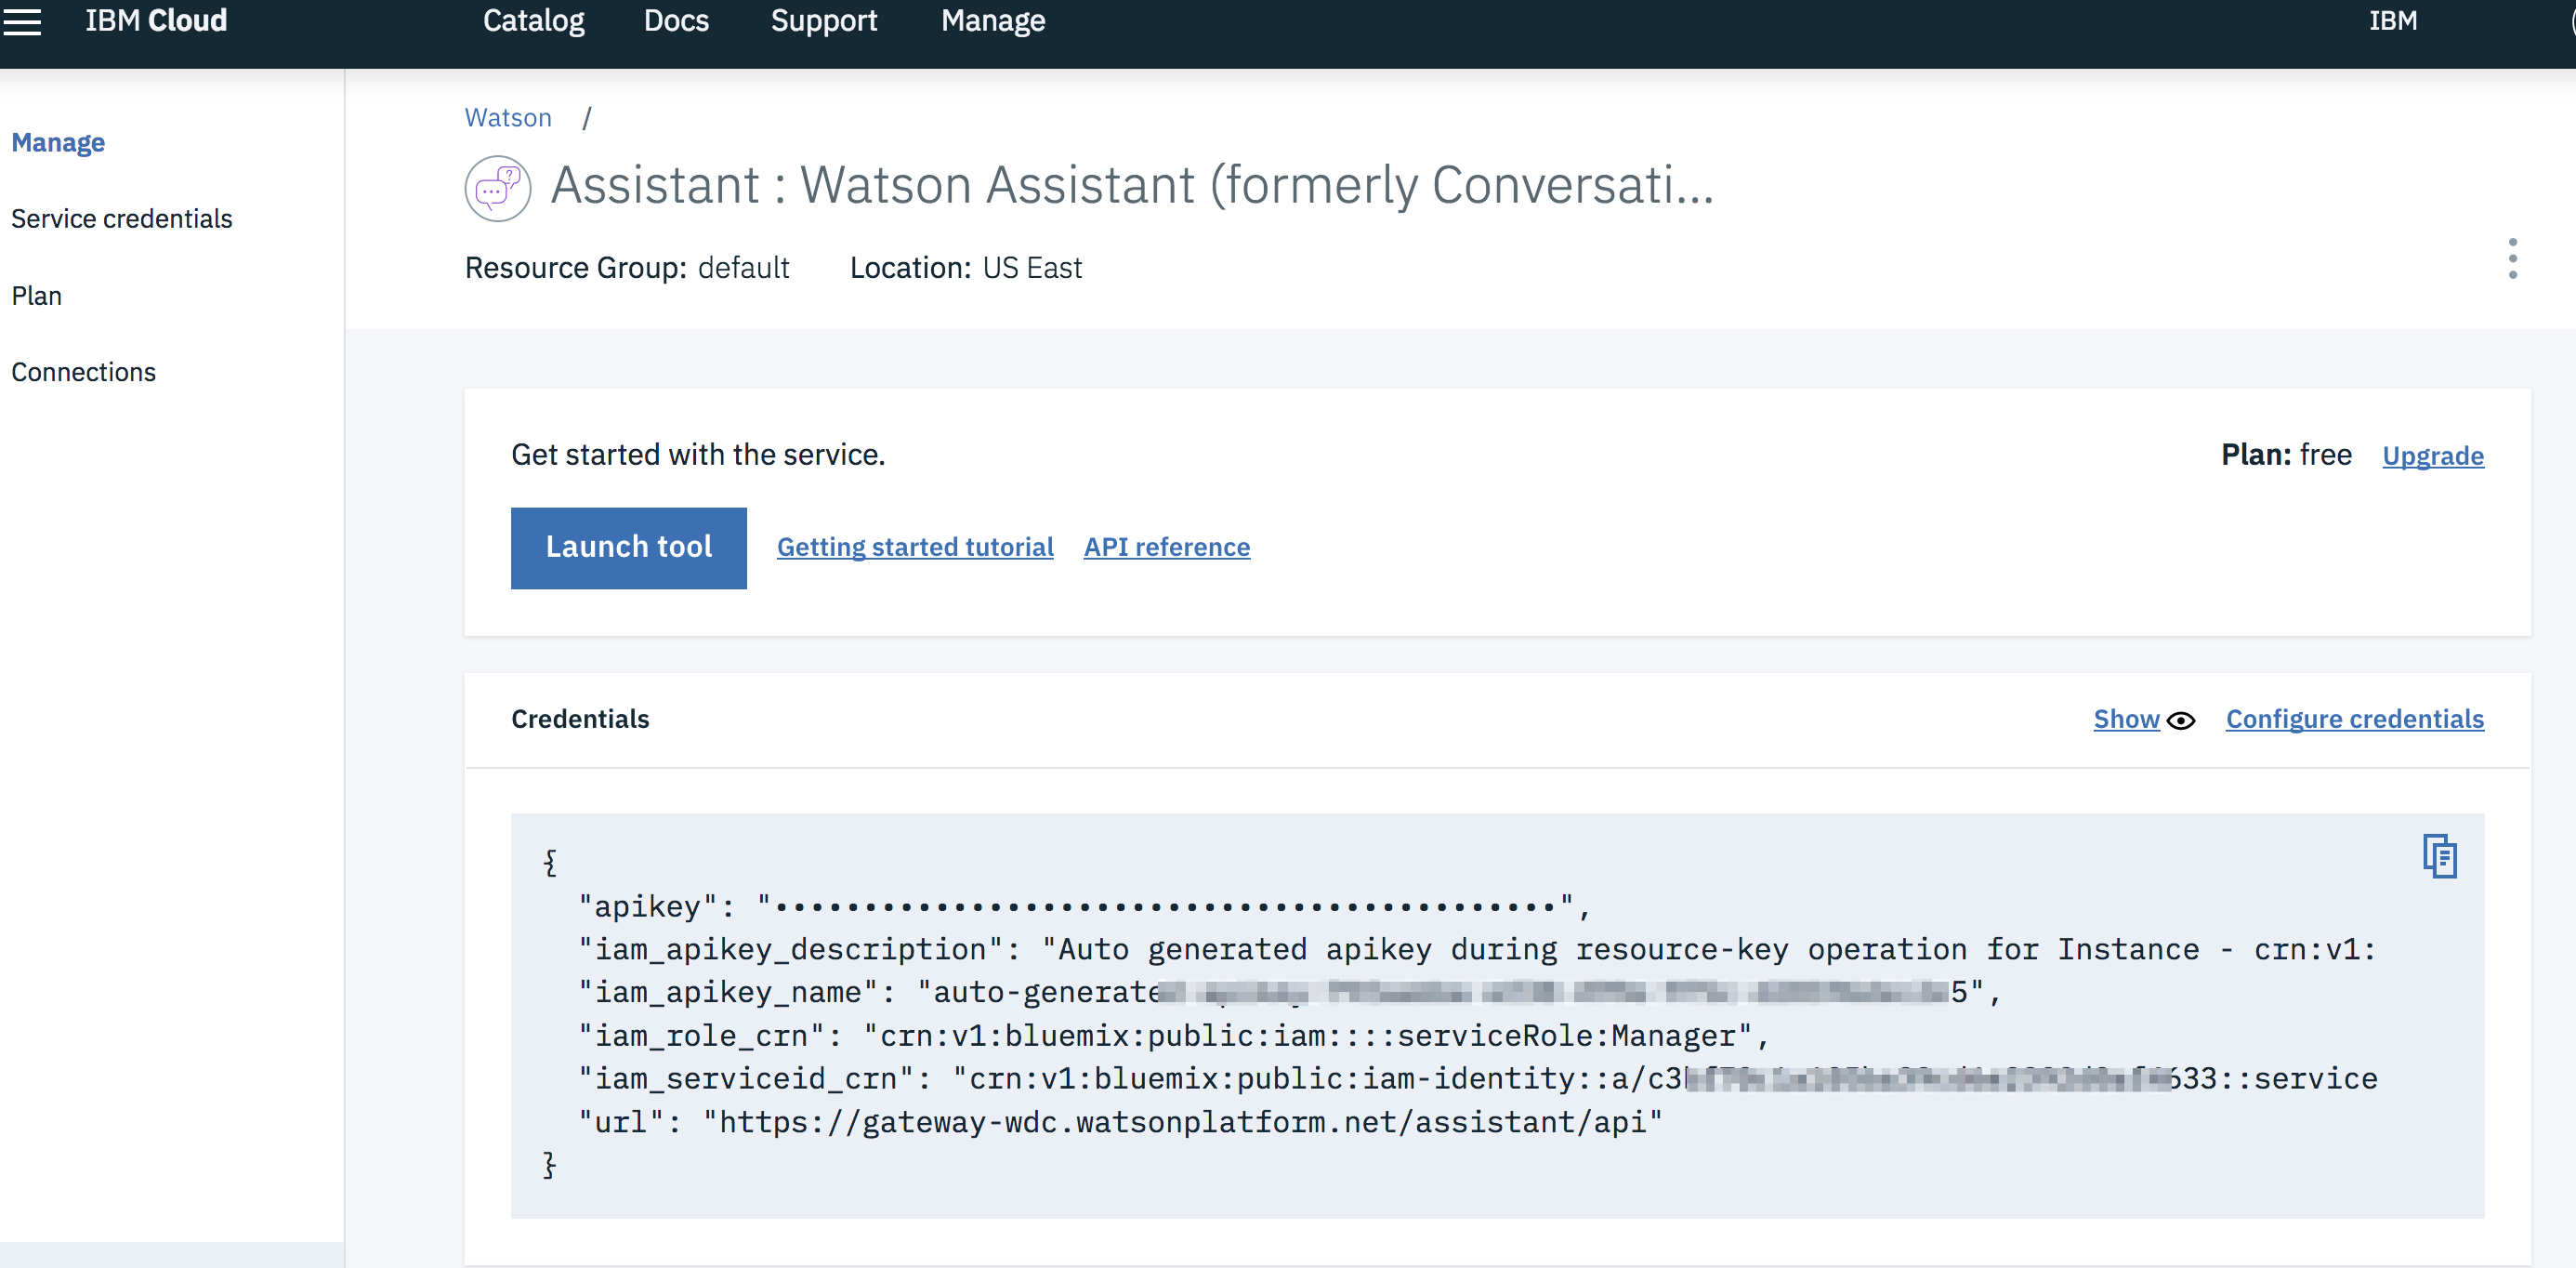
# If Assistant service is hosted on IBM Cloud, uncomment and use these variables for IAM Authentication
CONVERSATION_APIKEY=<put assistant IAM apikey here>
CONVERSATION_URL=<put assistant url here>
Provision on IBM Cloud Pak for Data
- Use the
URLfrom your Watson Assistant service details to set theCONVERSATION_URLvalue in the.envfile.

# If Assistant service is hosted on CP4D Cluster, uncomment and use these variables for CP4D Authentication
CONVERSATION_AUTH_TYPE=cp4d
CONVERSATION_AUTH_URL=<put cp4d url here>
CONVERSATION_AUTH_DISABLE_SSL=true
CONVERSATION_USERNAME=<put cp4d username here>
CONVERSATION_PASSWORD=<put cp4d password here>
CONVERSATION_URL=<put assistant url here>
CONVERSATION_DISABLE_SSL=trueCONVERSATION_AUTH_URL, CONVERSATION_USERNAME and CONVERSATION_PASSWORD are related to the URL and login credentials for accessing your IBM Cloud Pak for Data cluster.
If you used Deploy to IBM Cloud, the setup is automatic.
npm install
npm start
The application will be available in your browser at http://localhost:3000