


Contributors: Chris Molloy and Michael Wrana
This is a tutorial for using the L1nna laboratory's GPU computing cluster. It contains 8 Nvidia RTX6000s, each with 24GB of GDDR6 memory. The server is ideal for performing GPU-intensive computing tasks that wouldn't be possible on your local machine. Before you begin, please read the Queen's policy on Acceptable Use of Information Technology Resources.
- Server Access
- Jupyter Lab Docs
- Jupyter Notebook Docs
- Bash Introduction
- VSCode Introduction
- Conda Docs
- Conda Cheatsheet
- Tensorflow Guide
- PyTorch Guide
Once you have connected your GitHub to the server you will now see the Hub Control Panel. The Hub Control Panel is where you can initialize or terminate your session.
Before you can begin using your the server you must first specify the resources you need.
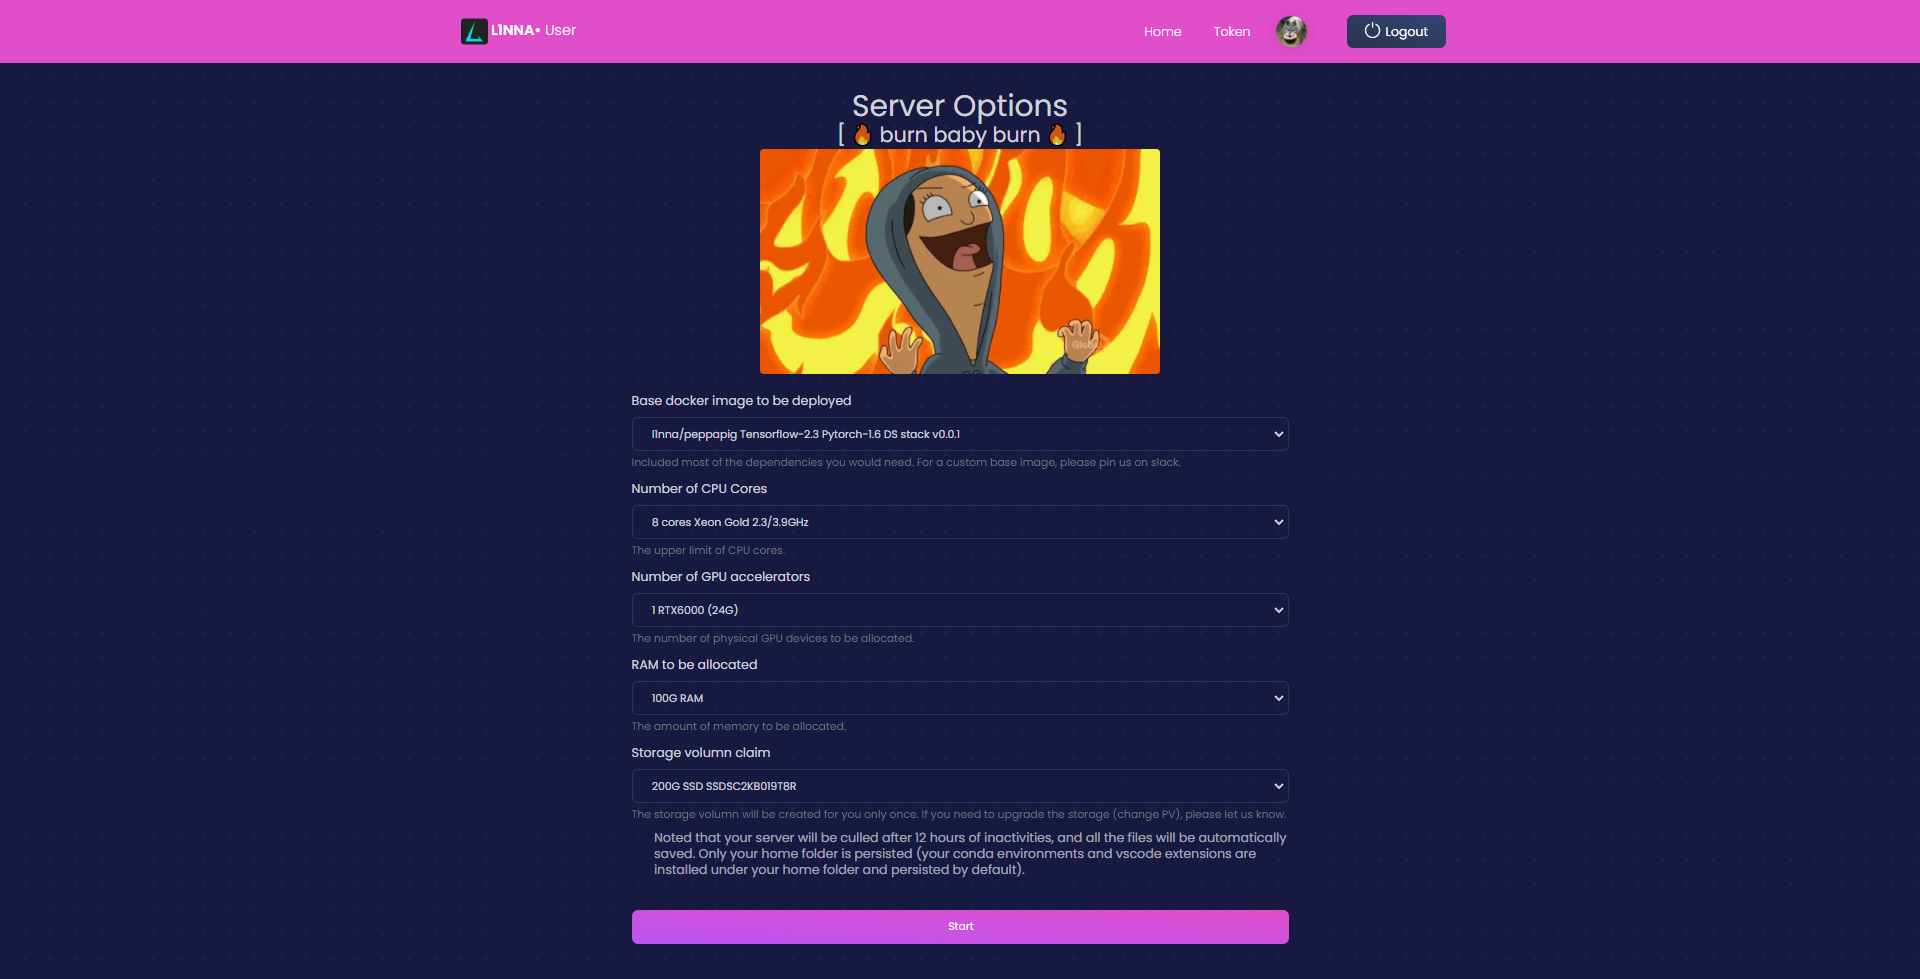
On your first startup of the server you will be allocated 200GB of storage. These 200GB will always be yours, so there is no need to worry about your work not being saved when you terminate your session. If you ever require more storage contact the server host.
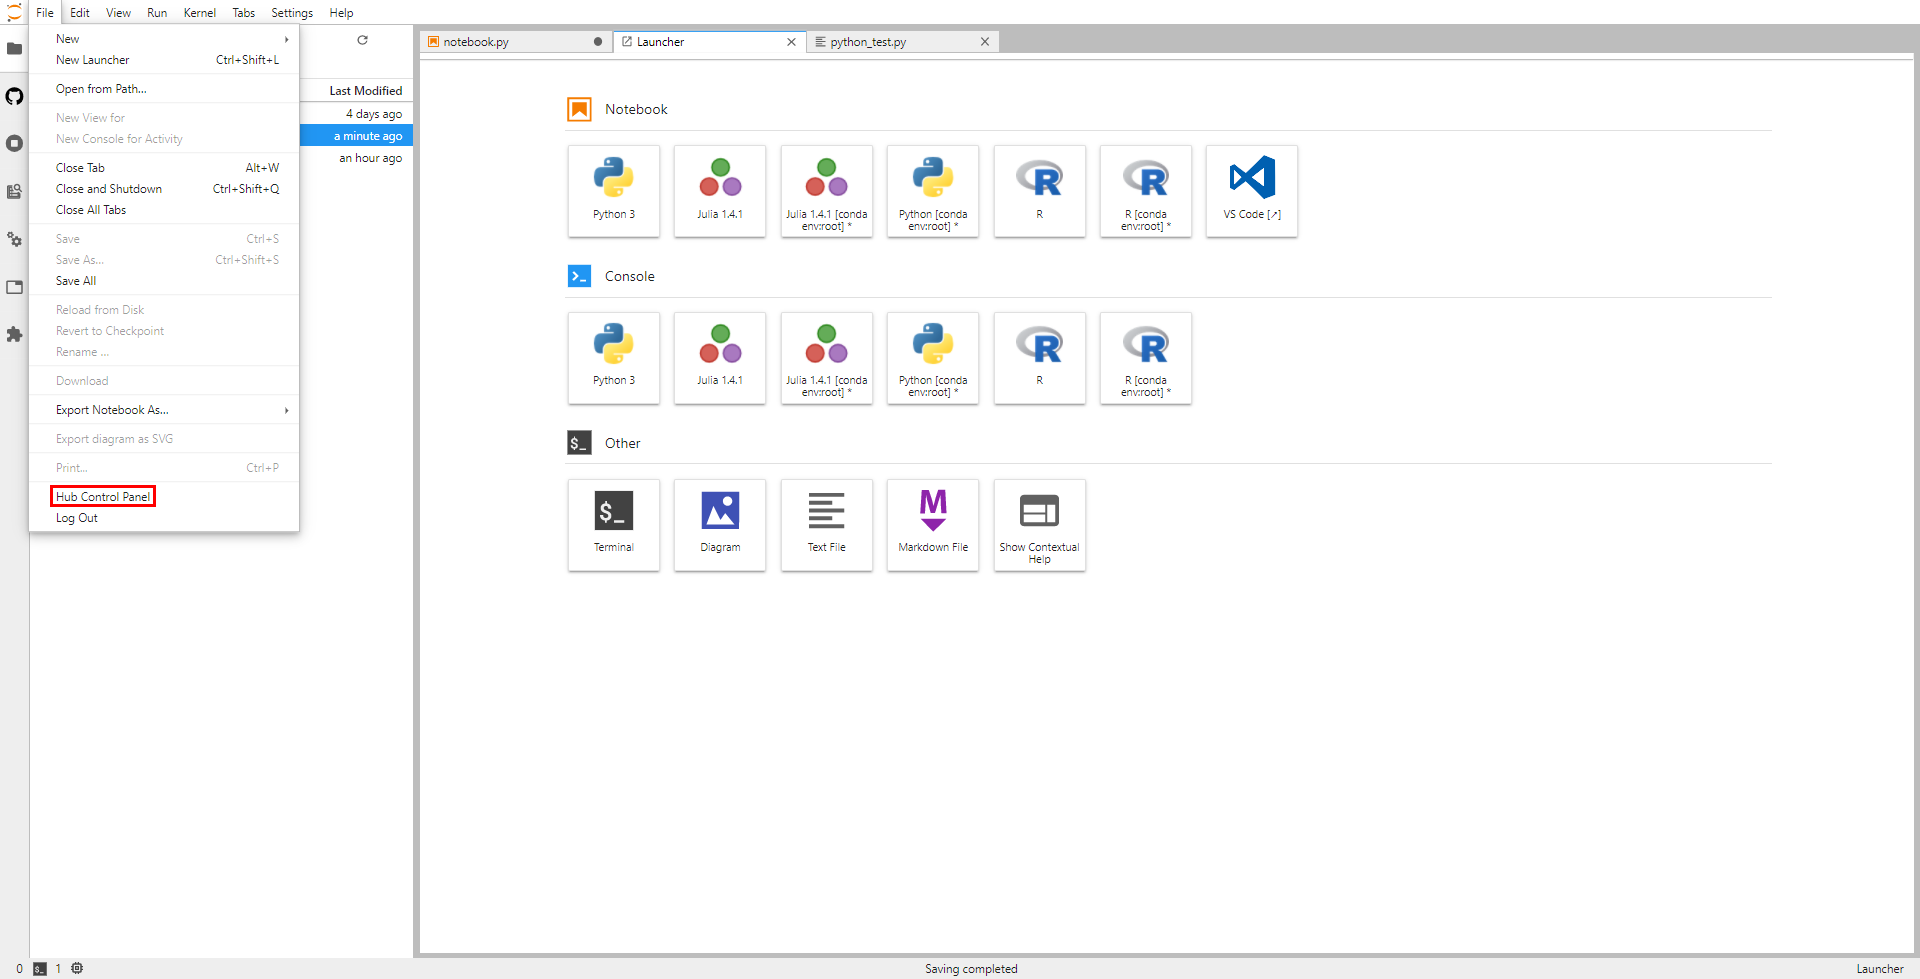
*IMPORTANT!* Closing your JupyterLab tab will not end your session and free up resources. You must go to File -> Hub Control Panel, then in the new tab click the "Stop My Server" button. All your files on the server will be automatically saved upon ending a session.
After 12 hours of inactivity your session will be terminated. All your files will be automatically saved to your allocated storage.
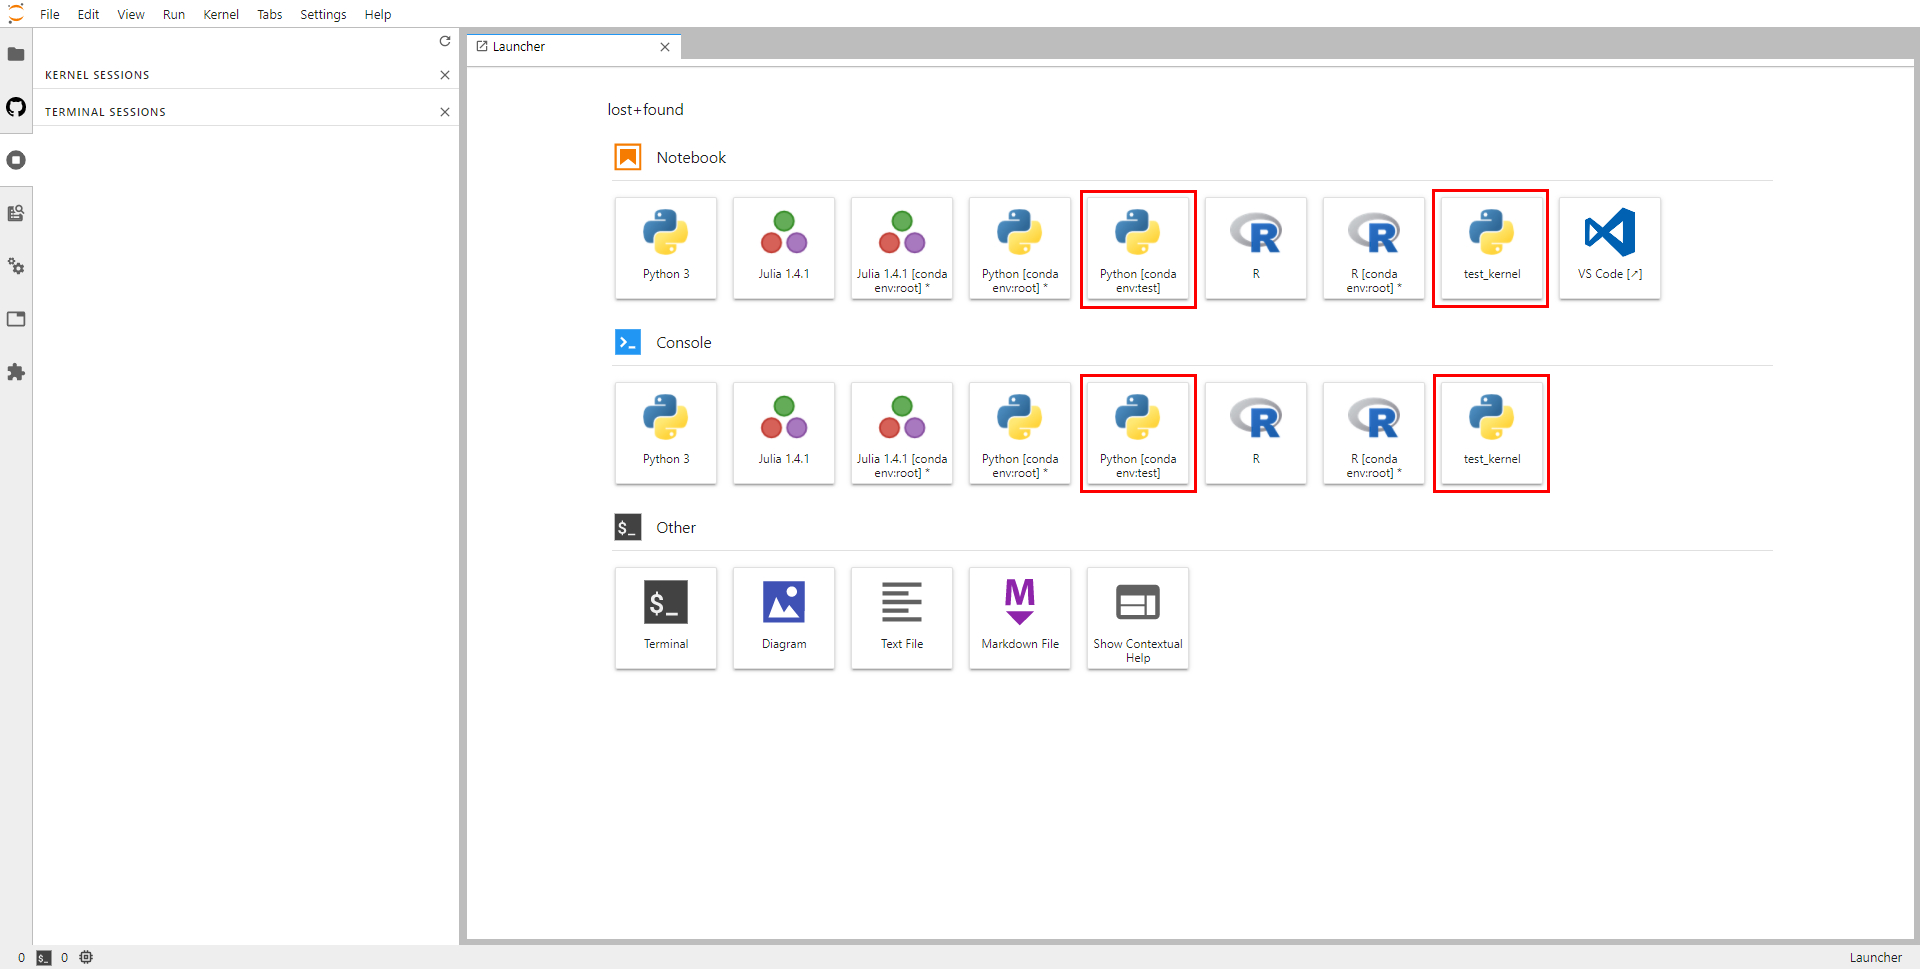
Once you have completed server initialization you will be connected to JupyterLab through the server.
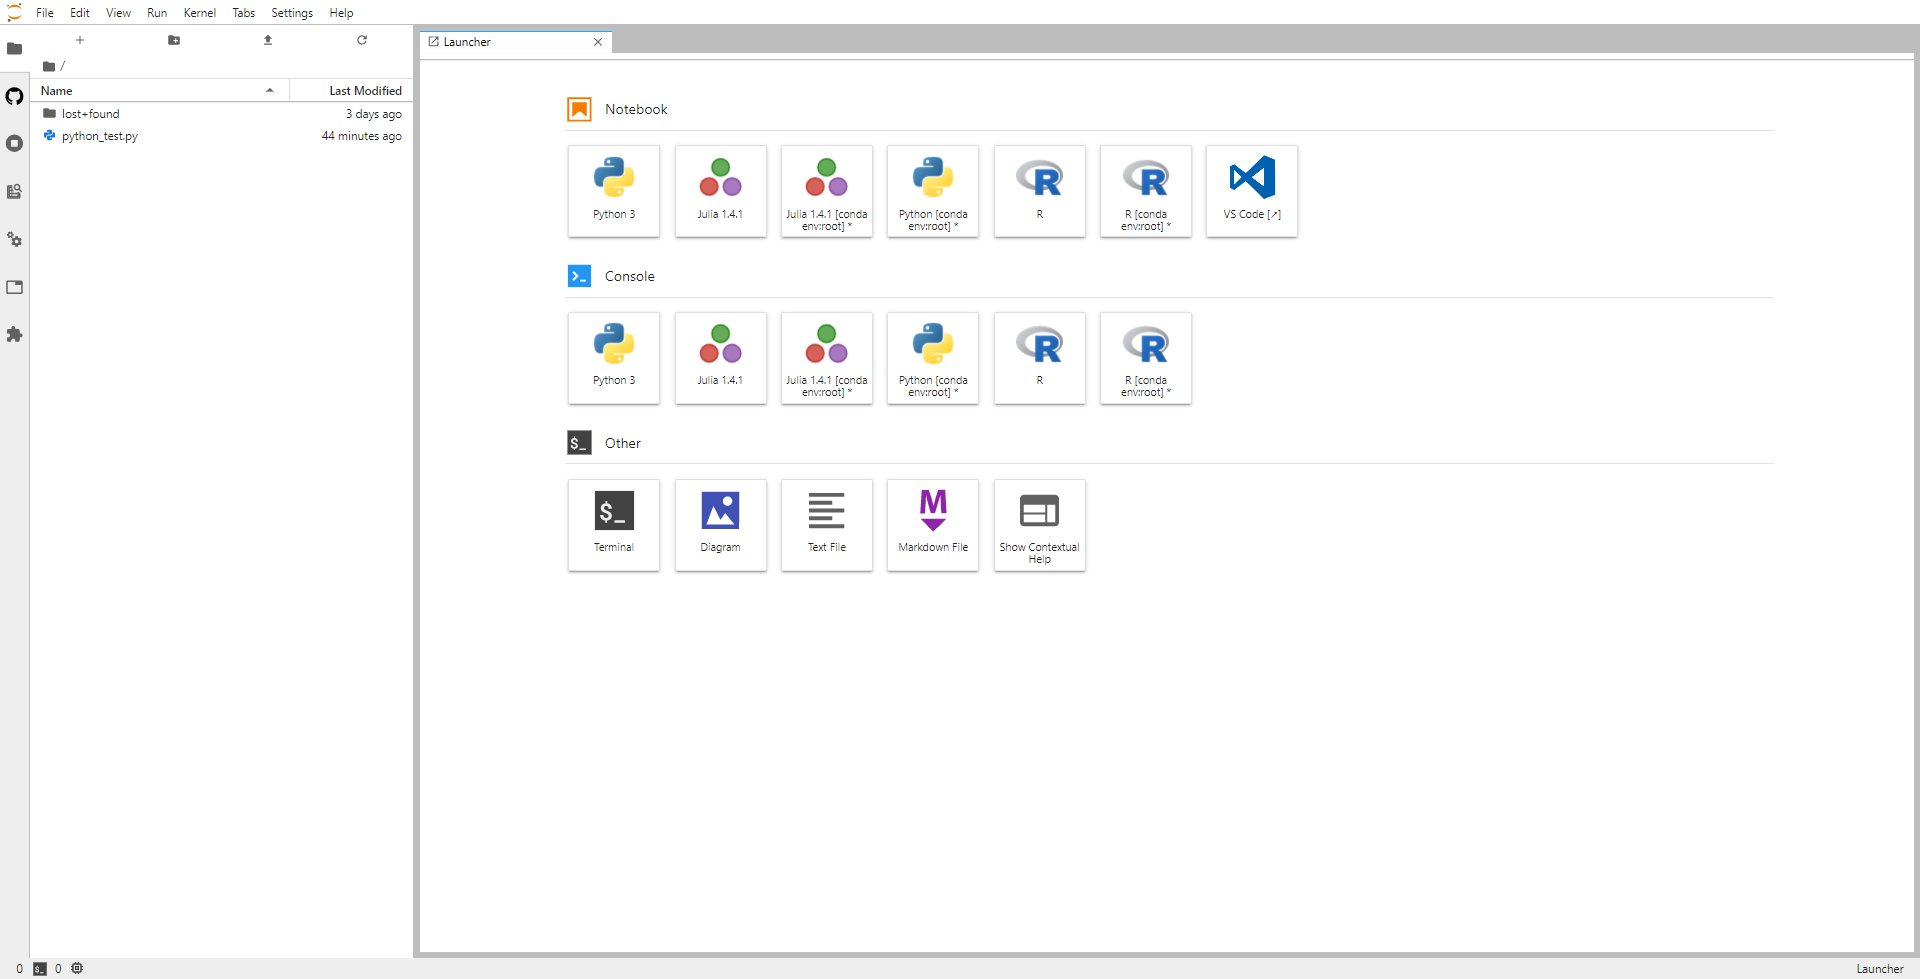
From the JupyterLab launcher you can easily create a Jupyter Notebook, console, terminal window, or VS Code instance. To re-open the launcher go to File -> New Launcher or type (⌘ / Ctrl) + Shift + L.
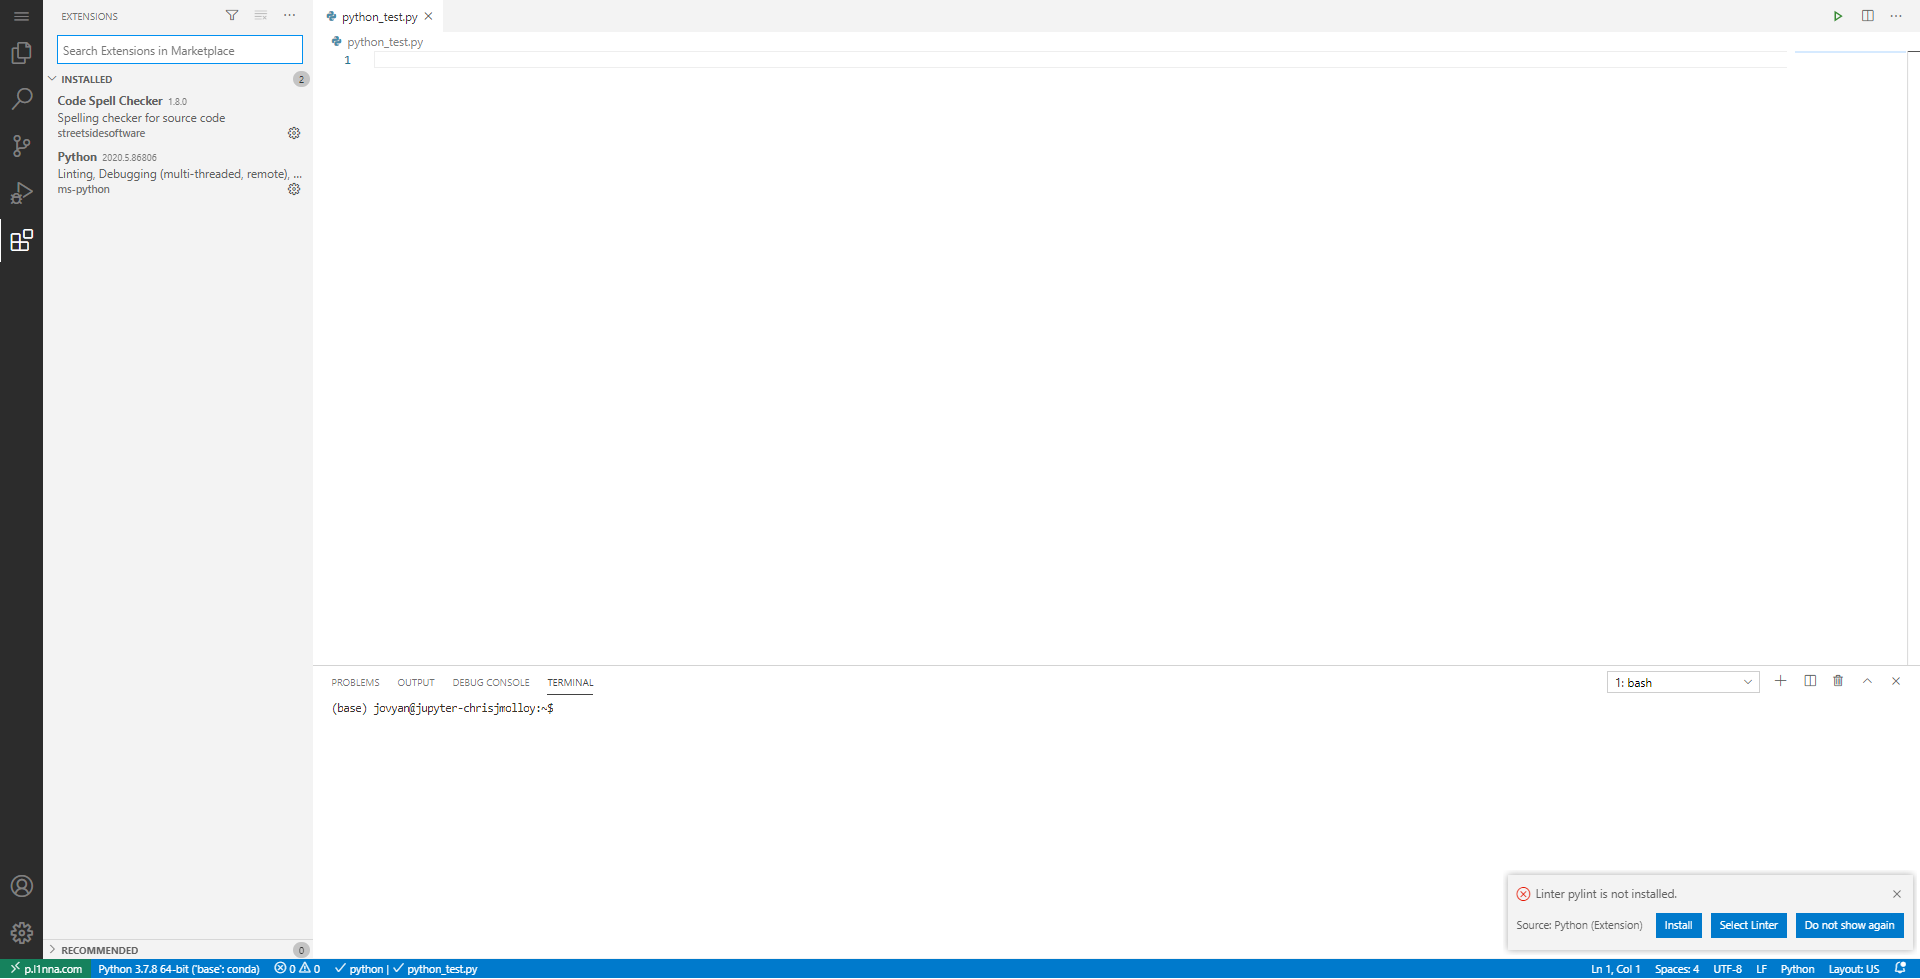
VS Code on the server works exactly like a local version, this includes the ability to add extensions. Your extensions and settings will be automatically saved in your server storage when your connection is terminated.
Here are some helpful extensions and themes that will make your time with VS Code more enjoyable. Go to the extensions tab on the leftmost column of VS Code to input these extensions for download.
ms-python.python- Python package (Highly recommended)eamodio.gitlens- GitHub extension (Highly recommended)streetsidesoftware.code-spell-checker- Code spell checkerchristian-kohler.path-intellisense- Path autocompleteesbenp.prettier-vscode- Code formattervscodevim.vim- Vim extension
These are some themes that you can install to personalize your VS Code:
onecrayon.theme-quietlight-vsc- light theme with a bit more color than VS Code default light themeeliverlara.andromeda- Dark themerobbowen.synthwave-vscode- Matches Cyberdeck aesthetic
Shortcut for changing your current theme: CTRL+K CTRL+T
To check if the GPUs are actually avaiable, you can open a terminal and issue:
nvidia-smi
This will show the utilization status of the attached GPU devices. If you want to keep monitoring the utilization, you can type:
nvidia-smi -i
Tensor flow and PyTorch are both part of the base python environment on the server. To ensure that both packages are correctly installed you can test a Python import statement. Note that after creating a new Conda environment, installing Tensorflow and PyTorch is required.
import tensorflow
tensorflow.__version__
to ensure Tensorflow has been installed, and
import torch
torch.__version__
to ensure Pytorch has been installed.
If both snippets return a version number then that package has been correctly installed.
The server comes with a default python environment that is not in Conda. This is the one that will be used in the JupyterLab terminal by default. If you install a package into this environment it will be saved in the ~/.local directory. This means that any packages you install here will also persist through a server restart.
~$ pip install --user pytest
~$ ls .local/lib/python3.7/site-packages/
magic.py  __pycache__  pytest  _pytest  pytest-6.0.1.dist-info  python_magic-0.4.18.dist-info
By default, all your new conda environments will be saved into your home folder. So that will be persisted even if you stop/restart your server. To activate an environment in JupyterLab terminal, you can:
source activate your_environment
This is the ONLY way it will work with the JupyterLab web terminal.
After creating a new Conda environment, you can create a quick-link on the JupyterLab launcher to create a Python terminal with the new Conda environment. First, activate your new Conda environment. Then install ipykernel into that new environment. Finally create a new kernel :
$ conda activate test
(test)$ conda install ipykernel
(test)$ ipython kernel install --user --name=<any_name_for_kernel>
(test)$ conda deactivate
Now, the a notebook for the new kernel should appear in your JupyterLab launcher after restarting JupyterLab.
If you decide you no longer want a Conda environment simply deleting it should remove the linked Jupyter notebook launcher. It it persists, however, you can type
jupyter kernelspec list
into the JupyterLab console to list avaliable kernels and remove the unwanted one with jupyter kernelspec uninstall unwanted-kernel
To access Conda directly from your terminal you can input:
source activate your_conda_env_here
Setting up an SSH key for your Github will provide you both with security and quality of live benefits.
- With an SSH key you will no longer need to login to your Github account on that machine
- The key is generated by a computer, making it much harder to crack than your normal human generated GitHub password :)
To setup an SSH key on p.l1nna simply follow these steps:
- Open the terminal from the JupiterLab Launcher and run the command:
ssh-keygen -t rsa -b 4096 -C "GitHubaccEmailHere"
-
This will generate an SSH key specifically for your email.
-
Put a password on your ssh key when prompted.
- Ensure that your SSH key has successfully generated
ls .ssh/
The output should be:
id_rsa id_rsa.pub
- (b) Ensure that you have the correct credentials for your SSH key.
chmod 600 .ssh/id_rsa
- Copy your SSH key to your clipboard by copying the output from the command:
cat .ssh/id_rsa.pub
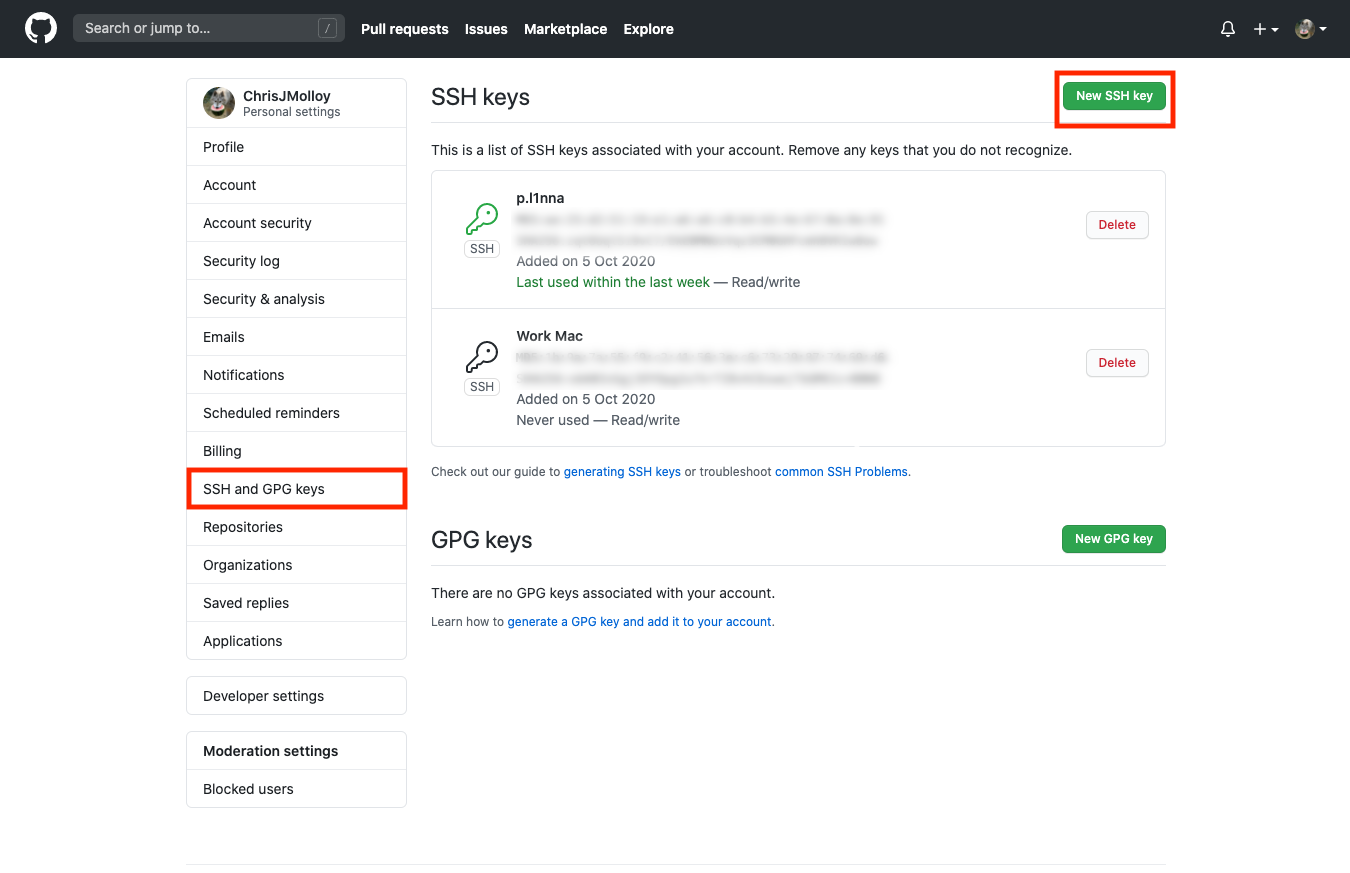
- Go to your GitHub account settings and add your newly generated SSH key to the SSH and GPG keys section.
- You're Done! You should now be able to run GitHub from JupiterLab without the need to login to your GitHub account.
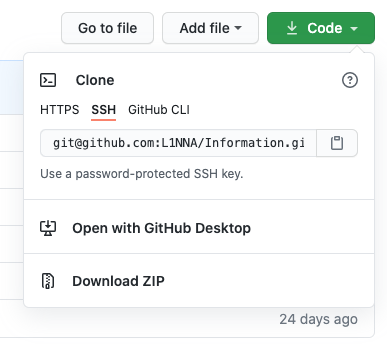
From now on ensure that when you run a git clone command you copy the SSH link from the repository you are cloning.
When asked if you want to continue connecting type yes.
If you install a python package normally it will be uninstalled when you end your server session.
To ensure that your python packages stay installed on your server account use --user when installing a package.
Example:
pip install --user pytest