This page describes the predefined sensors and their parameters.
A sensor is attached to a vehicle by adding an XML block with the tag name <sensor>.... </sensor> inside:
- the
<vehicle>...</vehicle>that instantiates a particular robot, or - the
<vehicle:class>to have all vehicles of that type with the same sensors installed.
All sensors, via the common base C++ class mvsim::SensorBase, have the common parameters below, with their meaning explained in the XML comments.
<!--
 ``class``: One of the registered sensor classes.
 ``name``: A name for the sensor, must be unique for each robot. If not provided,
           an automatic name will be generated. The name is important since it is
           used when publishing the sensor ROS or ZMQ topics.
-->
<sensor class="camera" name="camera1">
    <!-- Period (in seconds) between each sensor observation.
         Mathematical expressions can be used with $f{} to specify rates in Hz.
     -->
    <sensor_period>0.1</sensor_period>
    <!-- <sensor_period>$f{1/20.0}</sensor_period> -->

    <!-- See notes below -->
    <visual>
        ...
    </visual>

    <!-- Publish sensor on MVSIM ZMQ topic? (Note, **not** related to ROS at all) -->
    <!-- <publish>
        <publish_topic>/${PARENT_NAME}/${NAME}</publish_topic>
    </publish> -->
</sensor>
The <visual> tag is explained in the world_visual_object, and the <publish> tag in world_simulable, since those tags are common to sensors and many other entities.
Also, note that you can use the XML-level variables ${PARENT_NAME} and ${NAME} anywhere inside the sensor definition tag to refer to the parent vehicle and own sensor names, respectively.
Each sensor class has its own additional parameters, listed in the next sections.
To use in your robot, copy and paste this inside a <vehicle> or <vehicle:class> tag.
<include file="$(ros2 pkg prefix mvsim)/share/mvsim/definitions/helios-32-FOV-26.sensor.xml"
  sensor_x="0.10" sensor_z="0.30"
  sensor_std_noise="0.005"
  sensor_name="lidar1"
  sensor_rate="10.0"
/>
All parameters available in helios-32-FOV-26.sensor.xml
File: mvsim_tutorial/definitions/helios-32-FOV-26.sensor.xml
../definitions/helios-32-FOV-26.sensor.xml
To use in your robot, copy and paste this inside a <vehicle> or <vehicle:class> tag.
<include file="$(ros2 pkg prefix mvsim)/share/mvsim/definitions/helios-32-FOV-31.sensor.xml"
  sensor_x="0.10" sensor_z="0.30"
  sensor_std_noise="0.005"
  sensor_name="lidar1"
  sensor_rate="10.0"
/>
All parameters available in helios-32-FOV-31.sensor.xml
File: mvsim_tutorial/definitions/helios-32-FOV-31.sensor.xml
../definitions/helios-32-FOV-31.sensor.xml
To use in your robot, copy and paste this inside a <vehicle> or <vehicle:class> tag.
<include file="$(ros2 pkg prefix mvsim)/share/mvsim/definitions/helios-32-FOV-70.sensor.xml"
  sensor_x="0.10" sensor_z="0.30"
  sensor_std_noise="0.005"
  sensor_name="lidar1"
  sensor_rate="10.0"
/>
All parameters available in helios-32-FOV-70.sensor.xml
File: mvsim_tutorial/definitions/helios-32-FOV-70.sensor.xml
../definitions/helios-32-FOV-70.sensor.xml
To use in your robot, copy and paste this inside a <vehicle> or <vehicle:class> tag.
<include file="$(ros2 pkg prefix mvsim)/share/mvsim/definitions/ouster-os1.sensor"
  sensor_x="0.10" sensor_z="0.30"
  sensor_std_noise="0.005"
  sensor_name="lidar1"
  sensor_period_sec="0.10"
/>
All parameters available in ouster-os1.sensor.xml
File: mvsim_tutorial/definitions/ouster-os1.sensor.xml
../definitions/ouster-os1.sensor.xml
To use in your robot, copy and paste this inside a <vehicle> or <vehicle:class> tag.
<include file="$(ros2 pkg prefix mvsim)/share/mvsim/definitions/velodyne-vlp16.sensor"
  sensor_x="0.10" sensor_z="0.30"
  sensor_std_noise="0.005"
  sensor_name="lidar1"
  sensor_rpm="600"
/>
All parameters available in velodyne-vlp16.sensor.xml
File: mvsim_tutorial/definitions/velodyne-vlp16.sensor.xml
../definitions/velodyne-vlp16.sensor.xml
A regular RGB (color) pin-hole camera (without lens distortion at present). The user must provide the camera intrinsic and extrinsic parameters:
To use in your robot, copy and paste this inside a <vehicle> or <vehicle:class> tag.
<include file="$(ros2 pkg prefix mvsim)/share/mvsim/definitions/camera.sensor.xml"
    sensor_x="0.1" sensor_y="0.0" sensor_z="0.8"
    ncols="800"    nrows="600"
    cx="$f{800/2}" cy="$f{600/2}"
    fx="800" fy="800"
    sensor_period_sec="$f{1/20.0}"
    clip_min="0.02" clip_max="300"
    sensor_visual_scale="0.2"
/>
All parameters available in camera.sensor.xml
File: mvsim_tutorial/definitions/camera.sensor.xml
../definitions/camera.sensor.xml
An inertial sensor that measures (in the current version of MVSim):
- 3D linear proper acceleration.
- 3D angular velocity.
To use in your robot, copy and paste this inside a <vehicle> or <vehicle:class> tag.
<include file="$(ros2 pkg prefix mvsim)/share/mvsim/definitions/imu.sensor.xml"
    sensor_x="0.0" sensor_y="0.0" sensor_z="0.0"
    sensor_period_sec="$f{1/200.0}"
/>
All parameters available in imu.sensor.xml
File: mvsim_tutorial/definitions/imu.sensor.xml
../definitions/imu.sensor.xml
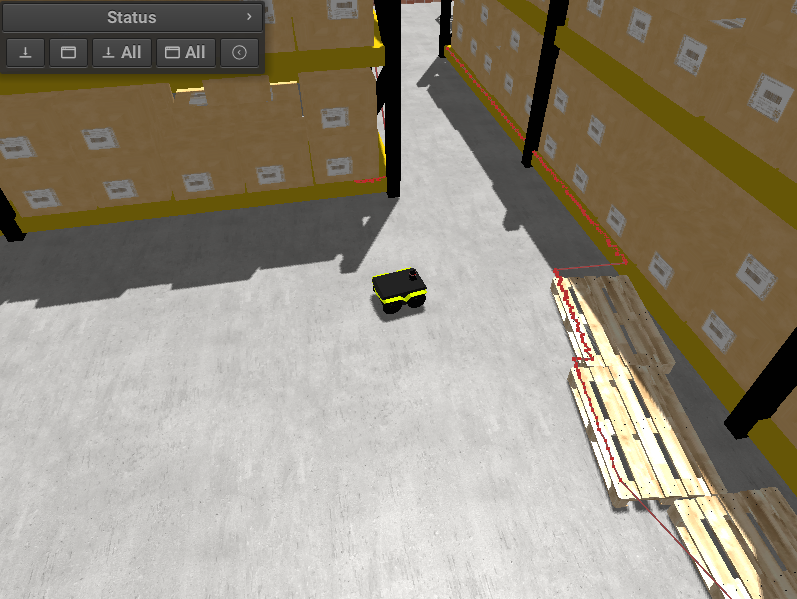
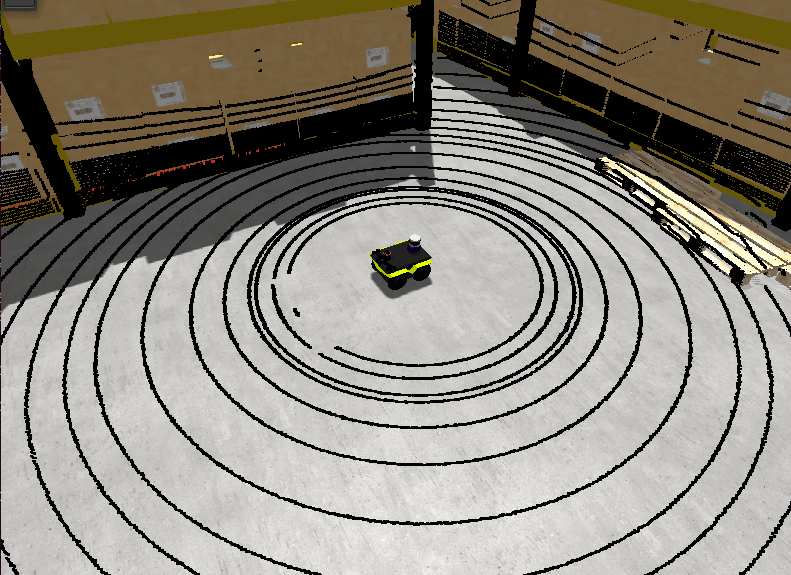
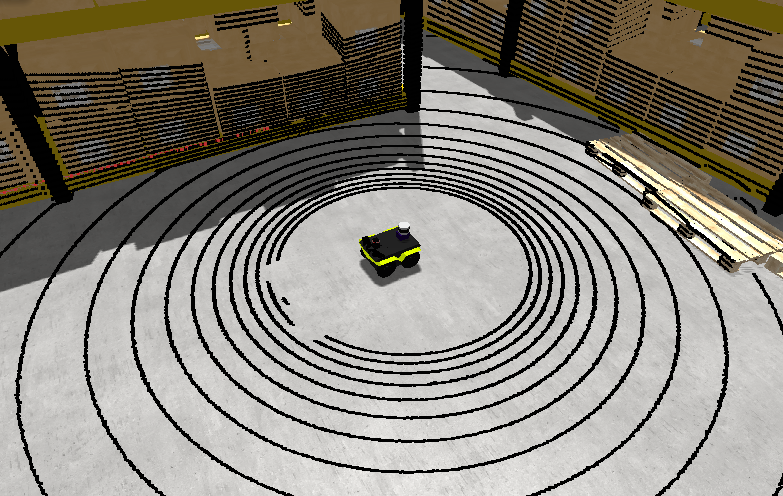
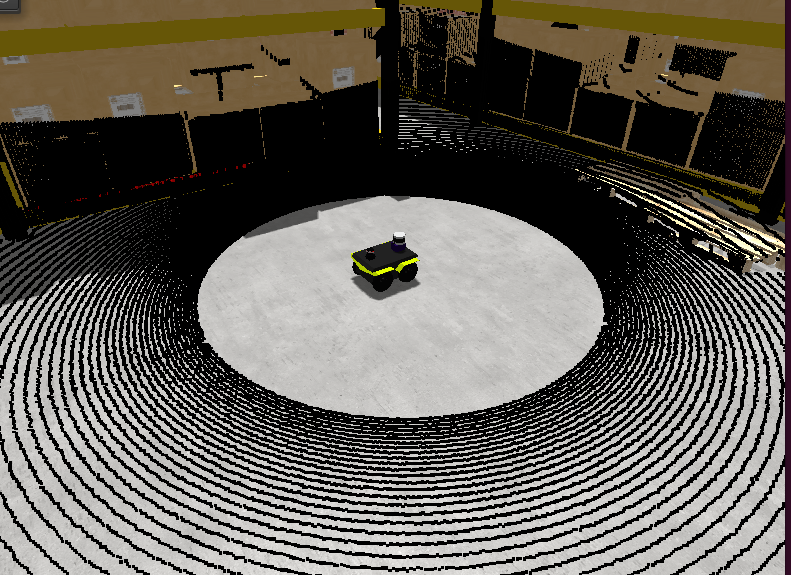
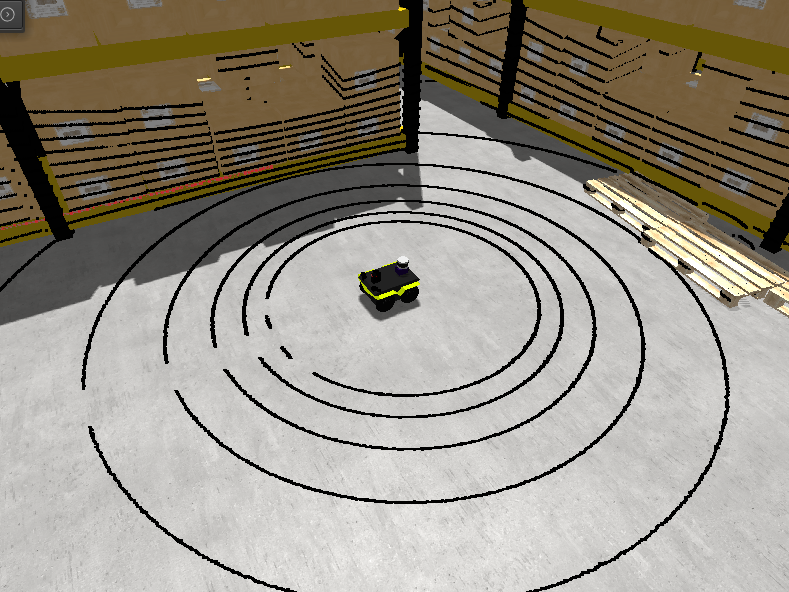
"Classical" lidars that scan obstacles in a plane only. These includes are available for these sensors:
To use in your robot, copy and paste this inside a <vehicle> or <vehicle:class> tag.
Important parameters:
raytrace_3d=false(DEFAULT), Very fast simulation using approximate 2D shapes of world elements.raytrace_3d=true: It uses GPU-based raytracing for exact distance calculation to world elements of arbitrary 3D shapes.
<include file="$(ros2 pkg prefix mvsim)/share/mvsim/definitions/lidar2d.sensor.xml"
    sensor_x="0.2" sensor_y="0" sensor_z="0.50" sensor_yaw="0"
    sensor_period_sec="0.10"
    sensor_nrays="181"
    raytrace_3d="true"
    fov_degrees="270"
    sensor_name="scanner1"
>
All parameters available in lidar2d.sensor.xml
File: mvsim_tutorial/definitions/lidar2d.sensor.xml
../definitions/lidar2d.sensor.xml
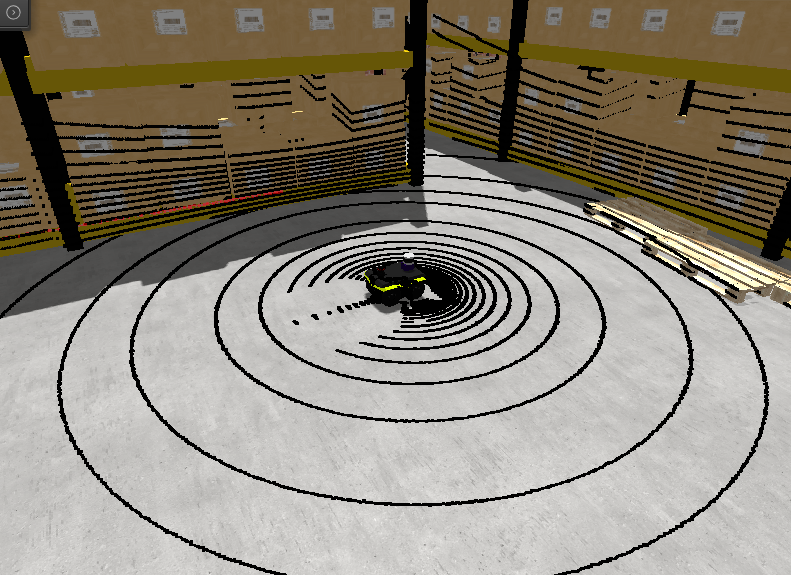
Just like the generic Lidar above, but with a custom visualization for this particular commercial model.
To use in your robot, copy and paste this inside a <vehicle> or <vehicle:class> tag.
Important parameter: See notes on raytrace_3d above.
<include file="$(ros2 pkg prefix mvsim)/share/mvsim/definitions/rplidar-a2.sensor.xml"
    sensor_x="0.2" sensor_y="0" sensor_z="0.50" sensor_yaw="0"
    sensor_period_sec="0.10"
    sensor_nrays="181"
    raytrace_3d="true"
    fov_degrees="270"
    sensor_name="scanner1"
>
All parameters available in rplidar-a2.sensor.xml
File: mvsim_tutorial/definitions/rplidar-a2.sensor.xml
../definitions/rplidar-a2.sensor.xml
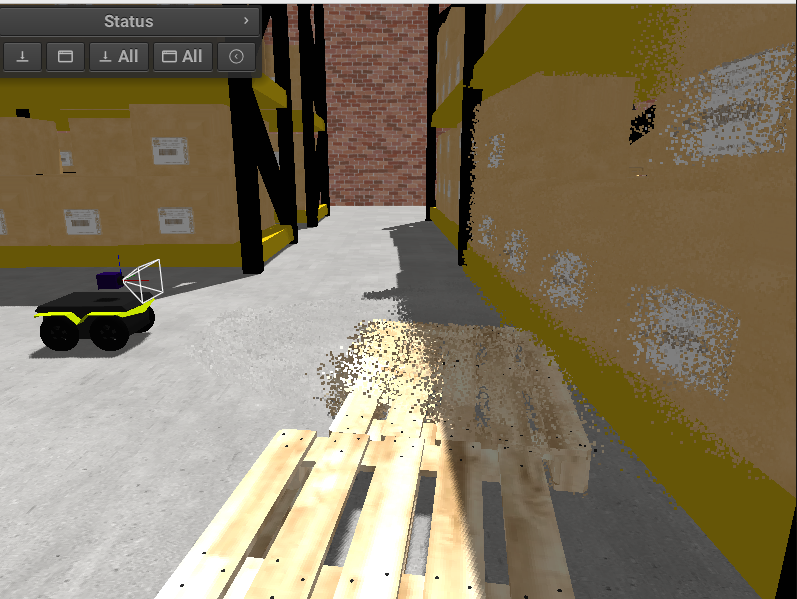
To use in your robot, copy and paste this inside a <vehicle> or <vehicle:class> tag.
<include file="$(ros2 pkg prefix mvsim)/share/mvsim/definitions/rgbd_camera.sensor.xml"
  sensor_x="0.2" sensor_y="0"  sensor_z="0.29"
  sensor_period_sec="0.10"
  show_3d_pointcloud="true"
/>
All parameters available in rgbd_camera.sensor.xml
File: mvsim_tutorial/definitions/rgbd_camera.sensor.xml
../definitions/rgbd_camera.sensor.xml