Simple and free demo written in ASM meant for all classic Amiga computers - features copperlist, blitter and mod playing instructions
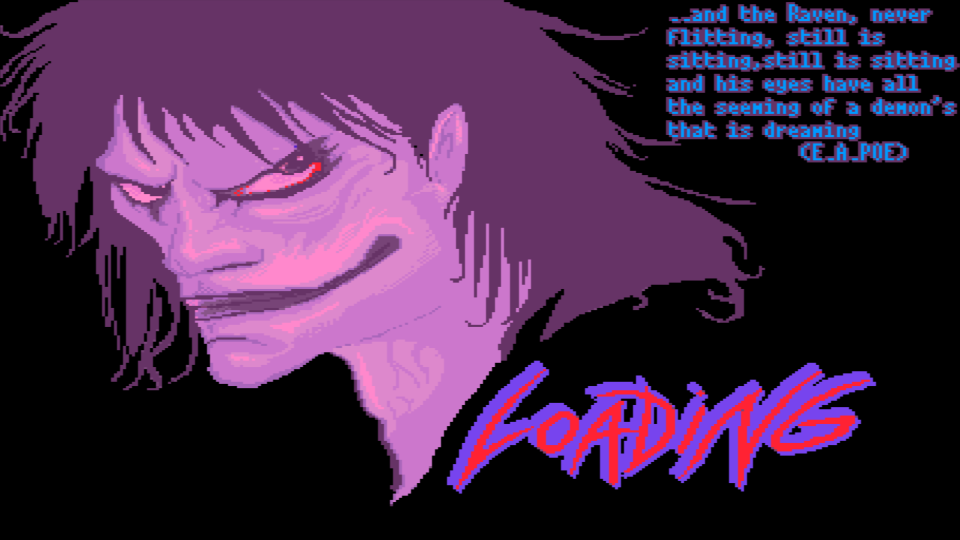

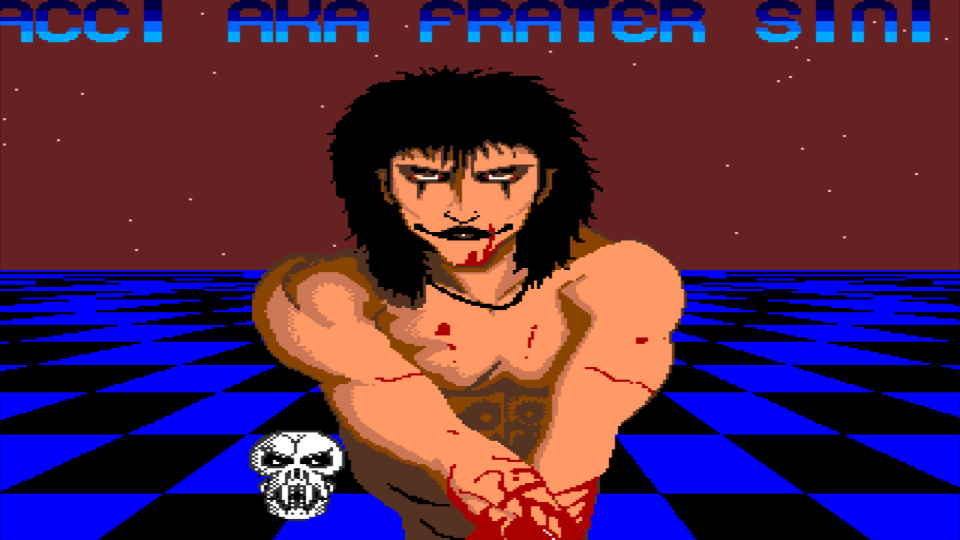

The demo contains 3 different images, the first one is a static picture of a bleeding man, the second is a banner with "the crown" text on it moving endlessly up and down (from version 1.5 there's also a checkboard on background), the third is a skull wandering through a precalcuated path on the screen.In addition there's a splashscreen image (only adf version) and a crow screen for the credit scene.
The skull is made up of 2 sprites (HARDWARE SPRITE0 and SPRITE1) drawn side by side, this is mandatory since Amiga hardware allows sprites to have only 16 pixel width. During the demo 2 mod song is also played, the first one is titled "Proud to be neanderthal" and it's used on the first part of the demo, the second one (fordentino) act as a background music for the ending credit scene. Both mods were released years ago by Fabio Bovelacci (aka Frater Sinister).
This demo comes in 2 different version, the first (file the_crows.s) uses a single playfield mode (no more developed), the second (file the_crows_dual_pf.s) uses a dual playfield mode. In the following paragraphs I will explain how I did it and the main pros and cons of each version.
In single playfield mode the bleeding man is a 16 color image stored accross bitplanes 1,2,3 and 4.
The banner is stored on bitplane 5, for this reason it must be one color only (+ one color for transparency).
When the banner overlays the bleeding man a simple trick is performed to make you believe It's going under: the palette from color 1-15 is replicated into the 17-31 palette registers. In this way the same color is always applied, no matter if the banner is overlaying or not. For example, assuming this palette:
- Color 0 - Background (whatever)
- Color 1 - Black (the bleeding man's hair)
- Color 16 - Red (the banner color)
- Color 17 - Black (the belleding man's hair replicated)
When the banner overlays the bleeding man's hair whe have bitplane 1 = 1, bitplanes from 2 to 4 = 0 and the fifth bitplane (the banner text) = 1, so we get this binary sequence: "10001" that in decimal is 17.
- If the text is not overlaying, with the same calculation we get "00001" (decimal 1), so in both cases the black color is used, as a result, the bleeding man's hair will always be on top.
- If the text overlays an empty region of the bleeding man (where there is a transparency), color 16 is used.
You will notice that the skull will scroll horizontally from left to right and back and not vertically.This is because the sprites share their color palette with the playfields from color 17 to 31. In the code you will find this instruction:
dc.w $4a07,$FFFE ; WAIT - wait for line 4a (under the skull sprite)
so, above line 4a the palette contains the apprpriate skull colors white gray black, below the forementioned palette duplication is restored.
If you want to print the banner on top of the bleeding man instead of behind there is a very interesting undocumented feature that lets you do it very easily. Just change this instruction
dc.w $104,$0009
with
dc.w $104,$0039
This is an illegal priority value for dff104 (BPLCON2) on bits PF2P, but will force color 16 to be printed for each turned on bit in the fifth bitplane no matter what's on the previously 4. This hack works only on NON AGA Machines with 5 bitplanes activated.
The dual playfield mode version of this demo is very neat and clean. Palette duplication trickery is no more necessary since we can assign a dedicated palette for the bleeding man foreground image and another distinct palette for the background banner. Unfortunately we only have 3 bitplanes for each playfield, this means we have to decrease the palette of the bleeding man from 16 to 8 (7 colors and one reserved for transparency). On the other hand we unlock more colors for the banner: we now have up to 7 colors to play with and we can make some nice color transitions. Another benefit of the dual playfield mode is that now we have palette space for the skull sprite which is now free to move anywere without changing his own color. This version plays the proud2bneanderthal mod file by Frater Sinister, check out his other excellent mod files at https://modarchive.org/index.php?request=view_artist_modules&query=69458
Each versions of this demo use the blitter to animate the skull's jaw. The banner scrolling routine act also like a timer changing the skull image each time the playfield reaches the top or the bottom of the screen. The dual playfield version also features a right to left scrolltext with greetings to my friends. The scrolltext uses the blitter shift feature to copy data from a portion of the second playfield , the same data is then pasted over left shifting all the bits of one position and maskerading the most left bits with zero. Every 16 copy and paste operations a new letter is blitted to the screen.
The demo takes advantage of hardware sprites: the first 2 sprites are used to display a skull. The skull movements coordinates are always precalculated and stored at TABX and TABY address. In the single playfile mode version only TABX is used since the sprite must say always at the top of the screen. In the dual playfield mode he skull follows a sinusoidal path with f(x) = 80sin((1/-45.8599)x)+130. The dual playfield mode features also a background starfield, this is achieved recycling 127 times the third sprite register which contains only one bit set.The stars are gathered together into 3 groups, each one is characterized by a different speed: low, medium and high.
From version 1.5 there's also a checkboard taking the scene on the background of the demo, it appears after that the banner has reached the top 10 times. The checkboard is stored on even bitplanes (playfield 2) in this way:
- bitplane 2 : set to zero
- bitplane 4 : contains the check.iff (2 colors raw version)
- bitplane 6 : filled with 0 for the first 128 rows and with 1 for the second 128 rows, this is required to show transparency on the top half of the screen and to show the checkboard without transparency on the bottom half.
The checkboard effect is then achieved in copperlist using the wait instruction: then the raster position reaches some pre-calculated vertical position, the colors are swapped. In order to achieve the movement effect we change the wait instructions on the copperlist, the new values are stored in the BufHL buffer.
BufHL is a preallocated 64*26 memory portion and it is initialized by the initCheckerH routine. Each time MovChecker routine is excuted, it searches the new wait values within BufHL according to posChecker which contains the current position of the checkboard.
The MovChecker routine is also responsible for color swapping when the 64 times cycles has ended, colors are stored in the CheckerColTab buffer.
The checkboard move instructions on this demo are a modified version of an old CBC cracktro of the game "Heroes of the Lance" written by Freddy (a Frenchman asm programmer who apparently lives near Versailles). The vertical checkboard was drawn by Dr. Procton.
At the very beginning of the demo, the crowman and the banner fade from black to theirs real colors in 16 phases, each phase is executed every 7 frames.
Each component of the RGB color is divided by 16 and multiplied by a counter from zero (black) to 16 (full original color). The fade in colors involved are from color 1 to 7 (first playfield) and from 9 to 15 (second playfield).
The fade in effect are calculated by FadeInBitplane1 and FadeInBitplane2 routines.
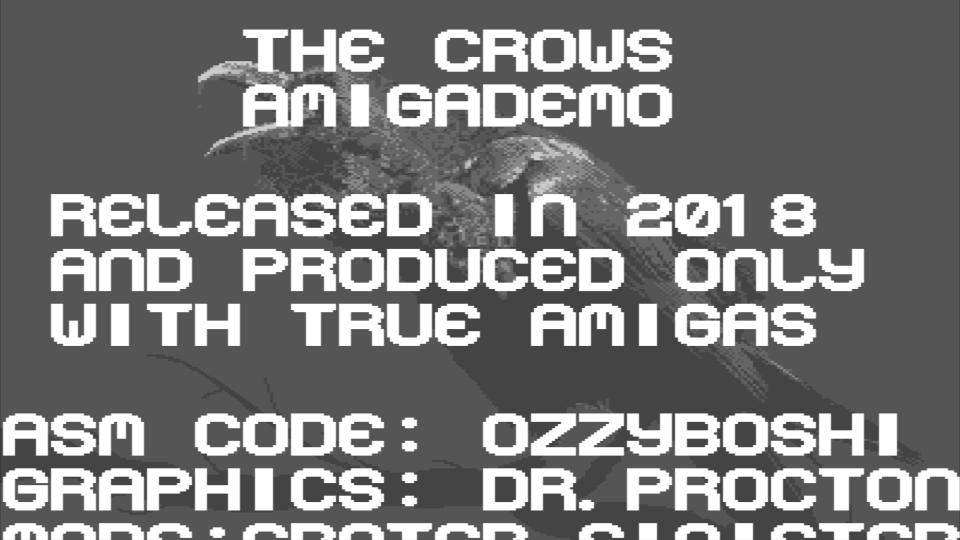
The demo ends with a credit scene, nothing complicated here, dual playfield is always ON, on the background there is an image of a crow, on the foreground some text copied from memory to the front playfield.
The pointer of the playfield is always increased giving the illusion of text crolling towards the top of the screen.
The dual playfield version of this demo is released in adf version, ready to be written into a regular DD floppy disk. The adf version displays an additional splash screen while loading the demo to entertain the audience. The splash screen shows the image of a bloody 1.3 Workbench screen with some funny text on it.
All the assets (art pictures and music) provided with this demo are stored under the directory asset and were created by Stefano Briccolani. The assembly code, written by me, is strongly inspired from the Ramjam italian course freely downloadable at http://corsodiassembler.ramjam.it/
There are a lot of ways to run this demo:
- Open the_crows.s (or the_crows_dual_pf) for the dual playfield version) in your devpac assembler and assemble/run it.
- Run directly the_crows (or the_crows_dual_pf) executable file from your workbench double clicking on it.
- Write directly the adf files that you find under https://github.com/Ozzyboshi/AmigaDemo_the_crows/releases on a real or emulated floppy disk and boot from it.
The demo has been written and tested on a real Amiga 600 with 2Mb of Chip ram and 2Mb of PCMCIA Fast ram but It really should work on all classic Amigas.
Additional tests were made on a Aca500+ mounted on a real A500+ with kickstart 3.1 and 1.3 , no problems were found with this configurations either.
Despite the simplicity of this demo, It can be useful for learning puroposes and as a base code for a much complex one. I am planning to add more features, probably some blood dropping from the skull's mouth or something similar.This will probably require more complex blittering techniques.