Pixate Freestyle is a native iOS (and Android) library that styles native controls with CSS. With Freestyle, you can replace many complicated lines of code with a few lines of CSS. This simplifies and centralizes your styling code, and offers other benefits as well.
This repo contains the iOS and Android (coming soon) modules for Xamarin.iOS and Xamarin.Android.
The fastest way to get started is to download the latest pre-compiled DLL from the releases section of this repo. You can now clone this repo and run the HelloWorld example project. Be sure to update the location of the PixateFreestyle.dll in the sample project to wherever you placed your downloaded copy.
Let's get started by creating a new solution. We'll start with creating a C# -> iOS -> Single View Application solution:

Name your project and click 'OK'.
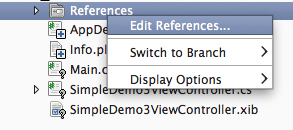
Now right-click on your project's References folder in the Solution view and select 'Edit References...'.
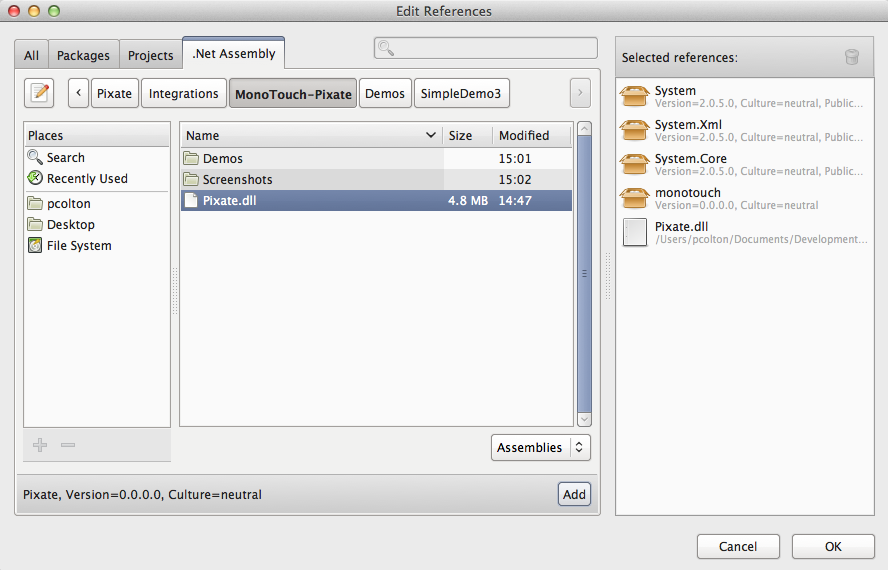
Now add the PixateFreestyle.dll file that you can get from releases section of this repo if you don't already have it. You can also build the DLL yourself.
The dialog should look something like this:
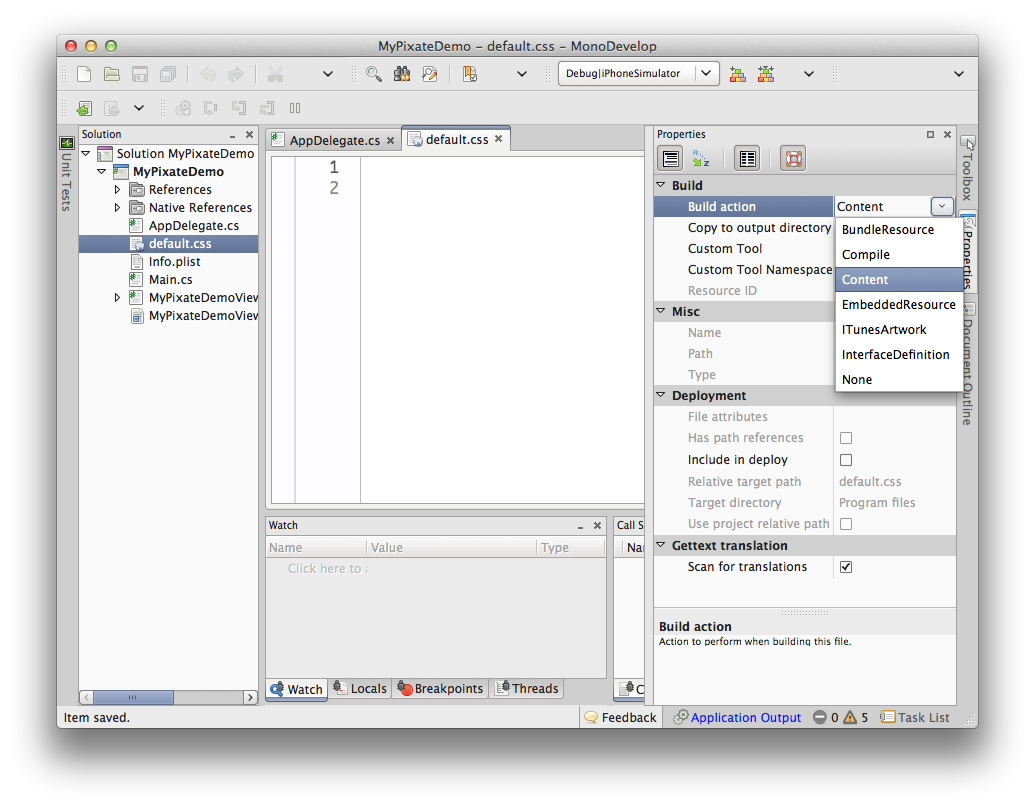
Now right-click on your project again in the Solution view and select Add -> New File. Choose 'Misc' from the list on the left, and 'Empty Text File' from the list in the middle. Name your file 'default.css'.

Right-click on the default.css file you added and select the 'Properties' menu item. Over on the Properties panel, change 'Build action' to be 'Content'.
At this point, let's add a button or two to our application. Double-click on the .xib file for your project (e.g. ViewController.xib). Add a couple of buttons like the following:
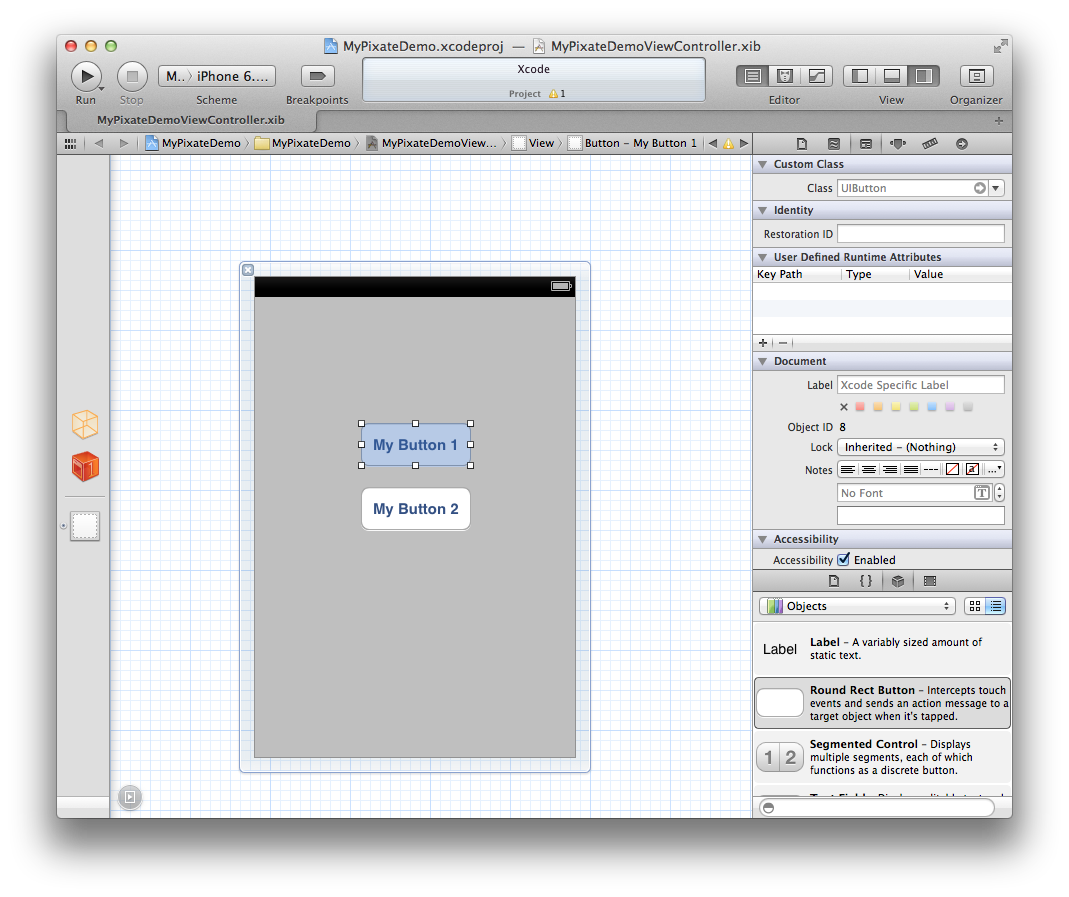
With each of the new buttons you added, select one, activate the Identity Inspector in the Utilities View.
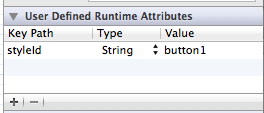
Now we need to give the buttons a "styleId" so that you can reference it from your CSS. We'll add a Runtime Attribute. Click the small '+' and add an entry with a key path of styleId, a type of String, and a value of button1. For the second button add a styleId, a type of String, and a value of button2.
Now save and close Xcode. In your Main.cs file, be sure to add the following line:
PixateFreestyleLib.PixateFreestyle.InitializePixateFreestyle ();Your Main() would look something like this:
// This is the main entry point of the application.
static void Main (string[] args)
{
// This is not strictly required right now, but a good practice to add for future feature support
PixateFreestyleLib.PixateFreestyle.InitializePixateFreestyle ();
// if you want to use a different Application Delegate class from "AppDelegate"
// you can specify it here.
UIApplication.Main (args, null, "AppDelegate");
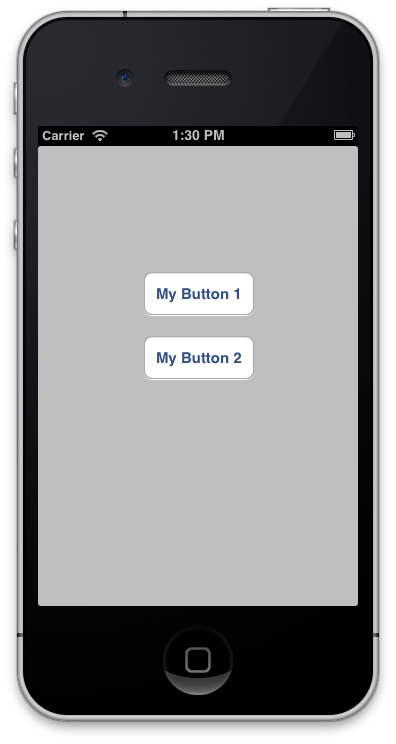
}Before we style the buttons, go ahead and run the project in Xamarin Studio. It should look something like this:
Now comes the easy part, just open your default.css file and add some CSS. For our two buttons, let's try something simple:
	#button1 {
		background-color : yellow;
		border-width     : 2px;
		border-color     : black;
		border-radius    : 8px;
		border-style     : solid;
	}
	#button2 {
		background-color : gray;
		border-width     : 2px;
		border-color     : black;
		border-radius    : 8px;
		border-style     : solid;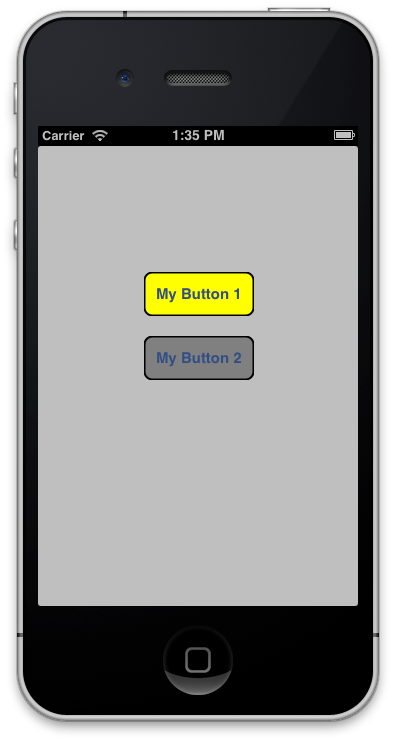
}Now Run your project. Your buttons should look like this:
Here's some slightly fancier styling you can try:
	#button1 {
	  border-radius    : 5px;
	  font-family      : "American Typewriter";
	  font-size        : 13px;
	  font-weight      : bold;
	  text-transform   : uppercase;
	  letter-spacing   : 0.75px;
	  color            : #ffffff;
	  background-color : #008ed4;
	}
	#button2 {
	  color            : #446620;
	  background-color : linear-gradient(#87c44a, #b4da77);
	  border-width     : 1px;
	  border-color     : #84a254;
	  border-style     : solid;
	  border-radius    : 10px;
	  font-size        : 13px;
	}
Now you'll get pretty buttons like this:

For any code you write that needs to use some of the Pixate Freestyle API, be sure to add the using line:
using PixateFreestyleLib;To learn about the API that is exposed, be sure to look over the source code for your platform in this repo to see what is currently supported. In addition, the following five methods are provided to set ID, Class, and CSS on your controls/views:
	view.SetStyleId("StyleID");
	view.SetStyleCSS("StyleCSS");
	view.SetStyleClass("StyleClass");
	view.AddStyleClass("AClassName");
	view.RemoveStyleClass("AClassName");
For example, here's some code that creates 3 buttons, each with a unique ID, all three with the same Class, and the third styled inline with CSS:
	button1 = UIButton.FromType(UIButtonType.RoundedRect);
	button1.Frame = new RectangleF(50, 20, 200, 40);
	button1.SetTitle("#myButton1 .allButtons", UIControlState.Normal);
	button1.SetStyleId("myButton1");
	button1.SetStyleClass("allButtons");

	button2 = UIButton.FromType(UIButtonType.RoundedRect);
	button2.Frame = new RectangleF(50, 70, 200, 40);
	button2.SetTitle("#myButton2 .allButtons", UIControlState.Normal);
	button2.SetStyleId("myButton2");
	button2.SetStyleClass("allButtons");

	button3 = UIButton.FromType(UIButtonType.RoundedRect);
	button3.Frame = new RectangleF(50, 120, 200, 40);
	button3.SetTitle("#myButton3 .allButtons", UIControlState.Normal);
	button3.SetStyleId("myButton3");
	button3.SetStyleClass("allButtons");

	button3.SetStyleCSS("background-color: green; border-radius: 5;");
The CSS for these three buttons could be:
	.allButtons {
	 border-radius: 5;
	}

	#myButton1 {
	 background-color: yellow;
	 border-color: black;
	 border-width: 2;
	 border-style: solid;
	}

	#myButton2 {
	 background-color: blue;
	 border-color: yellow;
	 border-width: 2;
	 border-style: solid;
	}
And you would get something like this:

To turn on real-time monitoring of your CSS for live editing, first you'll need to turn on file monitoring in your AppDelegate, anywhere in the FinishedLaunching method. Add the following:
PixateFreestyle.CurrentApplicationStylesheet().MonitorChanges = true;You may want to print out the location of the CSS file Pixate is using so you can edit it (by default your default.css will be loaded out of your app's resources). Use the following to get the temporary CSS file location:
string path = PixateFreestyle.CurrentApplicationStylesheet().FilePath;You'll want to print this location out to the console and then edit it. Be sure to save your changes to another file before you run your app again, otherwise your changes will be overwritten. Alternetaively, you can load your CSS from a location on your file system during development (i.e. a DropBox folder) to easier editing:
PixateFreestyle.StyleSheetFromFilePathWithOrigin("/some/path/myStyle.css", PXStylesheetOrigin.PXStylesheetOriginApplication);If you'd like to build the DLL yourself, this is the simple process. After cloning this project, start by creating a symbolic link to the PixateFreestyle file from your Pixate Freestyle distribution in the Source folder. For example:
cd Source/iOS/PixateFreestyle
ln -s ~/Desktop/Pixate/Frameworks/PixateFreestyle.framework/PixateFreestyle   .
Make sure the path to the MonoTouch BTOUCH tool is properly set at the top of the Makefile:
BTOUCH=/Developer/MonoTouch/usr/bin/btouch
Now just type make:
make
The resulting PixateFreestyle.dll file can now be added to your Xamarin Studio project.
Keep up with notifications and announcements by joining Pixate's mailing list and follow us on Twitter.
License for the included source is available in the accompanying LICENSE file.