Deploy this FullStack Ecommerce app to Digital Ocean cloud servers, Add a Domain name and use Cloudflare's CDN to your
application along with free SSL.** 🚀
** Code for React Presentation Layer - server.js
const express = require('express');
const compression = require('compression');
const path = require('path');
const app = express();

app.use(compression());
app.use(express.static(path.join(__dirname, 'build')));

app.get('*', function(req, res) {
    res.sendFile(path.join(__dirname, 'build', 'index.html'));
});

const PORT = process.env.PORT || 3000;

app.listen(PORT, () => {
    console.log(`App is running on port ${PORT}`);
});
** Code nginx sites configuration **
location /api {
    proxy_pass http://localhost:8000;
    proxy_http_version 1.1;
    proxy_set_header Upgrade $http_upgrade;
    proxy_set_header Connection 'upgrade';
    proxy_set_header Host $host;
    proxy_cache_bypass $http_upgrade;
}

location / {
    proxy_pass http://localhost:3000;
    proxy_http_version 1.1;
    proxy_set_header Upgrade $http_upgrade;
    proxy_set_header Connection 'upgrade';
    proxy_set_header Host $host;
    proxy_cache_bypass $http_upgrade;
}
- Sign up or Sign in to a new account in Digital Ocean(DO).
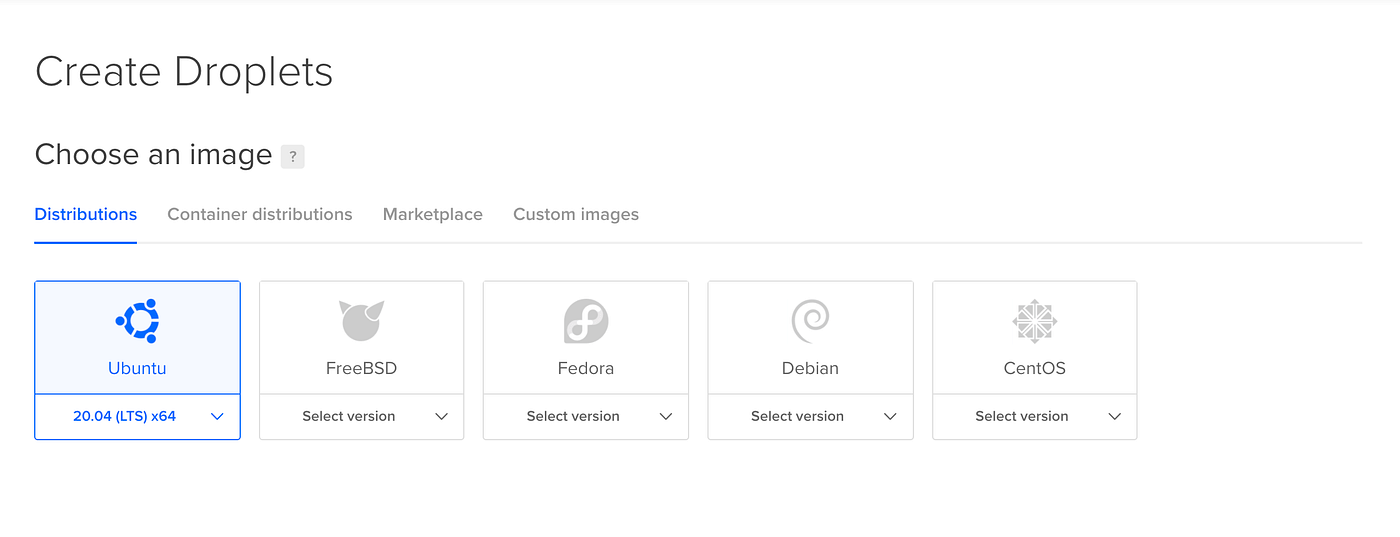
- Open the "create" drop down menu and click the "Droplets" link - takes you to the 'Create Droplets' page. Follow the configuration options before creating a new server.
- Select Ubuntu OS for your server:
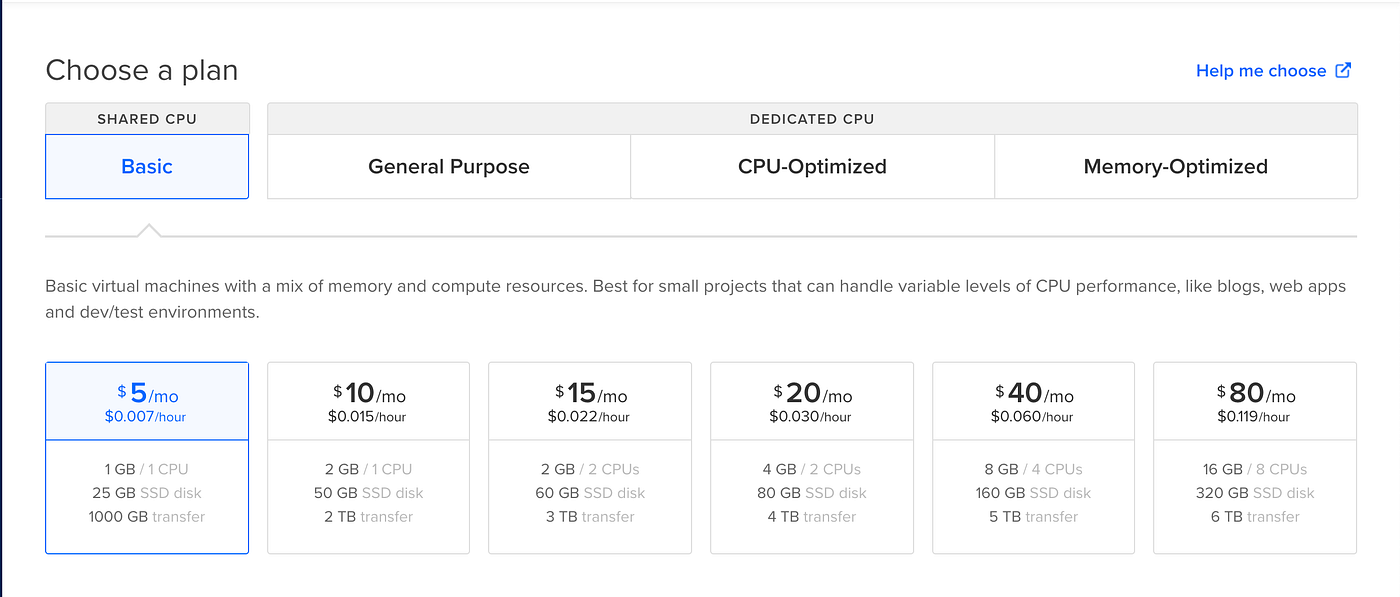
- Choose the Basic Plan for $5/month that gives enough processing power to run a medium-sized web app. However, it can
be upgraded later according to the need.
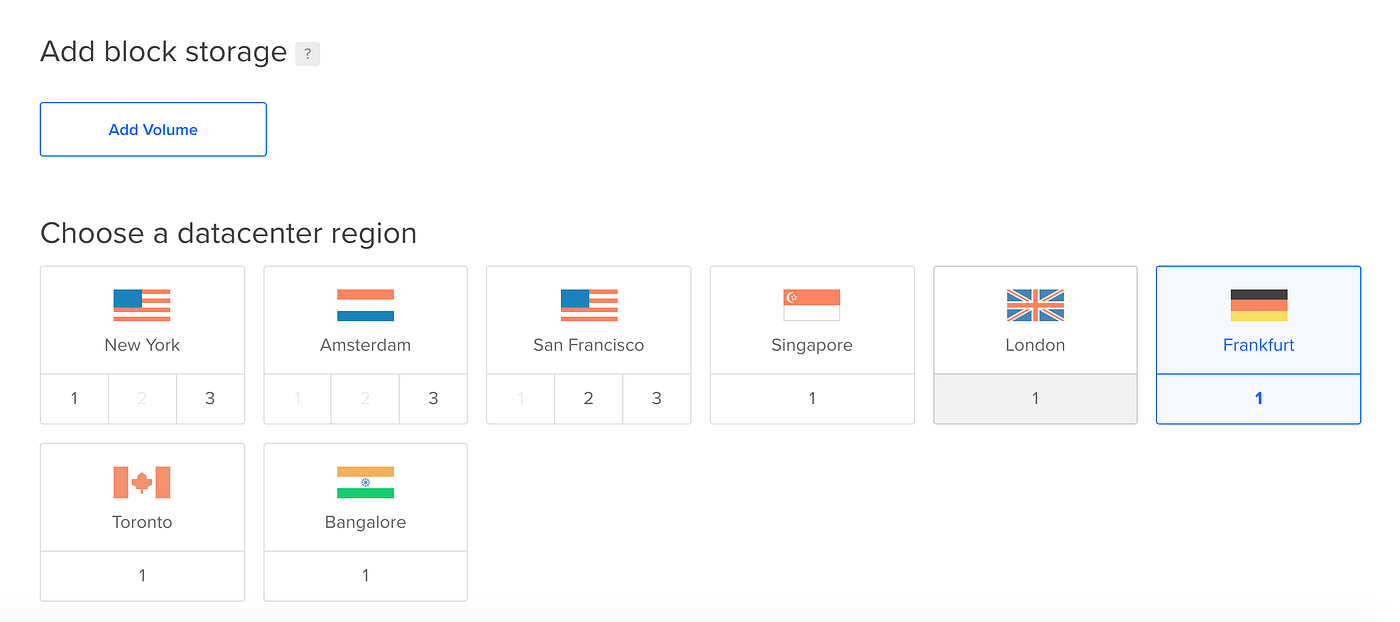
- If additional
block storageis required for storing static assets such as Images, Videos, and more, you can add it. However, it is not necessary. - Pick a Data Center closest to your region.
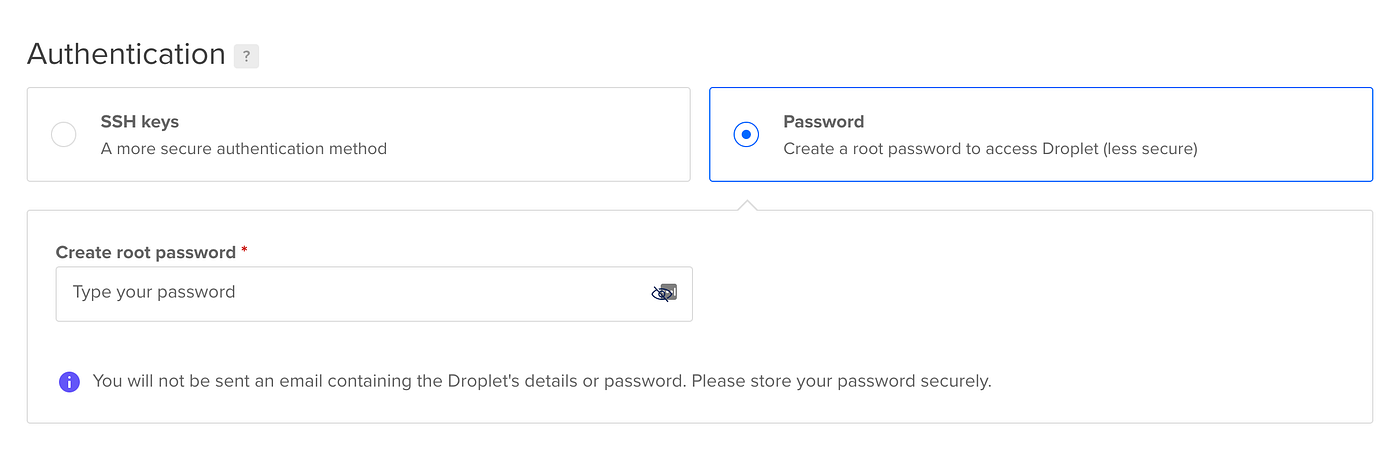
- [Important] Create a root password - for accessing Droplet.
- Choose
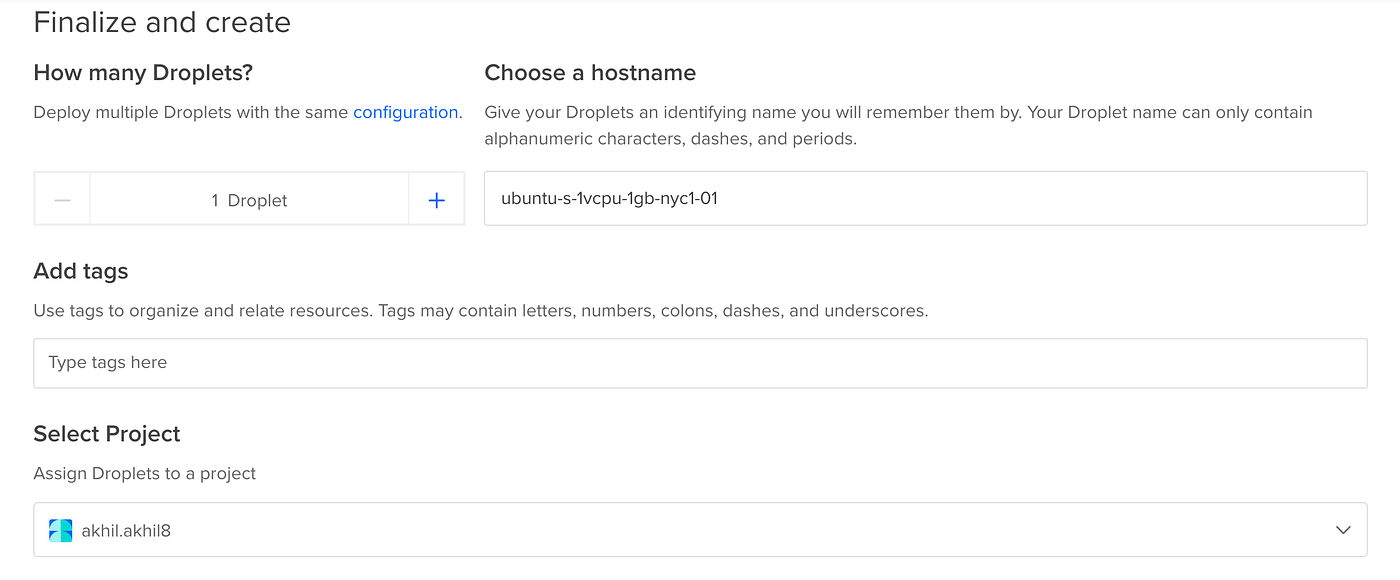
how many dropletsto be deployed. Also, choose ahostnamewhich gives the server a name to remember it by( Adding atagis optional.
- [optional] Choose backups of your droplet generated every week.
- Click
Create Dropletto create your droplet with those configuration.
- Access droplet as the 'root' user by using the password for root created in the last step. In the terminal of your
computer, run the following command:
> ssh root@<server_ip_address> - [!important] Using root access on a regular basis is discouraged. So, create an alternative account with limited
scope, similar to IAM in AWS. Run the following command while logged in as root user in the droplet:
> adduser <username> - Since, this user has limited privileges, to give the new root user privileges, follows the command:
> usermod -aG sudo <username>
- Installing Node.js with Apt Using a NodeSource PPA:
$ cd ~
$ curl -sL https://deb.nodesource.com/setup_14.x -o nodesource_setup.sh
-
Inspect the contents of the downloaded script with nano (or your preferred text editor):
nano nodesource_setup.sh -
When you are satisfied that the script is safe to run, exit your editor, then run the script with sudo:
sudo bash nodesource_setup.sh -
You can now install the Node.js package in the same way you did in the previous section:
sudo apt install nodejs -
Verify that you’ve installed the new version by running node with the -v version flag:
node -v -
Refresh your local package index first and install node by typing:
sudo apt update
sudo apt install nodejs -
Check that the install was successful by querying node for its version number:
nodejs -v -
Install
npm:sudo apt install npm -
Must include MongoDB's dedicated package repository to your APT sources.
-
Run the following command in the terminal:
cd
curl -fsSL https://www.mongodb.org/static/pgp/server-4.4.asc | sudo apt-key add - -
Double check that the key was added correctly.
apt-key listThis will return the MongoDB key somewhere in the output:
/etc/apt/trusted.gpg
--------------------
pub   rsa4096 2019-05-28 [SC] [expires: 2024-05-26]
      2069 1EEC 3521 6C63 CAF6  6CE1 6564 08E3 90CF B1F5
uid           [ unknown] MongoDB 4.4 Release Signing Key <packaging@mongodb.com>
. . .
- Run the following command that creates a file in the
sources.list.ddirectory namedmongodb-org-4.4.list.
$ echo "deb [ arch=amd64,arm64 ] https://repo.mongodb.org/apt/ubuntu focal/mongodb-org/4.4 multiverse" | sudo tee /etc/apt/sources.list.d/mongodb-org-4.4.list - Update server's local package index so APT knows where to find the
mongodb-orgpackage:
sudo apt update
sudo apt install mongodb-org[Press Y] when prompted, andENTERto confirm installation of the package.
- Run the following command to install
nginx
sudo apt-get install nginx
- Manage MongoDB using various
systemctlcommands. - Run the following command to start the MongoDB service:
$ sudo systemctl start mongod.service - Now, check the service's status.
$ sudo systemctl status mongod - The following output is returned indicating that the service is up and running:
Output
● mongod.service - MongoDB Database Server
     Loaded: loaded (/lib/systemd/system/mongod.service; disabled; vendor preset: enabled)
     Active: active (running) since Tue 2020-06-09 12:57:06 UTC; 2s ago
       Docs: https://docs.mongodb.org/manual
   Main PID: 37128 (mongod)
     Memory: 64.8M
     CGroup: /system.slice/mongod.service
             └─37128 /usr/bin/mongod --config /etc/mongod.conf
- If there is no error, enable MongoDB service to start up at boot:
sudo systemctl enable mongod