- 42x MX compatible key switches
- 40x 1u keycaps
- 2x 1.5u keycap
- 42x Kailh Hotswap Sockets
- 2x Raspberry Pi Pico or pin compatible clone
- 2x PJ320D audio sockets
- 2x EC11 encoders
- 1x TRRS audio cable
- 12x M2 Heat set inserts, length 2mm(OD3.2mm)
- 12x M2 bolts, length 4mm
- 2x PCB
- 2x Bottom plate
- 2x Top plate
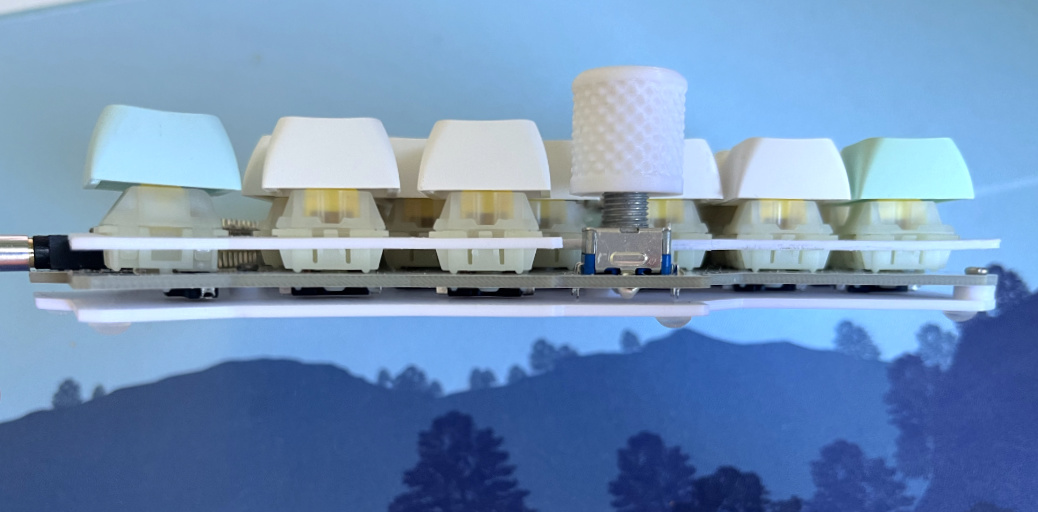
I recommend using encoders with D staff. It's much easier to model or find compatible 3D printed knobs, tolerances don't have to be so good.
STL files do not require support, PLA plastic works well and printing of parts has been tested with a 0.4mm nozzle. Insert the heat set inserts into the bottom plates using a soldering iron.
The PCB is designed so that it can be used on both sides. Use the images as a reference.
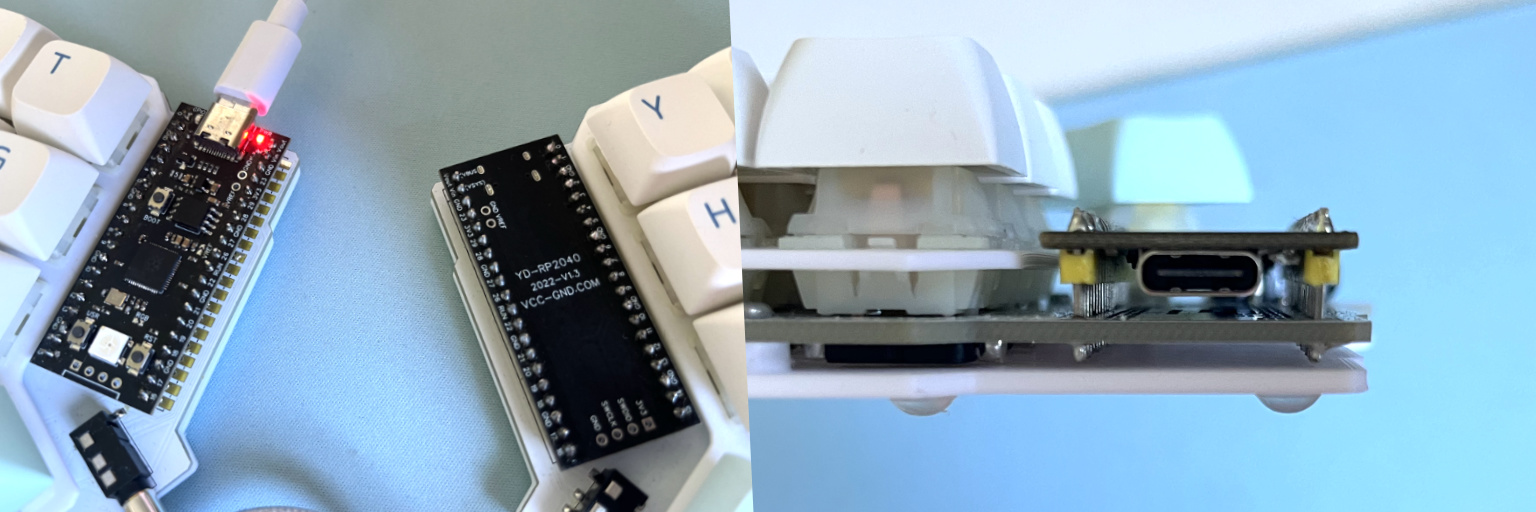 The right side Pi Pico needs to be flipped. Don't solder it too close to the PCB, leave a two-millimeter gap, the legs of the pin header should be long enough. There is no RESET pin on the Pi Pico, so you need to have access to RESET and BOOT buttons if you want to change/upload the firmware.
It is recommended that the firmware is already installed on the Pi Pico, the uf2 file can be found in the firmware folder. Double pressing the RESET button should put the Pico into bootloader mode if the firmware is installed.
Solder the hotswap sockets, TRRS sockets, EC11 encoders, hotswap sockets and Pi Pico's. Connect the two halves with the TRRS cable. Never connect or disconnect TRRS cable when keyboard is powered. This can lead to a short circuit.
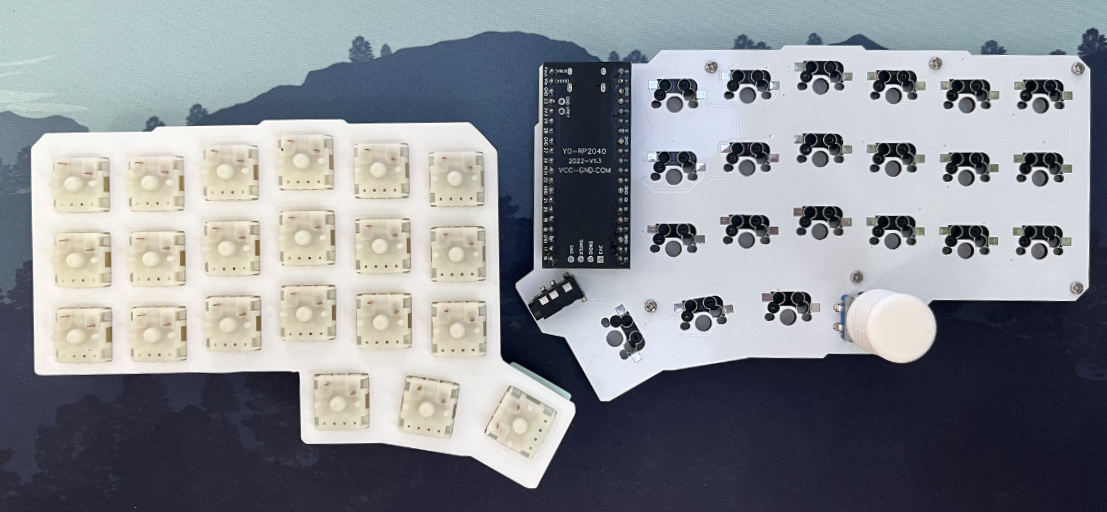 Next, attach the PCB to the plate with bolts. Then you can attach the switches to the top plate. Once all the switches are in place, make sure that the switch pins are not twisted or damaged. Press the top plate with the switches to the PCB.
 I recommend putting small rubber feet on the bottom plate. If you installed the silakka44_vial firmware, you can use the Vial software to test the functionality of the switches in the matrix tester.
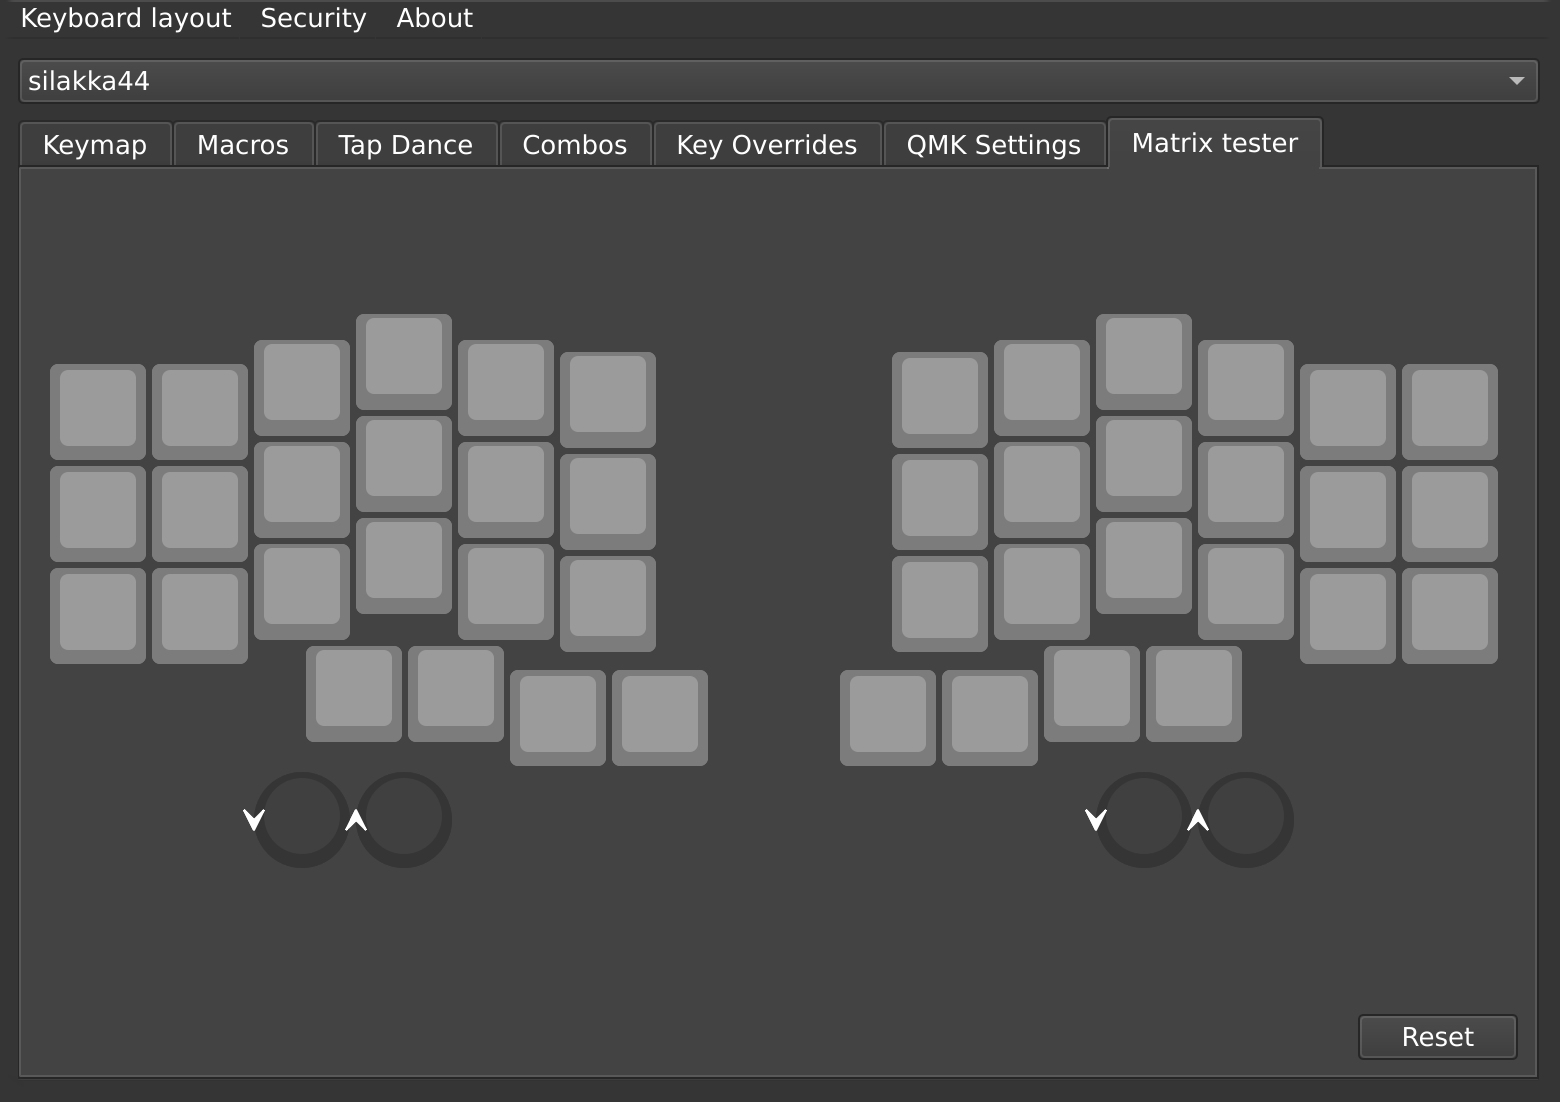 The current firmware does not support matrix testing for encoders.