GIMP plugin for reading, writing and converting ROM images and tile files. Useful in emulation ROM modding, hacks and extracting/inserting artwork.
Download compiled executables here:
Supported image formats:
- NES 1bpp / 2bpp
- SNES 2bpp / 3bpp / 4bpp / 8bpp
- GB 2bpp
- NGP 2bpp
- GBA 4bpp / 8bpp
- GG/SMS/WSC 4bpp
- MD 4bpp
Supported file extensions:
- .bin
- .chr (nes 2bpp)
- .nes (nes 2bpp)
- .gb (gb 2bpp)
- Source uses some webp gimp plugin code from Nathan Osman (Copyright 2012)
- Some format documentation from: https://mrclick.zophar.net/TilEd/download/consolegfx.txt
- YYchr was used for a lot validating format input/output
Native compile/install on Linux using below.
If GIMP & build tools not yet installed:
(example for debian/ubuntu/mint)
 * sudo apt install gimp
 * sudo apt install build-essential
 * sudo apt install libgimp2.0-dev

Then:
* cd gimp-rom-bin
* make

Then copy the resulting "file-rom-bin" to your GIMP plugin folder, depends on version

Plug-in folder locations:
 Linux: ~/.gimp-2.8/plug-ins  , or ~/.config/GIMP/2.10/plug-ins
 Windows: C:\Program Files\GIMP 2\lib\gimp\2.0\plug-ins
Guide for Cross-compiling to Windows on Linux
-
Palettes: Does not yet import palettes and defaults to internal standard palettes. Which can then be changed using the GIMP color map and Palette tools.
-
Image size: ROMs and tile files that are not an even multiple of tile width will get padded with transparent pixels at the end of the image, and have any trailing data stored as gimp image metadata. The plugin will attempt to preserve original file size and integrity as much as possible. Setting transparent pixels (in tiles) at the end of the image to non-transparent will cause those tiles to get written to the file and therefore increase the file size. Be careful.
-
Set paintbrush tool to:
- Brush: Pixel
- Opacity: 100%
- Size: 1
-
Set grid to 8x8
-
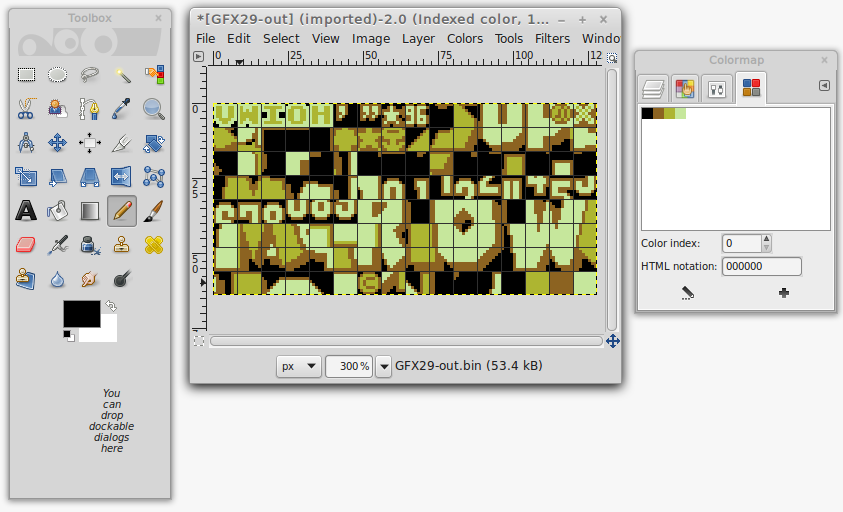
Colormap & Palette changing:
- Colormap (Palette for current image)
- Show the Palette: --> Menu --> Windows --> Dockable Dialogs --> Show Colormap
- Assign a Palette: --> Menu --> Colors --> Map --> Set Color Map
- Palette (GIMP system wide palettes available for use)
- Show the Palettes Dialog: --> Menu --> Windows --> Dockable Dialogs --> Show Palettes
- Import: Palettes Dialog --> Pop-out menu at top -> Palettes Menu -> Import (must be 768 bytes?)
- Changing
- Assign a palette, convert to RGB and then back to indexed to shrink down and discard unused colors
- Menu -> Colors -> Map -> Set Color Map -> Select desired color map (could be imported or from another image)
- Menu -> Image -> Mode -> RGB
- Menu -> Image -> Mode -> Indexed -> Use Custom Palette + check Remove unused -> Select desired color map (could be imported or from another image)
- Colormap (Palette for current image)