A performance MIDI and CV controller based on SAMD21G
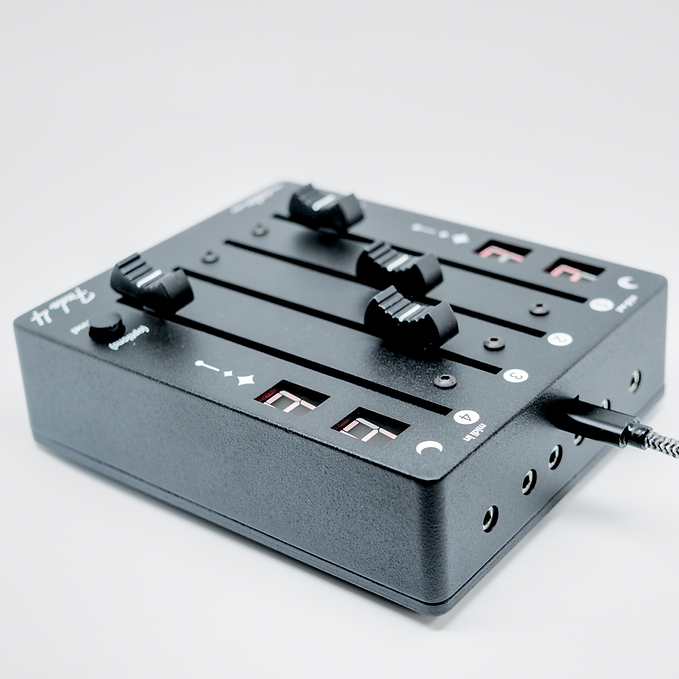
Fade 4 runs on an Atmel SAMD21G microcontroller running the Feather M0 Bootloader. This allows Fade 4 to be developed on using the Arduino programming environment, and make use of Arduino libraries.
The SAMD21G handles all USB communication while using it's internal ADCs to read the positions of the faders. Each fader is connected between 0V and 3.3V, with the wiper providing a voltage between 0V and 3.3V. An opamp is used to multiply this voltage by 1.5x to provide 0 to 5V to the CV outputs. The fader position is sampled through Responsive Analog Read to smooth out any jumpiness in the measurement.
MIDI is handled using the Forty Seven Effects MIDI Library, making sending MIDI and USB MIDI the simplest part of this device.
The 7 segment LED displays are of the common cathode type, meaning the 7 LEDs in the character have their anodes broken out to individual pins, while the cathodes are grouped together into one pin. I use a 2N3904 transistor connected to this cathode pin to enable the digit, allowing the 4 digits to share character pins, as long as each has its own transistor and cathode pin.
These displays need to be enabled one at a time, and using persistence of vision it appears that the 4 digits are on all the time. The timing of these characters is handled by TC3, triggering an interrupt to turn the current LED charactor off, reconfigure the pins, and turn the next one on.
A second timer, TC0, is used to generate a PWM signal on the 4 cathode transistor pins. This PWM signal can be changed to adjust the brightness of the display from 0 to 100%.
FIRMWARE UPDATE
-
Download the .UF2 file for the new firmware
-
Remove the 4 screws on the bottom of Fade 4, and remove the cover.
-
Plug Fade 4 into your computer using a USB-C cable. Mac or Windows or Linux, doesn't matter. It will show up as a MIDI device named "Fade 4".
-
Double tap the button on the PCB marked "RESET". Two quick presses. A USB drive will appear on your computer, labelled "FEATHER" or "FEATHERBOOT"
-
Copy and paste the UF2 file into the USB drive. If prompted to overwrite, select YES.
-
Unplug, and reinstall the bottom cover. The firmware has been updated.
HACKING
You just need the .ino file in a folder named the same as it. Arduino or Arduino IDE, but you will need the following packages:
Adafruit SAMD Board Package Flash Storage Responsive Analog Read MIDI
All firmware updates can be done over the USB C port. The 4 pin header is just for initial bootloader burn using an SWD programmer.
November 2023: 5 units built for testing. These are V1.0 units. They have an issue where the ADC is referenced to 5V and not 3.3V, so depending on USB power supply, the faders may not reach all the way to 127. fade4.ino.feather_m0-MAX975.uf2 provided as a fix for these units.
April 15 2024: Initial kit run. V1.1 released, fixes above issue. Build guide published to cctv.fm/fade4. Shipped with V1.1 preflashed.
April 17 2023: Bug fix, channels via TRS do not match channels via USB. Due to USB library counting channels from 0 and MIDI library counting from 1.
May 8 2024: Chris found a bug causing Program Changes to not function at all on V12, added bounds checking to message types.