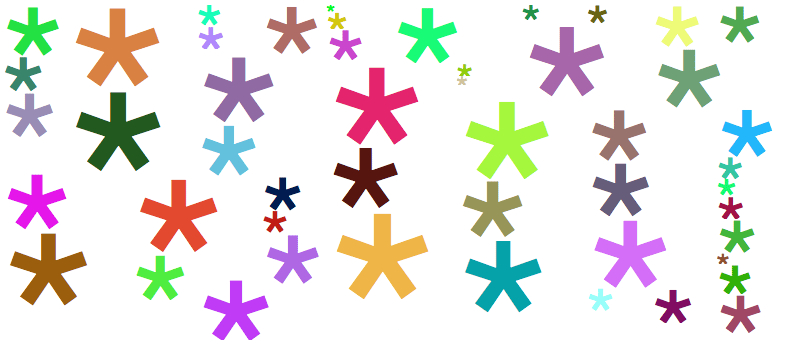
Splatter is a jQuery plugin which applies a random position, size, and color to elements on a page. The most basic implementation adds randomly colored and positioned asterisks to the element:

To see some working examples, check out the demo page.
Add these scripts in the head element of your page:
<script src="http://ajax.googleapis.com/ajax/libs/jquery/1.5/jquery.min.js" type="text/javascript" charset="utf-8"></script>
<script src="jquery.splatter.js" type="text/javascript" charset="utf-8"></script>
Invoke the plugin, specifying configuration options as needed. For example, pass an array of splats if you’d like to use words rather than asterisks:
$('#word_splatter').splatter({
min_font_size: 20,
max_font_size: 50,
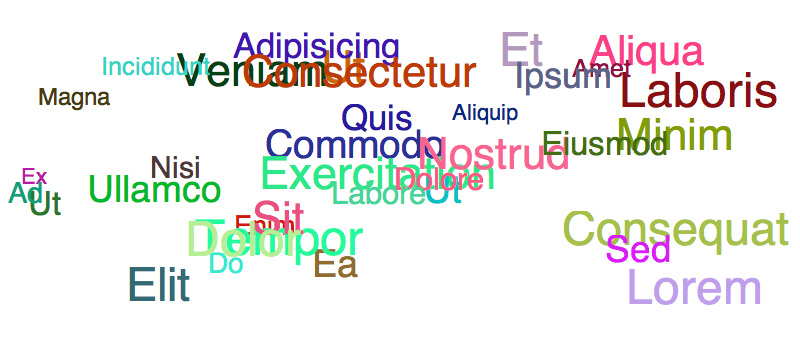
splats: ["Lorem", "Ipsum", "Dolor", "Sit", "Amet", "Consectetur", "Adipisicing", "Elit", "Sed", "Do", "Eiusmod", "Tempor", "Incididunt", "Ut", "Labore", "Et", "Dolore", "Magna", "Aliqua", "Ut", "Enim", "Ad", "Minim", "Veniam", "Quis", "Nostrud", "Exercitation", "Ullamco", "Laboris", "Nisi", "Ut", "Aliquip", "Ex", "Ea", "Commodo", "Consequat"]
});
Which creates:
Splatter has lots of configuration options but most of them are pretty simple and none of them are required:
$('#splatter_box').splatter({
  custom_attributes: [],                    // specify custom attributes to add to splats which can be used to store data
  colors: [],                               // specify the colors to be randomly applied to the splats
  splats: [],                               // specify strings to be used as splats – defaults to *
  hover_on: function() {},                  // add a custom function to be called when hovering on a splat
  hover_off: function() {},                 // add a custom function to be called when hovering off a splat
  splat_count: 20,                          // number of splats that will be drawn
  min_font_size: 20,                        // minimum font size for splats
  max_font_size: 300,                       // maximum font size for splats
  height: $(window).height(),               // height of splatter
  width: $(window).width(),                 // width of splatter
  position: { top: false, left: false }     // explicitly set top and left position of all splats – useful if, for example,
                                            //    you'd like to draw a splat inside a click event (credit github.com/mithro)
});
Most of these should be fairly obvious but let’s go into a bit more detail on how to use custom attributes. Custom attributes allow you to apply data attributes with random values to each splat. They are specified as an array of objects:
$('#splatter_box').splatter({
  custom_attributes: [
    { name: "data-hover_color", values: ['#f68a00', '#069', '#a70'] },
    { name: "data-slide_position", values: ['20', '50', '100'] }
  ]
});
Each custom attribute object should have two keys: a name and values. The name will be used as the attribute’s name. The values key takes an array of possible values. The actual value for any given custom attribute is randomly selected from the values array.
So the the above example might create splats that look like:
<span class="splat" data-slide_position="20" data-hover_color="#f68a00">*</span>
<span class="splat" data-slide_position="100" data-hover_color="#069">*</span>
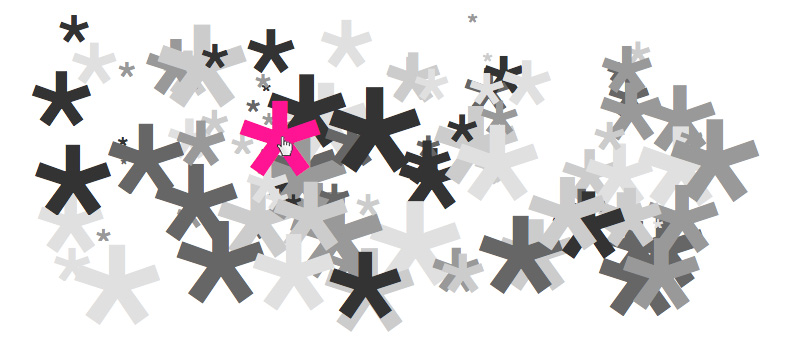
Often custom attributes work in conjunction with custom hover events, allowing you to use jQuery to fetch these custom values and do something interesting (e.g. fade in a different color, animate a splats position, or make a splat randomly rotate). For example, let’s create 100 splats in shades of gray that fade into random colors on hover:
$('#animated_colors').splatter({
  width: 700,
  height: 250,
  splat_count: 100,
  colors: ['#ccc', '#e0e0e0', '#333', '#666', '#999'],
  custom_attributes: [
    { name: "data-hover_color", values: ['#f68a00', '#069', '#a70', '#090', '#ff1493', '#0066CC', '#ff1493', '#F0E356'] }
  ],
  hover_on: function(splat) {
    var original_color = splat.css('color');
    var hover_color = splat.attr('data-hover_color')
    splat.css('color', hover_color).attr('data-hover_color', original_color);
  },
  hover_off: function(splat) {
    var original_color = splat.css('color');
    var hover_color = splat.attr('data-hover_color');
    splat.css('color', hover_color).attr('data-hover_color', original_color);
  }
});

// and some CSS3 to handle the color transitions
.splatter_box .splat {
  transition: color 0.5s linear;
  -moz-transition: color 0.5s linear;
  -o-transition: color 0.5s linear;
  -webkit-transition: color 0.5s linear;
  cursor: pointer;
}
Which will create something like:
If you need additional help understanding the various configuration options, check out the live demos as well as the unit tests.
I considered building this feature into the plugin but decided against it since it conflicts somewhat with the general idea of keeping things random. But if you’re looking to prevent overlapping it’s pretty simple.
First, add some scripts to your header. Notice we’re also adding jquery.masonry.js, so be sure to include this plugin as well.
<script src="lib/jquery.local.js" type="text/javascript"></script>
<script src="lib/jquery.masonry.js" type="text/javascript"></script>
<script src="src/jquery.splatter.js" type="text/javascript"></script>
Next, call splatter() as normal, passing whatever configuration options you like:
$('#splatter').splatter({
  height: 250,
  width: 700
});
Then, call masonry() on that same element:
$('#splatter').masonry();
Finally, you’ll need to override a bit of CSS to ensure your divs don’t overlap.
#splatter {
  position: static !important;
  top: auto !important;
  left: auto !important;
  float: left;
}
You should get splats that you look decently random but do not overlap: