In the second part of our tutorial we will install eXist-db, and create a ›plain vanilla‹ eXist-db web application using eXist-db’s built-in Deployment Editor. Then we will start customizing this standard web app to our needs. We will customize the code layout by adding new directories and documents as well as add some few lines of code to our application’s controller.xql which is the script responsible for processing the URLs typed into the browser while navigating/controlling our application. These modifications do neither result in spectacular results, nor are they very exiting as it will mostly be copy-and-paste work. But this part of the tutorial will ease our further development and might give you some general (although very superficial) insights into the general mechanics of web applications.
Since this is not an eXist-db tutorial, please consider the eXist-db documentation for further information on installing and starting eXist-db. Here, I will only describe the basic steps. To install and run eXist, you need a reasonably recent version of Java.
Browse to the eXist-db webpage and download eXist-db. For this tutorial, I am using Version 3.0, which is for the time being considered as a ›release candidate‹ and not ›production ready‹ yet but stable enough to build our small digital editions application. The easiest way is to download the eXist-db-setup-3.0.RC1.jar file, double click on the downloaded file and follow the installation instructions. The default settings are good enough, so just keep on clicking next.
After a hopefully successful installation, start eXist-db. In case you didn't check the option to create a shortcut in your start menu and/or desktop while installing, browse to the directory you used to install eXist-db, look for a file named start.jar, and double-click it. You should see a loading screen and a small icon should be placed in your taskbar. A right mouse click opens a menu. Click on "Open Dashboard". Your favorite browser should open with the address http://localhost:8080/exist/apps/dashboard/index.html. Alternatively you can also just follow this link.
To quote the eXist-db web page, eXist-db is
much more than just an XML database, eXist-db provides a complete platform for the development of rich web applications based on XML and related technologies (XQuery, XForms, XSLT, XHTML...).
Thankfully eXist-db also provides a very comfortable entry point for creating new web applications. As described in detail here, go the the dashboard, open eXist-db XML editor eXide and in its main menu select Application/New Application and start filling out the form provided by the ›Deployment Editor‹. You might be asked to fill out a login form. In case you didn't change any settings while installing eXist-db, the default user is admin and the password field stays empty.
-
Since we don't want our application to look like eXist-db, under Template we choose Plain (using Bootstrap CSS).
-
As Type of the package, we stick with the default Application
-
For Target collection, let’s choose thun-demo and the same for Abbreviation
-
As mentioned in the description, the Name has to be a URI. Since the value of this field is not publically visible, it doesn’t really matter what to fill out here. I usually use a domain registered to me (http://www.digital-archiv.at), add an ›ns‹ prefix (ns stands for namespace) and append the value I entered as Abbreviation. This sums up to http://www.digital-archiv.at/ns/thun-demo.
-
Unlike Name, the value of Title will be visible to the public. By default it will be used in the application’s main navigation bar as well as in the title element of the generated HTML’s header element. I go for Thun Demo App.
-
For the time being, let’s leave the other fields of the Deployment Editor as they are.
After clicking Done, another window should have opened, showing you the content of our freshly created thun-demo application.
The basic application code layout created by the Deployment Editor consists of the three directories (modules, resources, templates) and seven documents of different kind stored in the application’s root directory.
To see the results of all our effort, browse to http://localhost:8080/exist/apps/thun-demo/index.html. 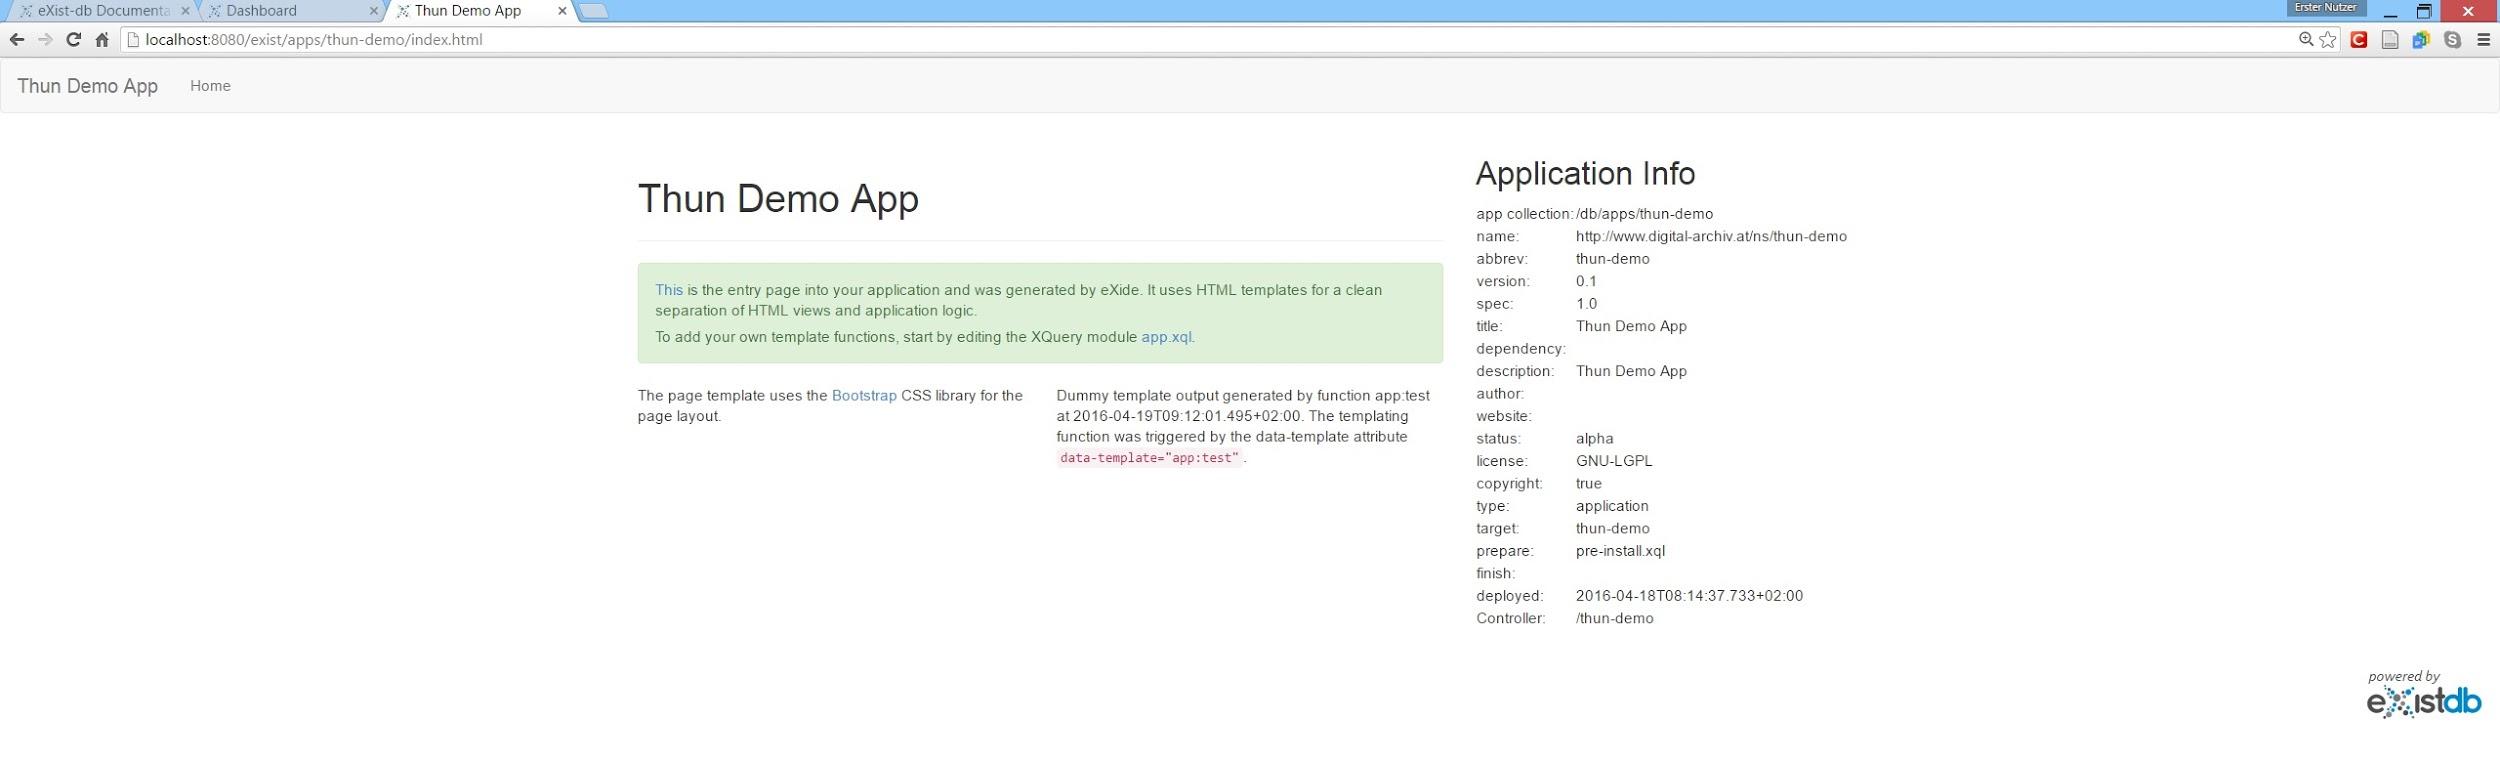
We could start building our digital edition application right away. But I prefer to modify this default application code layout a little bit. Right now, all our HTML files are meant to be stored in the application’s root directory. This is not necessarily a problem, but I like a more structured code base. Therefore, let’s create a new directory in our application’s root directory called pages. To create a new directory you can browse to eXist-db’s dashboard and click on the the Collections tile which will open the Collection Browser. Navigate to the application root directory /db/apps/thun-demo, click on the New Collection icon, enter pages as name and click ok.
For editing XML files, the preferred way (for me) is to use oXygen Data Source Explorer. See here to get instructions on how to connect oXygen with eXist-db. In case you are using oXygen 16 or higher, connecting to eXist-db is even easier. In the main menu, click on Window/Show View and select Data Source Explorer. Unfold the Data Source Explorer sidebar and click on the small wheel icon Configure Database Sources. In the opening Preferences window click on Create eXist-db XML connection and fill out the form. The defaults are
| Host | localhost |
| Port | 8008 |
| User | admin |
| Password: | |
| eXist Admin Client JWS | |
| Libraries | Path/to/your/eXistdb |
You should then see a localhost connection in the Data Source Explorer. Click on it and navigate to our application’s root directory. Right-click on the root-directory folder icon and select New Collection.
This newly created pages directory will contain all our HTML documents.1
Our first HTML document will be very minimalistic and just contain three lines of code for now. But later this page will probably become the most crucial one in our application. In the pages/ directory, create a new document named show.html. Add the following code to the document and save it:
Show.html
<div class="templates:surround?with=templates/page.html&at=content">
<h1>show.html</h1>
</div>In case you are wondering about the first line, this is used to load our application’s main template. eXist-db ships with its own template engine. See here for a general introduction and here for more detailed information. Unfortunately, the documentation is partly outdated. Instead of using the HTML class attribute for referencing templates (and XQuery functions), one should now use the data-template attribute as it is already done in our automatically created index.html.
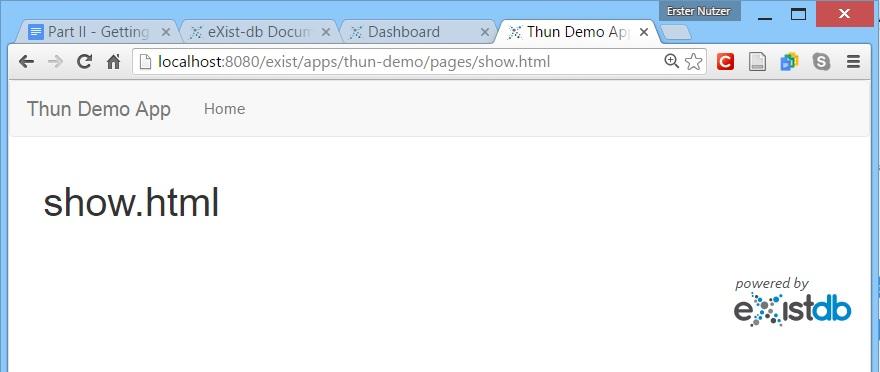
To admire our work, browse to http://localhost:8080/exist/apps/thun-demo/pages/show.html and you should see:
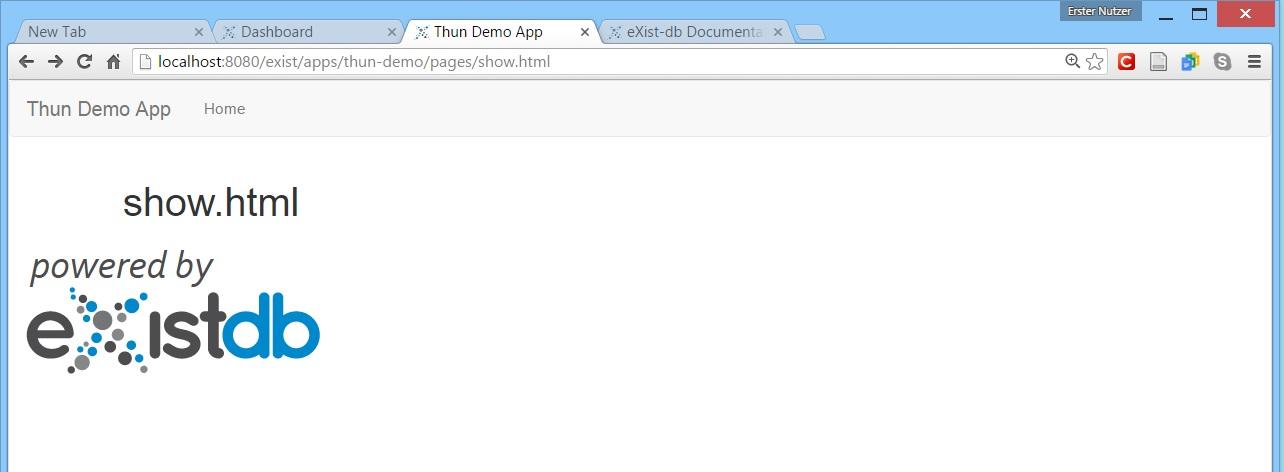
But when you now try to go back to the application’s start page, either by clicking on home or on the applications title, you will only see a 404 page not found error.
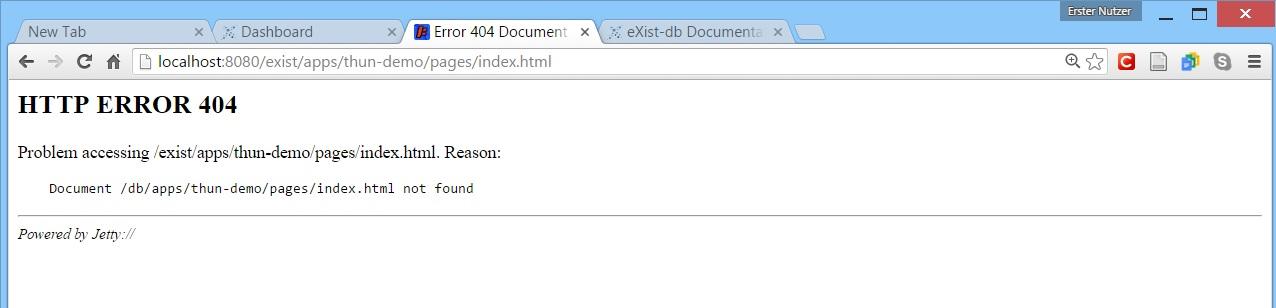
There are several ways to solve this issue. My old solution was to create some variable which will force the application to resolve each path which starts with this variable from the same starting point. If you are interested in this solution, feel free to consult Part-IIa. But thanks to Stephan Probst we can solve this problem in a much cleaner way. First we simply have to move index.html from the application's root directory into our new /pages directory. You can do this either by drag and drop in oXygen, by cut and paste in eXist-db’s Collection Browser or by creating an index.html in the pages directory, copy and paste the content from the index.html from the application's root directory and then delete this file. The result is always the same. You should be able to browse to http://localhost:8080/exist/apps/thun-demo/pages/show.html and navigate from there via the nav-bar to index.html. But when you now go back to eXist-db' dashboard and try to click on the Thun Demo App tile you will see nothing more then a HTTP ERROR 404 and the message that the document /db/apps/thun-demo/index.html was not found.
To fix this, we have to modify the application’s controller. A controller is usually some code which matches URLs requested by users (by typing URLs into the browser bar or clicking on a link) to functionalities provided by the application. In a default eXist-db application like ours, the controller’s code is stored in a document called controller.xql, which is located in the application’s root directory. The only thing we have to do in this document is to look for the following line
controller.xql
else if ($exist:path eq "/") then
    (: forward root path to index.xql :)
    <dispatch xmlns="http://exist.sourceforge.net/NS/exist">
        <redirect url="index.html"/>
    </dispatch>
and replace <redirect url="index.html"/> with <redirect url="pages/index.html"/>.
After saving our changes and reloading eXist-db' dashboard page we can click again on the Thun Demo App tile but this time, we will be (re)directed from http://localhost:8080/exist/apps/thun-demo/ (the link related to this tile) to http://localhost:8080/exist/apps/thun-demo/pages/index.html.
As we are lazy and don’t want to type (and remember) the whole URL to our show.html page, let’s add a link to this page to our main template stored at templates/page.html:
<li class="dropdown" id="about">
    <a href="#" class="dropdown-toggle" data-toggle="dropdown">Home</a>
    <ul class="dropdown-menu">
        <li>
            <a href="index.html">Home</a>
        </li>
        <li>
            <a href="show.html">show.html</a>
        </li>
    </ul>
</li>
Save your changes and browse to http://localhost:8080/exist/apps/thun-demo/pages/index.html. Click on Home where you should see the new link entry »show.html«. Following this should lead you to
http://localhost:8080/exist/apps/thun-demo/pages/show.html.

But wait a second! Why is the eXist-db logo so ridiculously big?
To find out what is going on or wrong, go to http://localhost:8080/exist/apps/thun-demo/pages/show.html and open your browser’s developer tool (F12 in Chrome). Here you should find an error message complaining about something like:
»Failed to load resource: the server responded with a status of 404 (Document /db/apps/thun-demo/pages/resources/css/style.css not found)«.
Inspecting our application’s code layout as well as our main template (templates/pages.html), the reason of this error becomes obvious. The path to css/stlye.css is referenced in templates/pages.html relative to the location of our index.html (which is now situated in the application’s root directory):
<link rel="stylesheet" type="text/css" href="resources/css/style.css"/>
and without the use of any variable, like for instance the source of bootstrap’s CSS:
<link rel="stylesheet" type="text/css" href="$shared/resources/css/bootstrap-3.0.3.min.css"/>.
And this means, of course, that whenever we are on a HTML site which is not stored in the application’s root directory the browser will always try to load this style.css from the wrong directory.
Let’s fix this. And while doing this, let’s also get rid of the dependency to eXist-db’s CSS and JavaScript libraries which are located in ›db/apps/shared-resources‹ because we can’t know for sure if another eXist-db instance, where we might want to deploy our application in future, will use the same libraries.
We will start with the latter. Looking into the header section of templates/pages.html, we see that our application relies on
-
bootstrap 3.0.3 (CSS and JavaScript) – remember the choice we made in the Deployment Editor –,
-
some custom style.css (the one which is responsible for rendering the eXist-db logo),
-
jQuery 1.7.1,
-
and some JavaScript library called loadsource.js which is responsible for opening a document stored in our database in eXide.
We don’t need the latter and we can replace the other files/libraries.
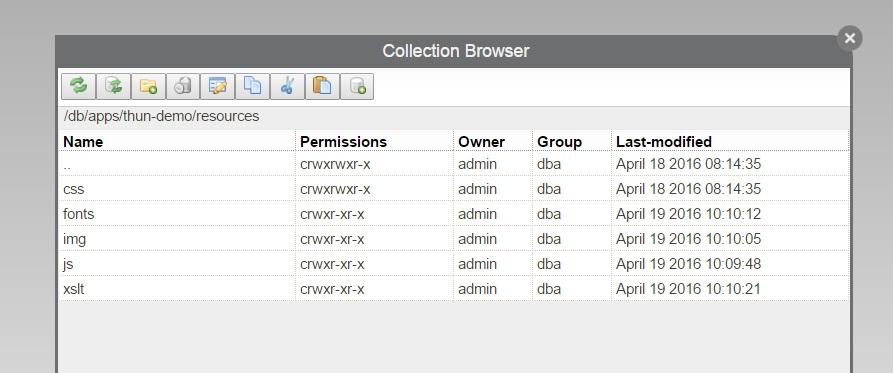
Go to the resources directory located in our application’s root directory. Currently, this directory contains only another directory called resources/css, which contains the aforementioned style.css. Create the following new directories (or collections to use eXist-db’s terminology) in this resources directory:
-
fonts
-
img
-
js
-
xslt
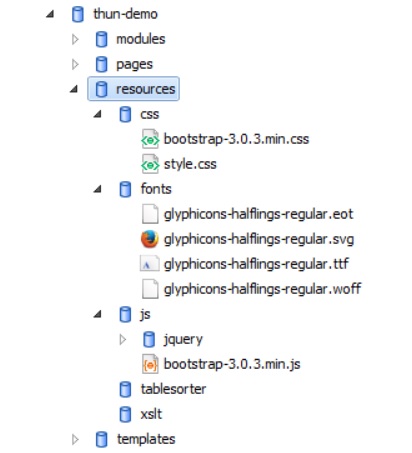
Your resources collection should now look like on the following screenshot taken from eXist-db’s Collection Browser:
Of course, we need to populate these collections with some documents.
In resources/fonts copy the content of shared-resources/resources/fonts.
In resources/css, add your favorite Bootstrap library. We are using bootstrap-3.0.3.min.css which you can copy and paste from eXist-db’s shared shared-resources collection.
In resources/js, create a collection jquery and one called tablesorter. In resources/js/jquery, add the jQuery library of your choice (but it should be compatible with your chosen bootstrap library). The tablesorter directory will be populated in another soon to come HowTo.
In resources/js, add the Bootstrap JavaScript libraries needed for Bootstrap. For the time being, we are done and our resource collection should look like on the screenshot below.
After having our libraries in place, we have to set up the matching links in templates/pages.html properly. But before we do this, we will need to declare some rerouting variable in our controller.xql which will forward any URL containing this variable to a defined collection which will serve as absolute root.
To create such a variable we have to add the following line of code to controller.xql
After:
else if (contains($exist:path, "/$shared/")) then
<dispatch xmlns="http://exist.sourceforge.net/NS/exist">
    <forward url="/shared-resources/{substring-after($exist:path, '/$shared/')}">
        <set-header name="Cache-Control" value="max-age=3600, must-revalidate"/>
    </forward>
</dispatch>
we add:
(: Resource paths starting with $app-root are loaded from the application's root collection :)
else if (contains($exist:path,"$app-root")) then
<dispatch xmlns="http://exist.sourceforge.net/NS/exist">
    <forward url="{$exist:controller}/{substring-after($exist:path, '$app-root/')}">
        <set-header name="Cache-Control" value="no"/>
    </forward>
</dispatch>The last thing we need to do now is to change the links in our main template templates/pages.html so that they reference the libraries located in our application’s resource collection and not those stored in the eXist-db’s shared-resources app anymore. This means we have to change our head element from:
<head>
    <title data-template="config:app-title">App Title</title>
    <meta name="viewport" content="width=device-width, initial-scale=1.0"/>
    <meta data-template="config:app-meta"/>
    <link rel="shortcut icon" href="$shared/resources/images/exist_icon_16x16.ico"/>
    <link rel="stylesheet" type="text/css" href="$shared/resources/css/bootstrap-3.0.3.min.css"/>
    <link rel="stylesheet" type="text/css" href="resources/css/style.css"/>
    <script type="text/javascript" src="$shared/resources/scripts/jquery/jquery-1.7.1.min.js"/>
    <script type="text/javascript" src="$shared/resources/scripts/loadsource.js"/>
    <script type="text/javascript" src="$shared/resources/scripts/bootstrap-3.0.3.min.js"/>
</head>
to:
<head>
    <title data-template="config:app-title">App Title</title>
    <meta name="viewport" content="width=device-width, initial-scale=1.0"/>
    <meta data-template="config:app-meta"/>
    <link rel="shortcut icon" href="$shared/resources/images/exist_icon_16x16.ico"/>
    <link rel="stylesheet" type="text/css" href="$app-root/resources/css/bootstrap-3.0.3.min.css"/>
    <link rel="stylesheet" type="text/css" href="$app-root/resources/css/style.css"/>
    <script type="text/javascript" src="$app-root/resources/js/jquery/jquery-2.2.1.min.js"/>
    <script type="text/javascript" src="$app-root/resources/js/bootstrap-3.0.3.min.js"/>
</head>
change
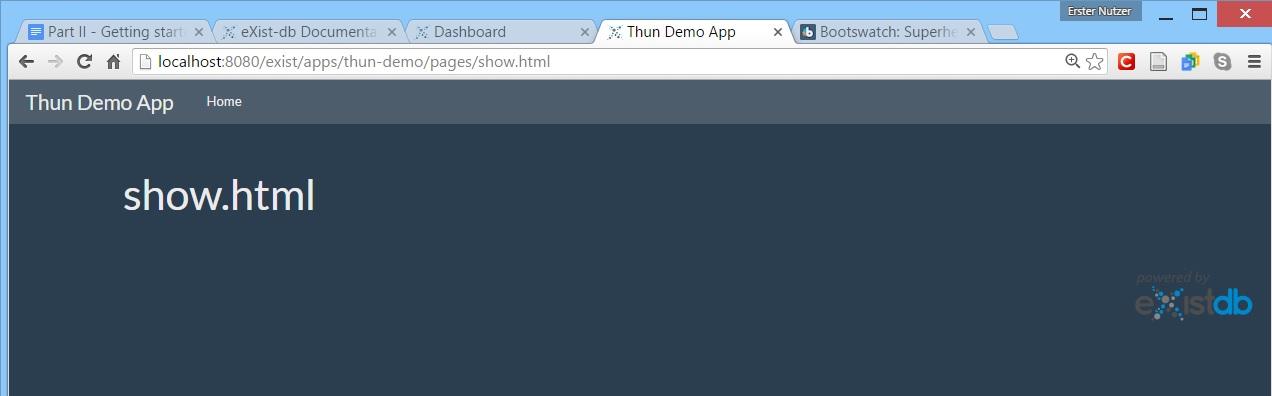
The actual effects all this hard work might be not very astonishing because the only visible change is the shrunken and now properly right-aligned eXist-db logo in our show.html.
To check if our templates/pages.html template is really loading the bootstrap library from our application’s resource collection, let’s change the bootstrap theme. To do this, you could go to http://bootswatch.com/, select the theme you like, click on download, copy the all the CSS text, go to the bootstrap file in our application’s resource/css collection (resources/css/bootstrap-3.0.3.min.css), open it and replace its entire content. Save your changes, go back to the browser and reload the page. If nothing went wrong, you should see some changes as on the screenshot below, showing our application styled with http://bootswatch.com/superhero/

Puhh, quite some work. Let’s sum up what we have achieved so far:
We
-
installed eXist-db
-
created our first eXist-db web application with the help of eXist-db’s Deployment Editor
-
created our first own HTML site
-
customized the application layout to our (well, mine) needs
-
decoupled our application from eXist-db’s shared-resources
-
created a custom variable in controller.xql to address our new resources directory
-
adapted our application’s base template tamplates/page.html in a way that it now reflects all our changes.
In the third part of this tutorial we will upload the XML/TEI files into our database and write our first XQuery function which will generate a very basic table of contents from the uploaded XML/TEI documents. To present this table of contents to the users of our web app, we will also learn how to integrate XQuery functions in HTML code.
1 Usually the pages directory was meant to store all HTML documents except the index.html which serves as starting page of the application. I kept index.html in the root directory to not break the application’s default URL redirecting/rewriting logic meaning when you enter http://localhost:8080/exist/apps/thun-demo, you will be automatically redirected to http://localhost:8080/exist/apps/thun-demo/index.html. Unfortunately this separation of HTML documents leads to difficulties concerning resolving relevant links which made some extra coding necessary. But thanks to the comments of Stefan Probst, such a separation is not needed any more.↩