Share your notebooks on Binder
If you want to share notebooks you have made using the .NET Jupyter kernel, one easy way is to generate a Binder image that anyone can run on the web.
- A GitHub repo and at least one notebook to share
- Dockerfile to create the Binder image
- A Nuget.Config file to provide package sources needed by your notebooks
You can use the Dockerfile and Nuget.Config files from the folder samples/my binder to get started.
The repo file structure should look something like this:

The Dockerfile will install the .NET SDK, then copy the notebooks and Nuget.config to the notebooks folder.
# Copy notebooks

COPY ./notebooks/ ${HOME}/notebooks/

# Copy package sources

COPY ./NuGet.config ${HOME}/nuget.config

RUN chown -R ${NB_UID} ${HOME}
USER ${USER}
Now push your changes to github.
Open a browser to Binder.
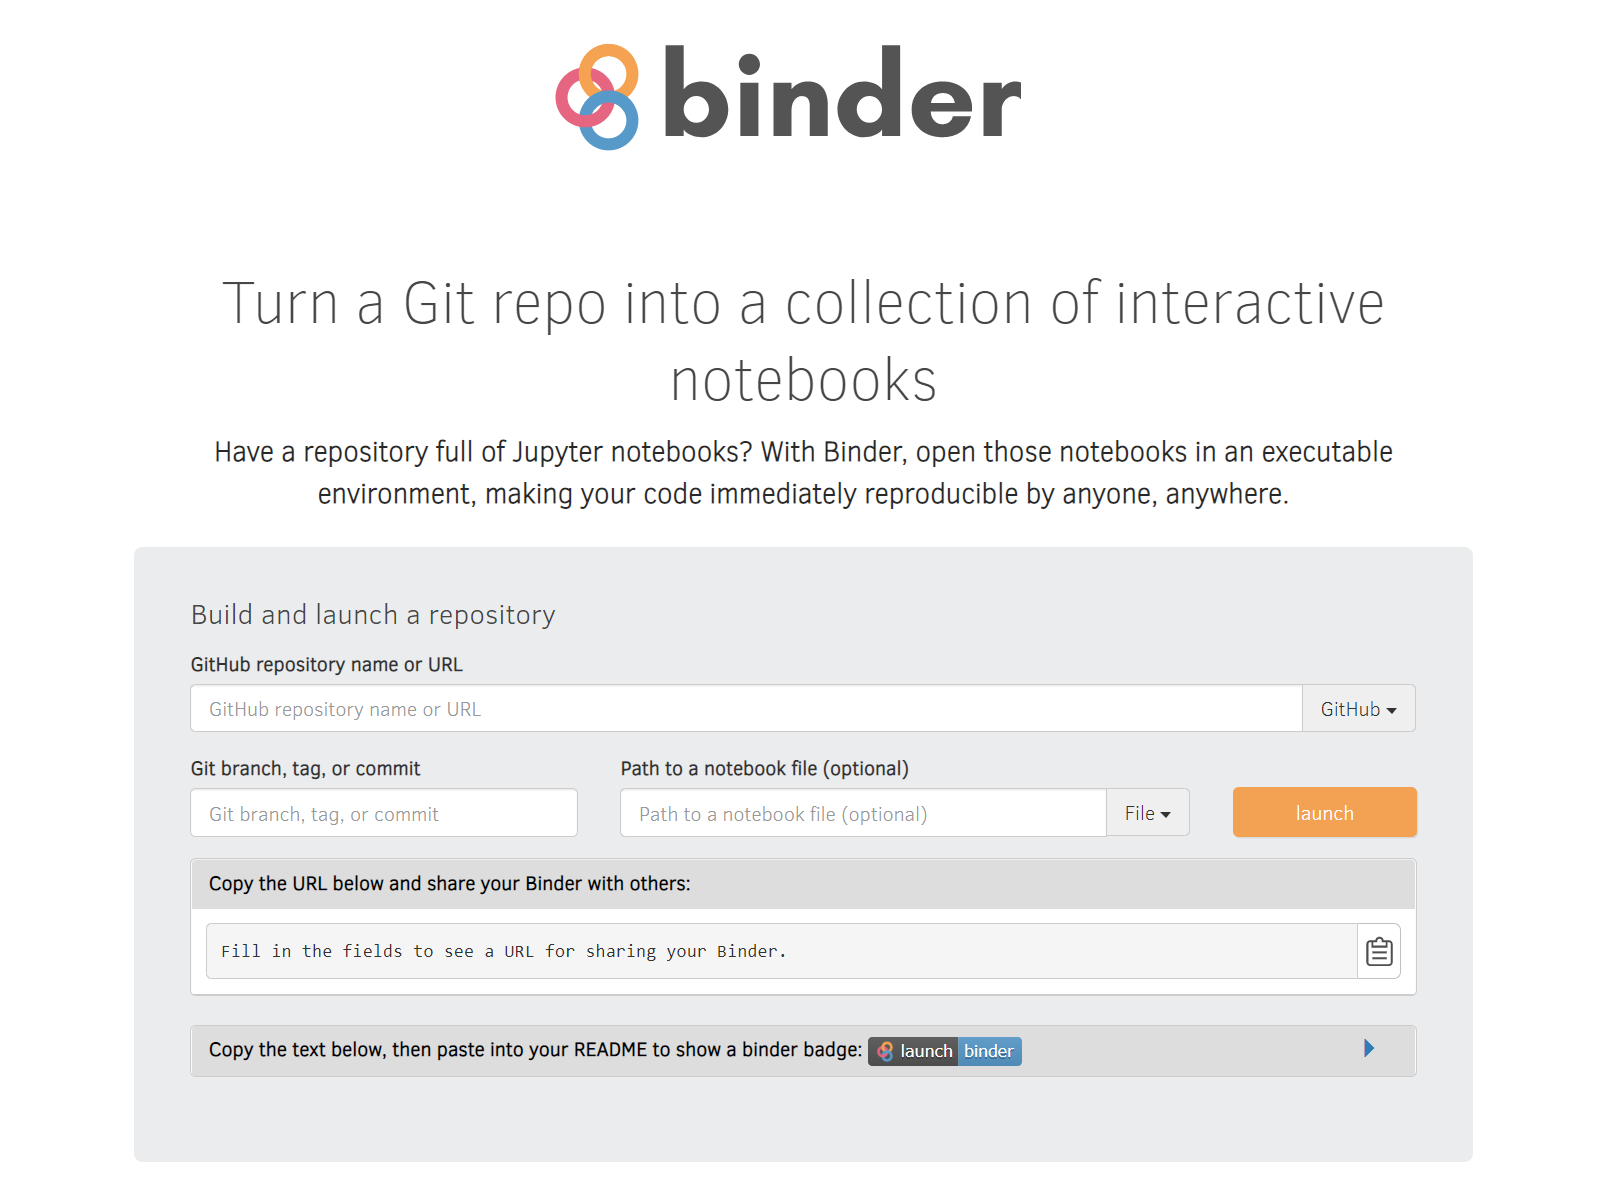
Enter your repository URL and branch.

Press launch to test your Binder.
During development it is useful to use a commit hash so that you can test different commits at the same time.
When you're happy with the result, expand the section to reveal the badge code, which you can embed in your blogs and posts.

By default, Binder will start with the Jupyter Notebook frontend. If you prefer to use JupyterLab, just add the query parameter ?urlpath=lab to the URL in your badge.
For example, change this:
[](https://mybinder.org/v2/gh/dotnet/interactive/main)
into this:
[](https://mybinder.org/v2/gh/dotnet/interactive/main?urlpath=lab)