Creating visualizations for data is one of the key features of notebooks. In both Visual Studio Code and Jupyter, the frontend can render HTML, and there are numerous libraries available for .NET and Python the help create plots and visualizations. It's common in such libraries that you can write code that executes in the kernel, and the library handles the transformation into HTML and JavaScript for you. With .NET Interactive, there are some APIs available to simplify the process of directly writing your HTML and JavaScript. This enables you to create custom visualizations and directly access the broader ecosysytem of JavaScript libraries without needing wrapper libraries. You may choose to use these APIs directly or use them to create custom extensions to enrich the visualization of .NET types.
In this section, we'll take a look at:
- Emitting HTML
- Emitting JavaScript
- Accessing kernel data from client-side JavaScript code
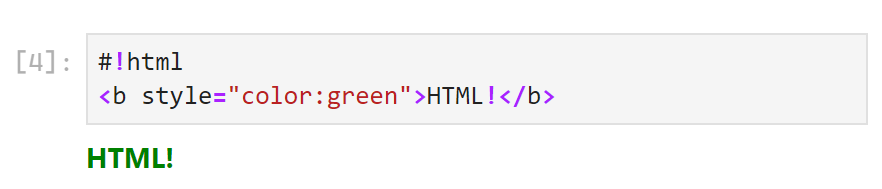
The simplest way to write some HTML to the client in .NET Interactive is to use the #!html magic command:
Another way to write out HTML is to display or return a value of type IHtmlContent, which is used to signal that a string should not be HTML-encoded but rather treated as valid HTML:

The HTML helper method is available for wrapping a string into an IHtmlContent instance, which will accomplish the same thing:

A fourth approach, if you'd like to avoid thinking about string escaping and HTML encoding, and you're writing your code in C#, is to use the PocketView API:

PocketView is a C# domain-specific language for writing HTML. You can learn more about it here.
Just like you can directly write HTML using a magic command, you can also scripts that will be run on the frontend. The simplest approach is again a magic command, either #!javascript or #!js:

Most of the interesting work in your notebook is probably happening in the kernel, not in the client, so .NET Interactive gives you a way to access the data from the kernel. Any top-level variables declared in a kernel can be accessed from JavaScript running in the client using the interactive object.
Here's an example:

The interactive object contains the following properties, corresponding to the default dotnet-interactive subkernels:
interactive.csharpinteractive.fsharpinteractive.pwshinteractive.value
Sometimes you might need to import JavaScript modules into your notebook. You can use the interactive object to do so.
Here is an example that configures RequireJS to load D3.js from a CDN. configureRequire returns a function that can be used to load the module.
#!js
dtreeRequire = interactive.configureRequire({
    paths: {
        d3: "https://d3js.org/d3.v5.min"
    }
});
You can require the module by invoking dtreeRequire. Then, you can use #!html to inject an svg element and then #!js to load and call the d3.v5.min.js library.
#!html
<svg id="renderTarget" width=300 height=300></svg>

#!js
dtreeRequire(["d3"], d3 => {
    d3.select("svg#renderTarget")
    .append('circle')
    .attr('cx', 100)
    .attr('cy', 100)
    .attr('r', 50)
    .attr('stroke', 'black')
    .attr('fill', '#69a3b2');
});
The interactive.configureRequire is equivalent to require.config.
Doing this in .NET Interactive:
#!js
dtreeRequire = interactive.configureRequire({
    paths: {
        d3: "https://d3js.org/d3.v5.min"
    }
});

dtreeRequire(["d3"], d3 => {
    console.log(d3);
});
is equivalent to doing this with RequireJS:
requirejs.config({
    paths: {
        d3: "https://d3js.org/d3.v5.min"
    }
});

require(["d3"], d3 => {
    console.log(d3);
});