![]()
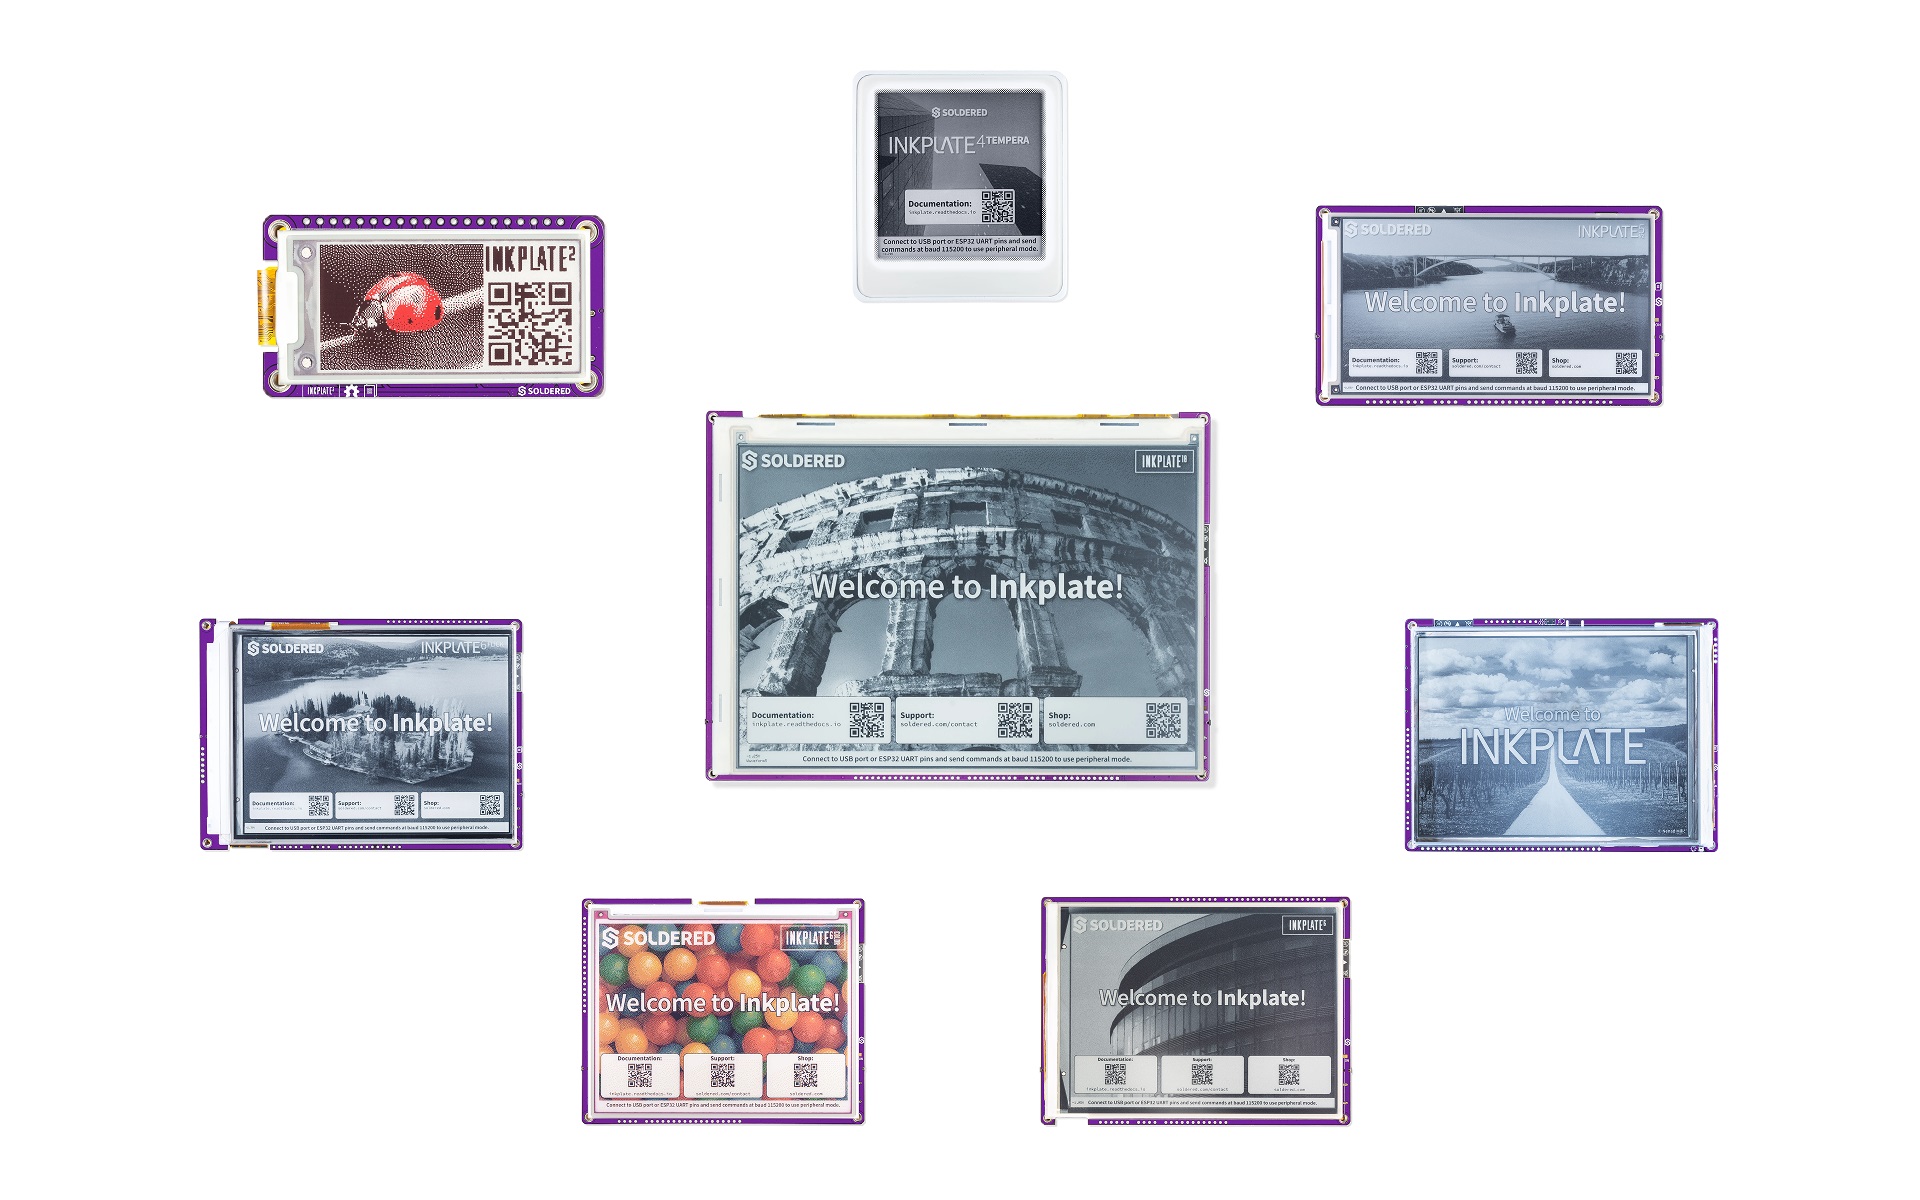
Arduino library for all-in-one e-paper display family named Inkplate can be found in this repo. Inkplate is a series of powerful, Wi-Fi and Bluetooth enabled, ESP32 based e-paper display products. Its main feature is simplicity. Just plug in a USB cable, open Arduino IDE, and change the contents of the screen with few lines of code. Inkplate family currently includes Inkplate 10, Inkplate 6 and Inkplate 6PLUS, Inkplate 6COLOR and Inkplate 2. Inkplate 6 was crowdfunded on Crowd Supply, as well as Inkplate 10, Inkplate 6PLUS and Inkplate 6COLOR. Inkplate 2 was funded on Kickstarter. All available to purchase from soldered.com.
In order to get a head start with Inkplate (any), follow these steps:
- Install Inkplate board definition - add Inkplate 6/10/6PLUS/6COLOR/2 as a board into your Arduino IDE. Follow the instructions on the link.
- If you aren't using macOS install CH340 drivers (in case you don't have them yet) - instructions here
- Install Inkplate Arduino library - Install the library from the Arduino Library Manager (just type "Inkplate" and click "Install") or install it with this repo. If you don't know how, check our tutorial.
- You are ready to get started! Select Tools -> Board -> Inkplate Boards and then pick correct one, as well as correct COM port and upload!
There are many examples in the library that you demonstrate how to use any of the Inkplate functionality. Use Basic folder to get familiar with principles of using the Inkplate, such as modes (BW and Gray), how to write graphics and text or just basic capabilites such as touchscreen or front lighting (if your Inkplate supports it). In Advanced folder, you'll learn how to make HTTP/HTTPS requests, utilise low power, use touchpads or SD card, read RTC, etc. Finally, get easily started on some projects. Some of the projects are Google calendar, Weather Station, Image Frame, Crypto Currency Tracker and more. Examples and projects are added regularly by us or from community contributions. There is also a diagnostics folder with all tools for more advanced users (such as VCOM programming, waveform selection, etc).
Find Inkplate documentation here.
Inkplate screen contents can be updated using 3rd controller (such as Raspberry Pi or another microcontroller). The Peripheral mode enables this. All brand new Inkplates come pre-programmed with slave mode and can be used right away.
It is based on UART (serial) communication - connect the Inkplate to "Controller" ("Master", if using old terminology) board either via USB cable or directly via ESP32 RX and TX pins. Using standard UART at 115200 baud, you can send commands to change screen contents. For example, send *#H(000,000,"/img.bmp")** to show image img.bmp from SD card on the screen. Find very documentation for using it here.
Inkplate boards has two options for powering it. First one is obvious - USB port at side of the board. Just plug any micro USB cable and you are good to go. Second option is battery. Supported batteries are standard Li-Ion/Li-Poly batteries with 3.7V nominal voltage. Connector for the battery is standard 2.00mm pitch JST connector (except on Inkplate 2, it uses SMD solder pads for battery terminals). The onboard charger will charge the battery with 500mA when USB is plugged at the same time. You can use battery of any size or capacity if you don't have a enclosure. If you are using our enclosure, battery size shouldn't exceed 90mm x 40mm (3.5 x 1.57 inch) and 5mm (0.19 inch) in height (excluding Inkplate 2, it uses this battery. This battery is good fit for the Inkplate. Also, Inkplate's hardware is specially optimized for low power consumption in deep sleep mode, making it extremely suitable for battery applications.
Please check the polarity on the battery JST connector! Some batteries that can be purchased from the web have reversed polarity that can damage Inkplate board! You are safe if you are using the pouch battery from soldered.com or Inkplate with the built-in battery .
CR2032 battery is only for RTC backup. Inkplate cannot be powered with it.
Running Linux? You'll need to run few other lines from your Terminal:
apt install python3-pip
pip3 install pyserial
apt install python-is-python3
In case you're getting an error while trying to install pyserial, run the following command:
apt install python3-serial
If you are looking for micropython support, please find all details here.
This repo uses the source code from another repositories. All their license files are located in "licences" folder.
All of Inkplate-related development is open-sourced:
- Arduino library
- Hardware design:
- Soldered Inkplate 2
- Soldered Inkplate 6 (comming soon!)
- Soldered Inkplate 6PLUS (comming soon!)
- Soldered Inkplate 10
- Soldered Inkplate 6COLOR (comming soon!)
- e-radionica.com Inkplate 6
- e-radionica.com Inkplate 10
- e-radionica.com Inkplate 6PLUS
- e-radionica.com Inkplate 6COLOR (comming soon!)
- micropython Inkplate
- OSHWA cerfiticates
Inkplate boards are available for purchase via:
For all questions and issues please reach us via e-mail or our contact form.