En: 2. Install & Upgrade
IMPORTANT NOTE: It is highly recommended not to flash directly on the same card where we had the previous installation. Doing it on a different card and keeping it for a while, we can always recover a file that we miss (such as a savestate).
- Download the dump file from the releases section of this repository corresponding to your device:
- adam_vX.X.img.xz: RG280V, RG280M, RG350/P, RG350M, PocketGo2 v2, RG300X
- adam_vX.X_PGv1.img.xz: PocketGo2 v1, GCW-Zero
- Flash the file (
img.xz) without decompressing with Balena Etcher on a microSD card of at least 4GB. - Mount the microSD in a computer. If we just flashed it, depending on the operating system, it may be necessary to remove it from the reader and reinsert it. In Windows, one of the two partitions containing the card will be mounted and the other will give an error. The error is normal since the second partition is Linux type.
- Place the kernel suitable to the console model. This can be done in several ways depending on the PC operating system.
-
Open the
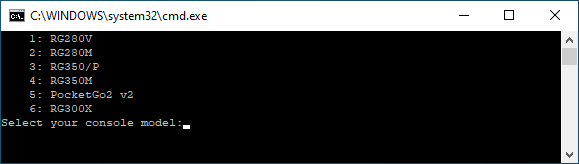
select_kernel.batscript on the partition mounted correctly, by double clicking on it.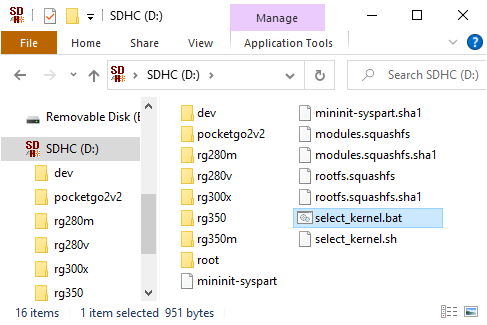
-
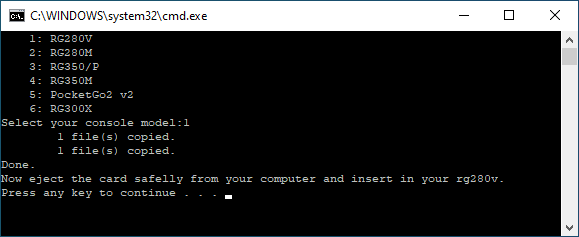
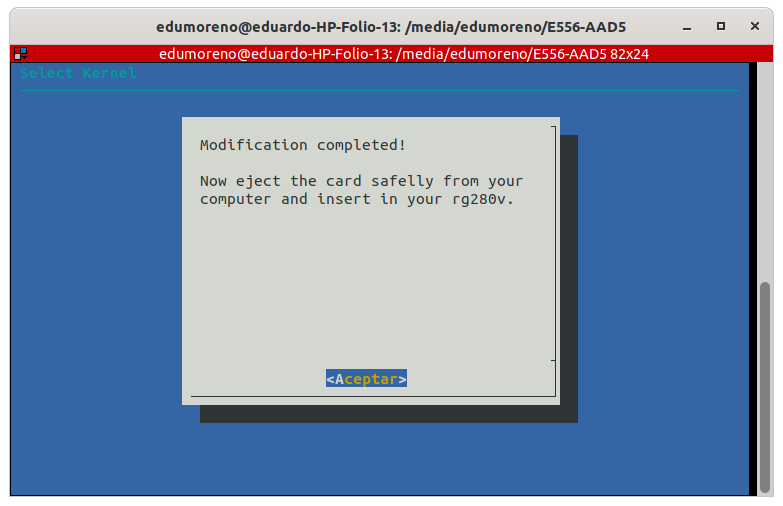
A console will appear where we will have to type the number corresponding to our console model from the list.
-
Press Return and, when prompted, eject the card safely.
For the following procedure to work, the dialog program must be installed in the distribution (sudo apt install dialog in Debian and derivatives for example).
-
Open a terminal and change the current directory to the path corresponding to partition 1 of the card (we can find out the mount point on our system with the
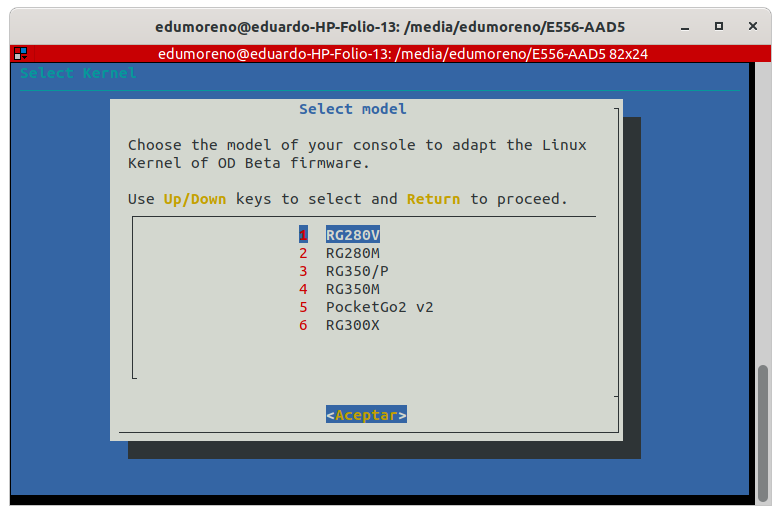
dfcommand). From that directory run the commandbash select_kernel.sh.
-
A dialog will appear inviting us to select our console model with the cursor keys.
-
Press Return and, when prompted, eject the card safely.
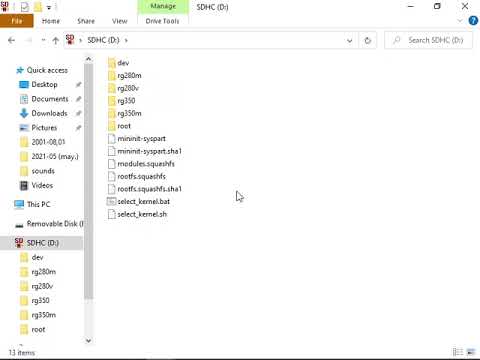
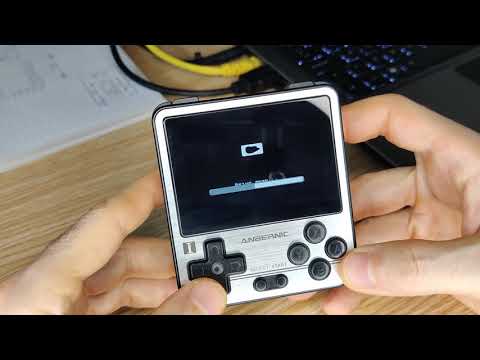
There is a third method valid for any operating system (Windows, Linux, Mac). The idea is to view partition 1 of the card with a file explorer and manually copy the two files in the directory corresponding to our console model to the root of that partition. Being a FAT32 partition, there should be no problem accessing the files from any system. Click on the following thumbnail to see a small video.
At this point, the card will be ready to work on the console model that we have selected in the previous procedure. If we have not already done yet, we will safely eject it from the PC and insert the card into the console slot marked with INT.
The above procedure can be repeated to change to another console model at any time. That is, the image is compatible with the four supported console models, so the same card will serve us for several machines.
Partition 2 contained in the image file has about 3.5GB (so it can be flashed without problems on cards with a capacity of 4GB or greater). In this version of the image, this partition will not auto expand to fill the available space on the card. If you want to do it (although it is not necessary since the heavy contents go on the EXT card), it can be done with the DiskGenius utilities for Windows or GParted for Linux.
In the first part of this video from Retro Game Corps we can see the installation process:

If you have been using the console with the previous version of the image, surely we are interested in saving the savestates of the games we have played and some personal settings. So, BEFORE flashing the latest version of the image, some of these things should be backed up. To facilitate this task, the Py Backup application can be used, which is described here and comes preconfigured with the most important files that should be periodically backed up.
The following video shows the complete update process. IMPORTANT: Steps 1 to 6 of the video will only be necessary if the release that we are going to install includes an improved configuration for Py Backup among its files (config.ini).

The v2.0 contains an important change to facilitate upgrading to future versions. RetroArch savestates and standalone emulators that support them will now be stored on the external card, so they will not be lost when flashing the internal card with a new version of the image. The configuration files however have been kept on the internal card as they are part of the design of the image. Advanced users who make modifications to these configurations can still use Py Backup to backup/restore them.
To facilitate the special migration between the 1.x and 2.x branchs of the image, a small utility has been created that copies all the savestates to the new directory structure of the external card that will keep them from now on. SimpleMenu favorites and settings made at the ROM level of the emulator chosen to run them are also copied. The utility is the adam_v2.0_migrator.opk file which is included in the v2.0 release files. The following video shows how to install and use this utility.
Once used, delete the adam_v2.0_migrator.opk OPK as it will no longer be needed.