Tutorial
The Armory Drive provides a pocket encrypted drive solution based on the USB armory Mk II.
It allows one-tap unlock of a microSD backed encrypted USB drive through its companion F-Secure Armory Drive iOS app over Bluetooth.
See the detailed specifications for full explanation of the security model.
The Armory Drive firmware is meant to be executed on the USB armory Mk II, see the following purchasing information.
The F-Secure Armory Drive iOS app must be installed on your mobile device.
The Armory Drive firmware can be installed and upgraded by the Armory Drive
installer (armory-drive-install found in all releases).
If the USB armory already contains a microSD card, remove it.
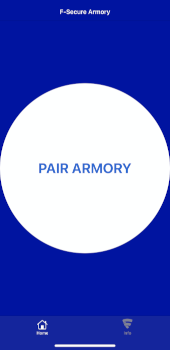
On your mobile phone, start the F-Secure Armory Drive iOS app:
Click on the pair armory button:
Click on the continue button twice, then on Scan QR-code:


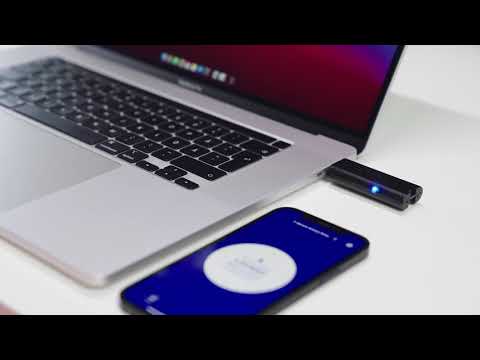
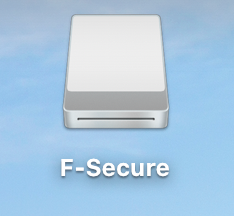
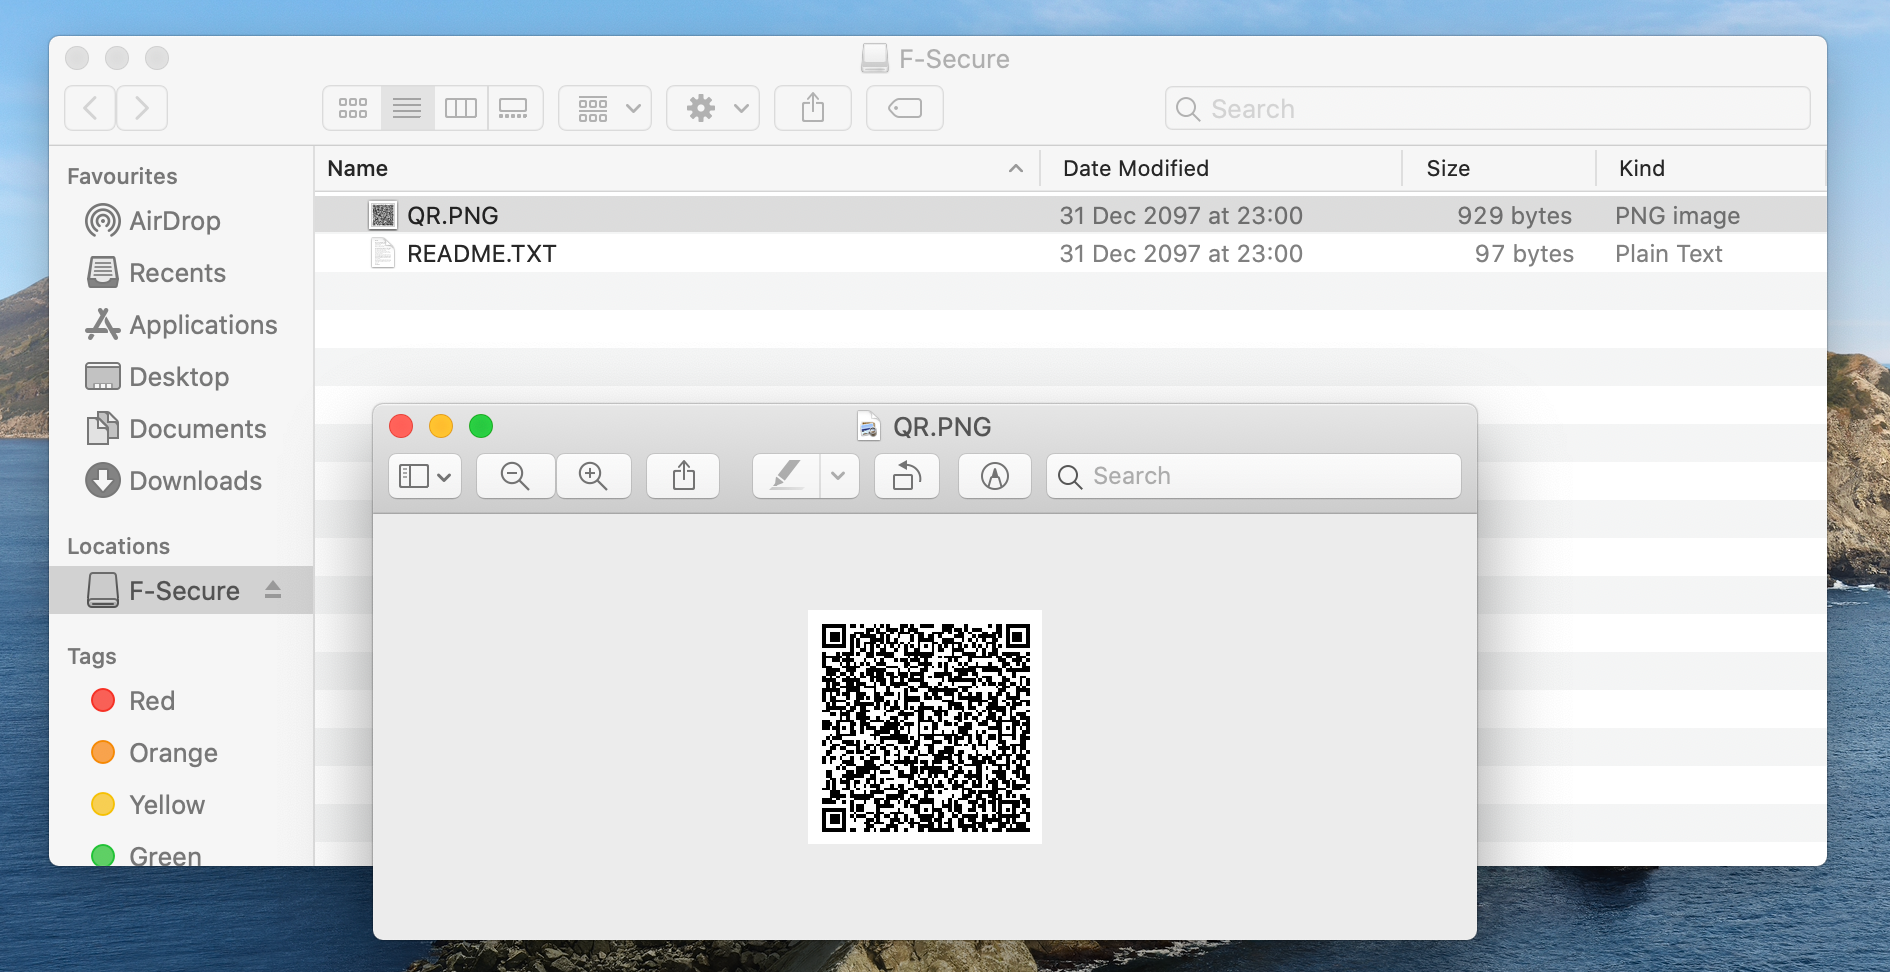
On your computer, plug the USB armory and a new F-Secure disk should appear:
Open the file named QR.PNG and scan it with your phone.
Your phone should now display the following screen:
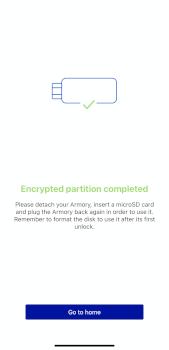
As instructed, you can now unplug the USB armory and insert a microSD card.
Every time a new pairing is complete the encryption key material is refreshed, therefore the microSD card needs to be initialized at the first unlock, through the USB armory device.
/!\ The content of the microSD card will be erased, make sure to backup any important files before continuing.
Formatting the microSD card can be accomplished by plugging in the USB armory in your computer and pressing the LOCKED button, to unlock it for the first time, in the USB armory application on your phone:
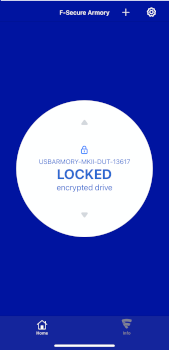 >
> 
Your computer should offer you an option to format the disk.
The following prompt will appear on first unlock, click the Initialise...
button.
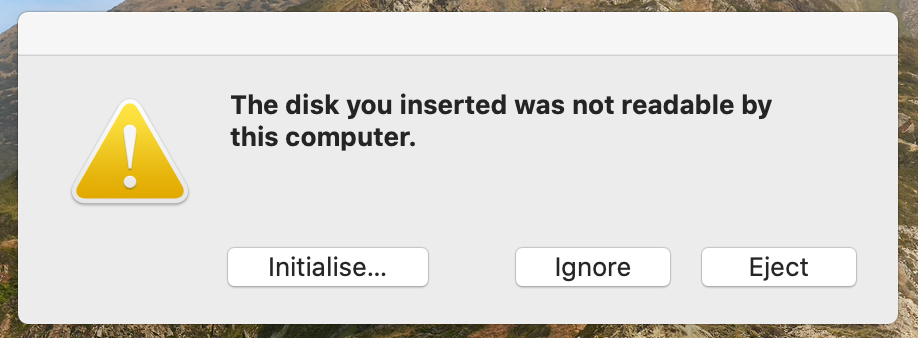
⚠️ only on macOS versions before Big Sur, due to a macOS bug, theInitialise...might not work. In such cases theDisk Utilityprogram must be invoked manually.
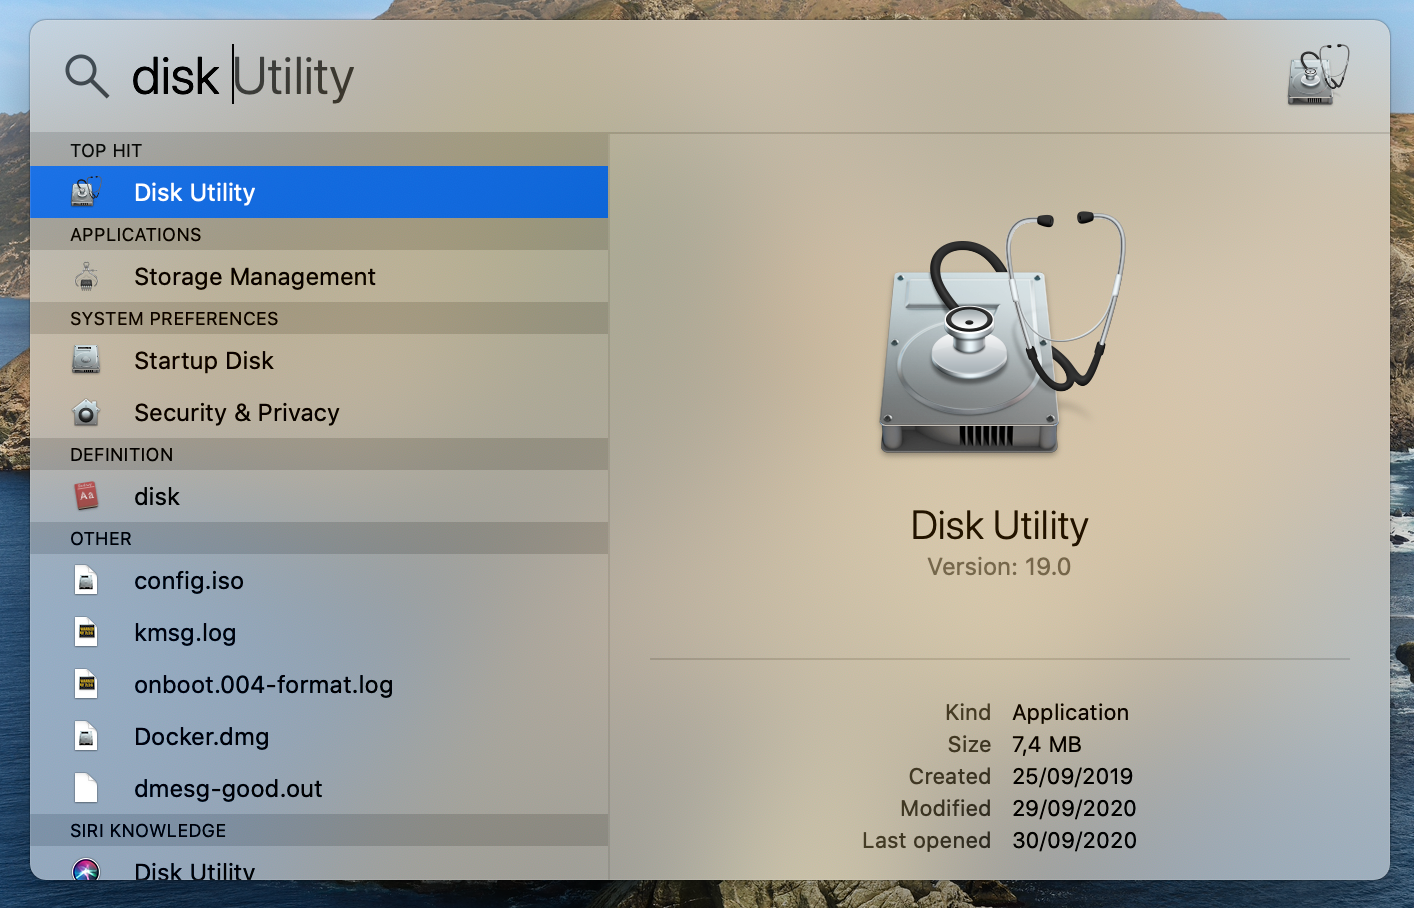
Select the F-Secure disk and click the erase button:
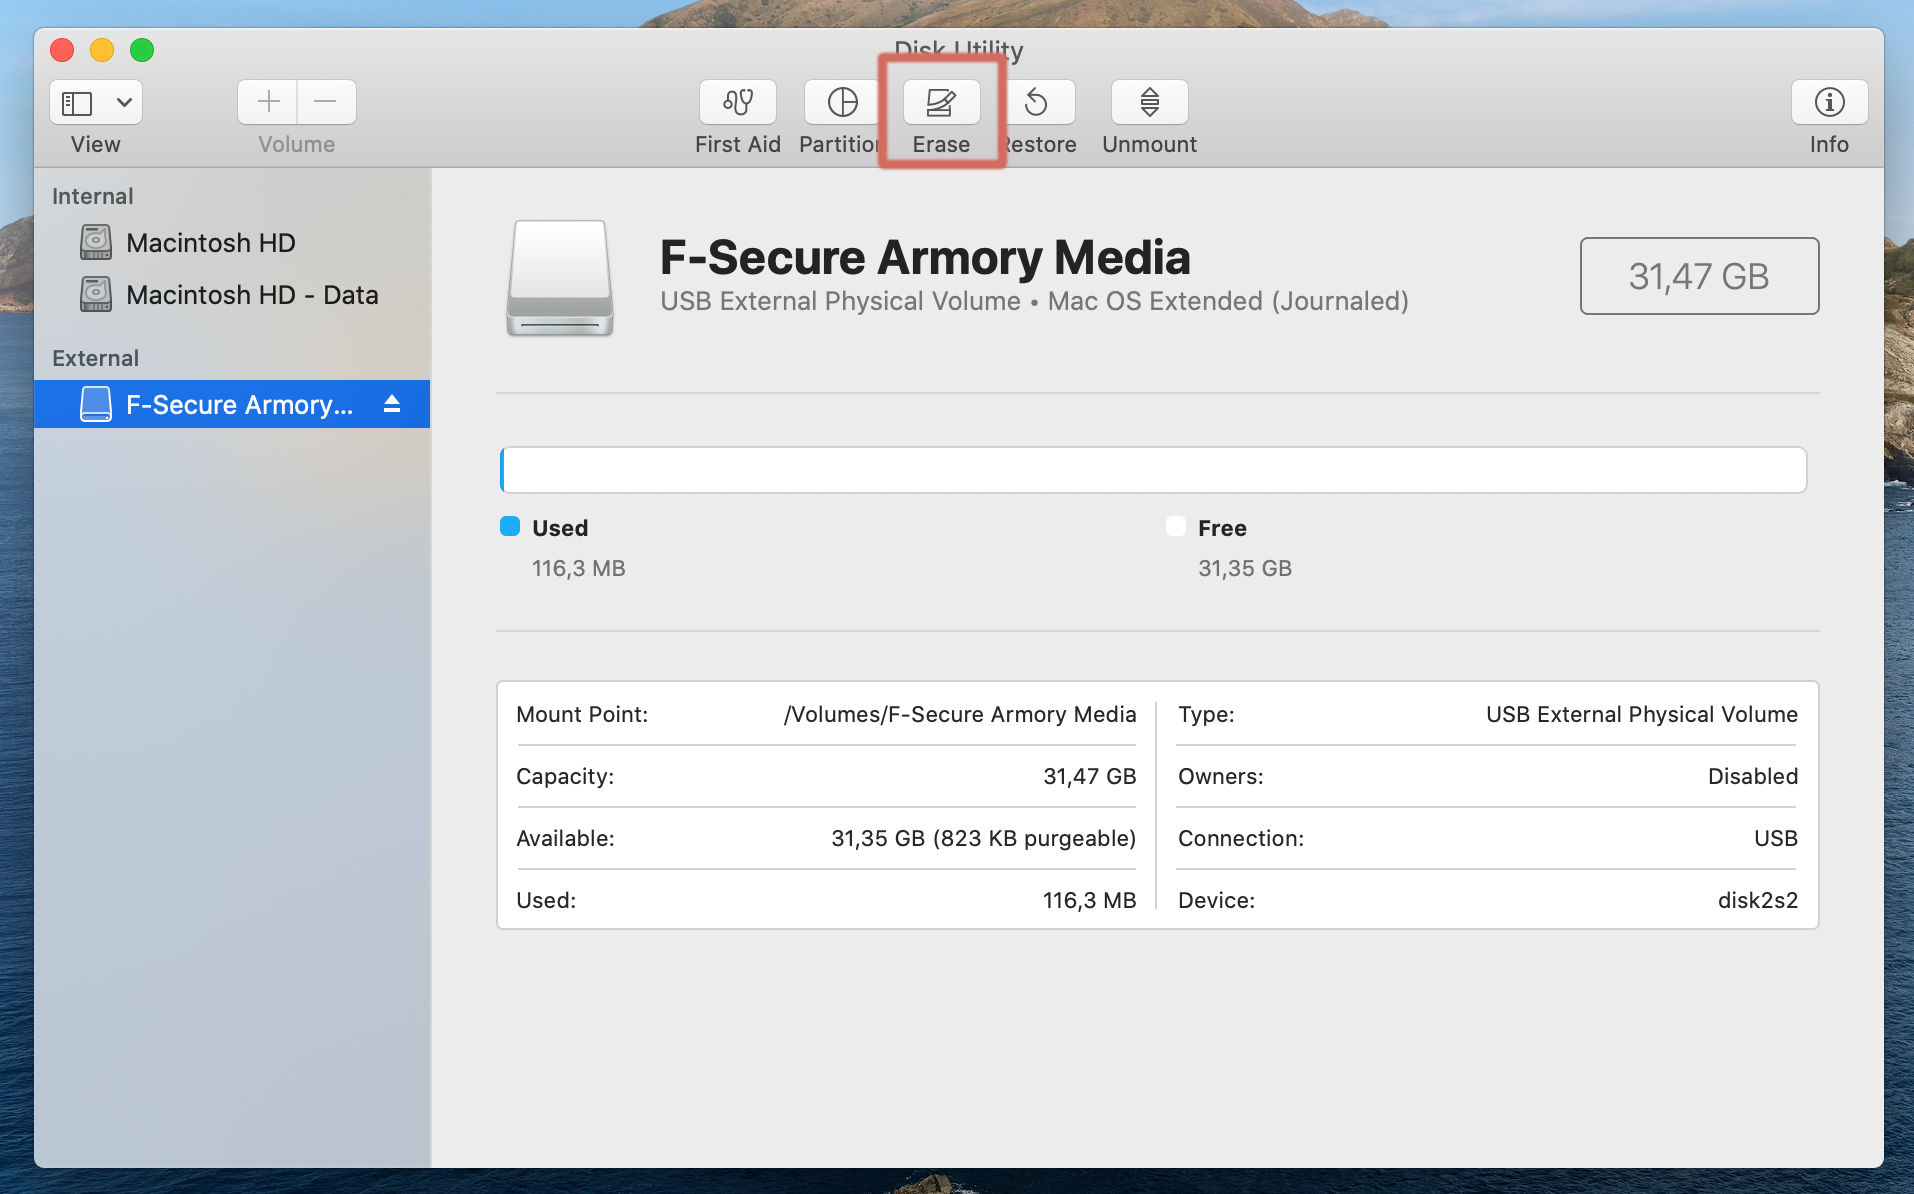
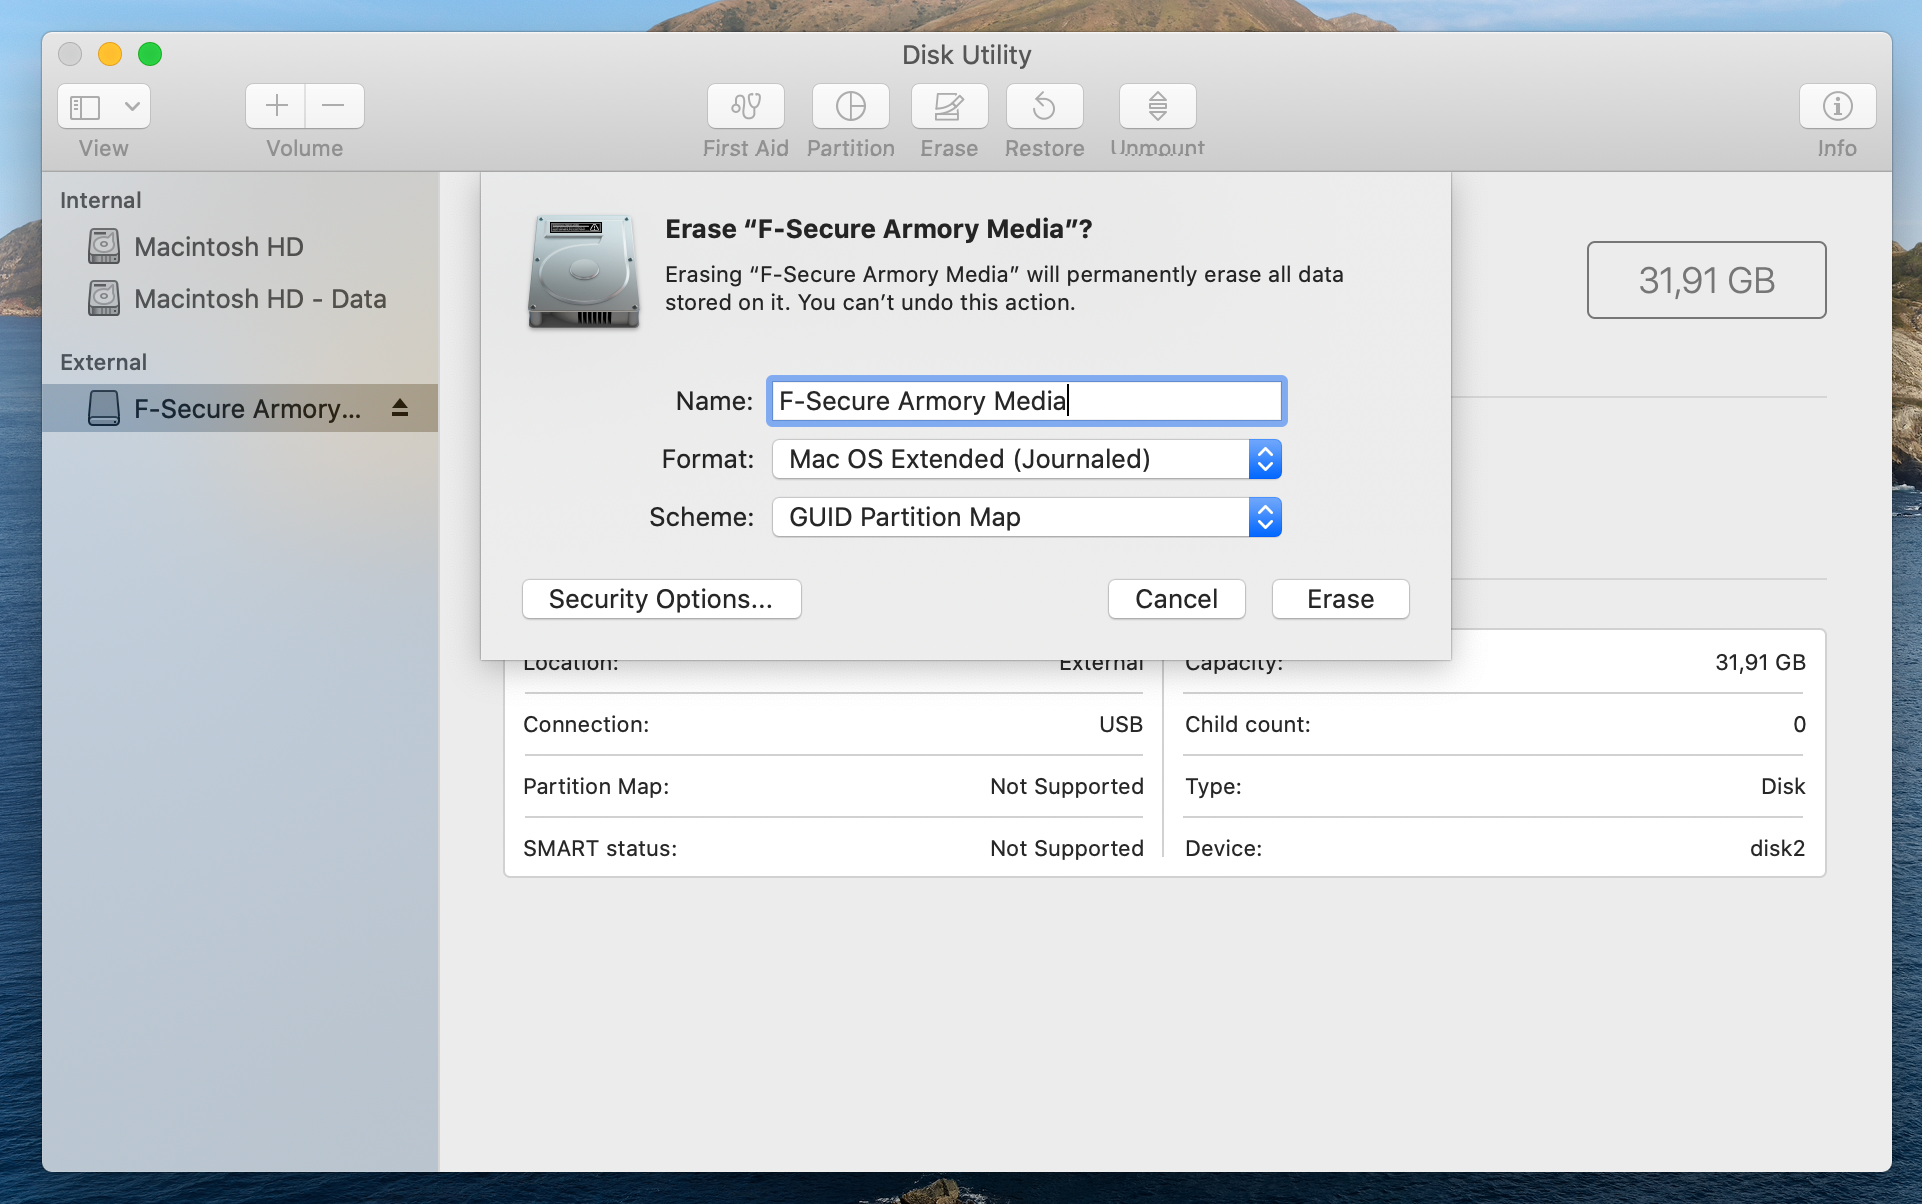
You can leave the default options or select MS-DOS (FAT) to have Windows compatibility. Click on Erase to run the formatting.
Wait for the completion of the format operation:
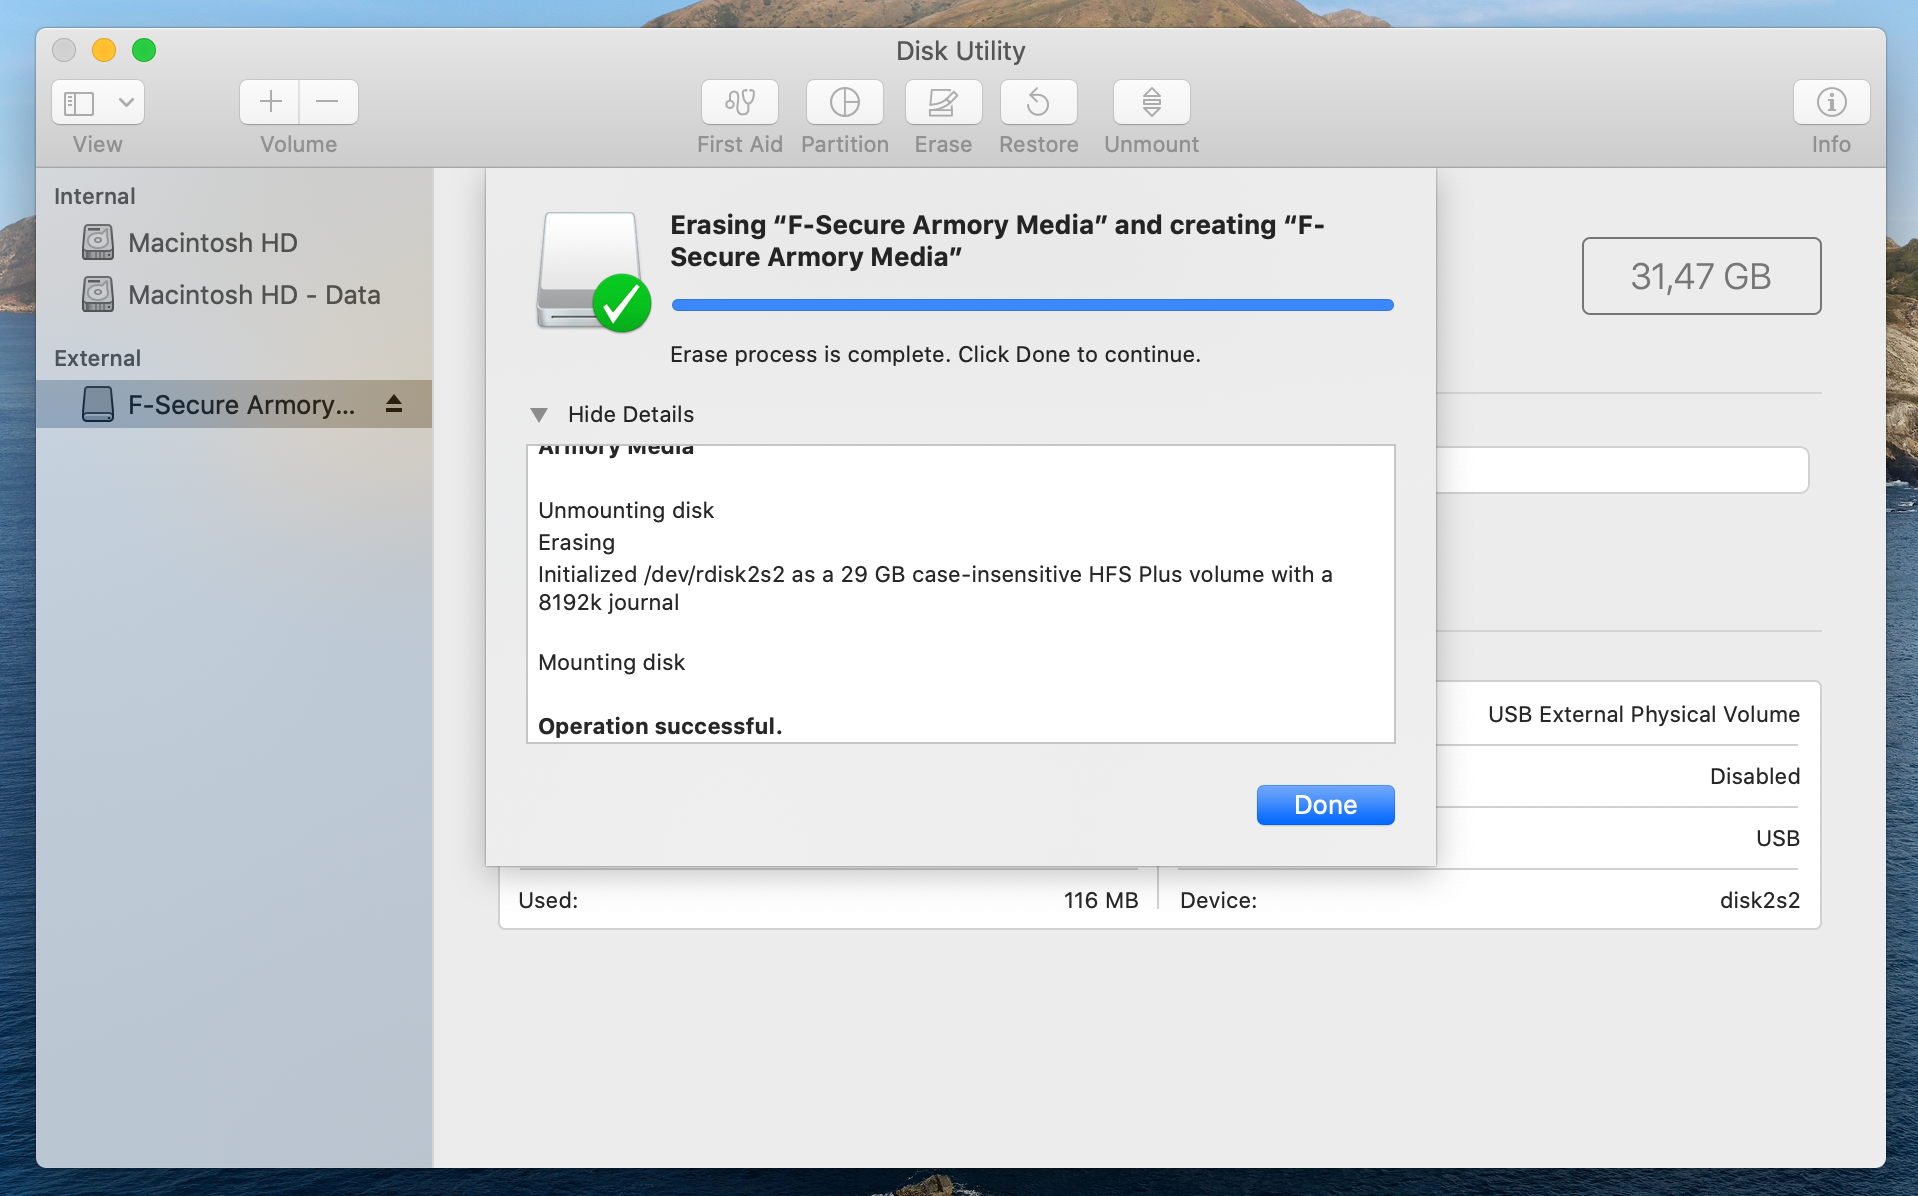
A new F-Secure disk should appear:

You can now drag and drop files to your encrypted drive. When you are done, eject the disk:
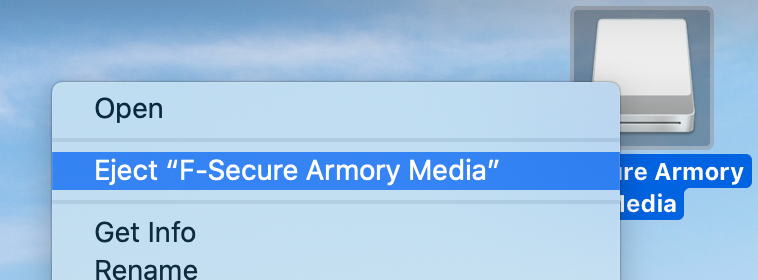
On your phone, the armory should lock itself automatically.
The armory can be also locked manually at any time either through the mobile application or by simply detaching it, though it is always recommended to simply eject the drive from the OS. When detaching it without safe removal (e.g. eject) the same common recommendations of standard drives apply, data loss or corruption might happen if write operations are being performed.
A paired Armory Drive, with an initialized microSD card, can be used as any USB drive while unlocked through the mobile application.
To lock the drive simply eject it from your OS, alternatively it can be locked from the mobile application or unplugged (not recommended as data loss or corruption might happen).
The application supports Face ID or passcode authentication for the unlock operation, if undesired it can be disabled in the Info section of the mobile application.
Your data can be lost without proper care or backup, make sure to read the FAQ and specifically the following items:
- What happens if I lose or break my phone?
- What happens if I lose or break the USB armory?
- What happens if I lose or break the microSD card?
In case data loss is a concern, carefully review the available recovery options to plan ahead.