
![]()
fEMR is a fast EMR solution for remote clinics who depend on speed and ease of use rather than complex features. Check out Team fEMR's website for more information and a live demo.
For more information on contributing, please see the CONTRIBUTING.md file. For details regarding installation and deployment, continue reading.
This repo uses Github Actions workflows for continuous integration, which can be found under the Actions tab in Github (https://github.com/CPSECapstone/zzs-femr/actions?query=workflow%3A%22Scala+CI%22). The Scala CI workflow runs 'sbt test' whenever code is pushed or a pull request is made to the main branch.
- It is very important for the administrator to backup local data to the remote database.
- A cronjob can be set up before a kit is deployed to automatically display a message once a week.
- In the command line, type crontab -e
- A text editor should appear.
- Add the following line to this file: 0 11 * * 5 /util/WeeklyReminder.sh
- This will display a reminder pop up at 11:00AM every Friday.
- fEMR is not HIPAA compliant (... yet).
- fEMR is not meant to diagnose, treat, cure or prevent disease.
- fEMR may attempt to establish a secure remote connection when internet access becomes available. This behavior is configurable and turned off by default.
Email: kevin.zurek@teamfemr.org
- Make sure you have Docker installed and running on your machine.
- Clone the FEMR/femr repo:
git clone https://github.com/FEMR/femr.git - Checkout the super-femr branch:
git checkout super-femr. - Cd into the femr directory:
cd femr - Run
docker-compose upto start the app. - If step 5 successfully finishes, then the app will be available at http://localhost:9000/
git clone https://github.com/FEMR/femr.gitgit checkout super-femr
- Open the MySQL Workbench.
- Select the db icon to create a new schema and call it
femr_db.
screenshot

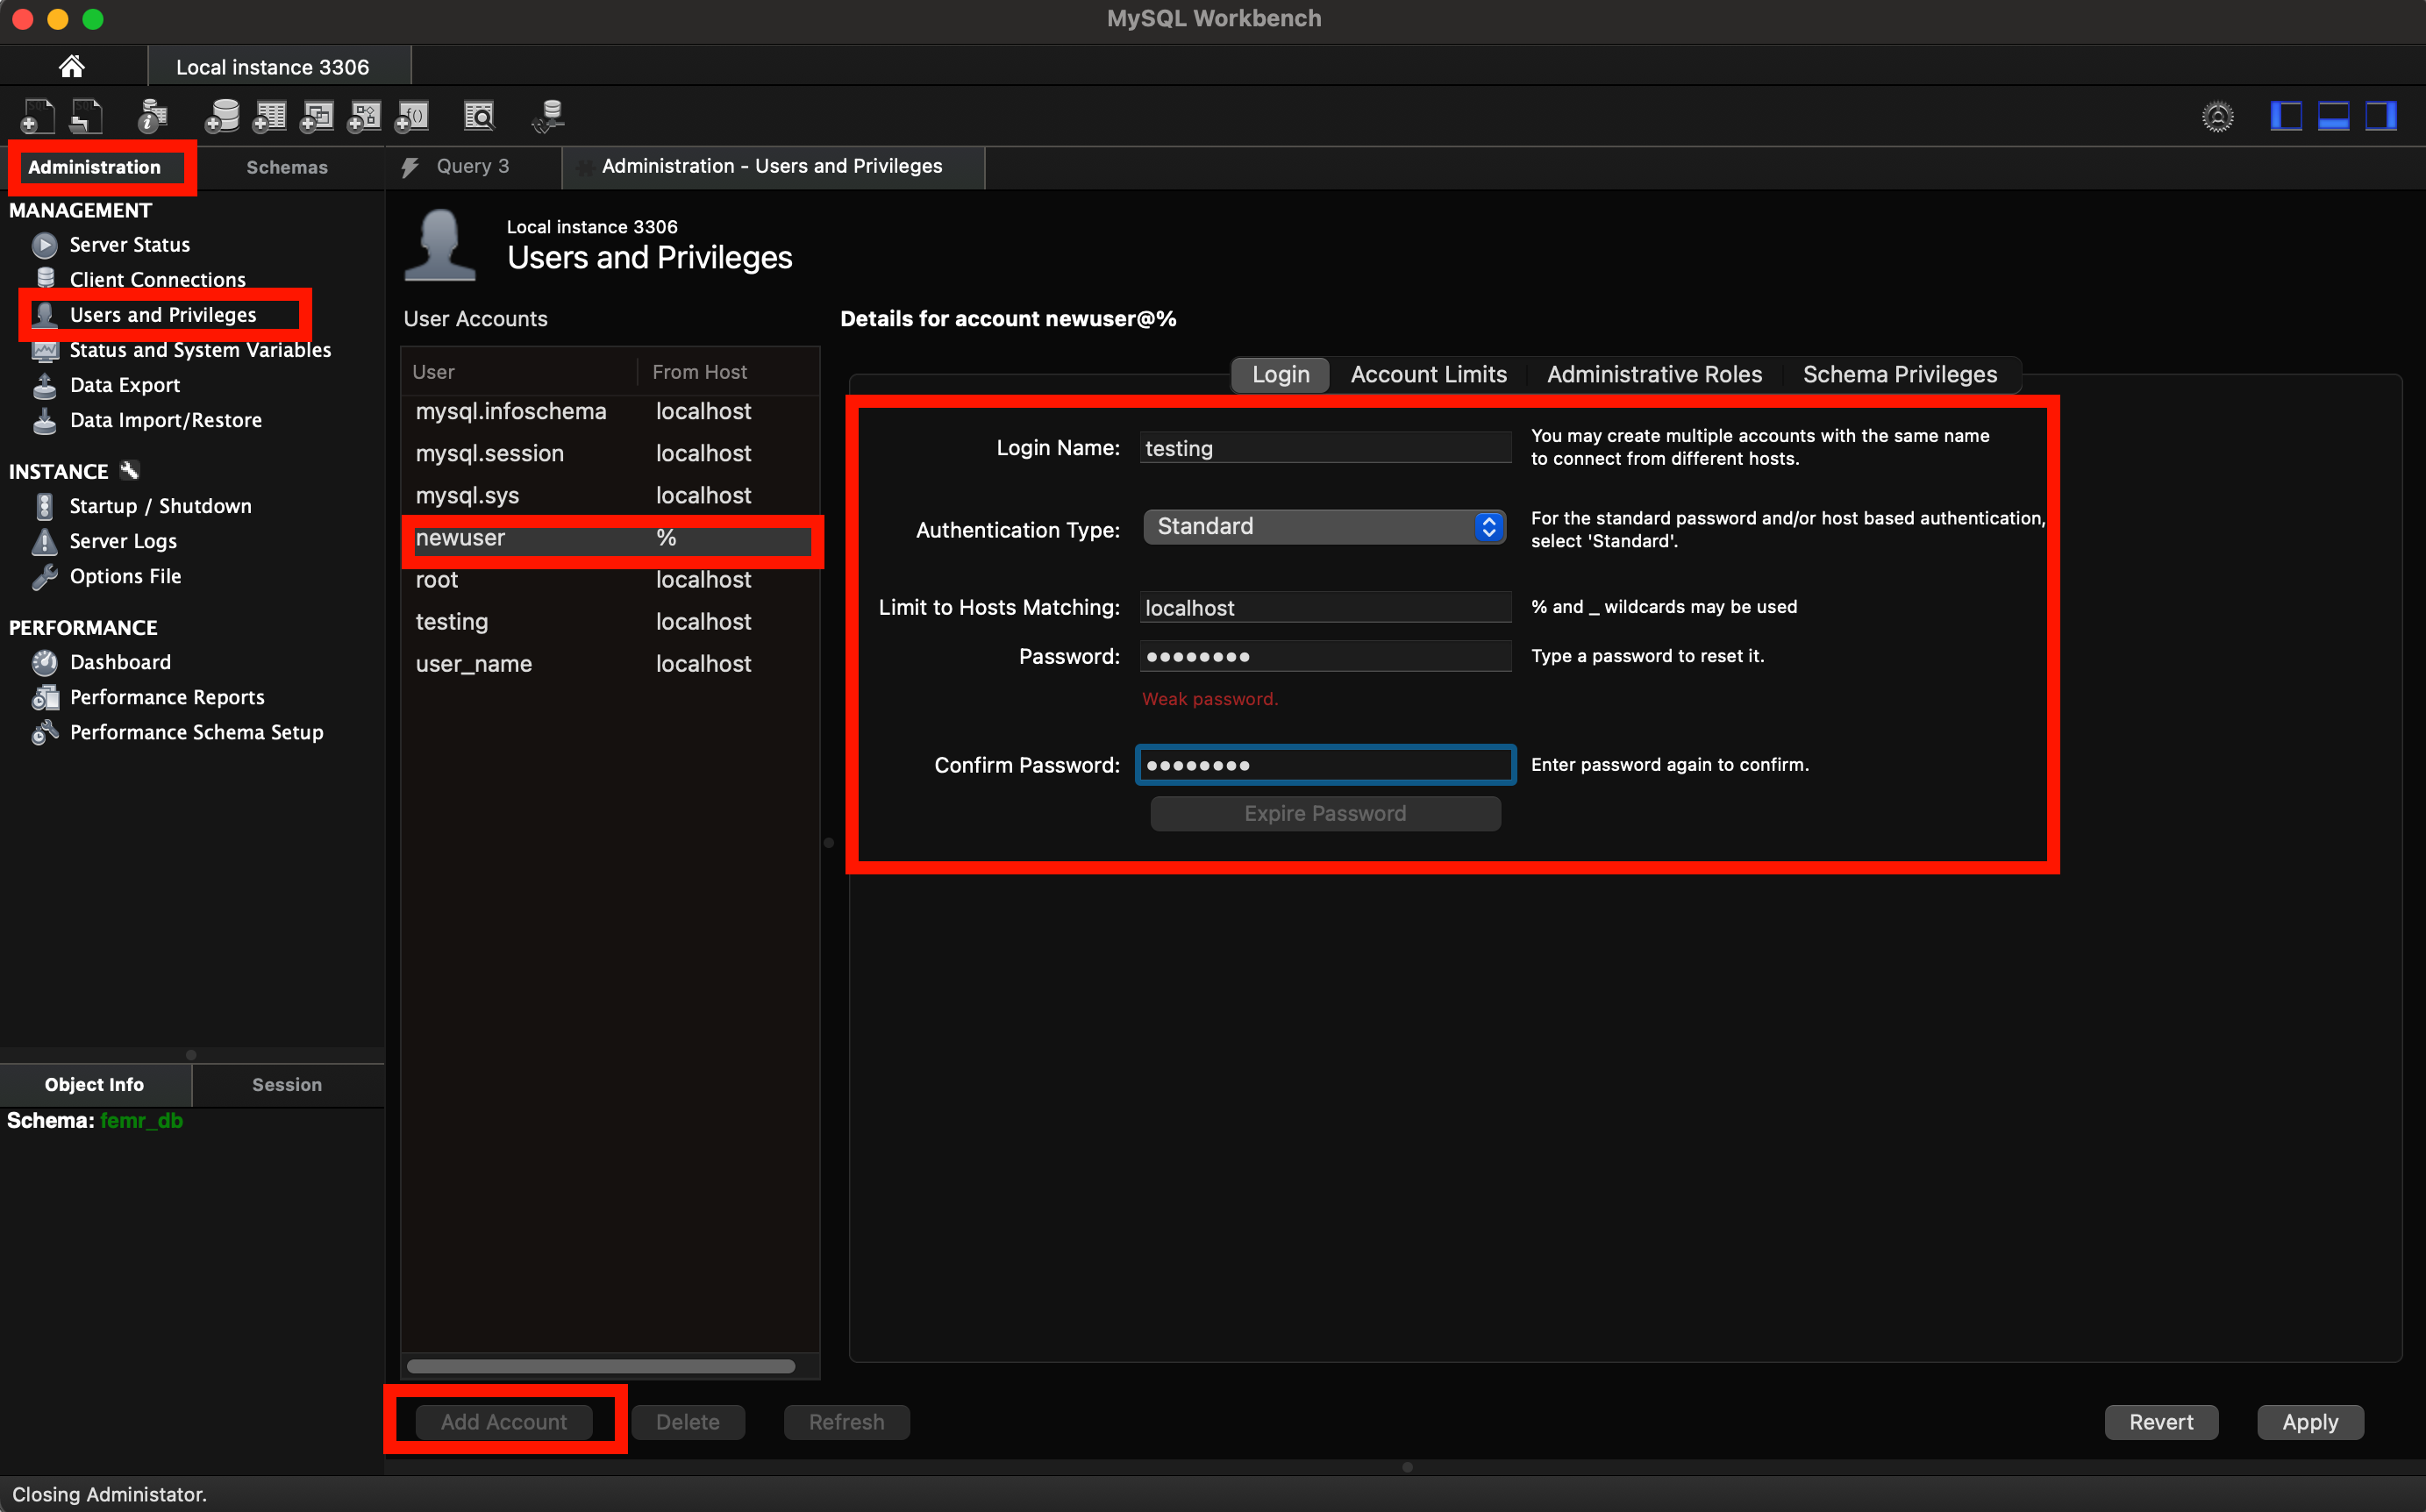
- Under the Administration tab, select
User and Priviliges. ThenAdd accountand addLogin nameandPasswordof your preference. Save the login and password because you will need it in the later steps.- For this example, the username is
testingand password ispassword.
- For this example, the username is
screenshot
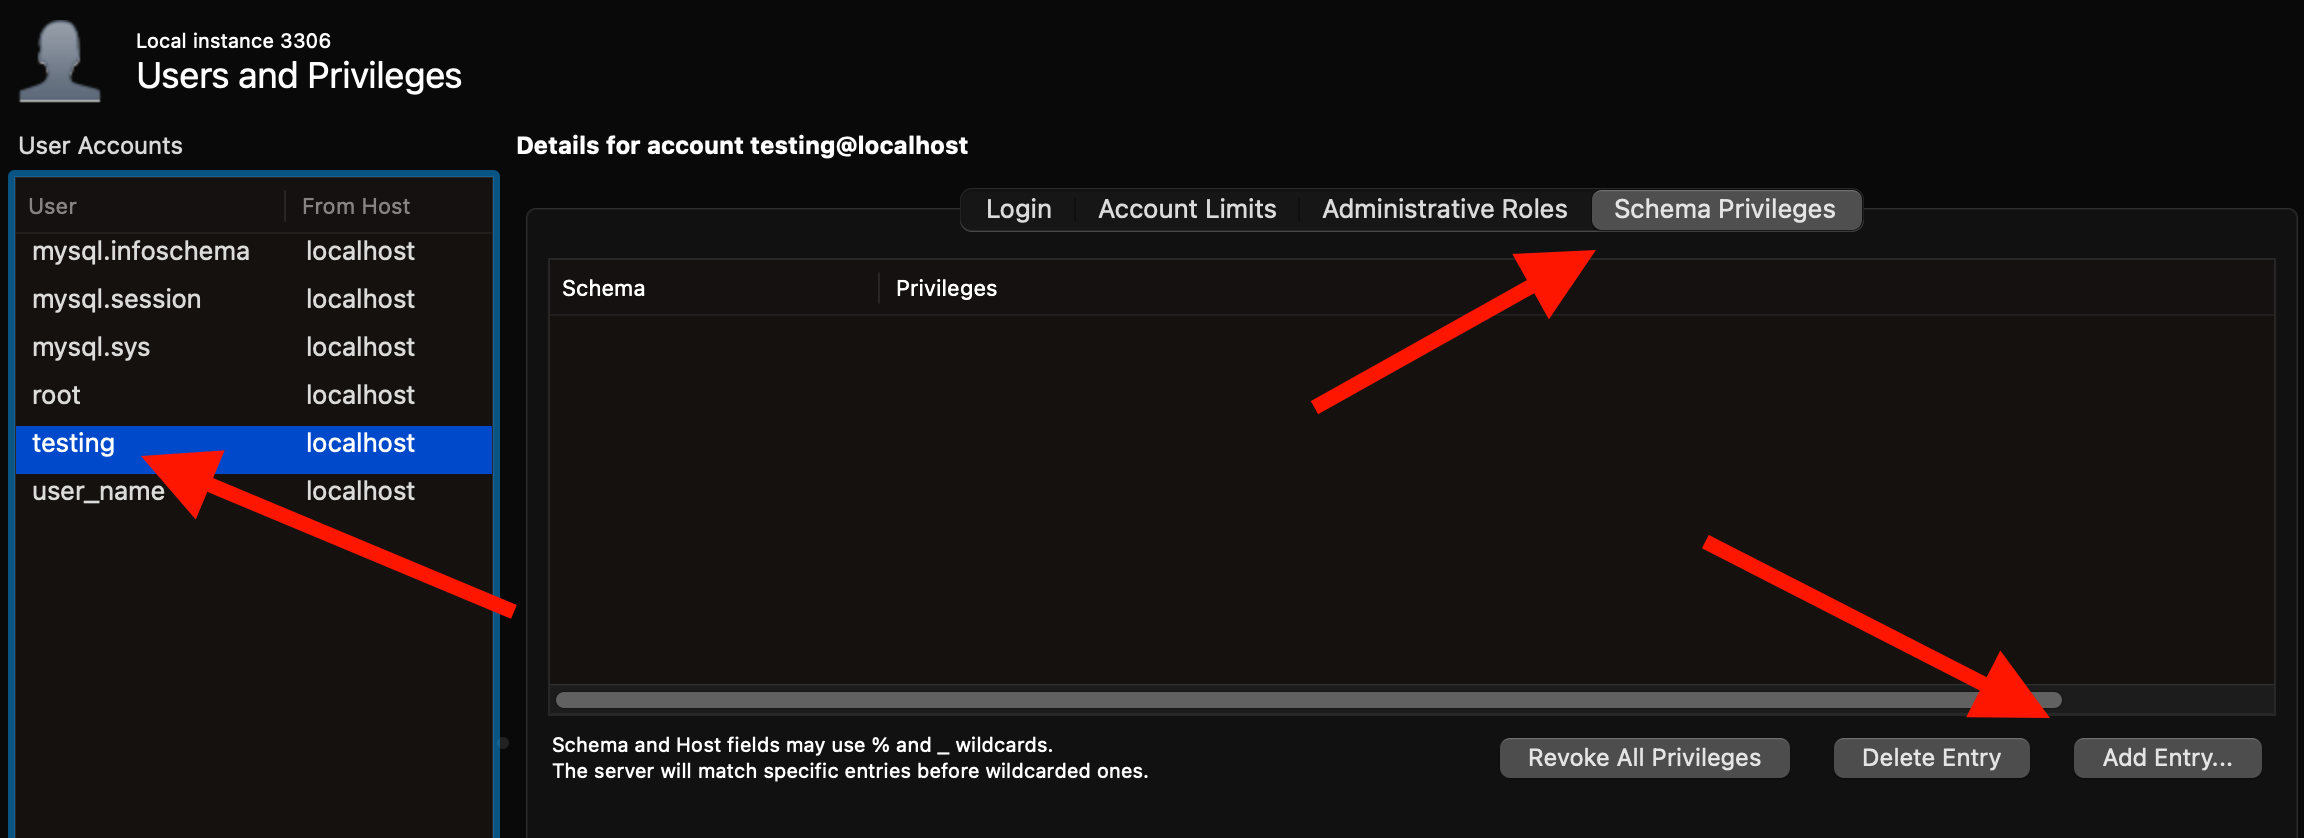
- Then go to the
Schema Privilegestab, selectAdd Entry...for the user you created in the previous step, and select thefemr_dbschema.
screenshot

- Give all of the rights, except the
GRANT OPTION.
screenshot

-
Open IntelliJ IDEA Ultimate. Then open the
femrproject withsuper-femrbranch checked out. -
In IntelliJ IDEA Ultimate and go to
Preferences->Plugins-> clickMarketplace-> Then downloadScalaandPlay Framework. Then restart the IDE. -
Inside
femr/conffolder, create a new file namedapplication.dev.conf. -
Copy the following settings inside and save it. Note that
db.default.usernameanddb.default.passwordvalues must match the account and password from the Step 3.3. For this example, my username istestingand password ispassword.
include "application.conf"
settings.researchOnly=0
db.default.url="jdbc:mysql://127.0.0.1:3306/femr_db?characterEncoding=UTF-8"
db.default.username="testing"
db.default.password="password"
photos.defaultProfilePhoto="./public/img/defaultProfile.png"
csv.path="./Upload/CSV"
- Go to
Run->Edit Configurations-> click on the+sign ->Play 2 App.
screenshot

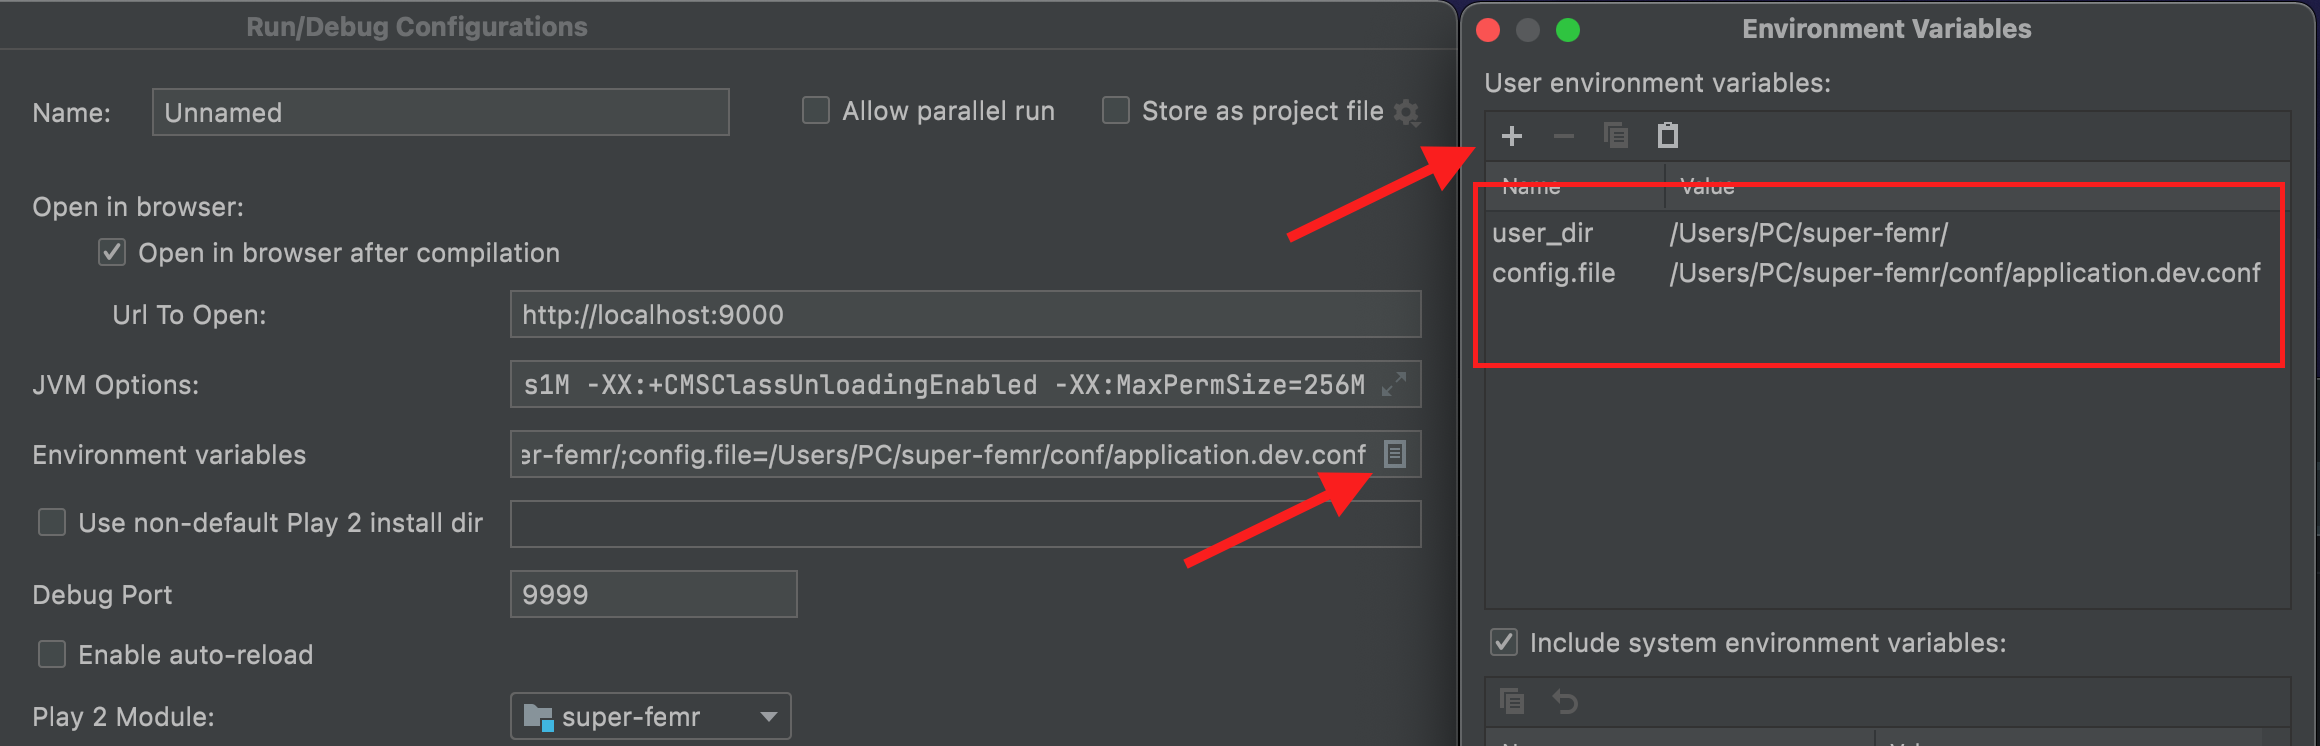
- Then, click on
Edit Environment Variables-> add the following two environment variables:user.dirandconfig.file(make sure to change the value based on where the two are stored on your local machine). Then click apply and ok.config.fileis the path for application.dev.conf.user.diris the path for the project.
screenshot
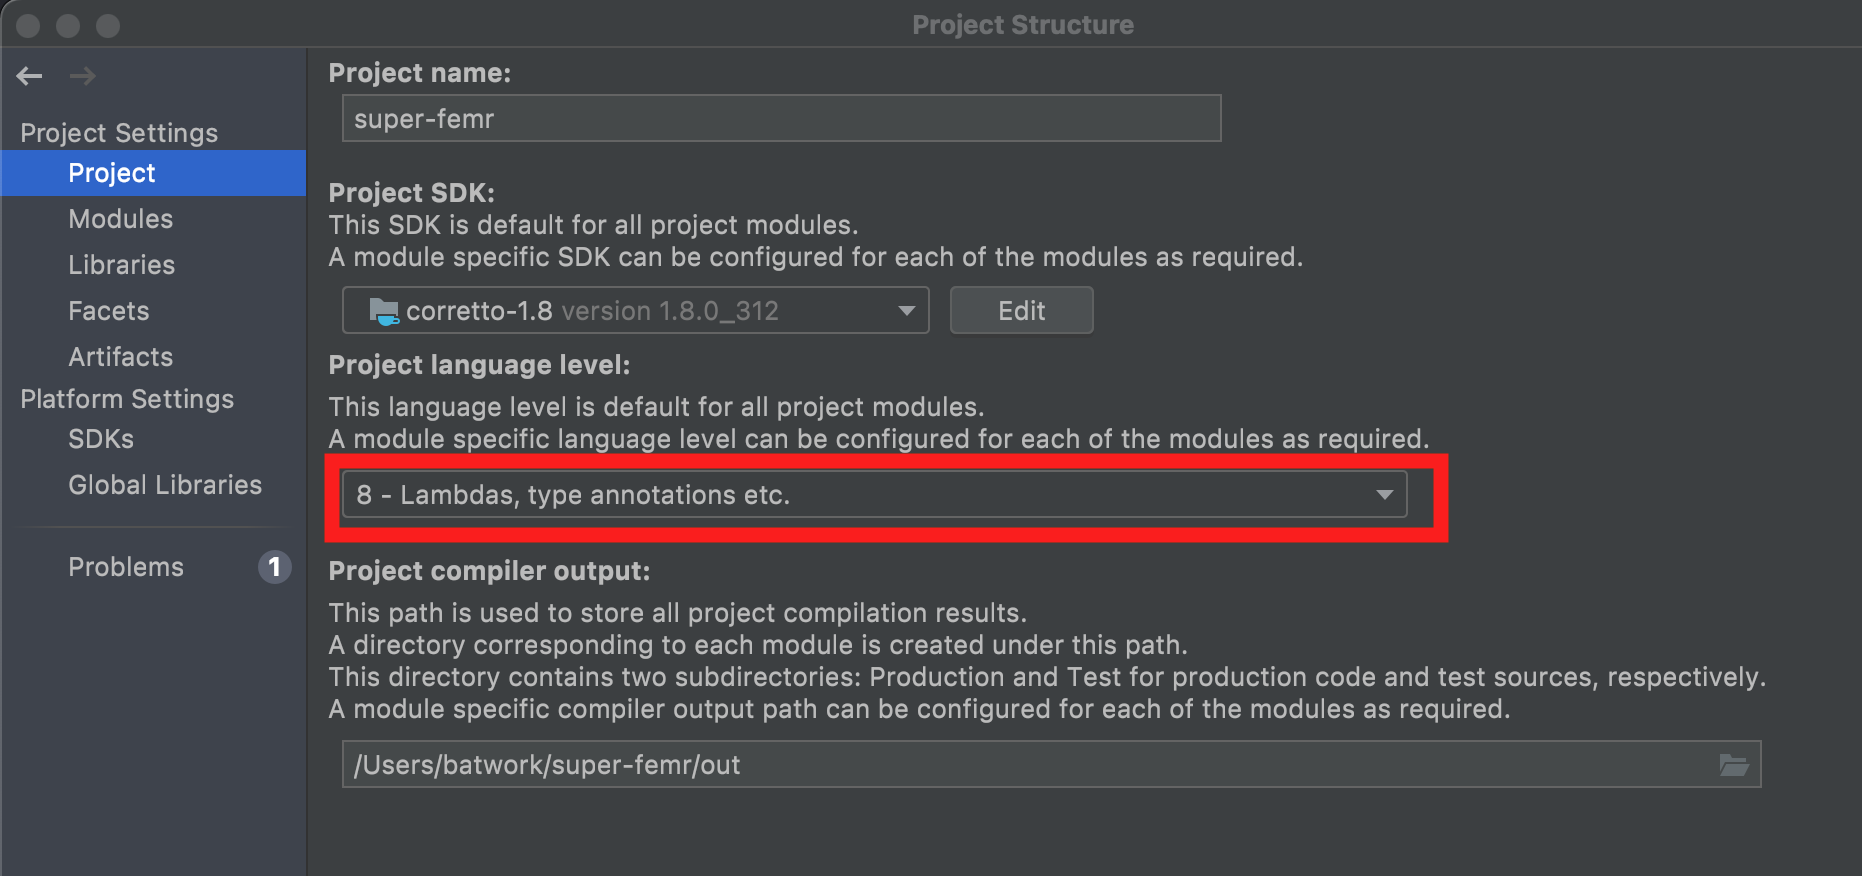
- Go to
File->Project structure-> Under theProjecttab -> SelectProject SDKand set it to 1.8.- You can download 1.8 directly from IntelliJ. If so, choose 1.8 Amazon Correto.
screenshot

- Change the language level to 8.
screenshot
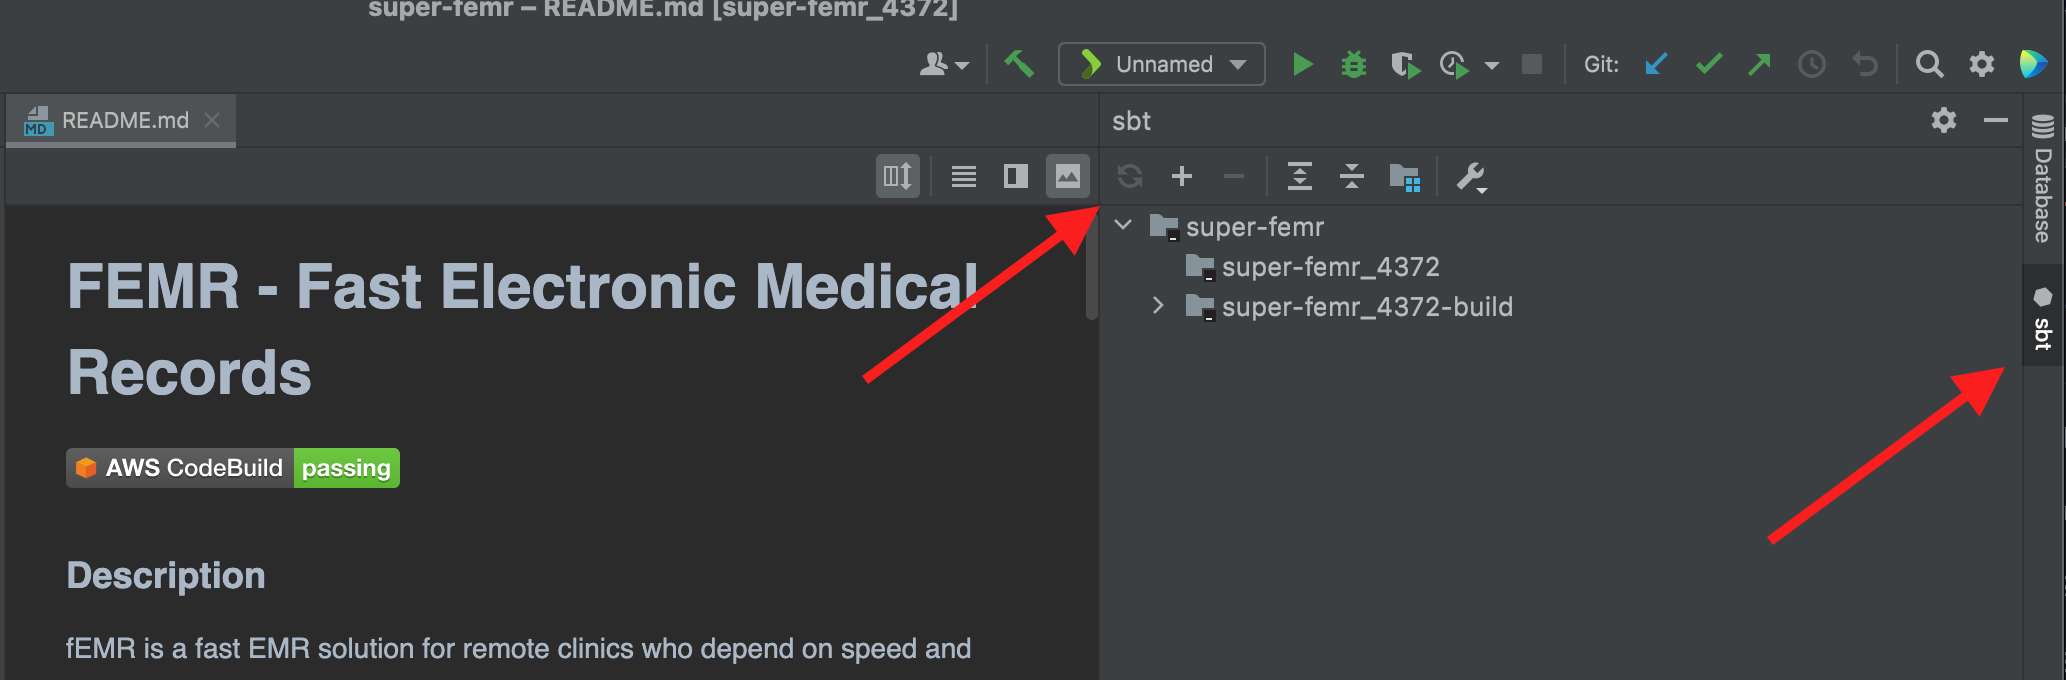
- On the rightmost side of IntelliJ, if there is a vertical line containing sbt. Click on the sbt tab and then click the refresh symbol.
- If there isn’t sbt on the right, remove the .idea folder from the root directory of the project. In the command line, traverse to the root directory and do: rm -r .idea. Then redo step 2 and then continue. If still does not work try removing the project and recloning it again.
screenshot
- After that runs, click on the Play button to run the configuration. If everything was set up correctly, the website should open up on another window. Select “Apply this script now”.
screenshot

- Try deleting the .idea folder and rerunning sbt
- Confirm you have the absolute path in your environment variables
- Try to re-apply the plugins Scala and Play Framework
- Otherwise, try cloning the femr github and going through the steps once more.
- Try invalidating Intellij IDEA cache.