| page_type | languages | products | description | urlFragment | ||
|---|---|---|---|---|---|---|
sample |
|
|
This sample and walk-through deploys a PyTorch image classification Python Azure Function app showing Remote Build and Azure Files integration |
azure-functions-pytorch-image-identify |
Azure Functions PyTorch ML multi-model image classification with Remote Build and Azure File integration
This sample shows how to set up, write and deploy a Python Machine Learning inference Azure Function app which uses Remote Build and Bring your own Storage features. It uses the pre-trained PyTorch image recognition models from here.
-
VSCode with the Azure Functions extension
-
Python installed locally. We support Python 3.6/3.7/3.8 in Azure Functions. For purpose of this walk through 3.7 is assumed.
-
Azure Account and access to Azure Portal and Azure CLI
-
Clone this repository using Git to a folder locally
-
Open this directory in Visual Studio Code. Visual Studio Code should be able to recognize that this is a Function app and automatically activate the Azure Functions extension. See here for more.
-
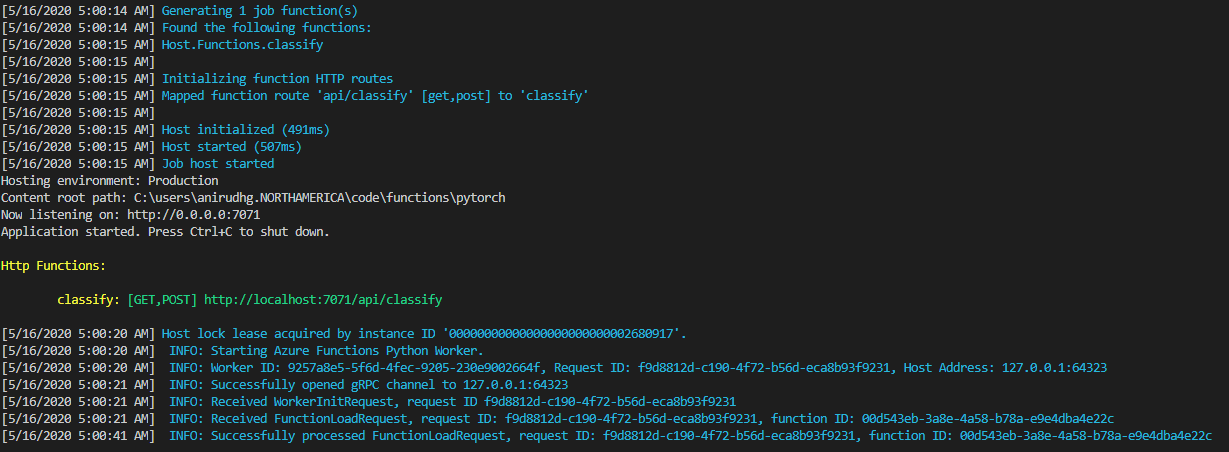
Start debugging using VSCode, you should see
- PyTorch libraries downloaded locally (specified in the requirements.txt file)
- The default PyTorch model resnet18 is downloaded to the tmp folder
- The function app starts to run
-
Open a browser and invoke the function app with the URL to an image of an animal http://localhost:7071/api/classify?img=https://raw.githubusercontent.com/Azure-Samples/functions-python-pytorch-tutorial/master/resources/assets/penguin.jpg
-
You should see the following result which should show that it found a Penguin with 0.999... probability and we are using the resnet18 model

Create a Azure Functions Consumption Python app and set up your own Azure Files share associated with that app
Use any of the following methods to create a Azure Functions Consumption Python app. Choose the Python version as 3.7 and the Consumption plan (which should be the defaults)
In this example, the function app name is "pytorch-image-consumption"
After you finish creating your Function app - you can associate the function app with an Azure File share using the Azure CLI.
First, create an Azure file share in the storage account of your choice.
az storage share create \
    --account-name $storageAccountName \
    --account-key $storageAccountKey \
    --name model \
    --quota 1024 \
    --output none
Then, associate that Azure File Share with your Function App.
az webapp config storage-account add
    --resource-group $storageAccountResourceGroup
    --name pytorch-image-consumption
    --custom-id pytorchrandom
    --storage-type AzureFiles
    --share-name model
    --account-name $storageAccountName
    --mount-path /model
    --access-key $storageAccountKey
Here, the resource-group points to the storage account's resource group, name is the name of the function app, custom-id is any random string, share-name is the name of the Azure File share, account-name is the name of the storage account, mount-path is the mount path as seen by the application.
Once this command is run then whenever we spin up a new container for the Python Function app then the Azure File share will be mounted to the container and be available to the running app.
As mentioned above, the function app has now access to a Azure file share. The code is written in such a way that it looks for a directory specified in the app's Application Settings with the name ModelDirectory and if found uses that directory for where it can find the model or uses the temp directory. From predict.py:
useTemp = True

if 'ModelDirectory' in os.environ:
    modelDirectory = os.getenv('ModelDirectory')
    if os.path.isdir(modelDirectory):
        useTemp = False

if useTemp:
    modelDirectory = tempfile.gettempdir()

os.environ['TORCH_HOME'] = modelDirectory
So, lets go ahead and create an Application Setting called ModelDirectory and set it to "/model" the share that we created in the previous step. This can be done in the portal or through Azure CLI.
Here is the Azure CLI command:
az functionapp config appsettings set
     --name pytorch-image-consumption
     --resource-group pytorchimageconsumption
     --settings "ModelDirectory=/model/"
Further, the app supports several pre-trained PyTorch vision models out of the box including;
alexnet, resnet18, resnet34, resnet50, resnet101, resnet152, vgg11, vgg11_bn, squeezenet1_0, squeezenet1_1, densenet161, shufflenet_v2_x0_5, mobilenet_v2, mnasnet1_0, googlenet
if 'ModelName' in os.environ:
    modelName = os.getenv('ModelName')
else:
    modelName = 'resnet18'
Specifying any of these in the Application Setting ModelName will switch the App to use this model. For example, use the following to use the resnet101 model.
az functionapp config appsettings set
     --name pytorch-image-consumption
     --resource-group pytorchimageconsumption
--settings "ModelName=resnet101"Now, you can go ahead and deploy the local app to your app in Azure. You can use any of the following:
- Using VSCode
- Using func core tools
Note here that the none of the modules need to be included with the application. Instead the modules can just be listed in the requirements.txt file. During deployment the right modules based on the runtime OS are pip installed on the server side before the application is deployed. See below for a snippet of the deployment logs showing this.
12:02:54 AM pytorch-image-consumption: Starting deployment...
12:02:58 AM pytorch-image-consumption: Updating submodules.
..
12:02:58 AM pytorch-image-consumption: Running oryx build...
12:02:58 AM pytorch-image-consumption: Command: oryx build /tmp/zipdeploy/extracted -o /home/site/wwwroot --platform python --platform-version 3.7 -p packagedir=.python_packages/lib/site-packages
...
12:03:01 AM pytorch-image-consumption: Running pip install...
...
12:03:10 AM pytorch-image-consumption: [07:03:10+0000] Collecting numpy==1.15.4
12:03:10 AM pytorch-image-consumption: [07:03:10+0000]   Downloading https://files.pythonhosted.org/packages/38/39/f73e104d44f19a6203e786d5204532e214443ea2954917b27f3229e7639b/numpy-1.15.4-cp37-cp37m-manylinux1_x86_64.whl (13.8MB)
12:03:14 AM pytorch-image-consumption: [07:03:14+0000] Collecting torch==1.4.0+cpu
12:03:14 AM pytorch-image-consumption: [07:03:14+0000]   Downloading https://download.pytorch.org/whl/cpu/torch-1.4.0%2Bcpu-cp37-cp37m-linux_x86_64.whl (127.2MB)
12:03:45 AM pytorch-image-consumption: [07:03:45+0000] Collecting torchvision==0.5.0
12:03:45 AM pytorch-image-consumption: [07:03:45+0000]   Downloading https://files.pythonhosted.org/packages/1c/32/cb0e4c43cd717da50258887b088471568990b5a749784c465a8a1962e021/torchvision-0.5.0-cp37-cp37m-manylinux1_x86_64.whl (4.0MB)
....
12:03:46 AM pytorch-image-consumption: [07:03:46+0000] Installing collected packages: azure-functions, idna, certifi, chardet, urllib3, requests, numpy, torch, pillow, six, torchvision
12:04:08 AM pytorch-image-consumption: [07:04:08+0000] Successfully installed azure-functions-1.2.1 certifi-2020.4.5.1 chardet-3.0.4 idna-2.9 numpy-1.15.4 pillow-7.1.2 requests-2.23.0 six-1.14.0 torch-1.4.0+cpu torchvision-0.5.0 urllib3-1.25.9
Once the function app is deployed invoke the function app in a browser by passing a image using the img as a query parameter. As an example: (replace pytorch-image-consumption with the name of an application and the appropriate function code)
with the result of the form as before

Note that the model was not included in the application and has been downloaded and read from the Azure file share which was automatically mounted on to the container.
This is a view of the Azure file share "model". As can be seen the models are in the file share.
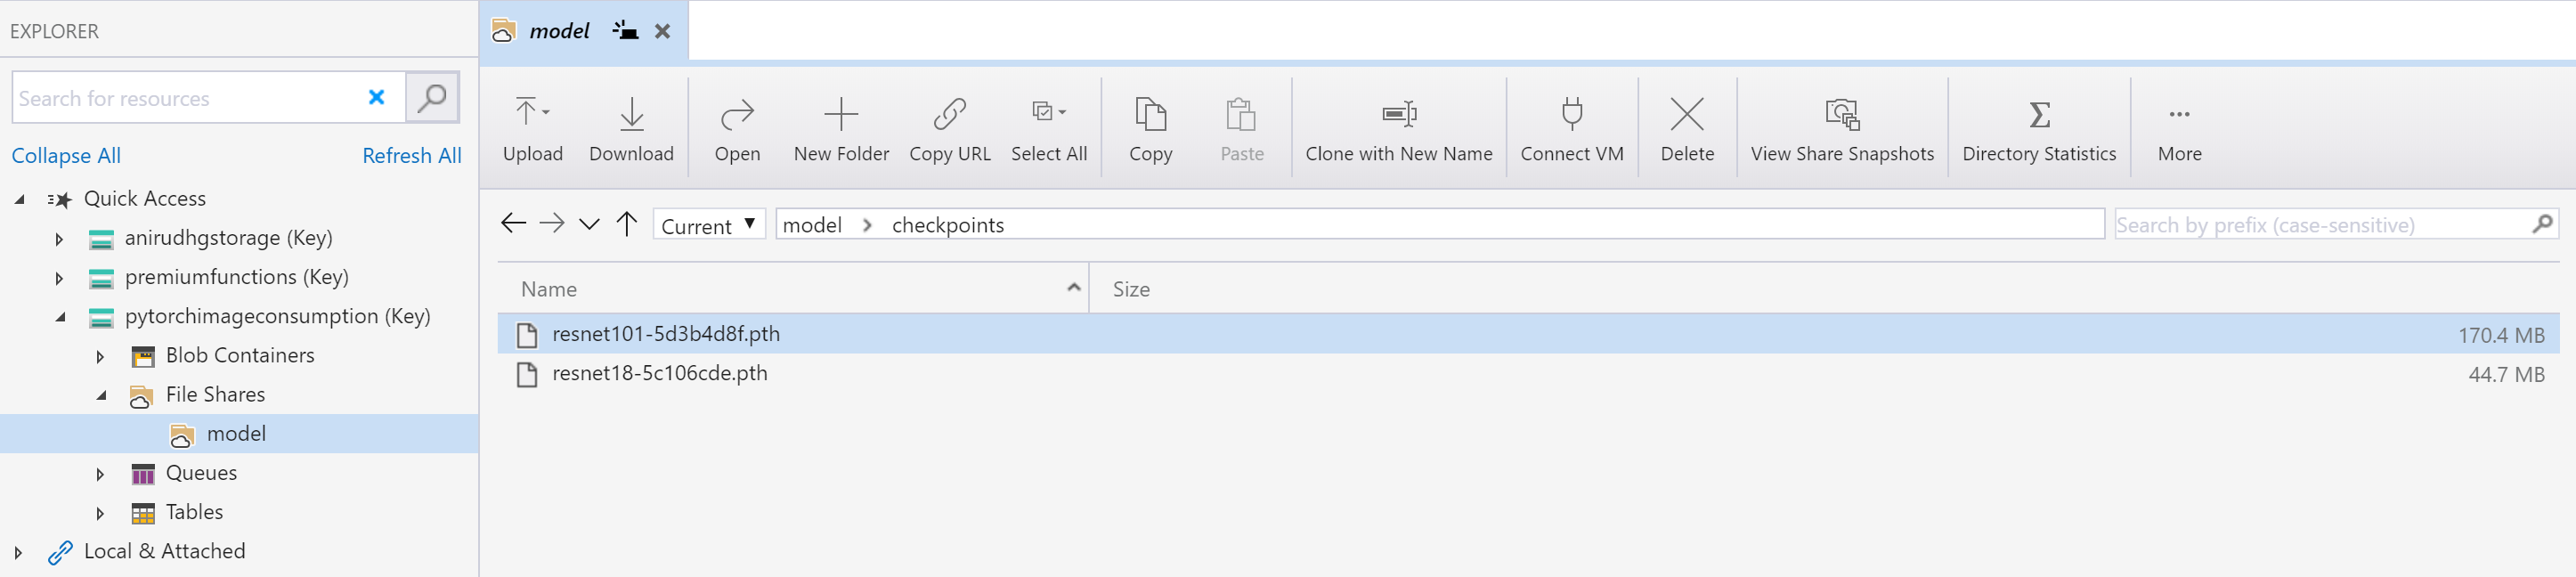
Changing the application setting "ModelName" to some other model name would allow a different model to be downloaded(once) to the file share and will be used subsequently from there. This can be done without needing to re-deploy the app showing the separation of the app from the model.
In this application the machine learning model is loaded at the time of cold start only. For large models though this can still take a few seconds. For cases that this is not acceptable, this application can be deployed to a Linux Premium plan. This plan guarantees no cold start by pre-provisioning instances. This is how to create a new Linux Premium Azure Function App and the rest of the steps above are the same.
This Function app can also be deployed to a Kubernetes cluster which is using GPU's and can scale up and down using KEDA. Here is a way to scale up and down your Http Triggered Function app in Kubernetes
This project welcomes contributions and suggestions. Most contributions require you to agree to a Contributor License Agreement (CLA) declaring that you have the right to, and actually do, grant us the rights to use your contribution. For details, visit https://cla.opensource.microsoft.com.
When you submit a pull request, a CLA bot will automatically determine whether you need to provide a CLA and decorate the PR appropriately (e.g., status check, comment). Simply follow the instructions provided by the bot. You will only need to do this once across all repos using our CLA.
This project has adopted the Microsoft Open Source Code of Conduct. For more information see the Code of Conduct FAQ or contact opencode@microsoft.com with any additional questions or comments.